American Sewing Guild (ASG)

Visit our blog Visit the ASG Facebook page Visit ASG on Pinterest Visit ASG's YouTube channel Visit ASG on Instagram
  • Home
  • Join ASG
    • Join Online
    • Chapter Locations
    • Member Benefits
    • Member Brochure
    • Join by Mail
  • Conference & Education
  • Resources
    • Contests & Awards
    • Giving Back
    • Hall of Fame
    • Links
    • Travel and Tours
    • Measurement Chart
  • Shop
    • ASG Store
    • Chapter Products
    • Video Resources
  • Blog
  • About
    • About Us
    • Donate to ASG
    • ASG Sensitivity Statement
    • FAQ’s
    • Start a Chapter
  • Contact
  • Member Login
    • Login First!
    • Members Only
    • Leadership Only
    • Website FAQ’s
    • Logout
  •  

April 19, 2024

Quilting Q&A: Borders, Miters, and Fussy Cuts

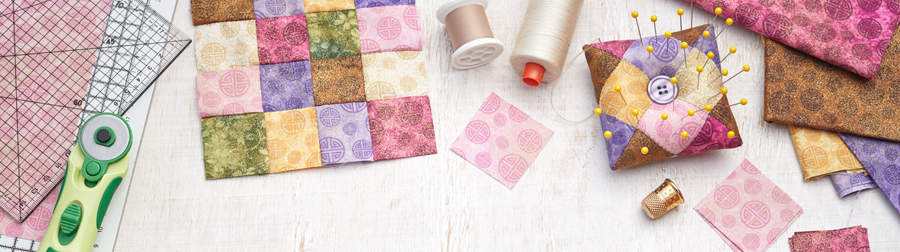
Today we offer a triple treat of quilting trivia. From understanding mitered corners, to explaining fussy cuts, and finally, navigating the width of a quilt border. Grab your rotary cutter and let’s patch together some knowledge that’s as snug as a perfectly quilted blanket!

Quilting tools

How wide should a quilt border be?

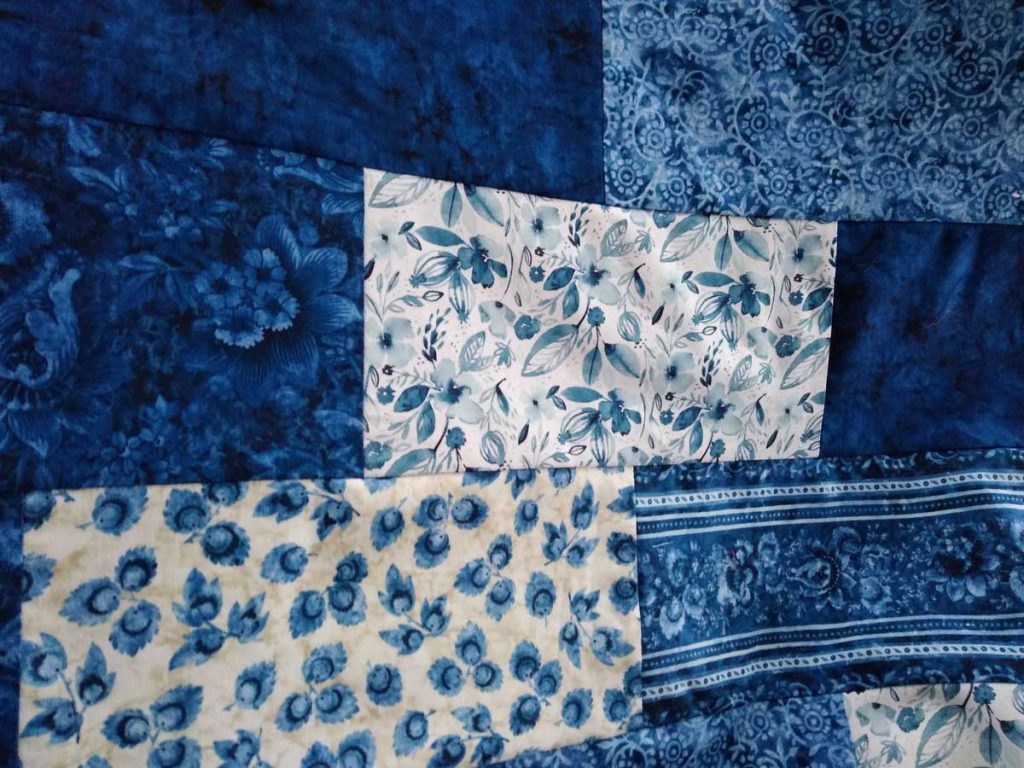
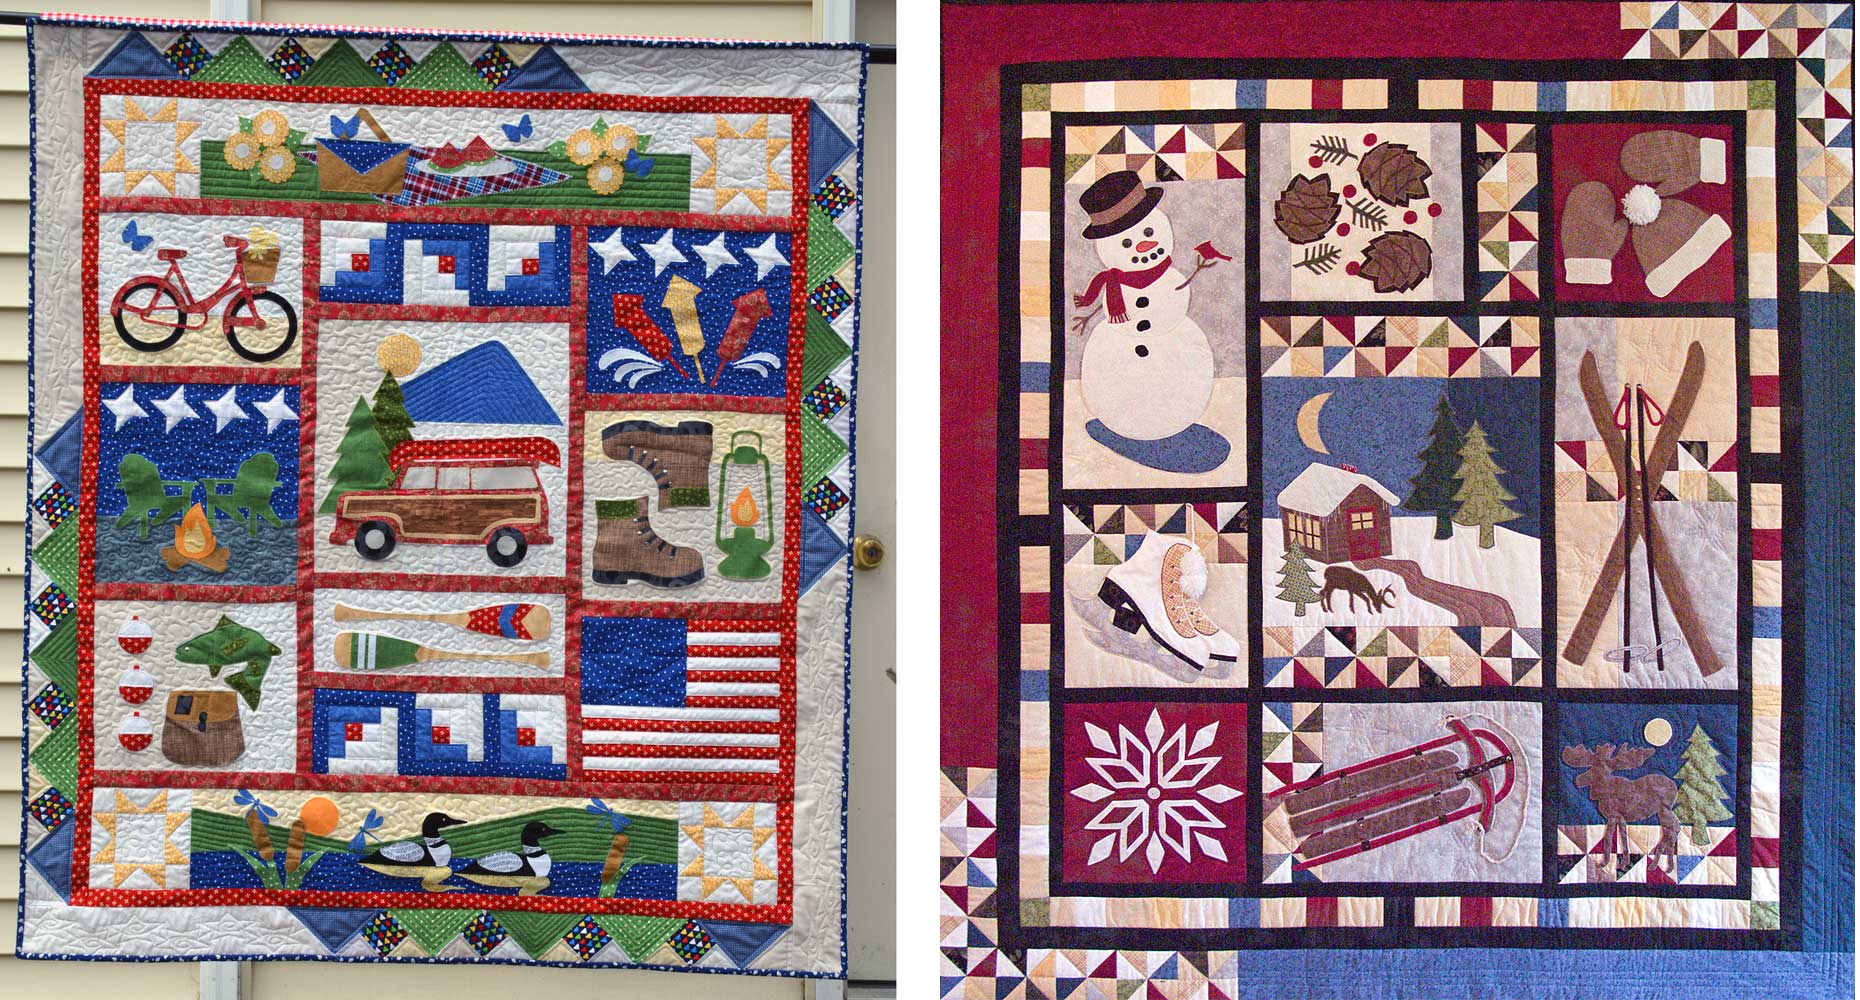
A quilt border can be any width you want, depending on the finished look you like. There can a single border around the outer quilt top edge or there can be multiple borders of varying widths, again depending on the look you like or the pattern you’re following. Several factors should be considered when choosing border widths.

Austin House Quilt by Carolyn Friedlander

The first question to ask yourself might be how much bigger you want the quilt to be, as this can help determine how many and what width of borders you need to add to the pieced center.

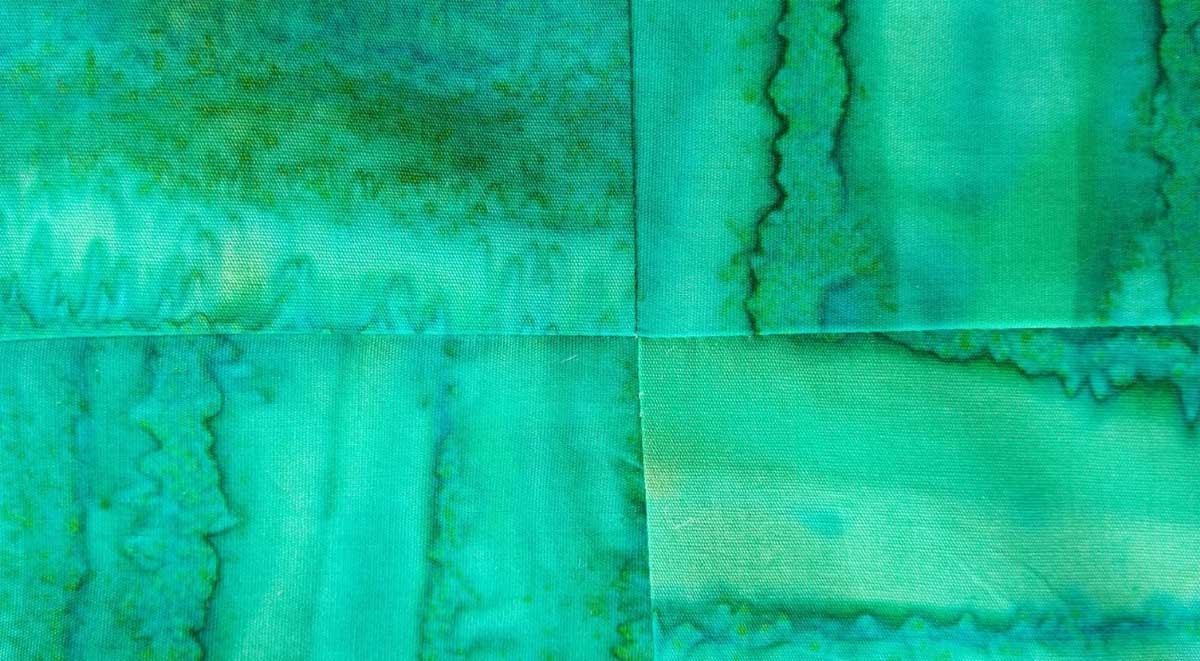
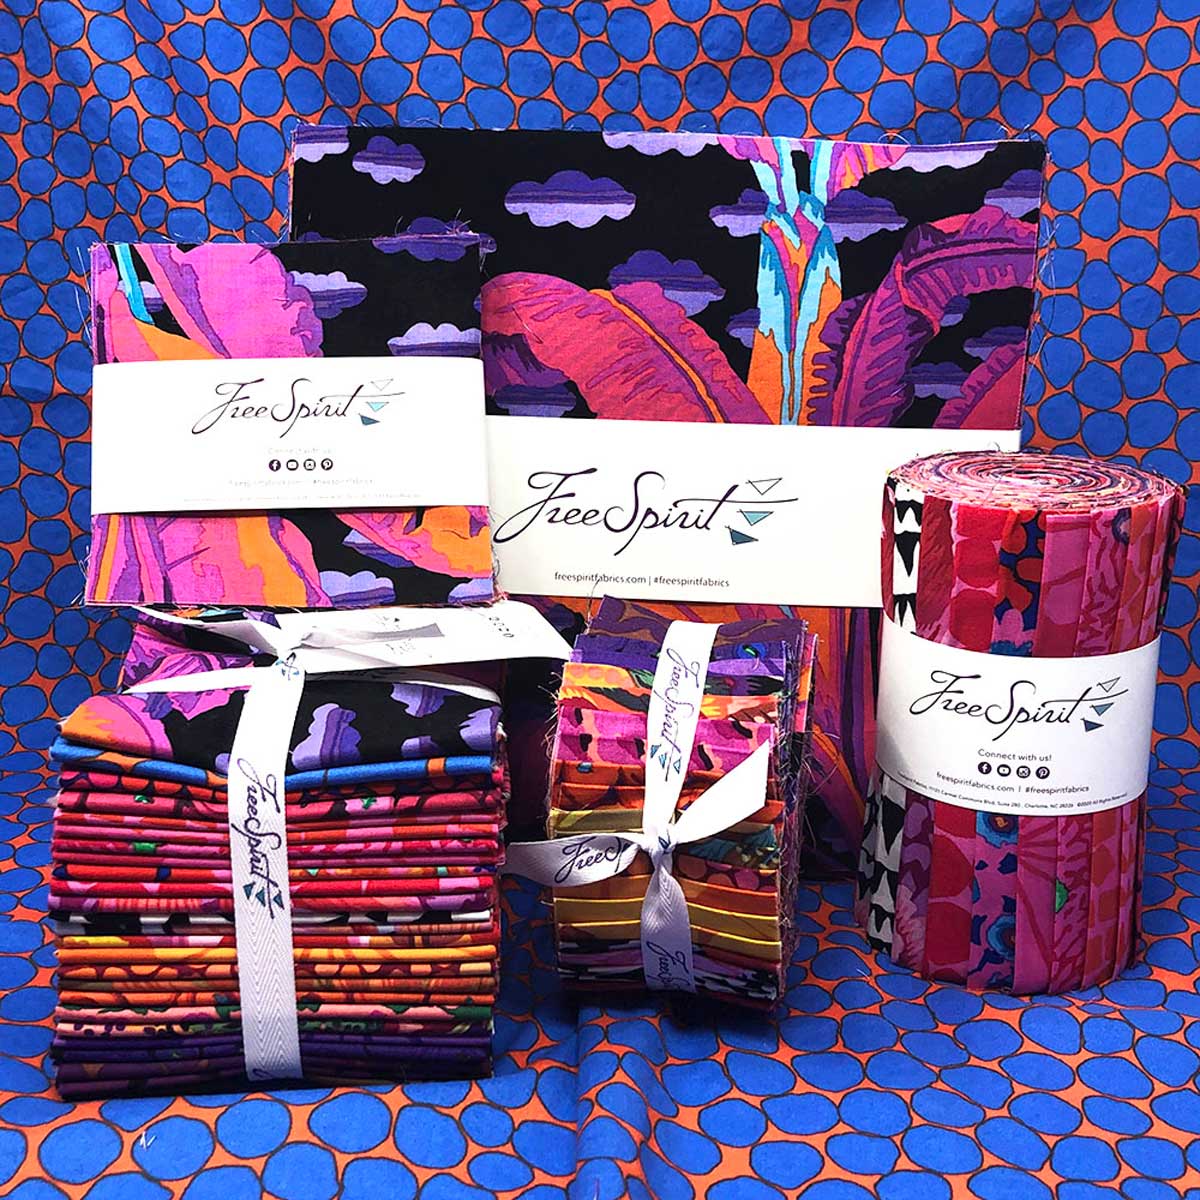
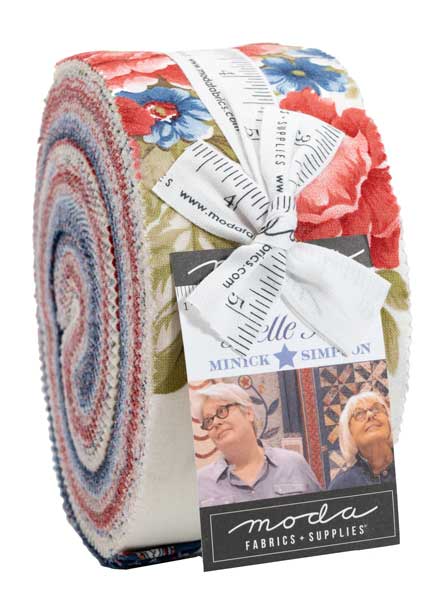
The size of the fabric print can influence the border width. Larger prints beckon wider borders to showcase the design. If you use a narrow border with an oversized print, you can’t discern the beauty of the print motifs. The border fabric itself can help determine the width, as often stripes or floral stripes are used for borders and they’re a specific width to showcase an entire pattern.

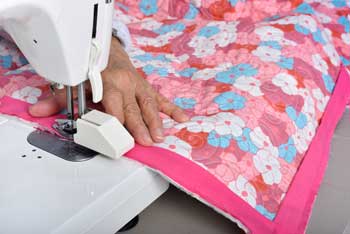
If you plan to do custom quilting on the border, you may want a wider area to showcase the stitching.

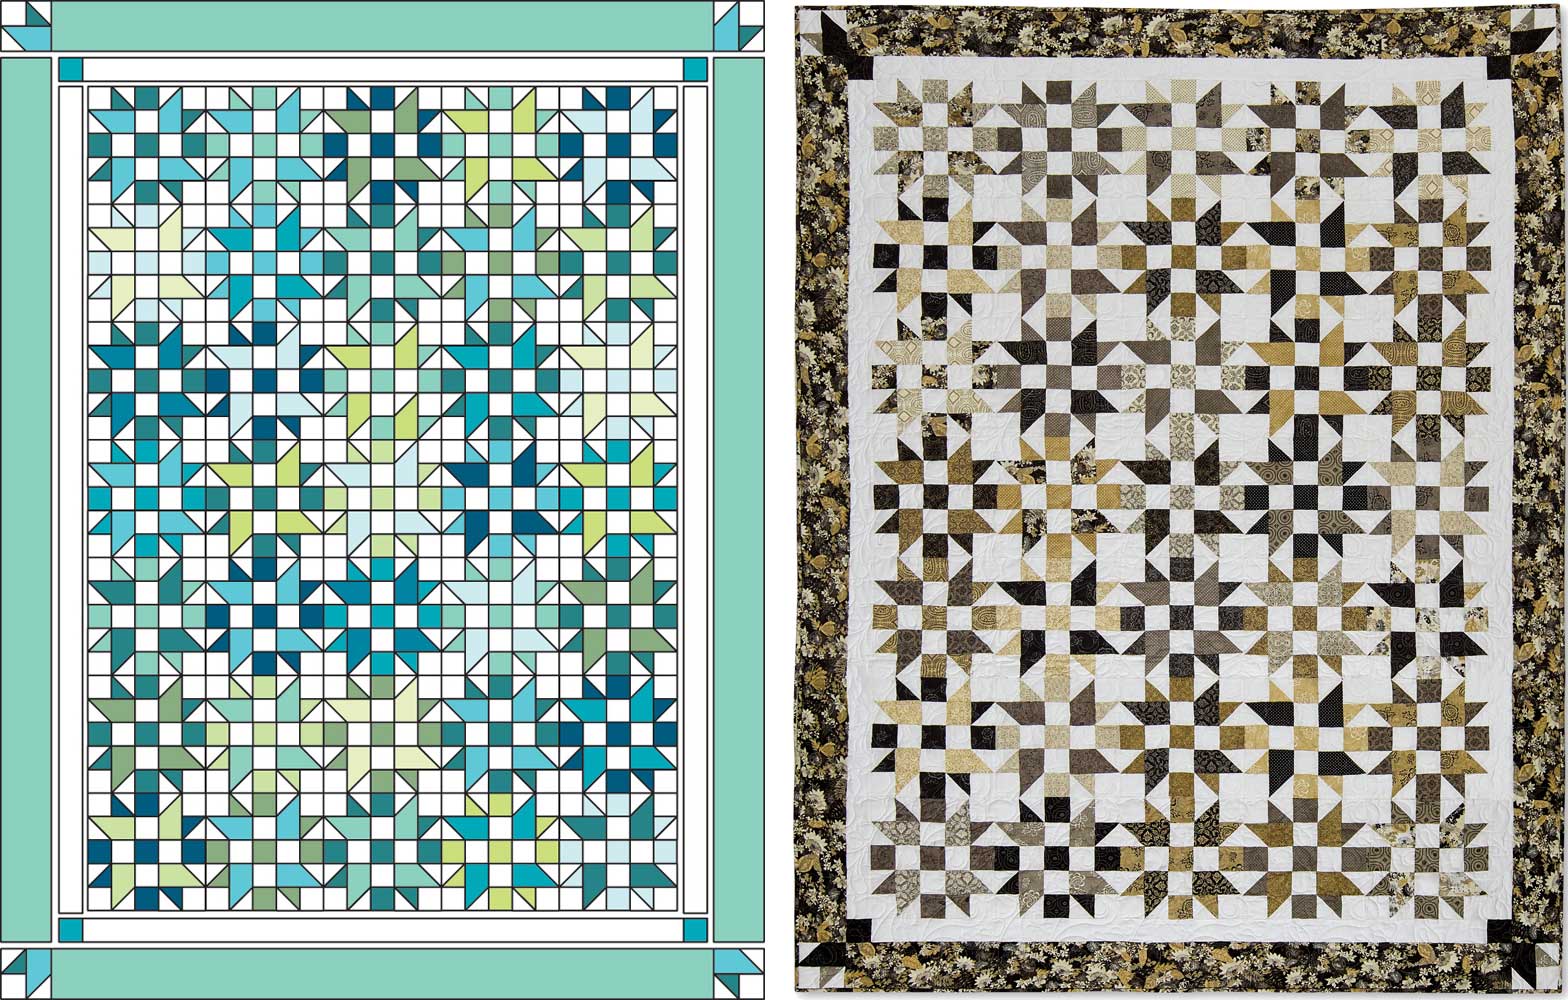
When using multiple borders, a common rule of thumb for determining widths is that a border should be about 1 ½ times larger than the previous border. For example, if an inner border finishes at 1”, the second border should be approximately 1 ½”. In most instances, the narrowest border is on the inside, working outward to the widest.

For those who prefer numbers, outer borders can range from 3” wide on wall quilts up to 7” or more for king-size quilts.

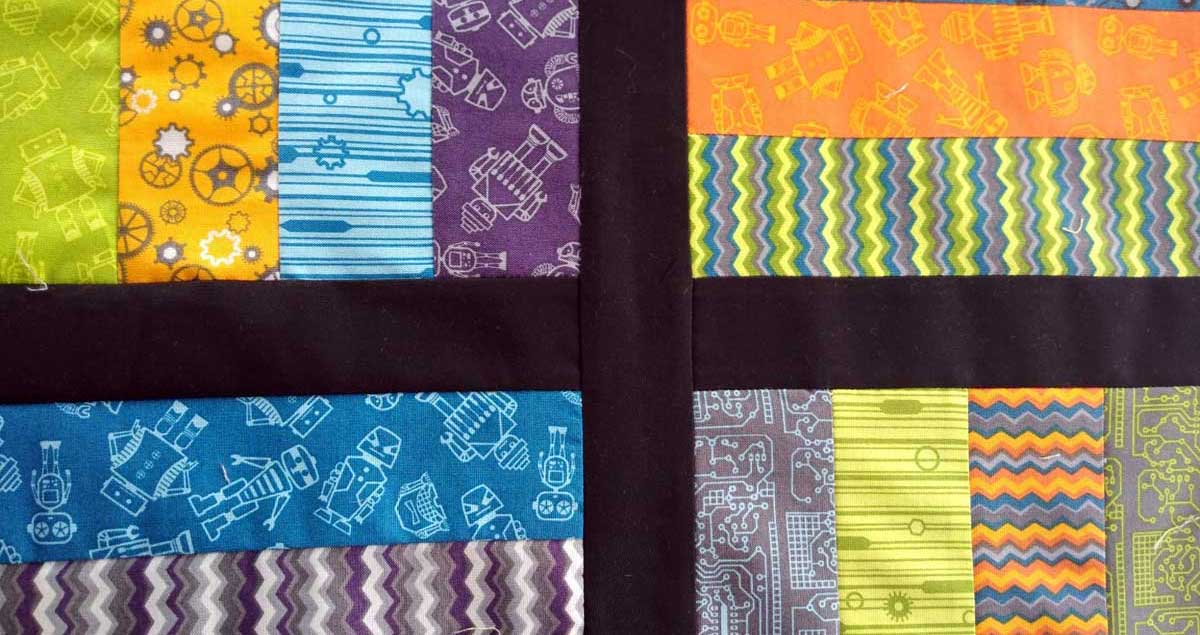
Sometimes you may not want to put borders on all four sides of a quilt. Some modern quilters often use borders on only two sides, either adjacent or opposite, or they vary the border size from side to side and/or top to bottom, or even use different fabrics for different border locations.


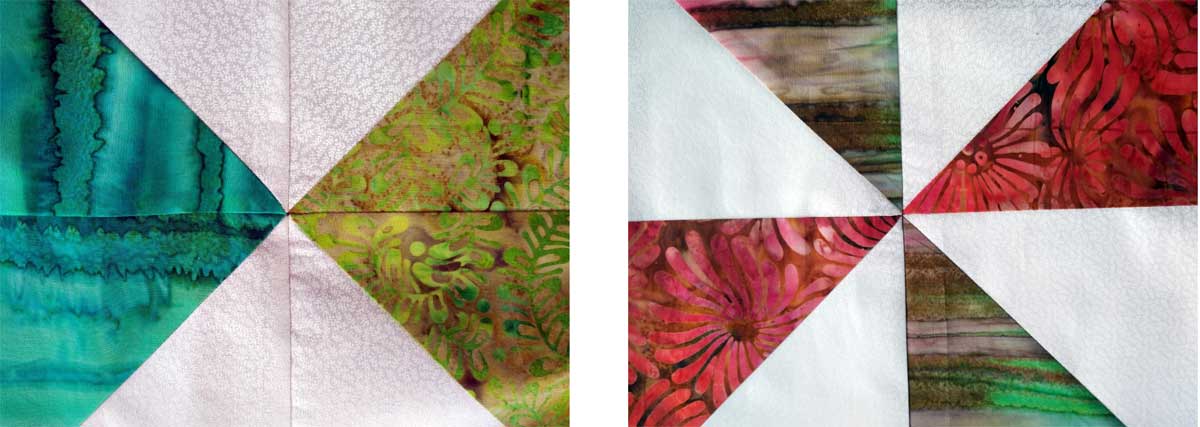
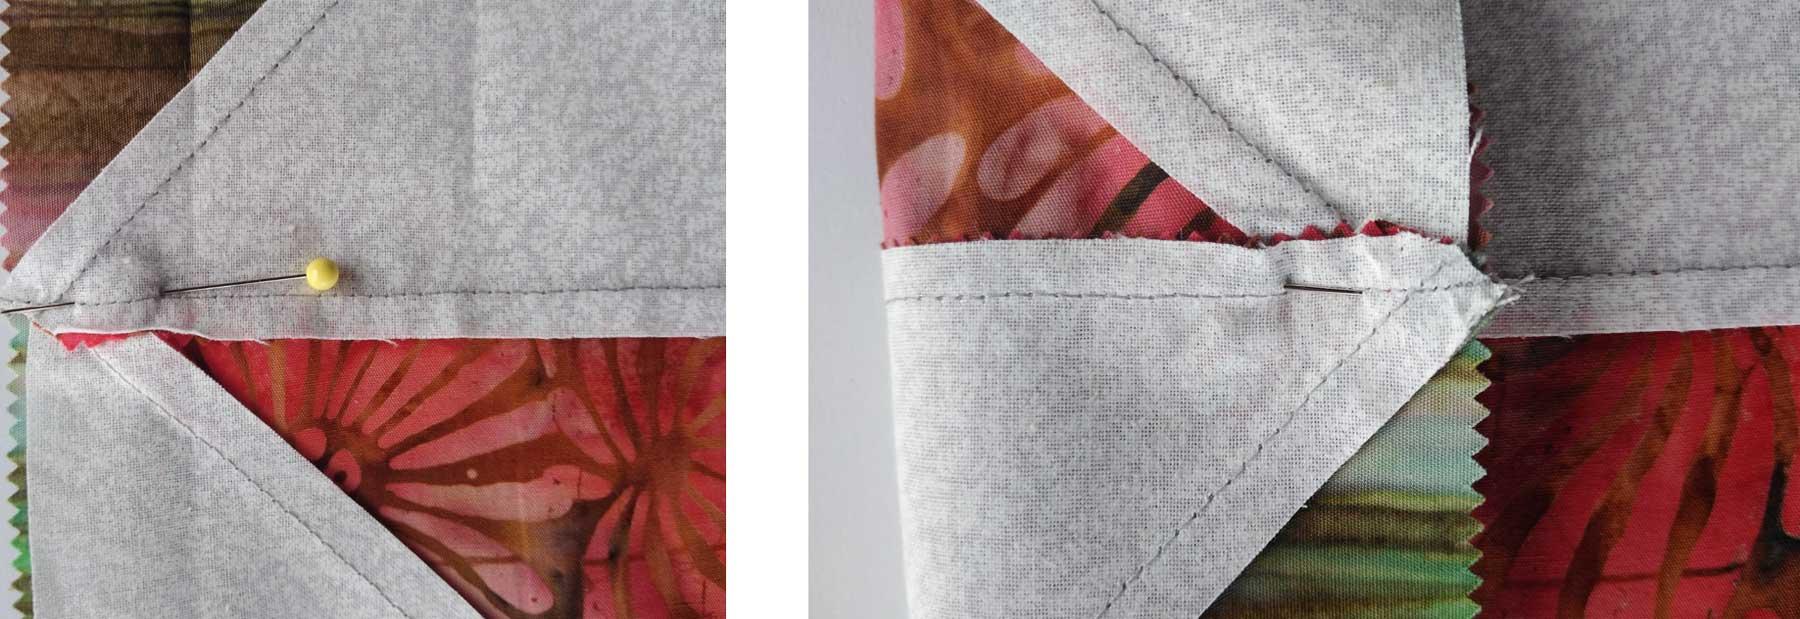
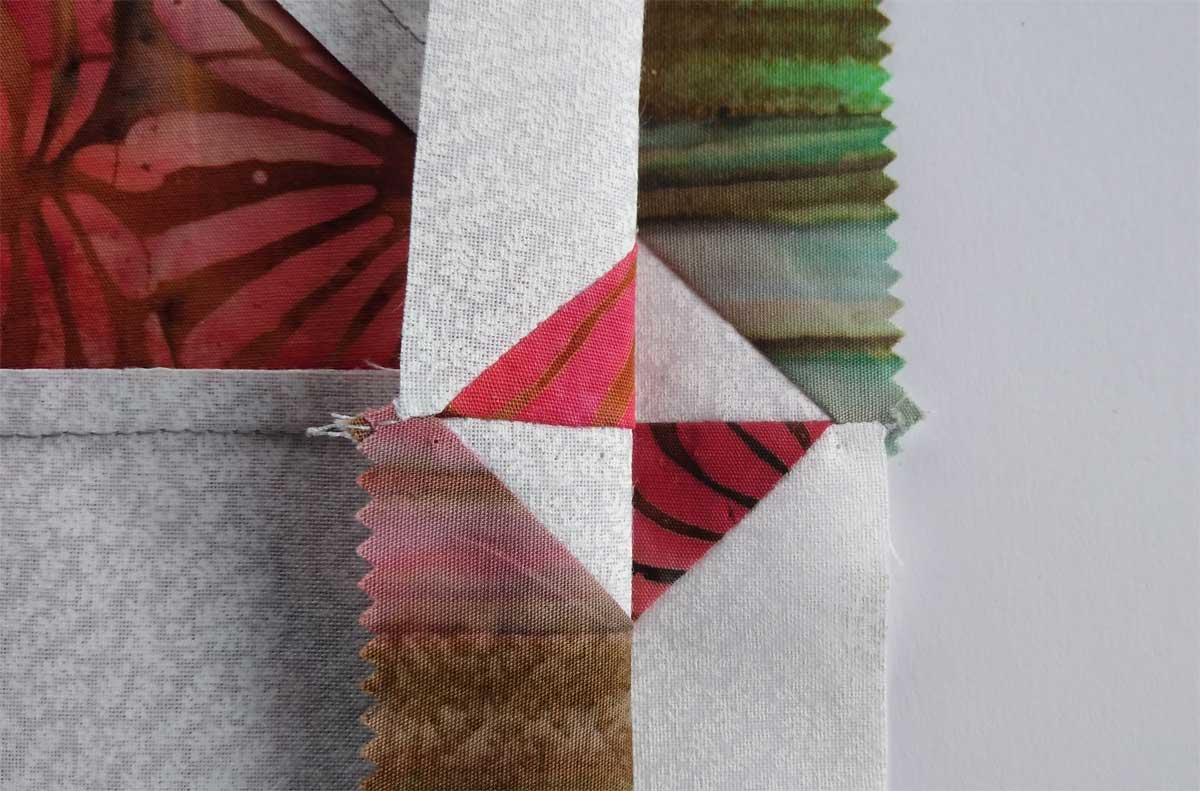
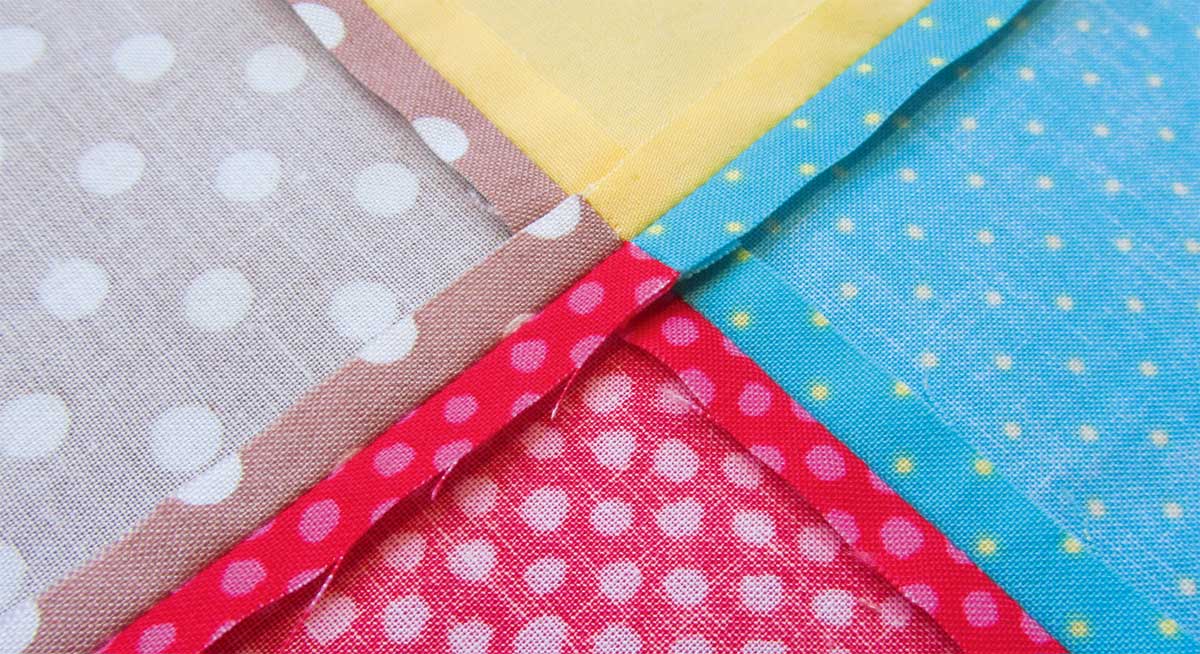
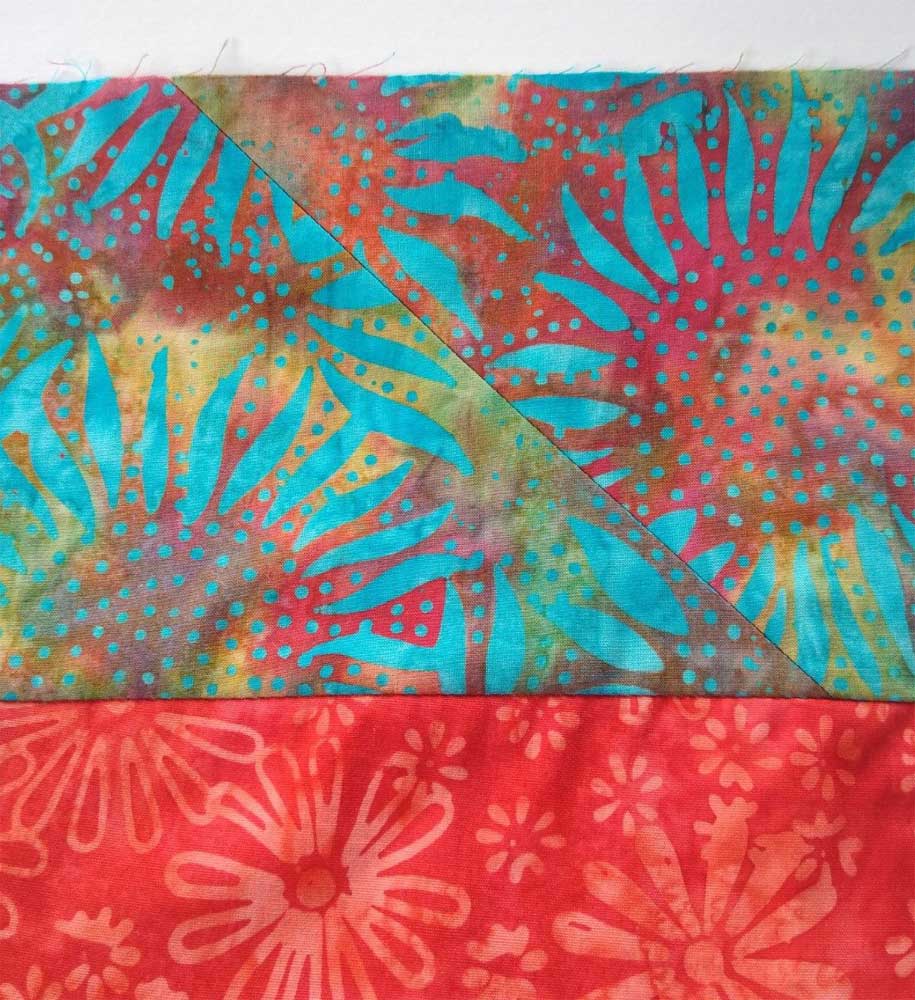
Should I miter the border corners or lap them?

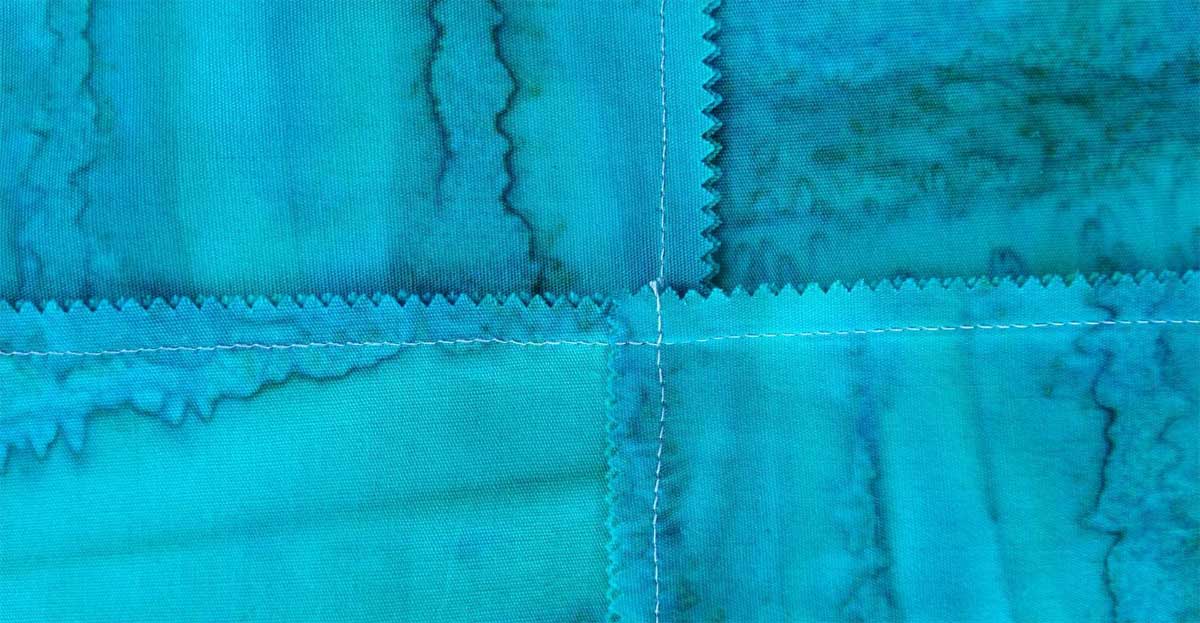
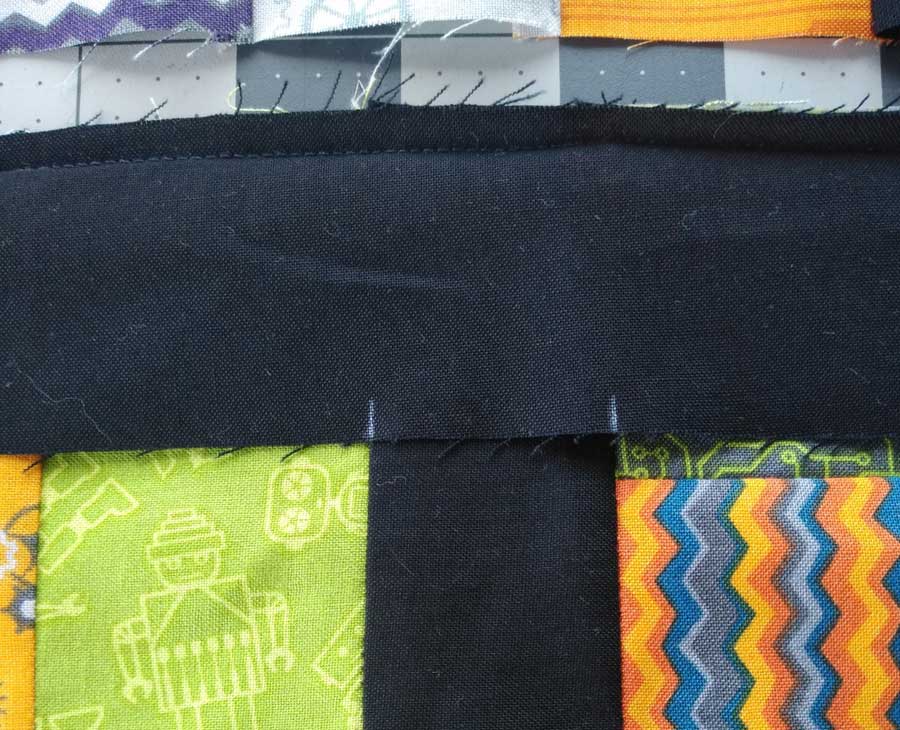
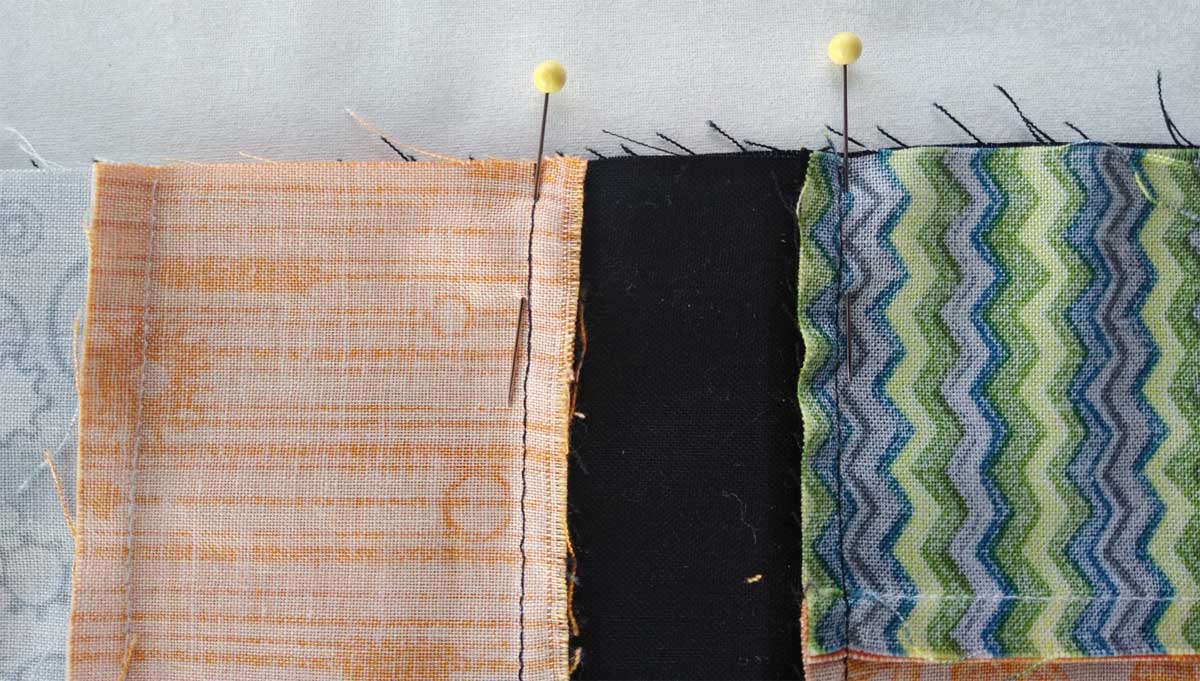
Again, this is a matter of preference. Lapped borders are easier to sew than mitered borders and they’re perfect for allover prints. But, if your border fabric is a stripe or floral stripe pattern, mitered borders are more attractive as the design comes together at a 45° angle, rather than lapping.

Image showing lapped and mitered corners on quilts

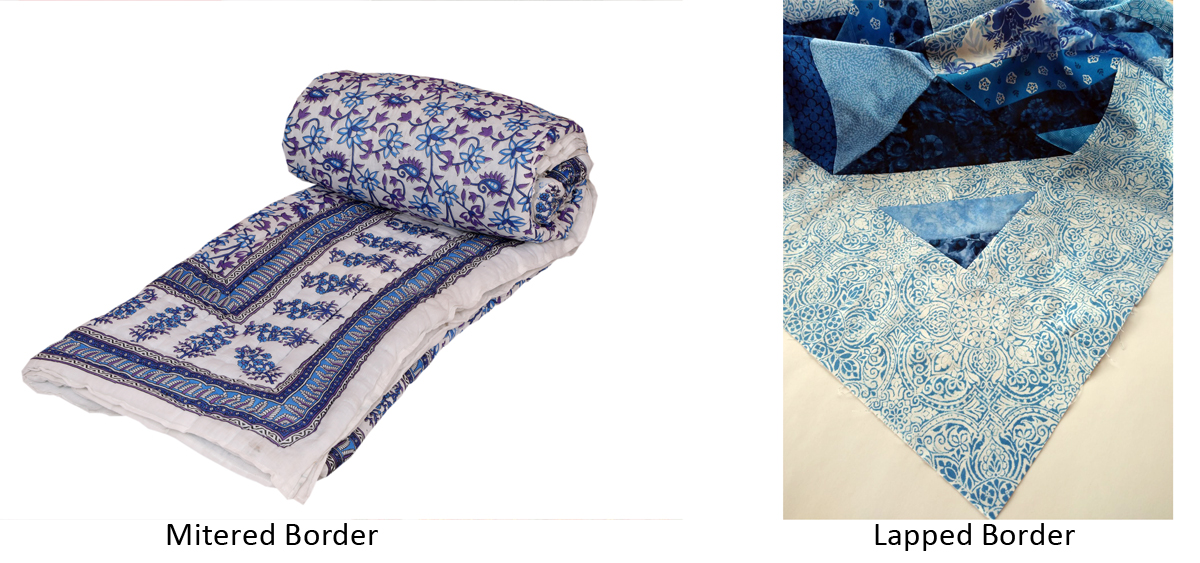
Borders can also be pieced, either purposefully or from scraps, and scrap borders can also be lapped or mitered, depending on the desired look.

Pieced border on a quilt
Pieced border

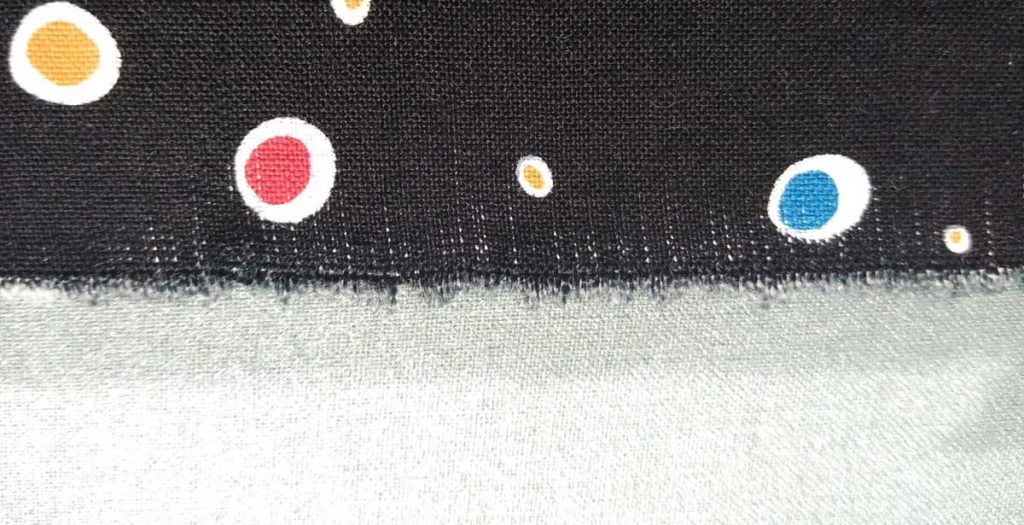
My quilt pattern says to fussy-cut the blocks. What does that mean?

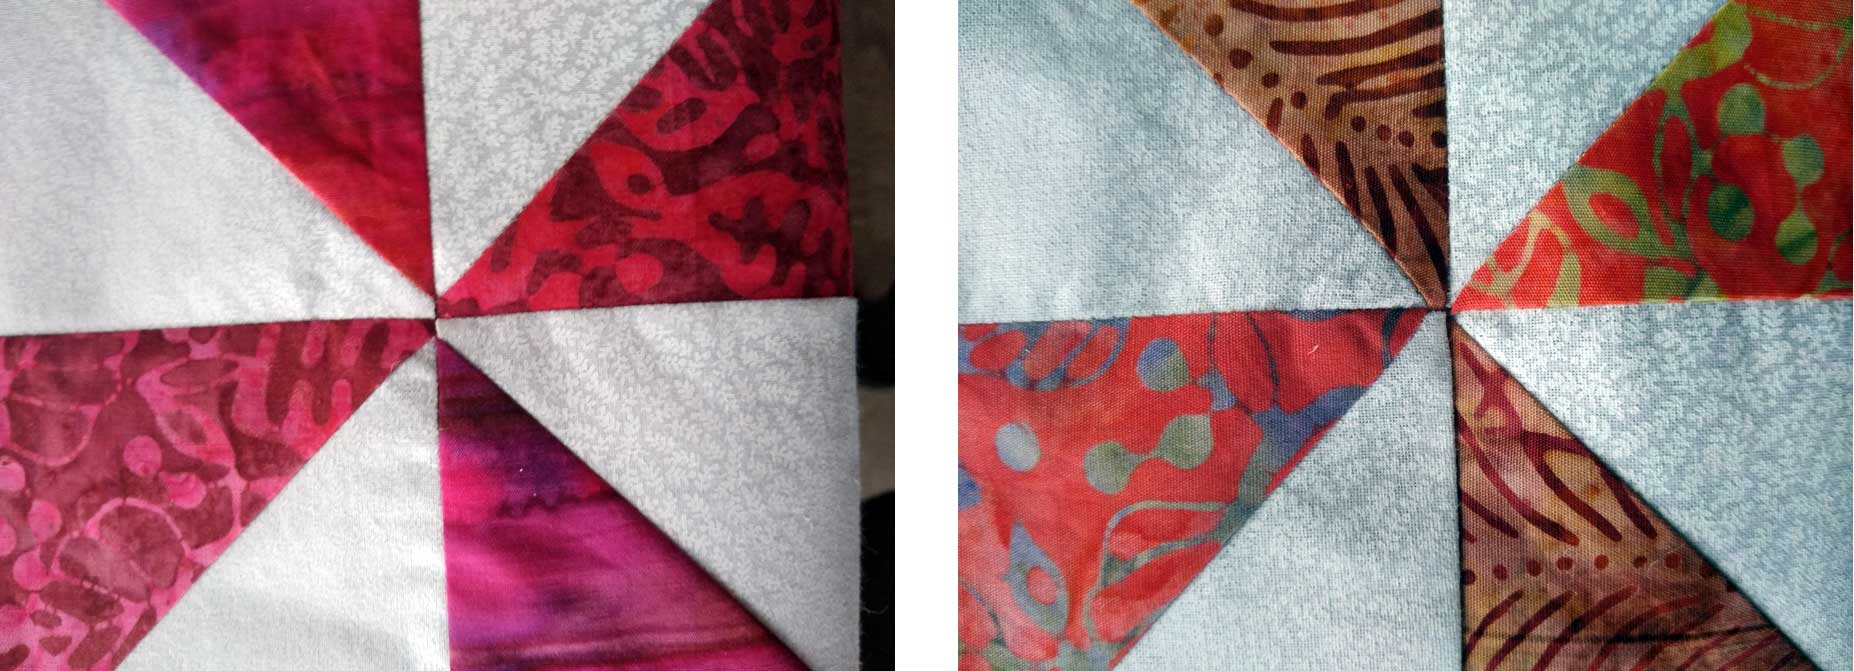
Fussy-cutting is a technique in which a fabric motif is strategically placed within a quilt block. Most commonly, a design element is centered in a block for emphasis.

Fussy cut square

Garment sewers often fussy-cut fabric so that motifs are placed in a specific place on the garment—a collar, pocket, front band, etc.

Fussy-cutting requires a template or pattern piece you can see through for the easiest cutting. Just place it over the desired design and cut around it. DON’T FORGET that you need seam allowances, so make your template or pattern to include those.

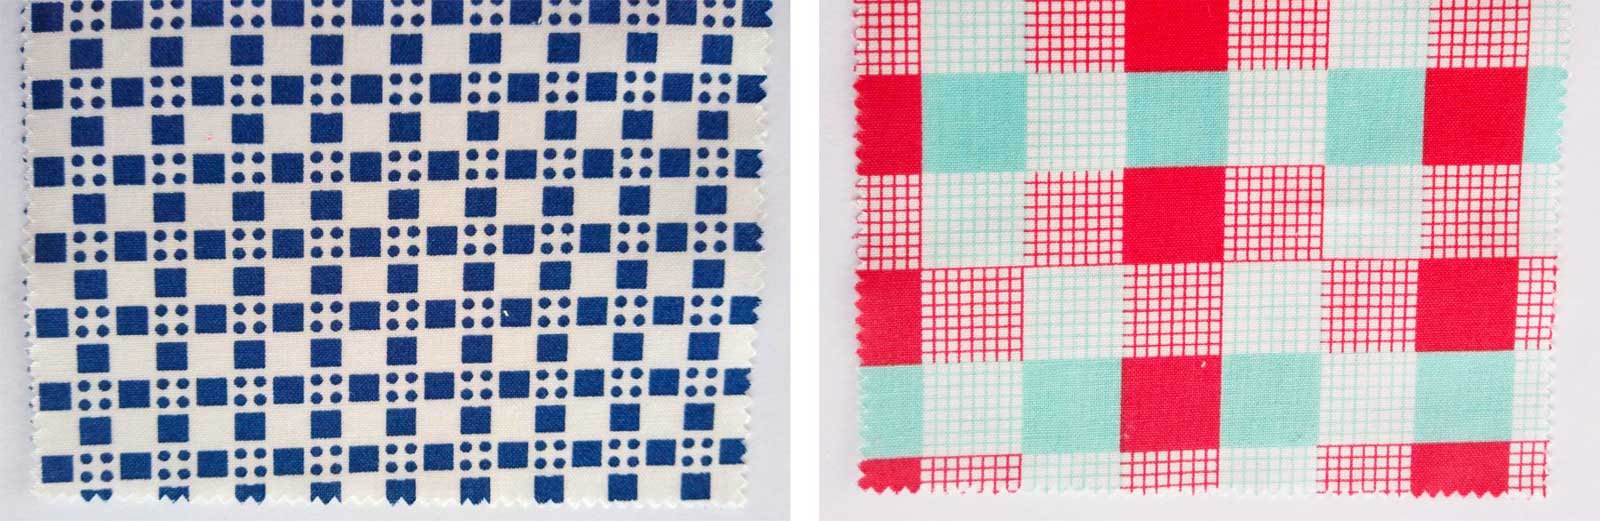
Many prints are directional, so keep that in mind when cutting pieces, so that the design is oriented the proper way in the finished project. For example, all the elephants should be standing on their feet, not some on their heads.

Fussy-cutting normally takes more fabric than not fussy-cutting, as you may not be able to use the entire length or width, and you don’t want to end up with partial motifs during your cutting process. The extra amount needed depends on the repeat and size of the design motif you’re showcasing, so there’s no hard and fast rule about how much extra to buy. Bring your pattern to the store and see how many you can cut out of a given amount of yardage.

Some fabrics may offer multiple opportunities for fussy-cutting within the same piece. For example, a zoo animal may be the center for some blocks, a different animal for others and perhaps a rainbow motif from the same fabric for others. This allows for less waste than choosing a single motif focus.


~Linda Griepentrog is the owner of G Wiz Creative Services and she does writing, editing and designing for companies in the sewing, crafting and quilting industries. In addition, she escorts fabric shopping tours to Hong Kong. She lives at the Oregon Coast with her husband Keith, and three dogs, Yohnuh, Abby, and Lizzie. Contact her at .

Did you enjoy this article?
Are you an ASG member?
This field is for validation purposes and should be left unchanged.

February 10, 2023

Quilt Border Patrol

When you finish the center of your quilt, there’s always the last sprint to the finish to add the border. Borders add a frame to the quilt and make it larger than the perhaps intricately pieced center section. They also provide a wonderful place to showcase running quilt designs and fussy corner motifs.

Quilt borders can match the quilt center, pick up one of the piecing prints or they can be a coordinating print or solid color. And, of course you don’t have to stop with just a single border—use multiples of varying widths for added interest. Borders should be a proportionate width to the quilt size, so consult your quilt pattern for the recommended size(s).

Borders can be pieced or simply straight strips, depending on your preference. Or go for the gusto and make shaped borders with scallops or zigzags, or add in some leftover blocks from the center.

Poorhouse Quilt Designs | Summer Memories and Winter Memories feature pieced borders

Long Story Short

Unless you’re making small quilts for kiddos or to hang on the wall, chances are good that one width-of-fabric strip may not be long enough for a border without seaming it. No one wants a prominent seam in a quilt border, but there are ways to make them less obvious.

Diagonal Border Seam

If a single fabric width strip if too short to make a border for your quilt size, team it with a matching strip using a diagonal seam. Place the strips right sides together at a right angle matching the top and side edges. Draw a diagonal line from corner to corner. Sew on the line, trim the seam to ¼” and press it open. Pressing the seam open makes a flatter seam than pressing both seam allowances in a single direction.

This diagonal seaming can be used in prints or solids, and while you might think it’s too obvious, it practically disappears once the quilt it quilted. Some people like to position the seams to one side or the other, rather than showcasing it exactly at the quilt edge center.

Depending on the size of your quilt, you may need to seam multiple strips together to fit the quilt center.

Corner Cues

C&T Publishing | Quilter’s 2 1/2″ Strip Pre-Cut Companion, Black Tie Affair by Basic Grey for Moda
Cornerstones accent two borders on this quilt

If you’re making a small quilt and the border strips are just a bit too short and you’re hesitant about seaming, think about using cornerstones to lengthen the strips. A cornerstone is a contrasting block positioned in each corner of the quilt and it’s as wide as the border itself. Note that cornerstones can also be used on larger quilts with seamed borders as a design feature.

To use a cornerstone, measure the quilt top center. Cut and sew the quilt border to each side of the quilt center and press the seams toward the border. Cut four squares the same width as the cut borders—these can be all the same fabric or different if you prefer a scrappy look. Cut the top and bottom border the width of the unfinished quilt center measurement. Sew a cornerstone block to each end of the top and bottom borders, pressing the seams toward the border.

Matching the cornerstone seams to the side border seams, sew the top and bottom borders to the quilt. The addition of the cornerstone creates additional length for the upper and lower borders.

Note that cornerstones can also be pieced in the same or different pattern as the quilt top center. Just be sure the finished block is the same width as the border strips.

Symmetry Not Required

Traditional quilters tend to choose borders that are the same size all around, or at least on opposite sides of the quilt, but more modern quilters often opt for asymmetric borders of all ilks. Sometimes just a border on one edge, or sometimes just two, or even three. There’s no hard and fast rule regarding sizes, number or placements, as when you create, the choice is yours.


~Linda Griepentrog is the owner of G Wiz Creative Services and she does writing, editing and designing for companies in the sewing, crafting and quilting industries. In addition, she escorts fabric shopping tours to Hong Kong. She lives at the Oregon Coast with her husband Keith, and three dogs, Yohnuh, Abby, and Lizzie. Contact her at .

Did you enjoy this article?
Are you an ASG member?
This field is for validation purposes and should be left unchanged.


January 14, 2022

Quilting Quandaries

Should quilt bindings always be double?

Quilt bindingQuilt bindings can be single or double layer, depending on preference, but it’s worth noting that single-layer bindings do not offer as much “protection” to the quilt edge as double-layer ones do. If a quilt is going to be used regularly and/or washed, the added layers of a double binding will wear longer. A single-layer binding is often used on smaller items like table runners and wall hangings and it reduces bulk in comparison to the double-layer binding.

A double-layer binding is usually cut 2 ¼” to 2 ½” wide, folded wrong sides together and both raw edges aligned with the right side of the layered quilt edges for application with a ¼”-wide seam allowance. Once the initial stitching is completed, the binding is turned to the quilt underside and the folded edge is hand- or machine stitched on the quilt underside.

A single-layer binding is usually cut 1 1/4” wide. The long raw edge is aligned with the layered quilt edges, stitched in place and then the remaining raw edge of the binding is turned under ¼” and hand- or machine stitched in place on the quilt underside.

Both single- and double-layer bindings should be tight to the edge and completely filled with the quilt layers. Some quilters like to leave a little extra batting extending beyond the true edge of the quilt as additional filler inside the binding.

What is the easiest style of quilt to make for beginners?

One of the easiest quilts for beginners is one where no adjacent seams need to be matched, and seams are sewn in a straight line.

One option for easy beginner quilts includes offset blocks, where the squares (or rectangles) are cut all the same size, sewn together in strips and placement is offset. No seam matching required.

Quilt with staggered seams

Another easy option is strip quilting with 2 ½” (or wider) strips cut the full width of the fabric. The long edges are sewn together with straight seams, and strips added to create the desired size quilt. This creates a quilt approximately 42” wide. Strips can be sewn together end to end to make a wider quilt top and/or borders can be added to the outer edges to create the desired size.

After trying these two techniques, novice quilters can “graduate” to more complicated patterns with more complex cut shapes and seam matching required.

All quilting projects, no matter how simple, require accurate cutting of all pieces so they fit together, followed by accurate stitching of seams. A quarter-inch presser foot for the machine is helpful as it has a vertical guide for the fabric edge to follow. Or, the distance from the needle to the edge of another presser foot may be exactly ¼” so the foot edge can be used as a guide for even seaming.

Many years ago when I bought quilting fabrics, the clerk tore them. They don’t seem to do that anymore—why?

Those of a certain age may remember when fabric was drawn through a Measuregraph machine that measured the fabric and made a little slit at the designated amount and then the piece was torn off the bolt. Always a bit off-putting to see new fabric torn, most stores today simply cut it with scissors or a rotary cutter.

Tearing fabric does indicate the grainline, but it also can also distort it and leave white lines along the tear line, depending on how the fabric was printed. Those white streaks have to be cut off. Some prints are not aligned with the fabric grain, so tearing makes that much more obvious and creates waste for sewers trying to align the pattern with the block cuts. In addition, some fabrics simply cannot be torn—those include synthetics, knits and novelty weaves.

Torn Edges of fabric
A torn fabric edge can leave white lines along the tear line.

So, cutting seems to be a better option for today’s fabrics.

What color thread should I use to sew a quilt together when the fabrics are all different colors?

When piecing a quilt, choose a neutral color thread like beige, light grey, white or off-white. These blend with a variety of light- to mid-tone fabric colors. If your quilt is predominately dark colors, a black, brown, navy or dark gray may be more suitable for seaming.

If your machine tension is properly adjusted, the stitching in your quilt seams won’t show anyway and it will meld into the fabrics.

For the actual quilting process, the thread color depends on how prominent you want the quilting design to be—a contrast color will make it more prominent, while a neutral will make it less prominent. Or, choose a variegated thread and get the best of both. If you want the quilting to totally disappear visually, choose a monofilament.

Some quilters like to use a bobbin thread to match the quilt back, but be sure your machine tension is well adjusted if you choose this option so that the bobbin thread doesn’t peek out on the top side.


~Linda Griepentrog
Linda is the owner of G Wiz Creative Services and she does writing, editing and designing for companies in the sewing, crafting and quilting industries. In addition, she escorts fabric shopping tours to Hong Kong. She lives at the Oregon Coast with her husband Keith, and two dogs, Yohnuh and Abby. Contact her at .

Did you enjoy this article?
Are you an ASG member?
This field is for validation purposes and should be left unchanged.

Tagged With: quilting, quilting questions

June 25, 2021

Matching Points

Nothing causes quilters more angst than getting perfect points on their blocks. With multiple small pieces often combined into a single block, keeping points and seams aligned can be tricky, but there are a few tricks that help with the task. If you’re not a quilter, never fear, these same principles can apply to garment sewing where seams come together and opposing parts need to align. Think about a pieced bodice, a yoke/bodice joining, or an artful pieced jacket.

Match points in quilt blocks examples
Matched points on a quilt block

Point to Point

Lining up adjacent seams is easier if the opposing seam allowances are pressed in different directions. For example, on the upper half of a 4-patch block, press the seam allowances to the left; on the lower half of the block, press the seam allowances to the right.

Image showing seam allowances in opposite direction
Seam allowances in opposite direction

When the sections are placed right sides together, the sewn seams will be on top of each other and the seam allowances will nest together for a perfect match. Place a pin through the sewn seam so that it falls in the same place on the lower layer and then stitch, removing the pin as you come to it. Most machine manufacturers do not recommend stitching over pins.

Example of aligned corners
Aligned corners

This same process works for stitching together half-square triangle blocks. Press seams for adjacent blocks/rows in opposite directions so the seam allowances will nest during the joining process. Place a pin through to match the seams, then stitch, and you should come out with a perfect match {B-1, B-2}.

To test before stitching, fold back the seam allowances and check for the point match.

Image checking point alignmnet
Checking point alignmnet

Some quilters prefer to press seams open instead of to one side. In this instance, careful pinning if required for matching points as there isn’t the nesting seam allowance advantage.

Quilt seams pressed open. Image courtesy of Bernina

What if?

What if your points or seams don’t match? In most instances, taking out a few inches of the seam on either side of the mismatched seam allows for some readjustment and easing to realign the seam matching, then you can just restitch the open area.

Example of mismatched points on a quilt block
Mismatched points on a quilt block

If you’re comfortable leaving the mismatched seam, an easy way to camouflage it to simply tie the quilt at the corners. The yarn ties will hide the seam matching issues and no one will be the wiser. It won’t win you any awards in a quilt show, but it may still be a great quilt to please a child or loved one.

Sashed Seams

Many quilt patterns have strips placed between rows of blocks. These strips, whether vertical or horizontal, are called sashing. Many quilt patterns have sashing strips in both directions; if so, sew the vertical strips between the blocks first, then add the horizontal ones between the rows.

Example of sashing
Blocks aligned with sashing between

Getting blocks lined up on both sides of the sashing strip is much the same as aligning within the block or row, except that there’s now a strip between the rows.

To keep things aligned, sew a row of blocks to one side of the sashing strip, matching center points. Then fold down the sashing strip onto the blocks and mark the adjacent seamline locations on the wrong side of the sashing. Mark at each vertical sashing strip location across the quilt top width.

Markings on fabric
Mark adjacent sashing seamlines

Pin the next row of blocks in place, matching the vertical sashing seams to the marks across the quilt width. Stitch, removing the pins as you come to them and voila, perfectly aligned blocks.

Example of lining up sashing
Pin sashing at markings

~Linda Griepentrog
Linda is the owner of G Wiz Creative Services and she does writing, editing and designing for companies in the sewing, crafting and quilting industries. In addition, she escorts fabric shopping tours to Hong Kong. She lives at the Oregon Coast with her husband Keith, and two dogs, Yohnuh and Abby. Contact her at .

Did you enjoy this article?
Are you an ASG member?
This field is for validation purposes and should be left unchanged.

Tagged With: matching points, quilt blocks, quilting, sewing

May 28, 2021

Working with Pre-Cut Fabrics

If you’re a quilter, chances are you’re familiar with pre-cut fabric groupings, but if you’re not a quilter, the term may be new to you.

Pre-Cuts Explained

Free Spirit Kaffe Fassett fabric collection
Free Spirit Kaffe Fassett fabric collection. Image used with permission.

Most manufacturers offer their lines in coordinated groupings of various numbers of fabrics—often including prints, solids and perhaps dots or stripes that all go together. For those reticent about their own abilities to coordinate and mix patterns and colors, pre-cuts eliminate that stress, as they’re all planned to go together and there’s no decision making required.

Choosing a pre-cut bundle is a great way to sample a multitude of prints without having to purchase yardage of each fabric in the line—a huge cost saver. In addition, using pre-cuts saves time—not only for shopping, but also because you don’t have to cut all the pieces from yardage. Because they’re all cut at the same time, the pieces are all the same size.

Pre-cuts usually include one or two pieces for each fabric in the specific line and generally total twenty to forty-two pieces of the same size. The groupings can be made from a single fabric line or they can be chosen for other similarities, like all dots and stripes, all batiks, various prints in the same color range, or sometimes all neutrals.

Sizing

Moda Fabrics Belle Isle Jelly Roll by Minick Simpson - Available in August, 2021
Moda Fabrics Belle Isle Jelly Roll by Minickk Simpson. Available in August, 2021. Image used with permission.

These handy time savers come in a variety of sizes and with a multitude of name variations, depending on the manufacturer. Look for monikers like Jelly Rolls, Charm Packs, Layer Cakes, Pops, Stackers, Roll-ups, etc. Most are quilting cottons, but there are also bundles of wools and other fabrics offered.

Common pre-cut sizes include strips of 1 ½”, 2 ½” or 5” by the width of the fabric. Squares come in 2”, 2 ½”, 5”, 6” and 10” variations. In addition, there are die-cut triangles, diamonds and hexagons available, and of course the more familiar fat quarter (18” x 22”) and fat eighth (9” x 22”) options.

During the manufacturing process, fabrics are layered and either die-cut, laser cut or manually cut into the preferred size/shape. The number of layers being cut at once is dependent on how many fabrics are in a given collection, and if there are multiples given of any.

Pinked edges on charm squaresMany pre-cuts come with pinked edges to help prevent fraying {photo}, while others have straight-cut edges and may be plastic wrapped for the same reason. For those pre-cuts with pinked edges, use the peak to measure seam allowances, rather than the valley portion of the zigzag.

Using Pre-Cuts

Pre-cuts generally do not get pre-washed, as doing so can create a mess of lint and threads as pieces fray. But, if you compelled to do so, place them in a mesh bag and use a gentle cycle or simply place them in a basin of hot water to soak.

To help keep the edges of your fabric neater, use a lint roller along the edge of the pre-cuts before using.

There are many quilt patterns available that are specific to pre-cut sized pieces and they can also be used for all kinds of small projects where buying by the yard may not be necessary to cut the needed pieces. The 2 ½” x width-of-fabric strips are ideal for binding.

Measure the pre-cut pieces to be sure that they are accurately sized and if not, adjust pieces accordingly that you cut from yardage to pair with the pre-cuts. Some pre-cuts are actually larger than the stated size, while others may be slightly smaller.

Fat quarters

And don’t forget—you can cut pre-cuts into small cuts if your pattern requires it. For example, a 10” pre-cut square can yield four 5” squares or sixteen 2 ½” squares, or some combination thereof.


Patterns

Sometimes a distinct pattern may not align with the cut edges on pre-cuts, causing the design to appear crooked. What can you do? If the issue is bothersome to you, think about recutting the piece along the design lines and using it as a smaller piece for another project.

Pre-cut fabric - example of patterns


~Linda Griepentrog
Linda is the owner of G Wiz Creative Services and she does writing, editing and designing for companies in the sewing, crafting and quilting industries. In addition, she escorts fabric shopping tours to Hong Kong. She lives at the Oregon Coast with her husband Keith, and two dogs, Yohnuh and Abby. Contact her at .

Did you enjoy this article?
Are you an ASG member?
This field is for validation purposes and should be left unchanged.


Tagged With: fabric, quilting

  • 1
  • 2
  • 3
  • Next Page »

Become a Member

Join the only national organization dedicated to Advancing Sewing as an Art and Life Skill.

Join Now button

Blog Article Categories

  • ASG Conference
  • Chapter Stories
  • Embroidery
  • Fitting
  • Learn to Sew
  • National Sewing Month
  • Products, Books, & Patterns
  • Projects
  • Quilting
  • Sewing
  • Sewing Techniques
  • Sewing Tips
  • Sewing Tours
  • Videos
  • Disclaimer
  • Privacy Policy

American Sewing Guild
National Headquarters
9660 Hillcroft, Suite 230
Houston TX 77096
713-729-3000 | 713-721-9230 Fax
www.ASG.org

ASG wordcloud - education, conference, discounts, videos, special offers, tours and more

Copyright © 1998–2025 · American Sewing Guild · All Rights Reserved