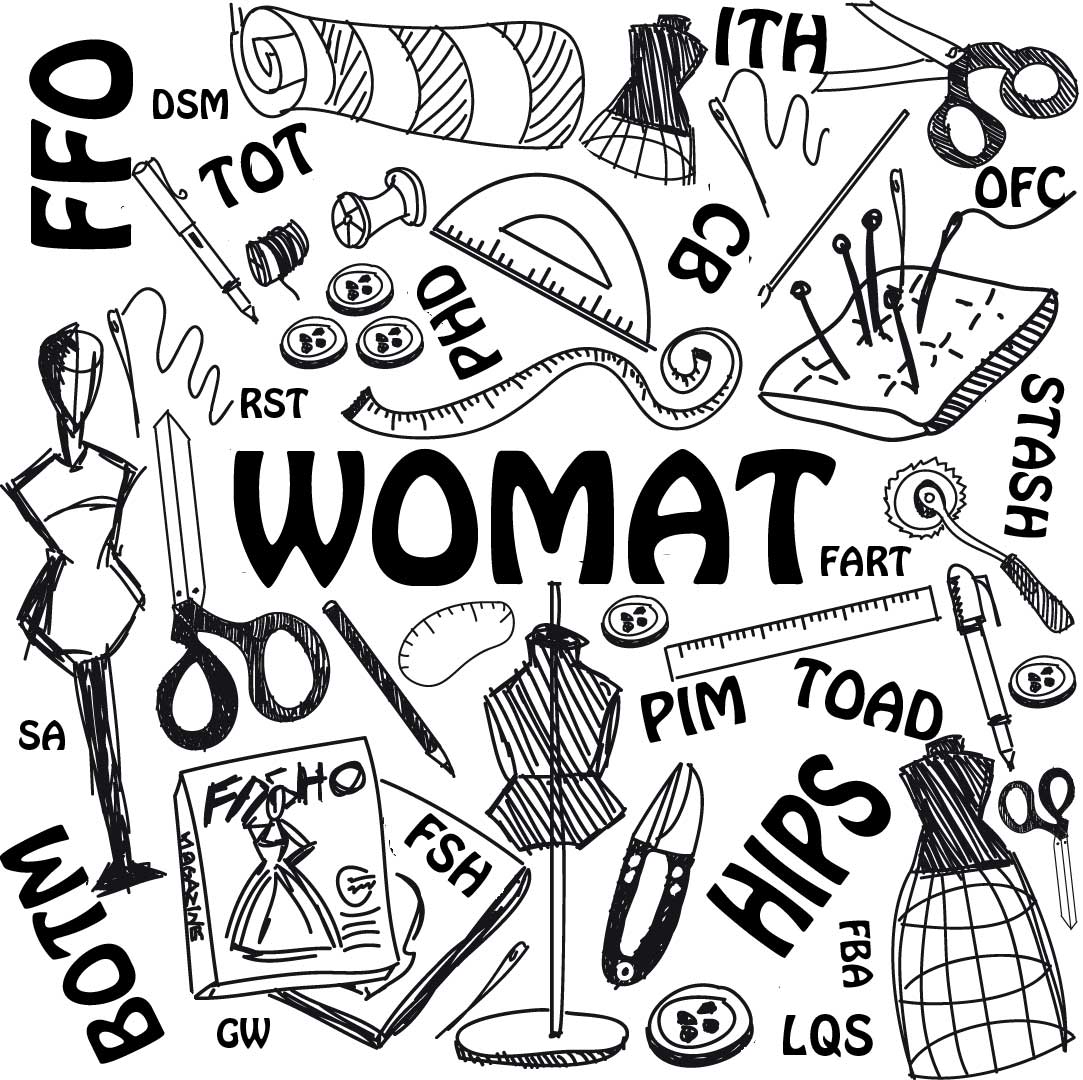
 Are you ready to dive into the fun world of sewing and quilting jargon? Every industry seems to have its acronyms and abbreviations, and sewing and quilting are no exception to that. If you’re not familiar with the term, an acronym is a word formed from the initial letters or groups of letters of words in a set phrase or series of words and pronounced as a separate word. If a letter grouping isn’t pronounceable as a word, then it’s considered an abbreviation instead.
With the popularity of texting, both of these word groupings have come into mainstream use and, sometimes, one has to scratch their head to figure out what the letters mean. In this post, we’re lifting the veil on those mysterious letter groupings and whether you’re a seasoned stitcher or a beginner just dipping your toes in the fabric pool, these common acronyms and abbreviations are sure to tickle your thread-loving fancy.
- BDNS: Bad day, not sewing
- BOM or BOTM: Block of the month
- BSK: Basic sewing kit
- CB: Center back
- CF: Center front
- DIY: Do it yourself
- DSM: Domestic sewing machine (aka non-embroidery unit)
- FART: Fabric acquisition road trip
- FBA: Full-bust alteration
- FFO: Finally finished object
- FM: Free motion
- FOB: Fear of buttonholes
- FOE: Fold-over elastic
- FQ: Fat quarter of fabric (18” x 21”)
- FSH: Fabric shop hop
- FW: Featherweight
- FW: Fusible web
- GW: Goodwill
 Wow, those are a mouthful! Ready for more?

- HIPS: Hundreds of ideas piling skyward
- HST: Half-square triangle
- HSY: Haven’t started yet
- ITH: In the hoop
- LOF: Length of fabric
- LQS: Local quilt shop
- LFS: Local fabric store
- MFO: Massive fabric overload
- OFC: Obsessive fabric collector
- OOAK: One of a kind
- PDV: Pattern collection disease
- PFR: Patterns for retirement
- PHD: Projects half done
- PIM: Project in mind
- POGS: Projects in grocery sacks
- QAYG: Quilt as you go
- QST: Quarter-square triangle
 We’re not done!

- RSO: Right side out
- RST: Right sides together
- RTFM: Read the flippin’ manual
- RTX: Ready to wear
- SA: Seam allowance
- SA: Stash accumulation
- SABLE: Stash accumulation beyond life expectancy
- SID: Stitch in the ditch
- SIY: Sew it yourself
- SMD: Sewing machine dealer
- SOG: Straight of grain
- SQUID: Sewing a quilt until I die
- STASH: Special treasures all secretly hidden
- SUTI: Shopping under the influence
- TGIF: Thank God it’s finished
- TITS: Taking in thrift stores
- TOAD: Trashed object abandoned in disgust
- TOT: Tone-on-tone
And let’s wrap it up with these…
- UFO: Unfinished object
- WHIMM: Works hidden in my mind
- WIWMI: Wish it would make itself
- WIP: Work in progress
- WISP: Works in slow progress
- WOF: Width of fabric
- WOMAT: Waste of money and time
- WOMBAT: Waste of money, batting, and time
- WSO: Wrong side out
- WSS: Water-soluble stabilizer
- WST: Wrong sides together
- WWIT: What was I thinking?
Have fun using these with your sewing friends and let us know if you have any other favorites to add to the list!
~Linda Griepentrog is the owner of G Wiz Creative Services and she does writing, editing and designing for companies in the sewing, crafting and quilting industries. In addition, she escorts fabric shopping tours to Hong Kong. She lives at the Oregon Coast with her husband Keith, and three dogs, Yohnuh, Abby, and Lizzie. Contact her at gwizdesigns@aol.com.


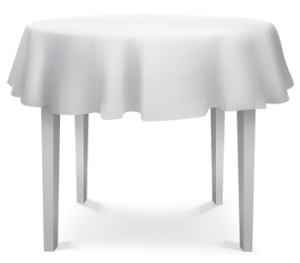 Next, you’ll determine the side drop, which is the measurement from the top of the table to the bottom length for how low you want the tablecloth to hang.