American Sewing Guild (ASG)

Visit our blog Visit the ASG Facebook page Visit ASG on Pinterest Visit ASG's YouTube channel Visit ASG on Instagram
  • Home
  • Join ASG
    • Join Online
    • Chapter Locations
    • Member Benefits
    • Member Brochure
    • Join by Mail
  • Conference & Education
  • Resources
    • Contests & Awards
    • Giving Back
    • Hall of Fame
    • Links
    • Travel and Tours
    • Measurement Chart
  • Shop
    • ASG Store
    • Chapter Products
    • Video Resources
  • Blog
  • About
    • About Us
    • Donate to ASG
    • ASG Sensitivity Statement
    • FAQ’s
    • Start a Chapter
  • Contact
  • Member Login
    • Login First!
    • Members Only
    • Leadership Only
    • Website FAQ’s
    • Logout
  •  

April 10, 2020

Time to Make the Masks

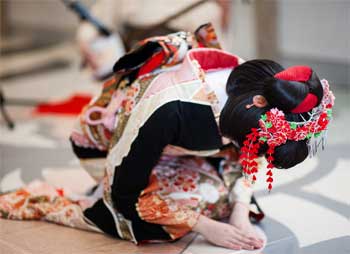
I relate to life in music, TV shows, movies, and media in general. For the past few weeks, when I woke up, I felt as though my life was the movie Groundhog Day. Remember when Bill Murray relived his day over and over again and couldn’t get out of the loop? That’s the way I feel with this Coronavirus quarantine. I am reliving the same day — OK, different date — but the same bad dream EVERY DAY.

Then, this morning I awoke with the old tv commercial from Dunkin’ Donuts bouncing through my thoughts. Do you remember the one where the baker rose every morning with the mantra, “Time to make the donuts. Time to make the donuts?”

My mantra is
“Time to make the masks.”

In the Groundhog Day movie, Bill Murray tried to vary his loop by doing different things and even improved himself along the way. It got me thinking, “How can I vary my mask making?” How can I remove the hum-drum from this mass production sewing project? What can I do to get creative?

Did I forget something?

Another thought also crossed my mind. I have been so focused on making masks to donate to an organization with which I am affiliated, I hadn’t even made any for my family. So now I was on a mission. Masks for the grandkids, kids, hubby, in-laws and maybe even me.

Hubby had already made it very clear that he was far too careful (substitute macho here) for the virus to get him. The teenage granddaughter thought it just wasn’t cool (my word, not hers). And the four year old grandson—a  mask wouldn’t make it to his face unless it had an aspect of play involved. Sew, what’s a “sew’r” to do? Customize, of course!

Fabric Stash to the Rescue

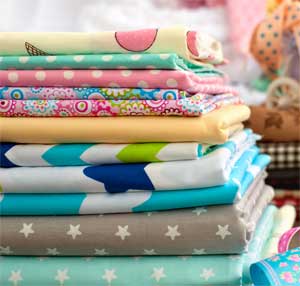
I pulled out my fabrics and matched fabric to people.

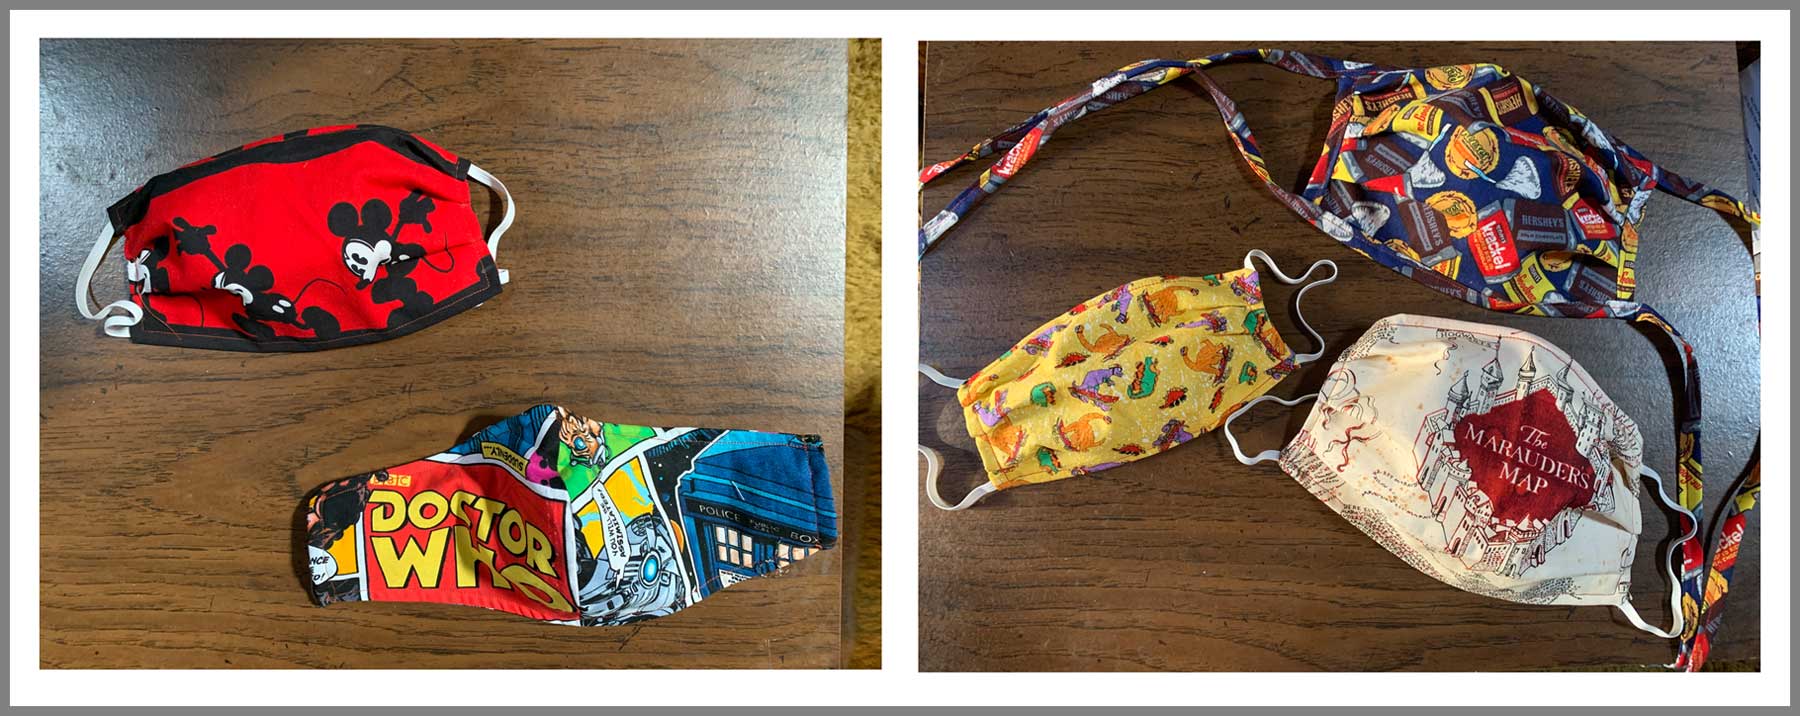
  • My youngest grandson at 4 is crazy about dinosaurs and I just happened to have a scrap of dinosaur fabric that was large enough to make the face part of the mask. One down!
  • Middle grandchild is 9, loves Mickey Mouse and the color red. My stash proved useful again with the themed fabric.
  • What about that 16 year old? I had made her pajama pants for Christmas, so there were still some scraps of Dr. Who fabric left. It might not be cool to wear a mask, but Dr. Who anything was definitely cool. Since her dad was also a fan of the Doctor, they soon had matching masks.
  • Mom loves Tigger from Winnie the Pooh and I know there must be some Tigger fabric somewhere (I’m still searching). If that doesn’t turn up, my other son just had me make him pillows with the Marauders’ Map fabric from the Harry Potter movies. Those leftovers would be good for the both of them.
  • I can’t forget my sister-in-law. She loves chocolate. What would be better than Hershey’s Miniatures fabric?
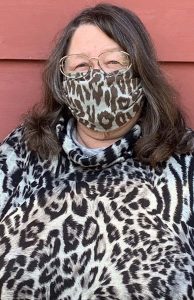
  • Finally, what about hubby? He teaches chemistry, but I know I just don’t have anything in the way of test tubes or chemical symbols. What to do, what to do? Just as I was about to give up, I found some fabric with eagles on it. Both our sons are eagle scouts and he works with the scouts on advancement of the eagle candidates. Sounds like another match.

custom face masks

Rosemary matching outfitI spent the rest of my day “playing” with my fabric stash. It was fun — really fun remembering all the things I had made with the original purchases and it brought variety to what had been a boring mass production effort. And the results were very special, very unique masks that matched everyone’s personalities. With fashion statements like these, perhaps masks will be viewed as a fashion accessory instead of a health necessity. Can you see it now, designer masks that everyone will soon be wearing? Or perhaps the next challenge in your chapter fashion show?  Maybe it will even be the first challenge on next season’s Project Runway.

Oh, and for me, if this virus situation continues, I will soon have a mask to match every outfit!

Stay safe, stay healthy and keep on sewing!


~Rosemary Fajgier

Did you enjoy this article?
Are you an ASG member?
This field is for validation purposes and should be left unchanged.

Tagged With: Fabric masks

April 3, 2020

Can Silks be Washed?

One of my college classmates was a very recent immigrant from Korea and she once asked me to help her wash her “dance kimono.” Naturally I was eager as it is “common” knowledge that silks should never be washed. What I learned continues to influence my sewing today.

Her kimono was pieced of over 50 strips (up to 3″ in width) of silks, plus bindings (such as strips edging the collar) in different colors. Because the dyes were not colorfast, she had to take the entire kimono apart and wash every color separately, then press and sew back together with long stitches.

Lesson 1

Wash all fabrics separately until you determine whether the dyes are colorfast (like sweatshirts!).

Lesson 2

Don’t complain if a Western-style garment needs to be pressed after washing ─ doing laundry really could be worse.

The collar area was doubled fabric; it did not have a separate interfacing material and the excess was not secured so kimono collar would wrinkle and bunch up if washed.

Lesson 3

Baste or quilt any intact original kimono collar to wash. If making western style garments, make sure interfacings are secured. If deconstructing kimono to re-purpose fabrics, the collar probably has double the visible fabric.

Obi (belt) is generally the most elaborate part of the costume. It is also very stiff, the purpose is partly like a corset. For a light-weight silk, the stiffness is provided by covering a very dense canvas-like fabric, which is always blocked to retain the original size – unless you don’t plan to reassemble the obi.

Stitch lengths

Lesson 4

Unseen construction materials affect whether silk (or any) garments can be washed, so pre-shrink.

Some silks reveal textures that may not be apparent until wet. These fabrics may have quite subtle matte/shiny differences due to threads that are spun differently and thus shrink at different rates. All of these silks are intended to be blocked when washed.

Lesson 5

If you like texture, enjoy, even if you now have less fabric! Better to adjust plans than to finish and then shrink.

The following are things I’ve learned from deconstructing and re-purposing obi and kimono.

Both obi and kimono fabrics are woven in widths of 10-14 inches, and the garments utilize that to the fullest. The rounded corners of sleeves are left square and not trimmed, with the excess fabrics bunched up in the curved area.

Curved corner on a sleeve

If smaller sizes of kimono are made, seams are made extra wide but not cut off. If extra width is needed an entire extra panel of fabric may be sewn into the side and is not cut or could be half the width, with very wide seam allowances. Extra length will probably be turned up on the inside to replace some of the lining fabric. All of this is to take advantage of taking apart garments to wash, as when re-assembled fabrics can be turned to even out wear or to change the fit/size. No worries if you gain or lose a little weight; alter each time you wash!

Seam allowances

Most of the rolls of fabric were made specifically for either obi or kimono, with pre-planned cutting marks. Bolts of fabric are a new concept. This means that the fancy portions of obi could be in the only area(s) that show, while plain fabric is woven for the rest. Do not assume the entire length is what is seen on the outside.

Some fabrics such as brocades and jacquards may fall apart or unravel if cut. This is not a problem for kimono or obi as the fabrics are nearly always left with selvages intact, with the exception of obviously pieced dance and fancy garments.

INSPIRED? Antique Pattern Library has antique kimono fabric designs and stencils in the “J” and “K” sections.

Lesson 6

Test a small cut before re-purposing kimono or obi; particularly be careful if threads are carried on the back. Also examine carefully to locate any possible embroidery and avoid cutting through that area. Embroidery threads may not be colorfast so know it could possibly bleed when washed, particularly true on ornate garments.

Examine carefully if there are any metallics. If painted/stenciled it could be metallic leaf that is not washable as it will flake off. If the metallic is woven in, test first but the threads are probably washable if of the same weight as the other threads. If the metallic threads are heavier or if embroidered, it is probably NOT washable due to the construction method of heavier metallic threads.

There are several ways to use for garments: (1) kimono are wrapped and tied, so many people can wear as open jackets/vests without altering; (2) side inserts can be added to keep the front area intact: use the bottom of long kimono, sleeves, linings, parts from a second kimono, other fabrics; (3) I’ve taken kimono apart completely and re-sewed into large enough blocks to cut Western-style blouses and jackets.


~Hope Wright, ASG Member, Springfield Lincolnland Chapter

Did you enjoy this article?
Are you an ASG member?
This field is for validation purposes and should be left unchanged.

Tagged With: kimono, sewing tip, silk, texture

March 20, 2020

What’s a Lining to Do? (Part 1)

Lined skirt
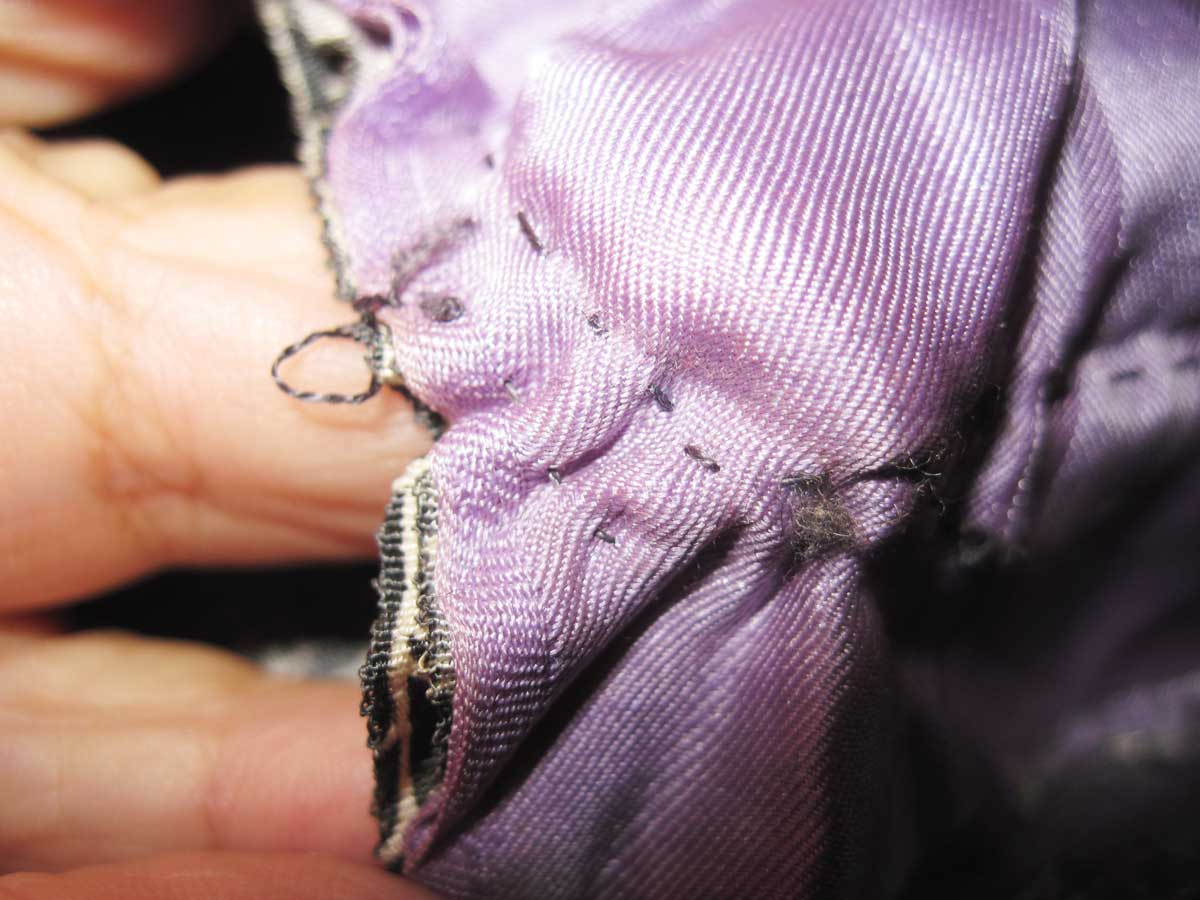
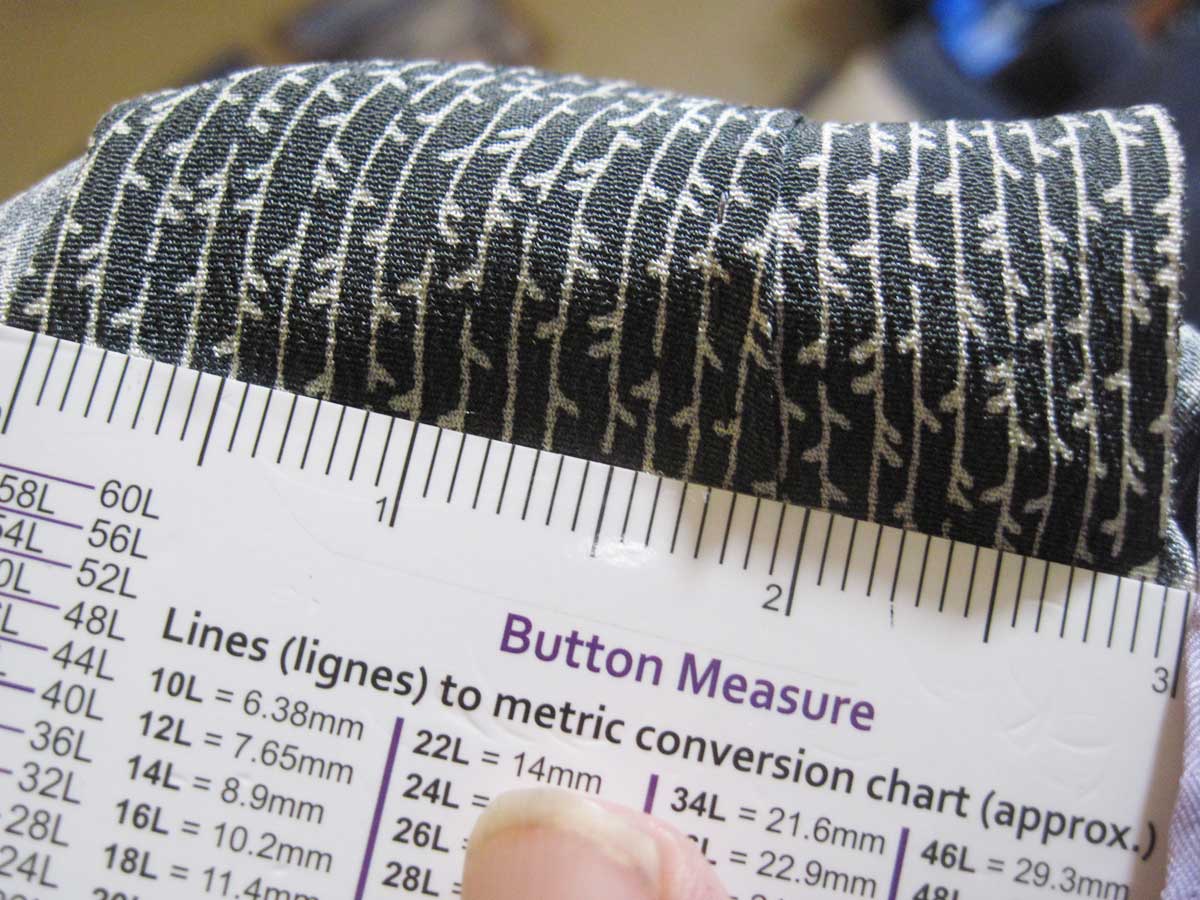
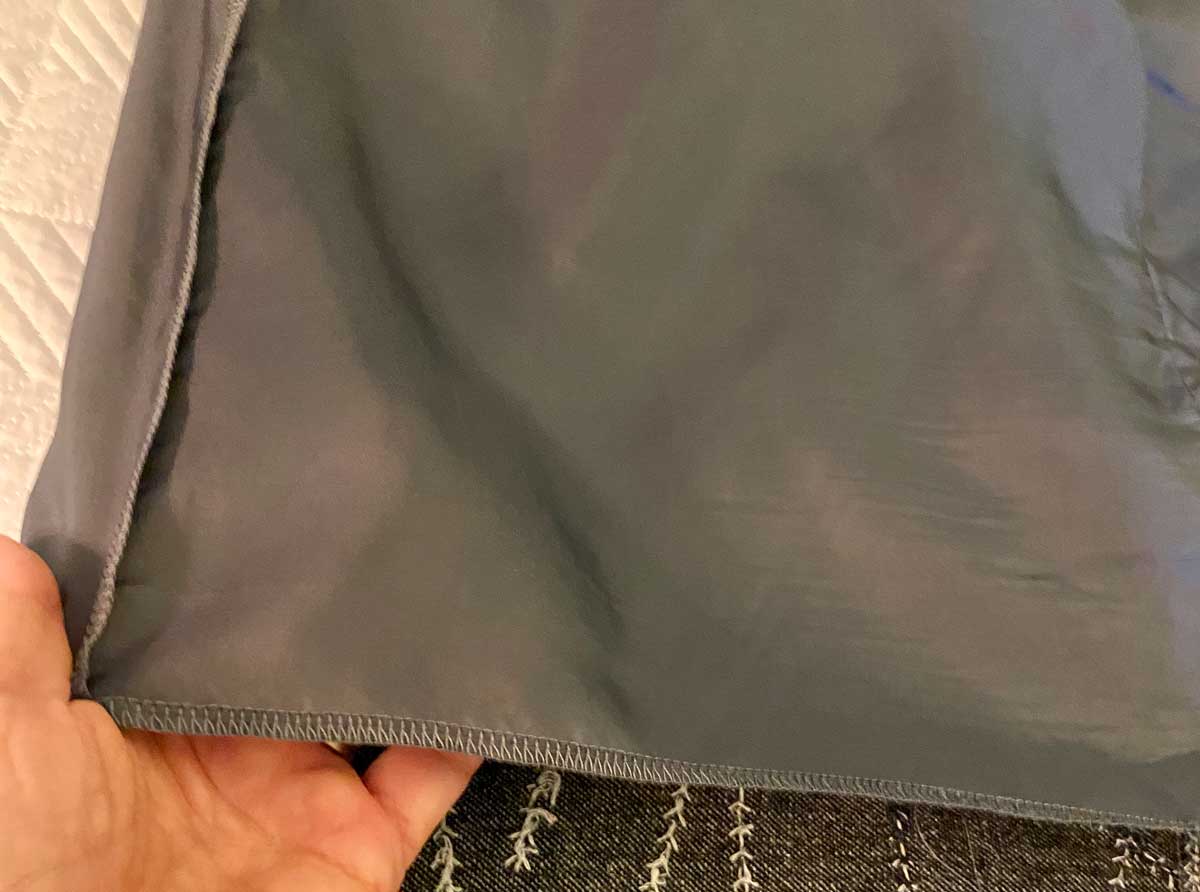
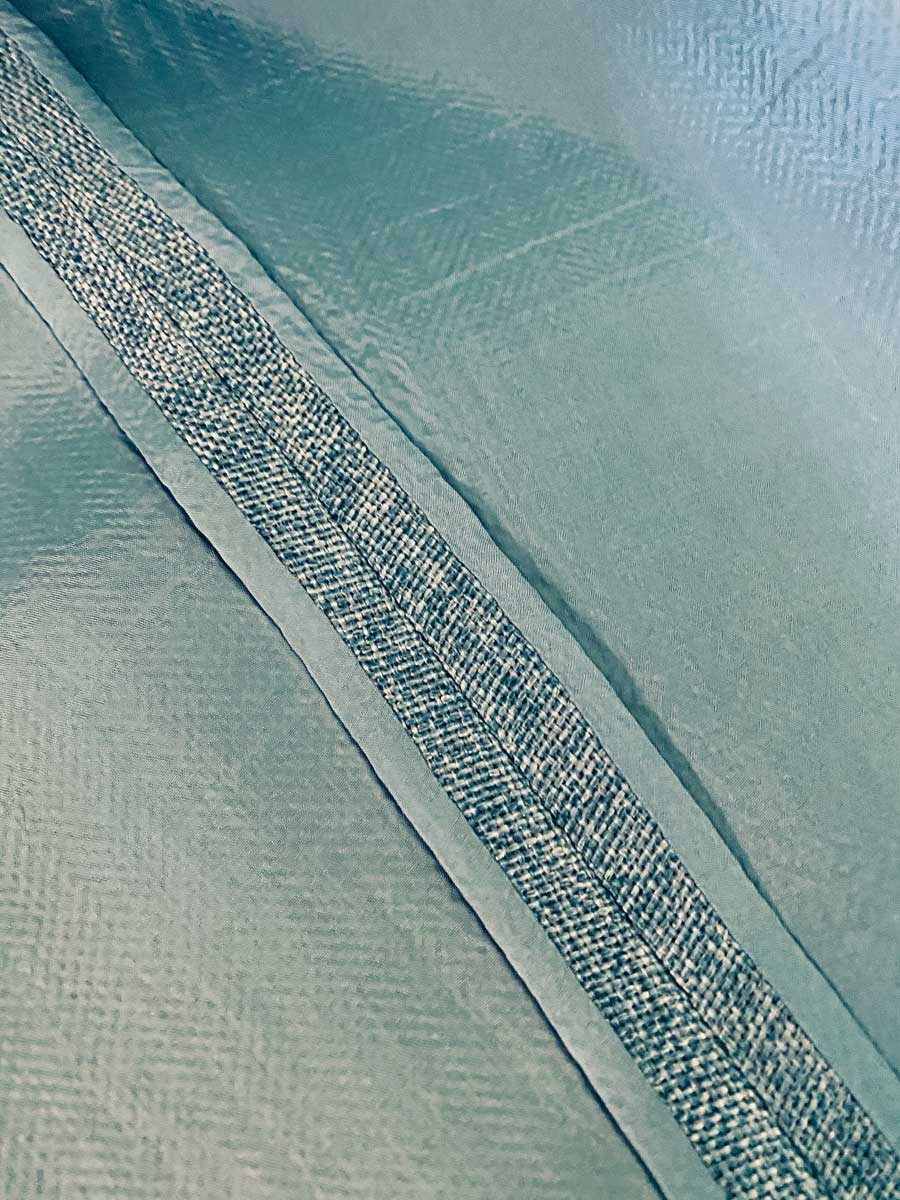
So here you are, making a pencil skirt with that precious fabric you brought home from your recent trip. It’s luscious and precious and you want to construct it with care. You have some specific objectives and need to plan what are you going to do to make it:

  • Slide on like silk
  • Have a beautiful finish on the inside
  • Protect it from stress and wear over time
  • Minimize wrinkles during wear

I suspect right about now you are thinking – LINE IT!

And that is an outstanding idea, but line it how? Will you select a traditional lining, an underlining, flat lining, or an interlining?

ARGH! What’s a sewist to choose?

No worries! Take a deep breath and read on. This article will help you understand the difference between each of these techniques and choose the one that is best for your purposes every time. While you can find all sorts of various definitions for these terms, for the purpose of this article we will define them as follows:

  • Traditional Lining is constructed separately from the garment and attached by hand or machine, hiding all the inner seams. It can be totally free hanging from the facings, neckline or waist or it can also be attached at the hem.
  • Flat lining cuts the vertical seam allowances ½ inch wider than the fashion fabric and “wraps” the fashion fabric creating a faux Honk Kong seam finish.
  • Interlining refers to material added between the outer fabric and the lining of a garment. You would typically use it to add extra warmth, but it can also ramp up the body or change the drape of a piece.
  • Underlining is cut from the same pattern pieces as the garment fabric. The two are then sewn to one another so the two layers act as one piece, reducing opacity or adding body/stability to the fashion fabric.

In Part 1 of this article, we take a close look at traditional lining and underlining. In Part 2, we cover Interlining and Underlining

Traditional Lining

traditional lining

When do you choose it?

Choose a traditional lining when you want to completely conceal all the inner construction details of the garment. It makes the garment slide off and on over the body or other garments with ease and helps reduce wrinkling as the garment is worn. Sometimes the lining is a bit of a design element of its own. Take a simple wool jacket up a notch with a fun lining in an amazing print!

What fabrics work best?

Lining fabrics should typically be made from a silky material. Great choices include:

  • Silk or Polyester Charmeuse
  • Silk Crepe de Chine
  • China Silk
  • Bemberg Rayon
  • NOTE: It is best to avoid a silk lining with a silk garment as silk on silk may result in static cling.

How does it get constructed?

Construct the outer fashion fabric and inner lining shell separately, then attach them at the facings, waistband or neckline. The lining can hang freely or be attached at the hem. It can be machine or hand sewn in place. The wrong side of the lining is always inserted facing the wrong side of the fashion fabric.

Flat Lining

Flat lining exampleWhen do you choose it?

Choose this method when you want the benefits of a lining but don’t want it to hang freely. It offers the same benefits to the garment as both traditional lining and underlining regarding reducing wrinkles, adding stability and longevity to the garment. This method also produces a finished seam on all vertical seams that looks much like a Honk Kong seam finish. This technique is only applied to the vertical seams of your garment, so the waist, neckline or armscye will not have the same finish. It is an excellent method to use with fabrics that are highly prone to fraying as it encases the cut edge prior to construction.

Note: When researching information for this article, I found quite a bit of reference to historical flat lining which, in essence, is the same as the underlining method described in this article. If you are involved in historical costuming, don’t be confused. Just recognize the different use of these terms in this article vs. much of the information presented in historical costuming resources.

What fabrics work best?

The very same fabrics used in traditional lining can be used for flat lining.

How does it get constructed?

  1. Cut your lining fabric ½ inch wider on each vertical seam, resulting in a piece that is 1 inch wider in total.
  2. Sew vertical edges together with ¼ inch seams. Remember, the lining is larger than the fashion fabric; it will not lay flush together.
  3. Trim the seam allowance in half to 1/8 inch.
  4. Turn the piece right sides out and press, leaving the fashion fabric completely flat. The lining fabric will wrap around to the front of the fashion fabric creating a faux Hong Kong seam finish.
  5. Stitch in the ditch if desired. I frequently do not need to do this, but if you feel like the fabric is shifting, this will stop that.
  6. Continue construction of the garment, treating the pieces as one. Don’t forget to reduce your seam allowance on the vertical seams by 1/8 inch since you trimmed that much off in step 3.

Look for Part 2 (coming March 27) where we cover Interlining and Underlining


~Sheryl Belson

Did you enjoy this article?
Are you an ASG member?
This field is for validation purposes and should be left unchanged.

March 18, 2020

Make Lemonade

The threat of the Covid-19 Coronavirus has made a tremendous impact on most of our lives. My personal life went from run, run, run to near total isolation. While others are struggling with how to occupy their time at home, those of us in the sewing community have a different perspective. When given lemons, we make lemonade.

No, we are not in the kitchen!

We immediately turned to our sewing rooms. While others were scouring the stores for toilet paper, we sauntered into our sewing rooms to peruse our “stash” and plan which of those waiting projects would finally get our attention. We are not lazily wasting time watching TV reruns or movies for the umpteenth time. Instead, we are giving ourselves permission to use this self-imposed quarantine time to exercise our creativity, to enjoy our time, and SEW!

My usual schedule is to leave the house around 9 AM to go to my job teaching at the local college. When I leave mid-afternoon, I then go to a learning center where I tutor at-risk students until 7 PM. Somehow I also squeeze in three neighborhood groups, not to mention some community activities as well. Oh, and then there are the grandchildren just a few miles away. When do I have time to sew?

Thanks to Covid-19, the college has moved to online teaching, the tutoring center is closed, community activities are cancelled and the grands are staying at home with Dad. So my future for the next month looks like time for me. I’m supposed to stay at home. So I will.

Moving (a bit) out of the sewing room

Despite having a large sewing room, I decided to set up my embroidery machine on the dining room table. That way should I decide to cook, I can embroider and still listen for the microwave to ding. The rest of the time I plan to isolate myself in my sewing room and enjoy the freedom to create a new wardrobe with some of my favorite patterns.

If I decide to take a break from creating, I may just take the time to check out the educational programs available to ASG members. There were a few I started to watch on fitting and drafting changes that I never did get back to. This would be a great time to just sit back, enjoy and learn.

While my husband used to scoff at my fabric collection, I can now imply that it was simply planning ahead. I had the foresight to make all those purchases for just such a rainy day. And all those patterns, just perfect for a variety of new outfits. Who knows, I may even get around to making him that shirt I promised last summer.

So while we all deal with whatever is to come of this virus, I hope you all stay healthy and safe and enjoy your time doing what we love, SEWING.


~Rosemary Fajgier

Did you enjoy this article?
Are you an ASG member?
This field is for validation purposes and should be left unchanged.

March 6, 2020

Oh, the Places Our Sewing Will Go

When my 40-something son, Todd, invited me to join him on a Mount Kilimanjaro climb, I thought about it, laughed, and then declined. I am too much of a risk, even though others my age and older have done it. When he said he would like a banner of some kind to wave when he reached the summit, I knew I had a job!

Climbing for a purpose

Todd was training and climbing for a purpose… suicide prevention. And yes, he had recently lost a high school classmate. He would pay all his expenses himself and was hoping he could raise money for the American Foundation for Suicide Prevention. It took me a while to realize that their logo is a life preserver. I found the logo on the ASFP web page and copied, enlarged and printed it, and used Steam-a- Seam to trace it and iron it to a piece of nylon ripstop. I wanted it to be lightweight, yet big enough to be a banner. Sewing down the letters was a bit tedious, but he was really excited about it, so that gave me energy. In the meantime, I also sent the ASFP logo to a digitizer and was able to embroider out a couple of patches, which he could put on his jacket, as did his hiking partner. He had invited several people to train with him.

“Since he was raising money for a worthy cause, I started thinking about what else I could do with my trusty sewing machine and years of sewing guild meetings, where we share skills and ideas.”

Aha! Pocket Tissue covers! I have great fun making these and giving them out! I printed out the AFSP logo, using the mailing label size, and June Tailor Colorfast Sew-In Fabric Sheets for Ink Jet Printers. Now I had the logos on cloth! So, I cut them apart and added dark blue batiks around them, in order to make pocket tissue holders (definitely from a Neighborhood Group meeting!!).

Todd Spinney (right) and Judy’s banner at the peak of Mount Kilimanjaro

I also started obsessing about a picture of the mountain… so once again I went to the computer and printed an image out on cloth, added some more grass and some sky from my stash, and made it an outside pocket on a bag which would be big enough to hold the banner.

I made about a dozen tissue holders and mailed them and the new bag to Todd in Massachusetts so he could give them to friends and co-workers who made donations to AFSP.

Time to climb

In the meantime, he was training. Every weekend was devoted to climbing somewhere, and every bite of food was recorded on an app on his phone. He used a special mask that helped him prepare for the altitude sickness that interferes with many climbers. He got his shots. He made his reservations. He chose a plan that took eight days and used a team of guides and porters, who carried the tents and food, prepared the meals and took care of the details. Todd and his partners carried their personal gear. One of his partners made a valiant try at the climb, but when they reached the high altitudes, her asthma made continuing impossible and she turned back (with one of the porters as a guide). Todd texted and even called during the climb (of course at odd hours…) and had brought along a solar-powered charger for his phone. We were able to follow along, and knew which day he would summit (who knew summit is a verb?).

He has since put together a slide show and showed it to us at a celebration party after his return. Lots of pictures of the banner! I’m so glad it is over. And so proud!


~ Judy Spinney, North Jersey Chapter

Did you enjoy this article?
Are you an ASG member?
This field is for validation purposes and should be left unchanged.

Tagged With: charitable sewing, machine embroidery

  • « Previous Page
  • 1
  • …
  • 46
  • 47
  • 48
  • 49
  • 50
  • …
  • 63
  • Next Page »

Become a Member

Join the only national organization dedicated to Advancing Sewing as an Art and Life Skill.

Join Now button

Blog Article Categories

  • ASG Conference
  • Chapter Stories
  • Embroidery
  • Fitting
  • Learn to Sew
  • National Sewing Month
  • Products, Books, & Patterns
  • Projects
  • Quilting
  • Sewing
  • Sewing Techniques
  • Sewing Tips
  • Sewing Tours
  • Videos
  • Disclaimer
  • Privacy Policy

American Sewing Guild
National Headquarters
9660 Hillcroft, Suite 230
Houston TX 77096
713-729-3000 | 713-721-9230 Fax
www.ASG.org

ASG wordcloud - education, conference, discounts, videos, special offers, tours and more

Copyright © 1998–2025 · American Sewing Guild · All Rights Reserved