What is a languishing sewjo you ask? I recently read articles in both the New York Times and NPR about this new condition. It’s apparently a real thing that isn’t depression but is a lingering state of “meh.” When I read it, I immediately thought – YES! This validates what I have been feeling!
My sewing room has been largely silent the past year. I just haven’t been able to muster up the enthusiasm and sense of sewing adventure I have come to enjoy for so many years. Where did it go? I have forced myself through making a shirt, a dress, and a quilt top since June 2020 — only 3 projects in the past year! I have been seeing reports of so many of our members sewing up a storm during their COVID quarantine life and, honestly, I have responded with mixed feelings of jealousy and guilt. I have wondered what is wrong with me.

Life changed for everyone this past year. While my details differ from yours, the element of changed life is common to all. My husband recently commented that he hopes I get back to sewing one day. Ouch! That felt like a punch in the gut. Don’t get me wrong, my husband is my biggest fan and supporter so I wasn’t offended, but the reality of his statement is what punched my gut.
So now what?
Clearly, I am a work in progress so I can’t title this part as 5 steps to an Exciting Sewing Life. Instead, I can share where my journey is taking me.
 I decided to take a few steps that I hope will re-ignite the enthusiastic passion I have felt for sewing and that I miss and started exploring some new sewing adventures. For years I have loved being almost exclusively a garment sewist. Since pandemic quarantine life, I can’t seem to get excited about making clothes, so I’m going to try a few different things.
- I want to finish up the last part of quilting a Bar Chart quilt top. Just finishing something will be energizing!
- I have made several purses before, but when I saw the new Barbara purse pattern and kit from Sallie Tomato, I felt that old surge of enthusiasm. I purchased the kit, and it is on my cutting table to start right after I finish that quilt.
- I recently learned about scrappy applique quilting by Shannon Brinkley and the artistic twist on quilting intrigues me. Maybe that will be the next thing I try
 I also decided to make a few sewing appointments with myself. If I schedule some time to dedicate to this craft I have loved so much, I am bound to experience those dopamine hits it has given me all those times before. But I have also promised myself a lot of grace as I reclaim what feels a little bit lost at the moment. No more jealousy — just appreciation for what others create. No more guilt — just patience as I explore what sewing adventures await while I gently reacquainted myself with my sewing room.
If the past year has been a season of incredible sewing, I salute you and appreciate what you have shown and shared. It has reminded me of all the possibilities! But if you slipped into a languishing sewjo as I did, I hope sharing my reality has given you space to think about how you might head back to your sewing room and reclaim the passion for sewing we have all shared. I can’t wait to see where we go!
~Sheryl Belson

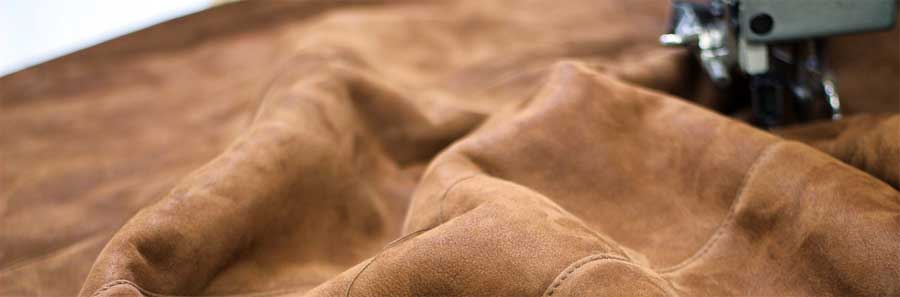
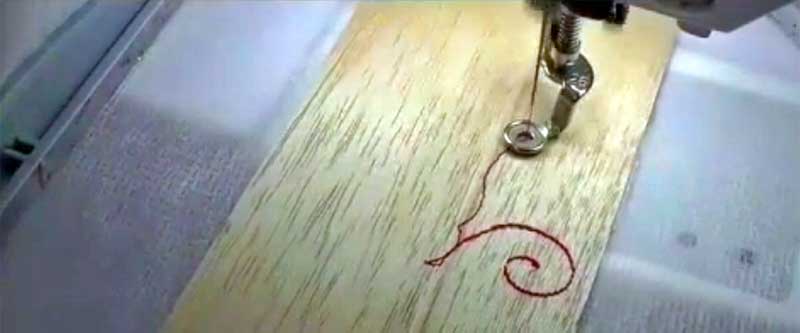
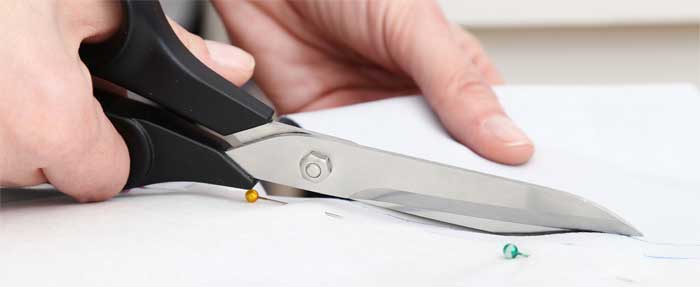
 If the idea of sewing with leather didn’t scare you off, you may be adventurous enough to try sewing on wood. No, you probably won’t be making a dress or a pair of pants from wood, but it can be used to make interesting accents, ornaments, box tops, home decor pieces, etc. And it certainly will be intriguing to show off at your next Neighborhood Group show-and-tell!