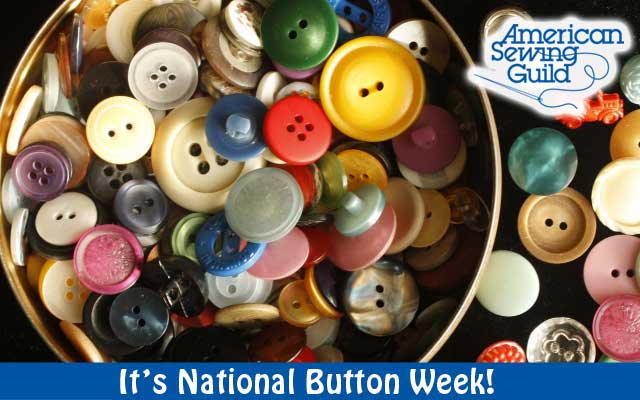
 This is my week! It’s National Button Week and I love buttons. I REALLY love buttons. In honor of this auspicious week, I want to tell you a story about the buttons I have loved. Then I get to reveal an exciting new members-only discount. No peeking! You’ll have to wait until the end of the article!
My fascination with buttons began when I was a child. My mother’s button box served as one of my favorite toys, second only to my Barbie doll. I remember sitting for hours sorting and exploring the beautiful buttons the large tin contained.
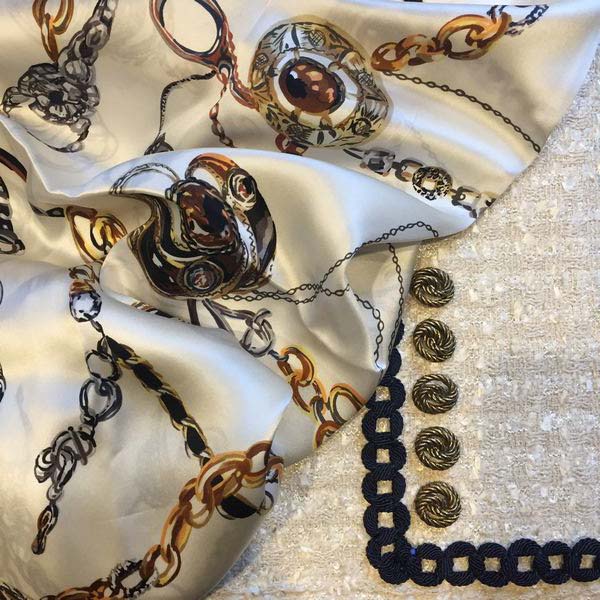
Button Bling
One of my favorites was a blue and green button that sparkled in the sunlight on a wool jacket she had made. Her philosophy was that the buttons made the garment, and today would be called the “bling” that made it special. I remember the “Life Saver” buttons that were the focus of my brown calico dress. No one noticed the dress, or the beautiful white Peter Pan collar. Instead everyone commented on the buttons, proving her point.
 Playing with those buttons is one of my favorite childhood memories, so I was devastated when I returned home from college and found that the entire collection was gone. She had downsized. How could she just throw away all those beautiful buttons? What had become of them? These questions plagued me until I decided to do what any practical person who wanted to preserve her sanity would do. I started my own collection!
Having little money in those early days, I started out cutting buttons off old garments. Then gradually, I added to the collection by buying them. First it was just the ones on sale. Then it was any that attracted my attention.
Specialty Buttons
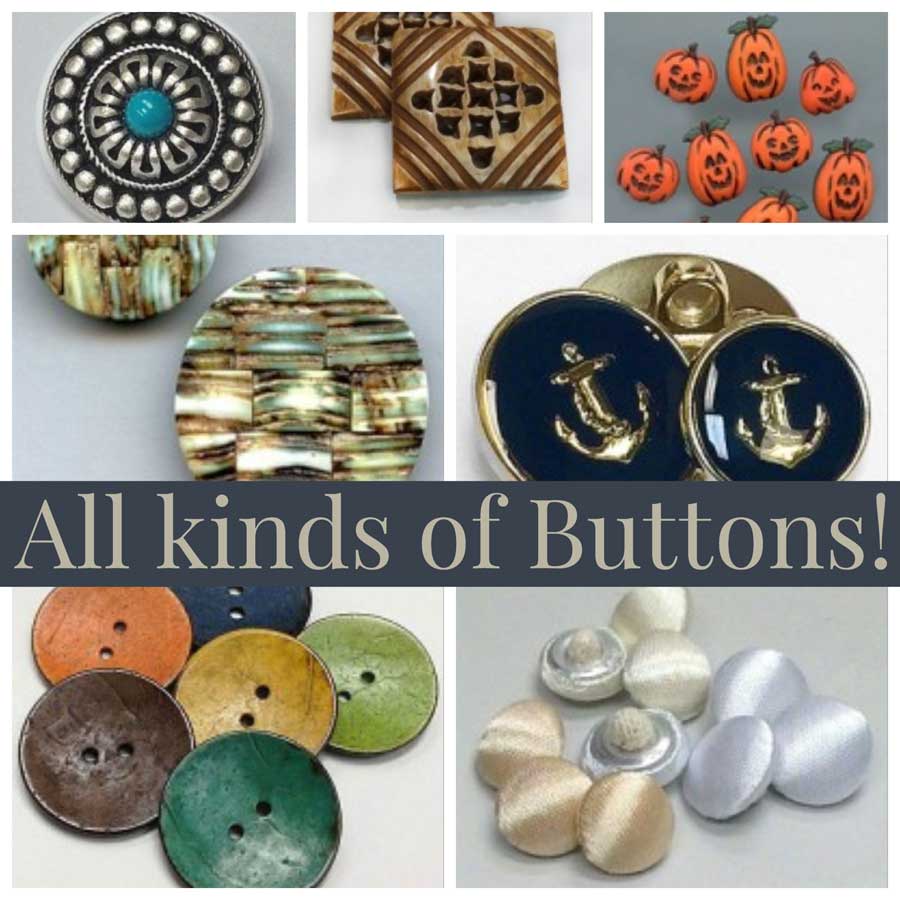
Now I have quite a collection. I have large buttons, and teeny, tiny buttons. I have completely round buttons, and flat buttons. I have some that say, “I love grandma” and others that say “Mood.” I have buttons that are pumpkins, skulls, snowmen, snowflakes, Christmas bulbs, cats, dogs, rabbits, cars, dice, gingerbread boys, fish, etc. I even have buttons that look like Olympic medals and police badges.
You may ask yourself, “Does she ever use these buttons?” The answer is yes—sometimes. I put the seashell buttons on a jacket. Some of the snowflakes reside on a sweatshirt along with snowmen that form a tic tac toe pattern with trims. And the pumpkins can be seen on one of my fall purses. And if you look closely, the next time we meet, you may just get a glimpse into part of my collection.
~ Rosemary Fajgier; Individual button images from Benno’s Buttons


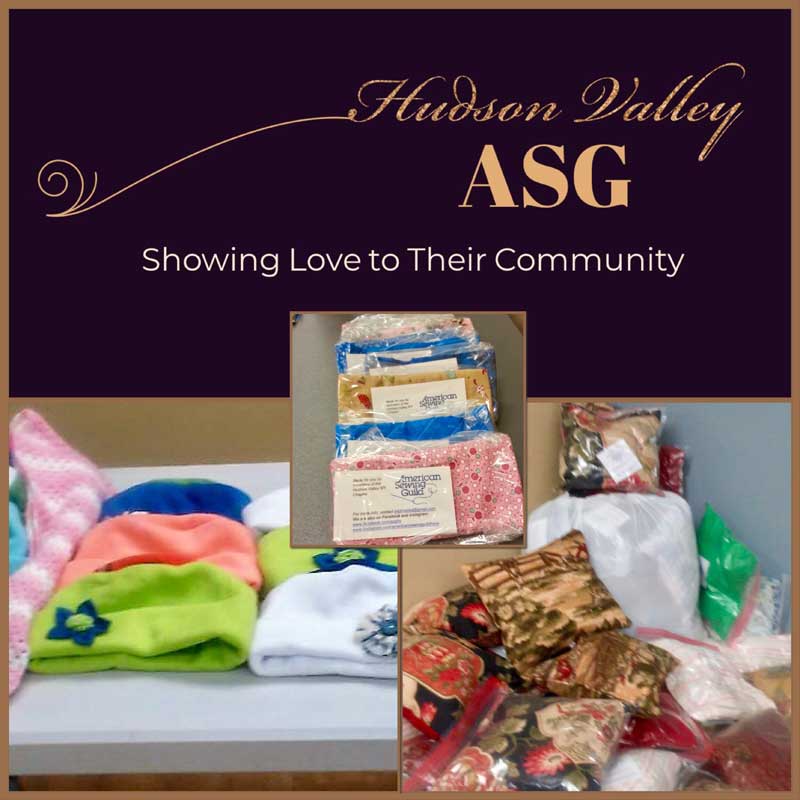
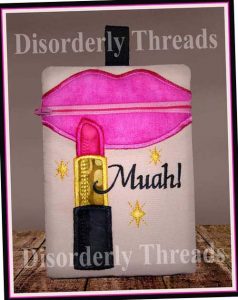
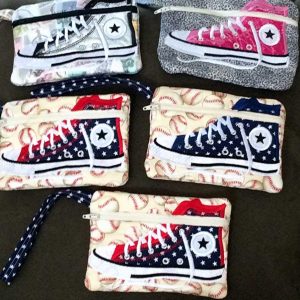 The bags feature great detail, yet are very simple to make using the downloadable in the hoop (ITH) embroidery designs from Disorderly Threads. Donna promised that the instructions were easy to follow, and those who later went to the site and purchased patterns from them confirmed that the instructions were exactly as Donna described. Each design comes with its own set of clearly written procedures featuring pictures every step along the way to guide even the novice machine embroiderer to success through embroidery and applique aspects of the designs.