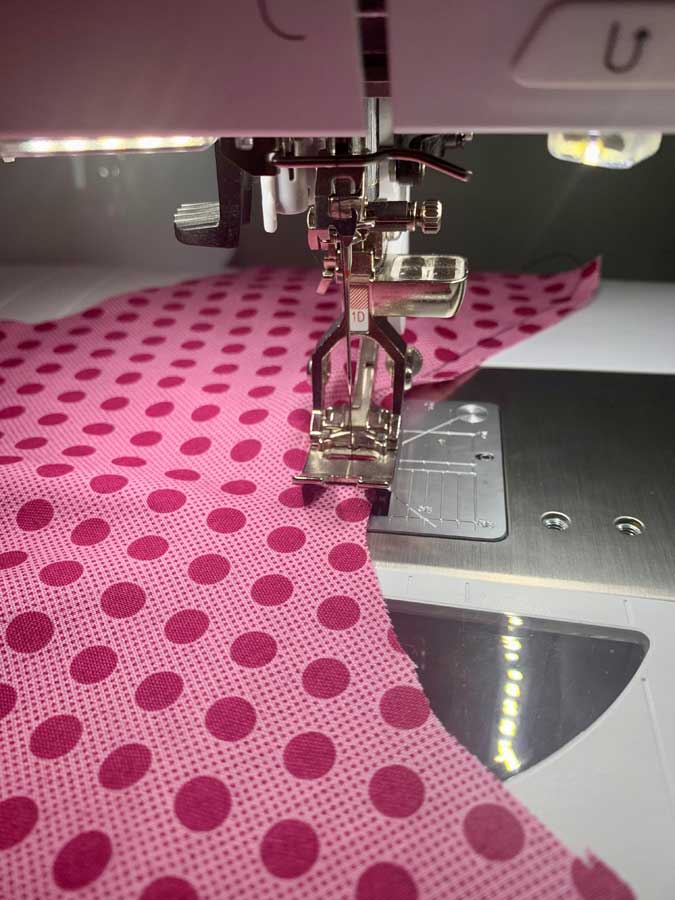
No matter what brand of machine you own, you probably have multiple presser feet that came with it. We have a tendency to use maybe one or two different feet, but let’s take a look at some feet other than the “basics”. Depending on your model these may come with your machine, or need to be purchased as separate accessories, so check with your dealer, or look for a generic equivalent.
Blindhem Foot
Sewing the perfect blindhem takes practice, as you want the “bite” of the stitch to catch as little as possible, but still have holding power for the weight of the hem. While you can create this hem with a standard zigzag foot, a blindhem foot offers a vertical guide for the folded fabric edge to help keep stitches where they belong. In addition to using this foot for hemming, you can use it anytime you need to keep an even edge in place. Some brands offer an adjustable position guide, while others offer a fixed location.
See our article on blind hemming for more information.
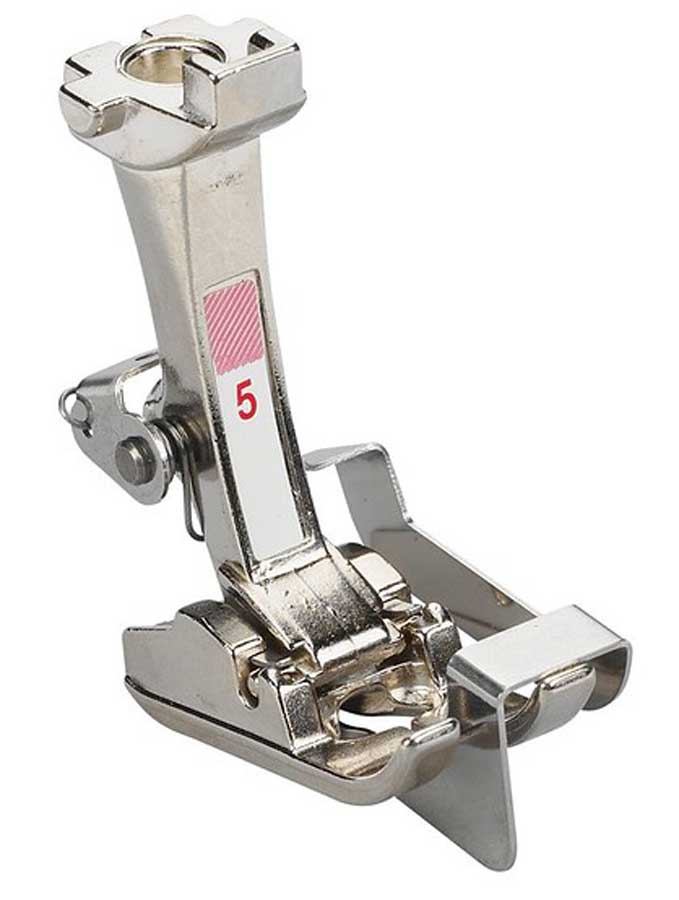
Button Foot
It’s easy to sew a button on by machine but holding it in place for the process can be a challenge. Enter the button sewing foot…short little toes to hold even the squirmiest button in place and a little protrusion to allow for creating a thread shank while sewing. The short toes also allow for better visibility for correct positioning. Just lower the feed dogs (or set the stitch length to zero), position your button on the project and lower the foot. (Double check your machine manual for any specifics.) Set the stitch width to span the button’s holes and stitch away. Then slide the button out and voila!
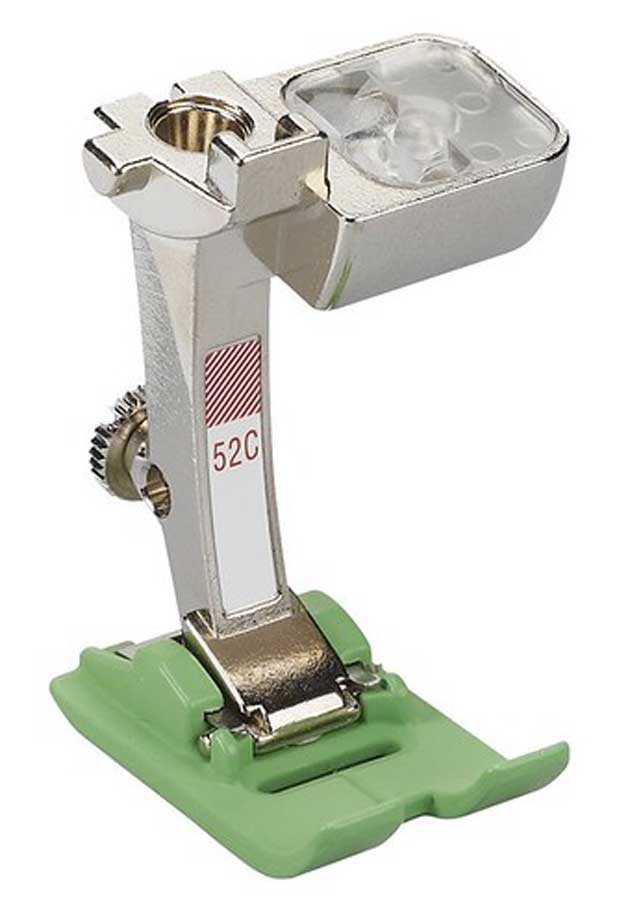
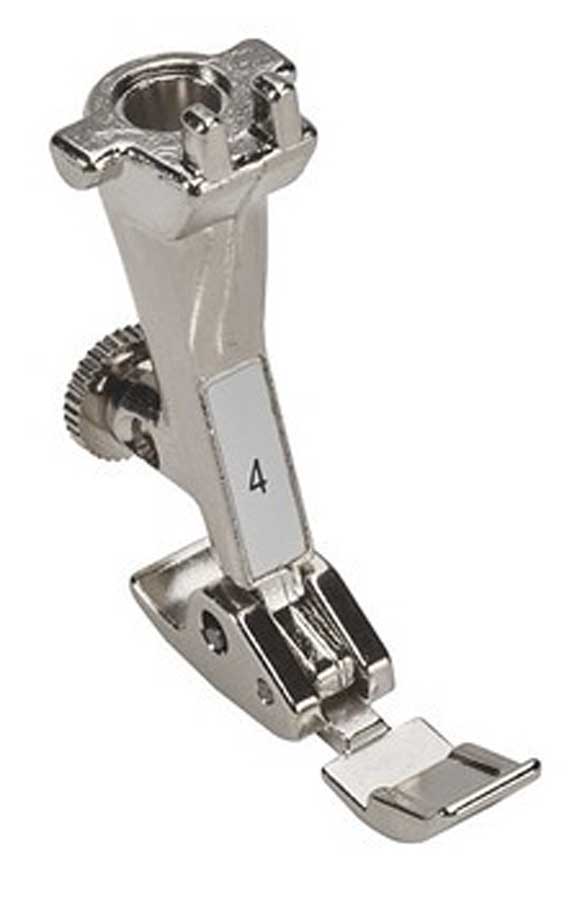
Darning or Free-motion Foot
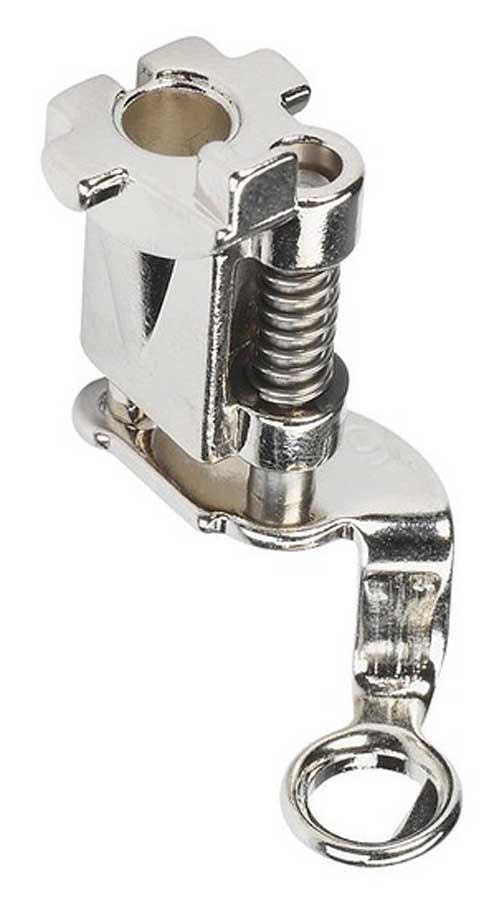
When you’ve lowered the feed dogs, it’s up to you to move the fabric where you want it to go, so you can’t have a presser foot sitting down on the fabric. The darning or free-motion foot “hovers” above the fabric surface allowing you to move it around freely for darning, writing or free-motion embroidery work. The circular opening in the foot is roomy enough for a zigzag or straight stitch, depending on your project, but the open-loop foot base prevents the fabric from riding up on the needle.
Non-stick Foot
If you’re sewing vinyl, oil cloth, laminates or leather, a regular presser foot can sometimes stick to the surface causing drag and uneven stitches. But a non-stick foot is made from a special material that simply glides over the pesky surface so the fabric feeds evenly. Non-stick feet are available for straight stitching, zigzagging and for zipper insertion, depending on your machine brand.
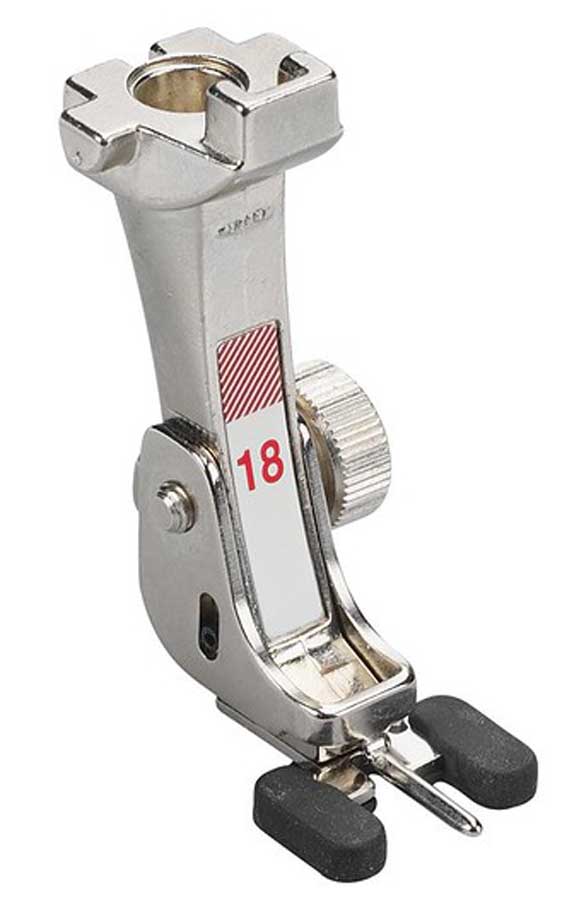
Open-toe Foot
There are times when you just need to have a clear vision for what you’re sewing and you don’t want the presser foot toes obscuring your view. An open-toe foot to the rescue! Showcasing a wide-open space in front, it’s easy to see an appliqué edge or follow a line on your fabric. Use this foot anytime to need a better sight line for the task at hand.
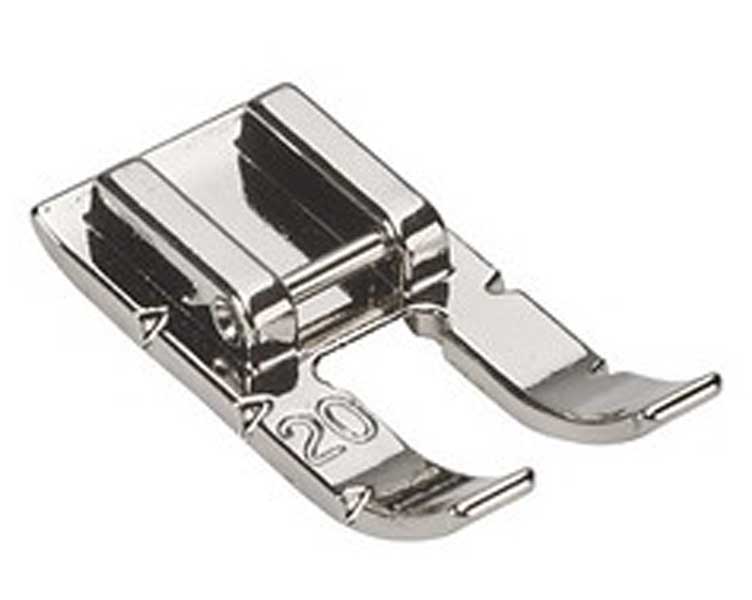
Quarter-inch Foot
Keeping a seamline at an even ¼” isn’t always easy, but this specialty foot comes with a built-in seam guide to abut the fabric edge and keep things even. Revered by patchwork aficionados, this foot makes it almost a sure deal for even seaming with a straight stitch.
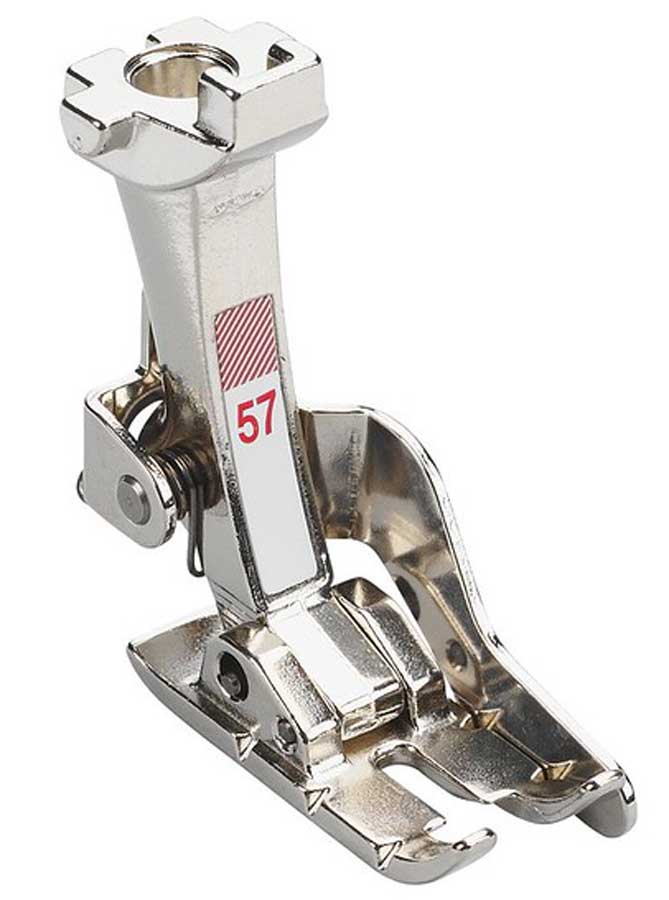
Rolled-hem Foot
If you’ve ever tried turning a narrow, rolled hem and stitching it flat, you know it can be a challenge, especially on squirmy and lightweight fabrics. Rolled-hem feet come in varying widths and offer a scroll up front to pre-roll the fabric hem before it actually reaches the needle. Just curl the fabric edge into the scroll and stitch away for a perfect rolled hem. Note that some feet allow for using a zigzag stitch, while others accommodate only a straight stitch.
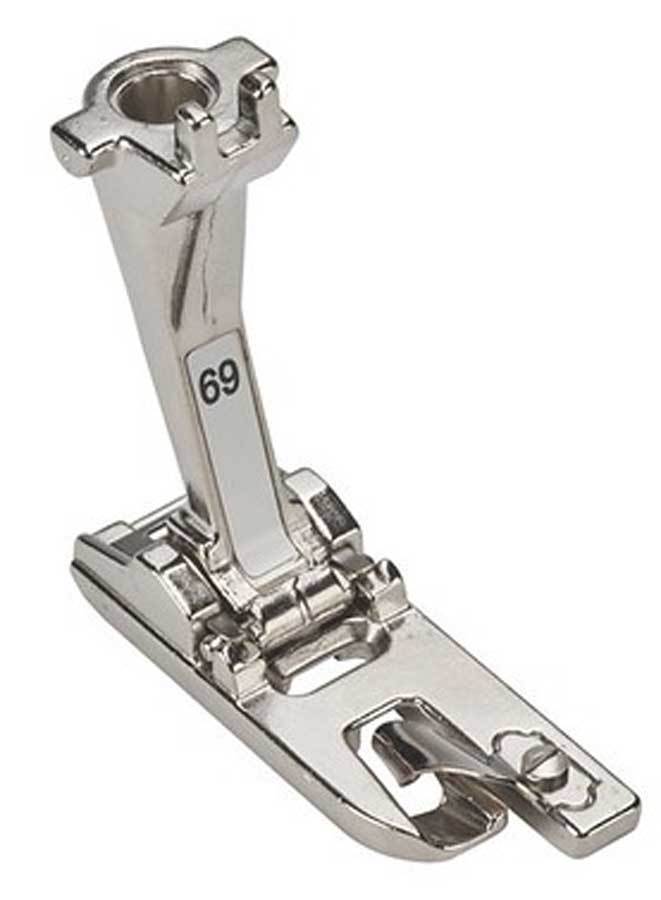
Zipper Foot
Zipper insertion requires multiple stitching locations next to sometimes bulky zipper teeth to create even placket stitching. An all-purpose presser foot doesn’t ride over teeth well, but the zipper foot allows for positioning the foot on the side opposite the teeth. Some zipper feet have adjustable bases allowing them to actually move side-to-side, while others are stationary and utilize varying needle positioning for relocating the stitching lines.
Don’t see a foot you’re curious about here? Watch for Part 2, coming soon.
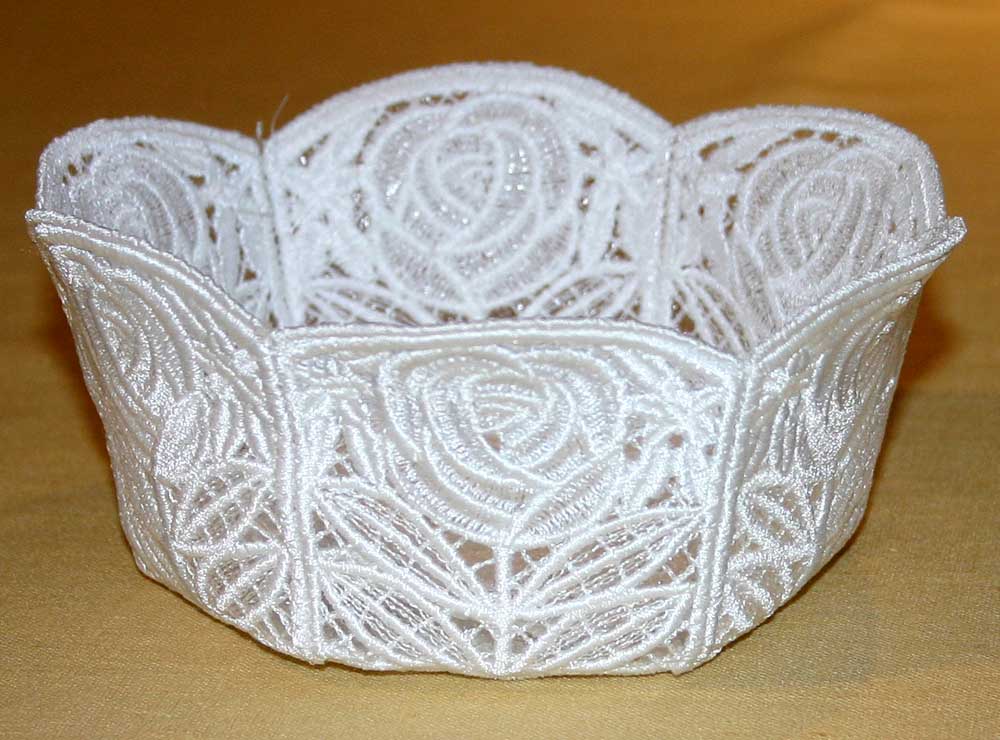
All photos compliments of Bernina
~Linda Griepentrog is the owner of G Wiz Creative Services and she does writing, editing and designing for companies in the sewing, crafting and quilting industries. In addition, she escorts fabric shopping tours to Hong Kong. She lives at the Oregon Coast with her husband Keith, and three dogs, Yohnuh, Abby, and Lizzie. Contact her at gwizdesigns@aol.com.