American Sewing Guild (ASG)

Visit our blog Visit the ASG Facebook page Visit ASG on Pinterest Visit ASG's YouTube channel Visit ASG on Instagram
  • Home
  • Join ASG
    • Join Online
    • Chapter Locations
    • Member Benefits
    • Member Brochure
    • Join by Mail
  • Conference & Education
  • Resources
    • Contests & Awards
    • Giving Back
    • Hall of Fame
    • Links
    • Travel and Tours
    • Measurement Chart
  • Shop
    • ASG Store
    • Chapter Products
    • Video Resources
  • Blog
  • About
    • About Us
    • Donate to ASG
    • ASG Sensitivity Statement
    • FAQ’s
    • Start a Chapter
  • Contact
  • Member Login
    • Login First!
    • Members Only
    • Leadership Only
    • Website FAQ’s
    • Logout
  •  

February 21, 2025

Life as a Fabricholic

I’m happy to share with you that I am indeed a fabricholic. My husband claims that we have an inventory control problem. He means that the fabric comes into our house faster than it becomes something and goes out. And (my husband says) I also live under the delusion that fabric instantly becomes a project or a garment-without any labor on my part. In fact, I often buy fabric to go with things that I have, like shoes and jewelry. Unfortunately, the shoes wear out while the fabric still sits there waiting to become something.

Fabricholism manifests itself in a variety of symptoms. You don’t need to raise your hands or openly confess… but think about your answers to these questions!

  1. Do you purchase fabric whether you need it or not?
  2. Do you have more fabric than you could comfortably sew in __ ? A week? A month? A lifetime?
  3. Have you ever said “I’m not going to purchase any more fabric until I sew up what I have”?
  4. Do you have fabric under the bed? In closets? Under garments that are hanging on hangers in your closet?
  5. Do you have patterns that you’ve never used?
  6. Have you ever purchased any patterns for your daughter… who now has a granddaughter?
  7. Did you ever buy more fabric than you intended when you went to a fabric store?
  8. Have you ever refused to purchase a ready-to-wear garment because you thought you could make it cheaper and better?

But, I NEED it!
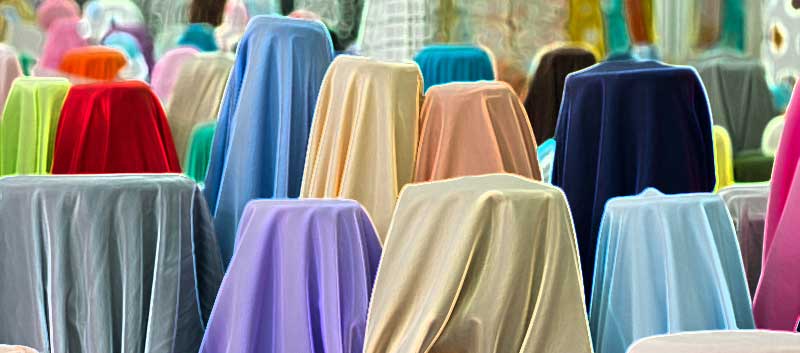
As a fabricholic, I can offer many rationalizations for buying fabric.

  1. Buying fabric is hedging against inflation. You know that the price can only go up.
  2. If I don’t get it, somebody else will.
  3. Stuff always looks better on the cutting table than it does on the bolt.
  4. Buying fabric is cheaper than psychotherapy. It’s not immoral, it’s not illegal, and it’s not fattening. Fabric has no calories!
  5. I don’t have any other bad habits. I don’t drink; I don’t smoke; and the question of whether or not I overeat depends on what I’m wearing on any given day.
  6. Buying fabric is environmentally safe and proven to be helpful to the recycling industry.
  7. Fabric has good insulating properties.
  8. I view collecting fabric as an historical thing, like charm bracelets or postcards. I have traveled extensively and have always tried to buy a piece of fabric in each city. When I get home, I can sit on the floor of my sewing room, look in my closet, and bring back memories. It’s like scrapbooking in a different form.
  9. From my mother I inherited the idea that if you keep something long enough, it comes back in style. Vintage fabric happens to be “in” and depending on your age, vintage fabric makes its own definition.
  10. Buying fabric gives you a sense of social responsibility because you are actually keeping people employed at those stores.
  11. Fabric is easy to care for. It doesn’t require refrigeration. You don’t have to cook it, feed it, water it, wipe it, or walk it. It’s low maintenance compared to other things you might have around the house (commence staring at your children).
  12. If it’s on sale, that’s a good clue that you should have it.
  13. Your friends made you buy it.
  14. It’s good when you think of yourself as being worth this purchase—it reinforces your ego.
  15. If you move frequently, fabric can become good packing material.
  16. Everything in the fabric store fits you.
  17. And my favorite: “God wants me to have this!” How do I know that? Because I looked at it a few days ago and it’s still here. And there was a parking space right in front of the store.
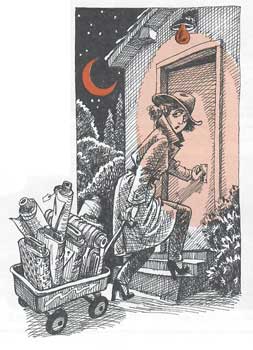
You have to decide if you are going to feel guilty about this whole scenario or just go with the flow and say “I am a fabric collector.” There are people who collect stamps; there are people who collect coins. You collect fabric for what it is. You don’t have to have an intended use.

Being a fabricholic is not a bad thing. We all have wonderful friends who share our passion and it adds a lot of enjoyment to our lives. Recognize that collecting fabric and sewing fabric should be considered two separate activities. Sometimes they’re not even related!


~Linda Griepentrog is the owner of G Wiz Creative Services and she does writing, editing and designing for companies in the sewing, crafting and quilting industries. In addition, she escorts fabric shopping tours to Hong Kong. She lives at the Oregon Coast with her husband Keith, and three dogs, Yohnuh, Abby, and Lizzie. Contact her at .

Tagged With: fabric, sewing humor

February 14, 2025

Car Bling: Sewing License Plates

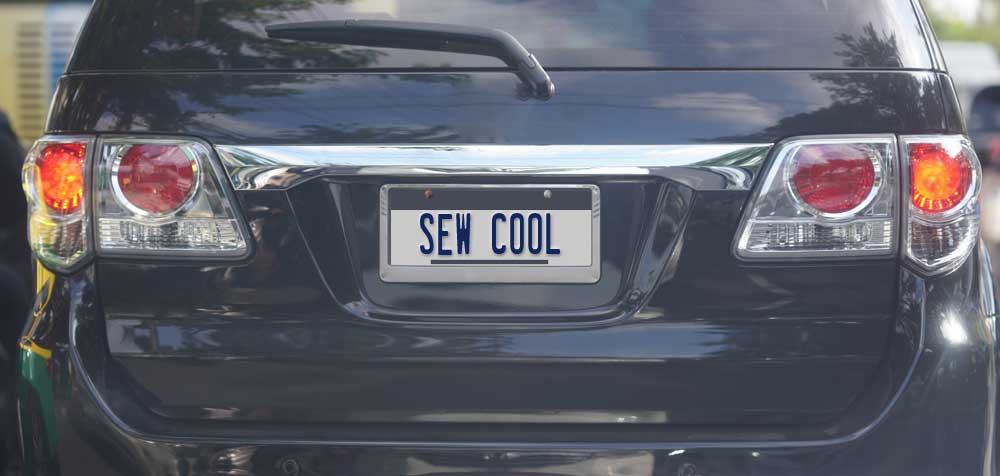
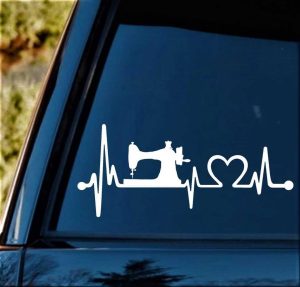
Sewing enthusiasts can often be seen wearing testaments to our hobby—sewing-themed T-shirts and sweatshirts and carrying themed totes—just letting the world know of our passion. But in addition to wearables, some go further by embellishing their vehicles—with window stickers, bumper stickers, and even vanity license plates.

Vanity plates are always fun to figure out, especially if you only have a minute or two when you’re stopped behind someone at a traffic light. It’s an “aha” moment when you figure it out before the light changes and you speed off, as it’s sometimes hard to decipher those plates at 60mph. Ask me how I know…

If you’re thinking about getting a personalized license plate, be sure to check with your state department of motor vehicles for the rules before you begin to rack your brain for a phrase that’s allowable, fits the parameters, and most importantly, isn’t already taken. State rules vary considerably and you may be limited to six, seven or, if you’re lucky, eight letters and/or spaces to get your message across. Some states allow punctuation to be included, others don’t, and some allow special symbols like hearts to be part of the tag.

Bumper Sticker available from Amazon.

Check With Your State

Each state has certain words and phrases that are disallowed, as they can connote other meanings, refer to body parts, sex, drugs, or are known as swear words. States try to keep up on the latest slang so as not to let offensive combos onto the metal. So be sure to check that list first so you’re not disappointed when you come up with something you think is wonderful that might be misconstrued. If your favorite phrase is already taken, consider if there’s a way you can modify it to come up with a new variation. For example, if ISEW is already in use, consider adding a number or other letters or punctuation to make it new—like ISEW2 or I SEW IT; SEW FUN can become SEW FUN2 or SEW FUN!.

Car Window Decal available from Amazon

Also check your state regs for the use of numbers within the phrase, as often digits can take the place of whole words or be combined with letters to help fit words within the number of letters allowed. For example, GR8 takes the place of GREAT, but it’s still pronounced the same as if all the letters were used. The number two can denote to, two or too in a chosen phrase. Single letters can also rise to the occasion to sub for words—think of U, B, C, O and Y, subbing for you, be, see or sea, oh, and why, respectively.

So, what kind of sewing specialty license plate do you want? Here are a few ideas, and by no means a complete list, depending on the number of letters and spaces allowed in your state:

Idea Bank

♥♥SEW♥♥
♥2SEW
I ALTER
BOBBINS
CRAFTER
DUDESEW
FABRIC
FABRIC2
I B ASG
I MEND
I QUILT
I SEW
IBSEWN
IM ASG
IMSEWGR8
INSPIRE
ISEW4U

ITSSEWU
LIV2SEW
LUV2SEW
MAKER
MANSEW
MESEW
OH DARN
OH I SEW
PIECER
QUILT NUT
QUILTER
SCRAPPY
SEW BATTY
SEW BUSY
SEW COOL
SEW COZY
SEW EZ

SEW FUN
SEW HOT
SEW IT
SEW MAN
SEW NUT
SEW RITE
SEW SASS
SEW SMRT
SEW WHAT
SEW’N’GO
SEW’N’GRL
SEWBZY
SEWCOOL
SEWCR8V
SEWDIVA
SEWDOI
SEWER

SEWGR8
SEWGR8
SEWHAUTE
SEWING
SEWIST
SEWITUP
SEWLUV
SEWN ♥
SEWNUP
SEWRETRO
STASHER
STITCHER
USEW2?
USEWGRL
WHOSEWS
Y I SEW

Frame-ups

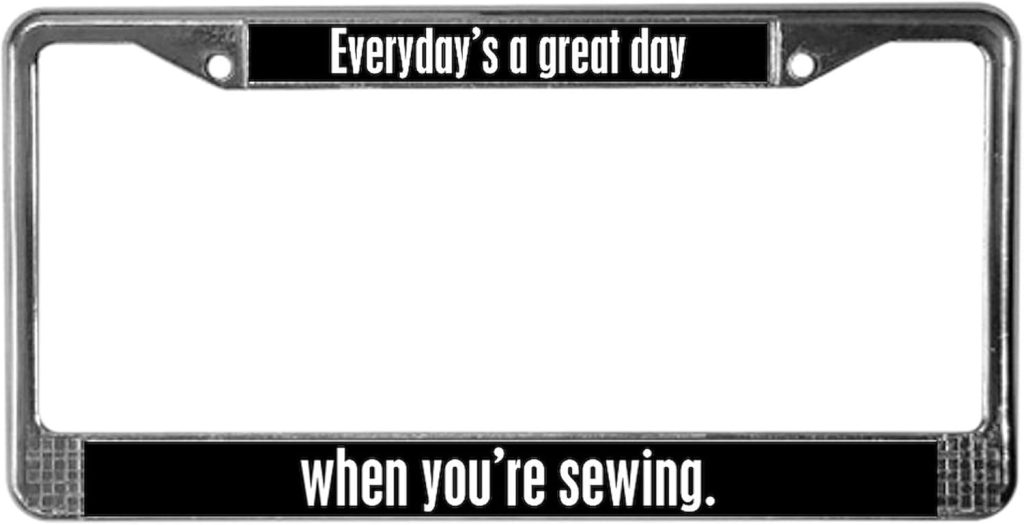
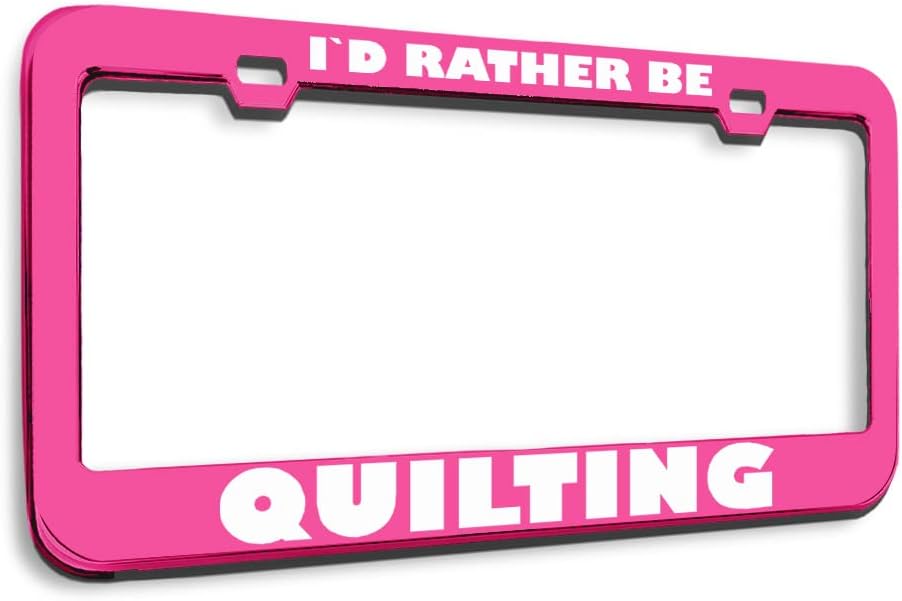
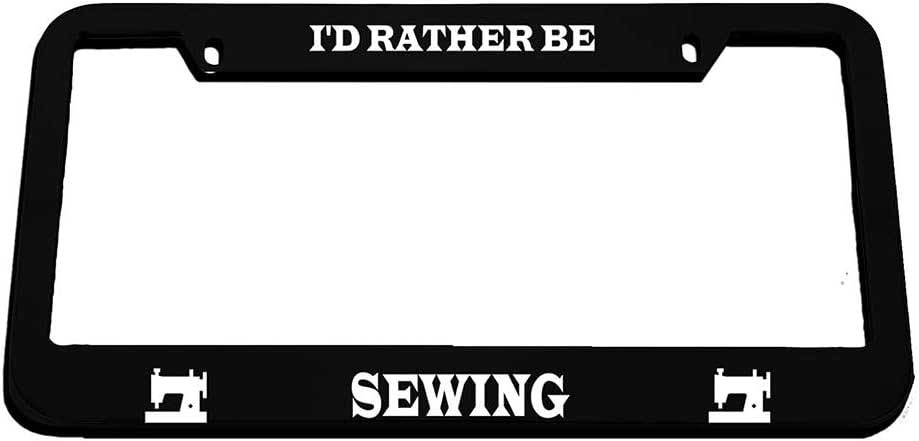
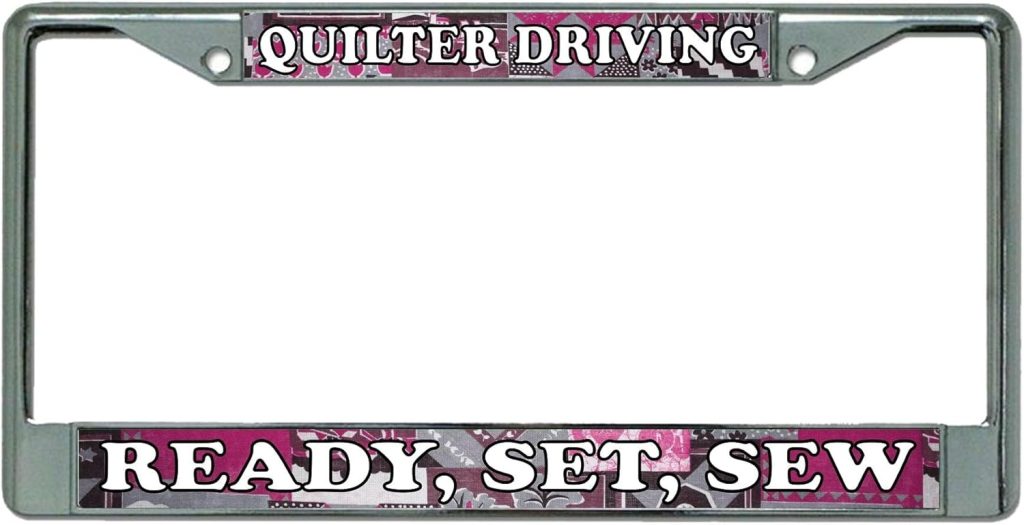
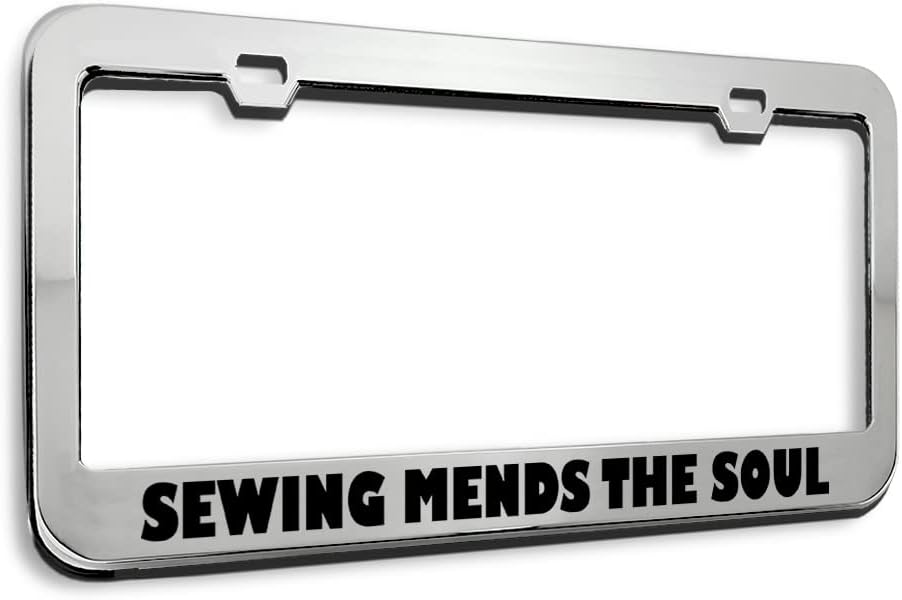
If paying a premium for a vanity plate isn’t in your budget, consider a sewing-themed license plate frame. Check with your state for any regulations regarding frame size and coverage before purchasing.

These plate frames are available on Amazon. Click each image to view. Note that we may receive a small commission if you make a purchase.

Whether you get a whimsical vanity plate or a more low-key messaging frame, it’s always fun to tell the world you sew and you’re proud of it!


~Linda Griepentrog is the owner of G Wiz Creative Services and she does writing, editing and designing for companies in the sewing, crafting and quilting industries. In addition, she escorts fabric shopping tours to Hong Kong. She lives at the Oregon Coast with her husband Keith, and three dogs, Yohnuh, Abby, and Lizzie. Contact her at .

Tagged With: quilting, sewing

February 7, 2025

The Allure of Batik

Batik is a wax-resist dyeing technique that uses wax and dye to create stunning designs on fabric that are both artistic and symbolic. The process is similar to silk painting. The word “batik” comes from the Javanese words amba which means wide, and titik which means create dots to form lines.

The art of batik dates back over two thousand years, with evidence of its practice found in the Far East, Middle East, Central Asia, and India. However, it flourished in Indonesia, particularly on the island of Java, where artisans developed highly intricate designs with deep cultural significance. Traditional Javanese batik often features motifs representing nature, spirituality, and social status. The method spread globally through trade and colonization, influencing textile traditions worldwide.

Batik is recognized by UNESCO as an Intangible Cultural Heritage of Humanity and remains an important cultural craft in Indonesia and other parts of the world, with both hand-drawn (batik tulis) and stamped (batik cap) techniques still in use. Today, batik is widely used in quilting, garment-making, and home decor projects. However, working with batik fabric requires special considerations due to its unique manufacturing process.

A Fabric to Love

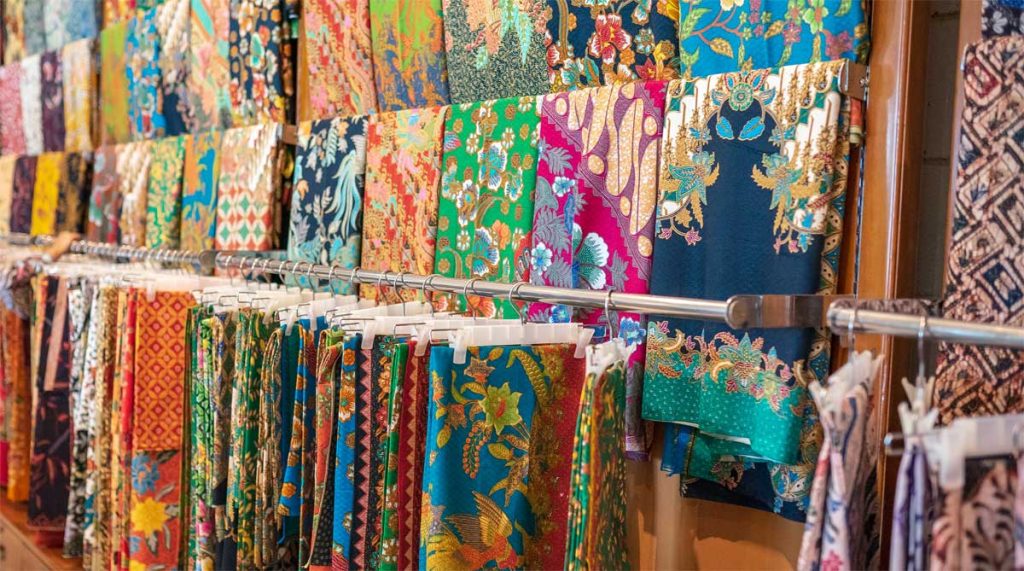
Most modern batiks are usually printed on cotton and silk but can also be found on rayons. The modern method uses a large block with an intricate wire pattern that is dipped in wax and then stamped on the cloth before dying. Most of what we currently see on the market also feature a wide array of colors, although the traditional blues, browns, and oranges are big sellers.

  • One-of-a-kind designs – No two projects made from batiks will ever look alike because of its unique creation process, so exclusivity is assured.
  • Global influence –Batiks feature an ethnic flair with a strong following in the fashion world.
  • Timeless appeal – Batik prints are not dated by season and are suitable for year-round wear.
  • Versatile applications – Batiks remind many of the tropics, which makes them a popular style for wrap skirts, sundresses, and beach cover-ups, as well as pillows, throws, and summery home-decor accents.
  • Quilting magic – Quilters love batiks because their colors naturally blend with many other styles. Unusual effects can be created by cutting them randomly, and they add unique textures without having to use traditional florals or solids.
Batik fabric in a store

Whether used in fashion, quilting, or home decor, batiks continue to enchant with their artistry, heritage, and endless creative possibilities.

Sewing Tips for Batik Fabric

Due to the wax-resist dyeing process, batik fabric has unique qualities that require special handling when sewing. Here are some essential tips:

  • Prewash the Fabric – Batik fabric often retains excess dye. To prevent color bleeding, it’s usually recommended to wash in cold water with a mild soap before sewing.
  • Use Sharp Needles – Batik is tightly woven, which can make it more challenging to sew. Use a sharp microtex or universal needle (size 70/10 or 80/12) for best results.
  • Choose the Right Thread – A high-quality 50 or 60 weight cotton or polyester thread works best for durability and strength.
  • Mind the Fraying – The tight weave reduces fraying, but if needed, use pinking shears or a serger to finish raw edges.
  • Consider the right side: The wax that creates the design sinks into the fabric, so both sides may look similar. You can look for the side with less blurring around the design. 
  • Combine batiks with solids: You can combine batiks with solid fabrics to give the batiks more space to shine. 
  • Pattern Matching – If using batik with distinct motifs, take extra care in cutting to ensure symmetrical and visually appealing pattern placement.

Caring for Batik Creations

Proper care will keep your batik projects looking vibrant and fresh for years:

  • Always Wash in Cold Water – Once you’ve completed your project, make sure to always use cold water and a mild detergent to prevent fading.
  • Avoid Harsh Chemicals – Bleach and strong detergents can break down the fabric’s colors and fibers.
  • Hand Wash When Possible – While machine washing on a gentle cycle is acceptable, hand washing is preferred to maintain fabric integrity. Avoid twisting or wringing the fabric.
  • Air Dry – Hang or lay flat to dry in the shade, as direct sunlight can cause fading.
  • Storage – Store in a cool, dark place to prevent fading and damage.
  • Iron with Caution – Use a low to medium heat setting and avoid steam. Use a thin cotton cloth between the iron and the fabric.

SewBatik has an excellent article on caring for your batiks, including suggestions for specific soaps and when to use and when to not use them.

Batik fabric is a joy to sew with, offering a blend of artistic expression and historical richness. While it requires some extra care, the results are well worth the effort. Whether you’re quilting, making garments, or creating home decor, batik adds a timeless and beautiful touch to any project. With proper sewing techniques and care, your batik creations can become cherished heirlooms that celebrate tradition and craftsmanship.


January 31, 2025

Restoring Vintage Sewing Machines

There’s something magical about bringing a vintage sewing machine back to life—the hum of the motor, the smooth glide of the handwheel, and the precision of well-oiled gears. Whether you’ve inherited a family heirloom or scored a dusty gem at a thrift shop, this article discusses the steps to reviving its beauty and functionality. There’s nothing quite like the satisfaction of sewing on a machine that’s been lovingly restored to its former glory!

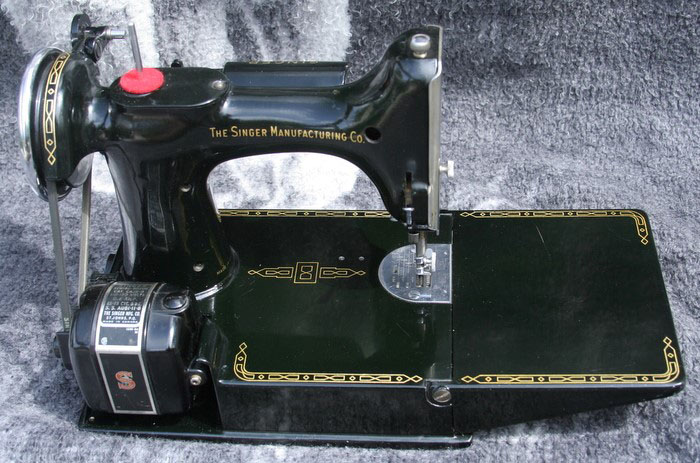
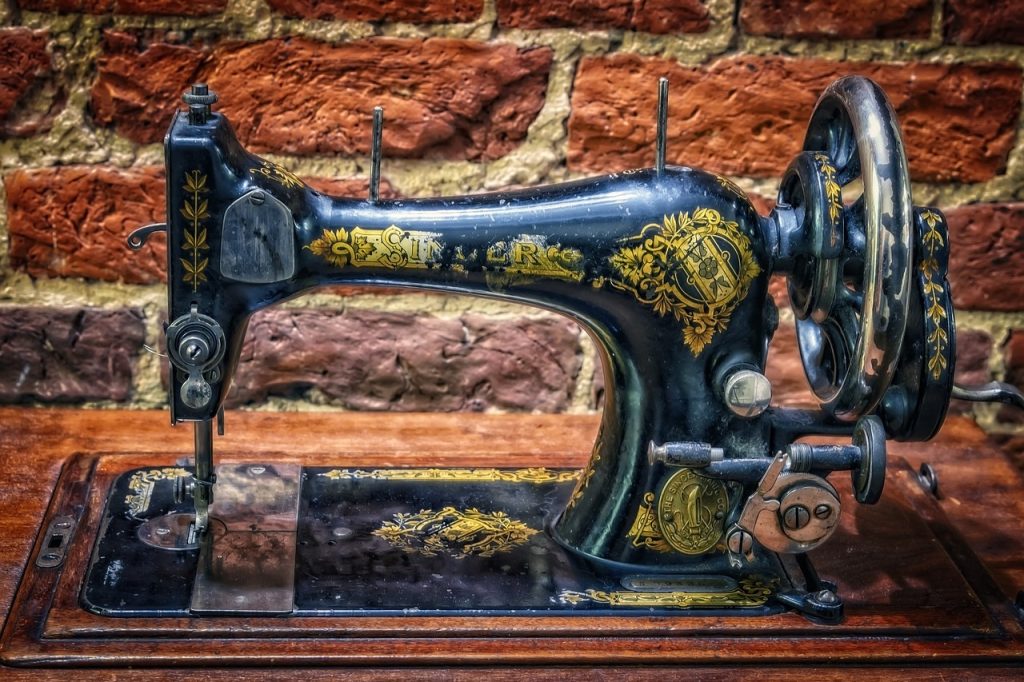
I began my research on vintage sewing machines with a focus on the Singer Featherweight and after years of study, I finally acquired a beautiful black Singer Featherweight 221. These little wonders, along with other Singer models and select brands, are now referred to as “generational machines” due to their longevity, allowing them to be passed down from generation to generation.

Singer 221 Prism decal pattern

Made with exceptional mechanical engineering and high-quality materials, these machines are built to last a lifetime or more with proper care. Even those stored in less-than-optimal conditions can often be restored to their original beauty. Restoration has gained popularity over the years, with both professional technicians and hobbyists devoting time to bringing these machines back to life. Numerous sewing machine technicians across the country specialize in servicing and restoring these machines, with dedicated websites showcasing their expertise.

The Singer Featherweight was manufactured between 1933 and 1964, with various improvements over time. Enhancements included a flip-top extension table, bobbin improvements, and a numbered tension adjustment dial for precision. During World War II, chrome shortages led to the production of blackened metal parts and the rare crinkle-finish machines, which are highly sought after by collectors. The country of manufacture—whether the United States, the United Kingdom, Scotland, or Canada—can be found by checking the serial number on the bottom of the machine against reputable online databases. (see notes below)

Over the different time periods, Featherweight 221’s featured either a scroll faceplate with scroll decals or Egyptian-style gold decals, both in gold. The paint colors on them ranged from black to beige and even green, depending on the time and place of manufacture. Some machines were made with the crinkle finish, a non-reflective charcoal-colored texture that is particularly desirable among collectors.

Accessories include various foot attachments such as the foot hemmer, the adjustable hemmer, the multi-slotted binder, the edgestitcher, the gatherer and the ruffler, many of which are still available today. These machines also come with a foot pedal and either a V-belt or an older molded belt. Additional attachments can be purchased, such as a foot pedal and either a V-belt or the older version molded belt. Numerous websites also sell parts, attachments, and other sewing-related items such as buttons, pins, and such.

Buying a Vintage Machine

These machines can be found on eBay, in antique shops, and through specialized websites offering restoration services. When purchasing from an auction, it is crucial to know what to look for but before diving into the buying process, it is important to understand the history and value of these marvels of the sewing world.

If purchasing a machine from eBay or an antique shop, look for the serial number on the bottom and check the one of the many websites available to see where and when your machine was manufactured. Ask the seller about the machine’s history—some acquire them from estate sales, and others by family members. In my opinion, you will have better luck with a machine from original owner or a family member as they are often in better condition. Assess how the machine was stored, as improper storage can lead to mechanical issues.

Inspect or inquire about how the machine was stored. Usually, a reputable seller will have many pictures. You should inquire about the machine’s mechanics. However, not all antique sellers are knowledgeable about sewing machines, so do not assume that a machine is in working order just because it powers on.

Request original sales receipts if available, as they serve as valuable vintage memorabilia. Additionally, inquire about packaging—experienced sellers will know just how to properly package the machine to handle the bumps of normal shipping. Materials as bubble wrap of the interior, machine parts, inside dead space in the machine case and completely covering the exterior of the case like a second skin should be included in the packaging and then pieces of foam to line the box so there is absolutely no movement of any of the machine during shipping. It should be packaged so you can shake the box with no movement. Make sure your seller does this for you or arrange to pick it up yourself.

Dealers evaluate these machines based on several factor. The intrinsic value of the machine with criteria of when the machine was manufactured in relation to WWII, the physical features that it has like decals, faceplate, finish type, emblem type by singer and materials it was produced with. Then the condition of the machine is valued based upon the condition of the finish, paint, and finish, paint it needs minor restoration or major restoration and what kind of accessories are included. And finally, the case condition, including the interior of the case, the handles and key accessories and the foot pedal. Many rate each of three categories on a scale of 1-20 or some on a scale of 1-10. Some sellers will include this information on a sale page.

Singer Red Eye 66 ready for take-down, then a total repainting/refurbishing of all parts and reassembly.

 I have also acquired a Singer Red Eye 66 treadle machine, which I am currently restoring on my own, including stripping, sanding, refinishing, repainting, and reapplying decals. This 1913 machine operates without electricity, relying solely on treadle power. The incredible Singer 66 Red Eye machine is a thing of beauty, 100 years young, manufactured in 1913 and completely free of depending on an energy source but the power of my legs to turn the treadle wheel.

Additionally, I have a Singer 66 Crinkle in its own table, which I use for sewing jeans, and a Singer 15-91, which I restored for my sister. This machine required a thorough cleaning, oiling, and a new bobbin case positioning bracket oil wick.

Singer 66 Crinkle Finish, motor refurbished, parts cleaned and oiled, cabinet polished.

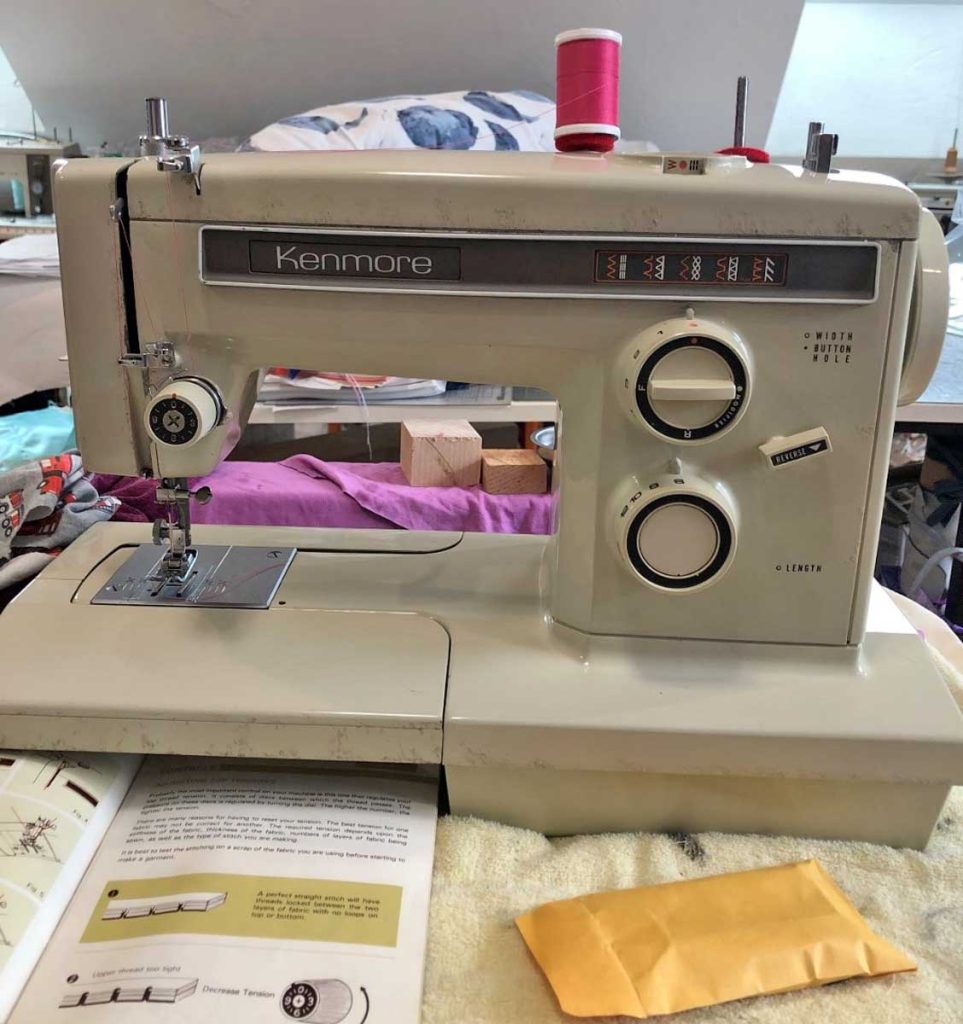
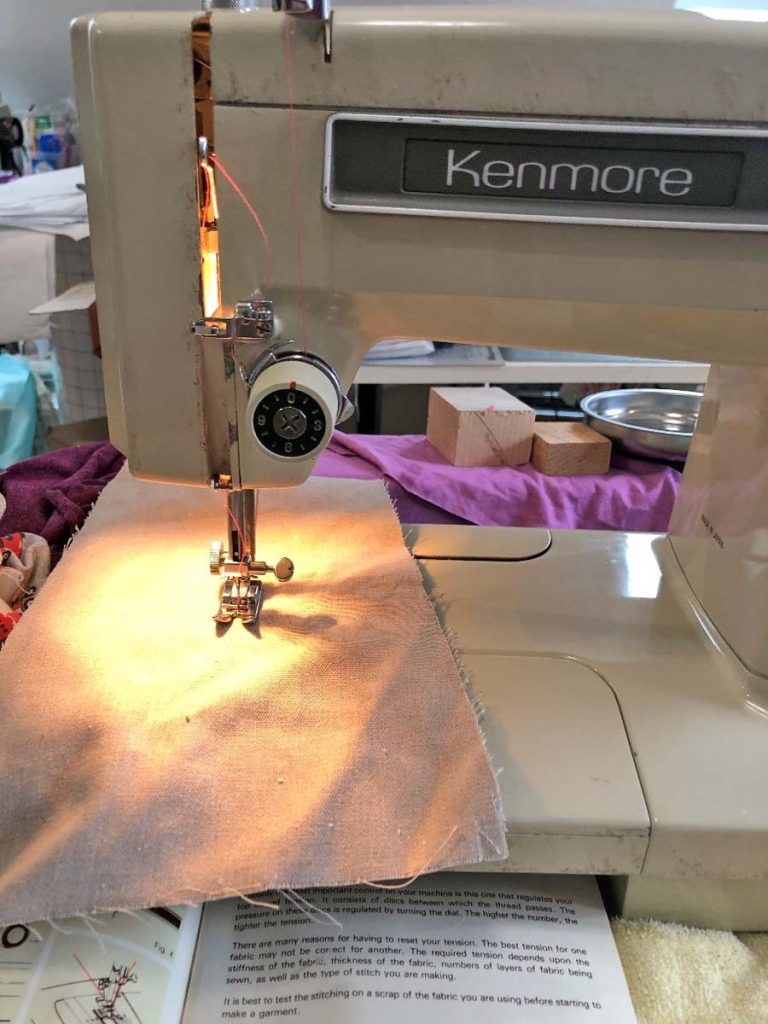
Then, along came two Kenmore models 158 and 385 that I fully disassembled, cleaned, polished, and reassembled. Fortunately, both machines have metal bodies and required only exterior polishing. These versatile machines perform multiple stitches and remain in excellent working condition.

Kenmore 158
Kenmore 385

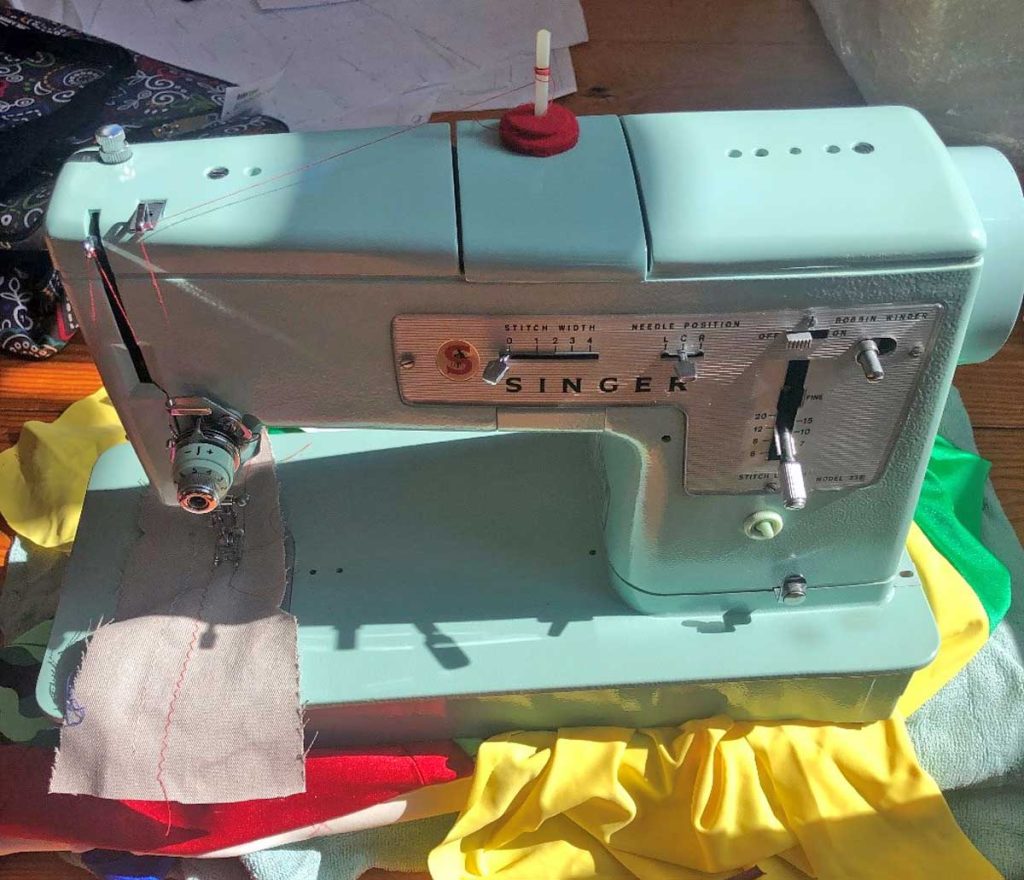
Finally, I purchased a Singer 338 in robin egg blue, a beautiful color. This machine does many different stitches including straight and zigzag, making it ideal for beginners and experienced sewists alike.

Singer 338

The Restoration Process

Restoring a machine requires extensive research on its mechanics, materials, and parts. The process includes understanding the machinery, cleaning, polishing, painting, and mechanical adjustments. This endeavor fosters a diverse skill set, including organization, spatial awareness, mechanical understanding, artistic precision, and a meticulous attention to detail. While I have learned a lot along the way, I still do not consider myself an expert and continue to seek guidance from more experienced restoration specialists, many of whom are referenced at the end of this article. In the end, the reward is a machine that will last generations, so plan in advance for who will inherit your machine.

I began to research these machines in 2011 and what I found were machines that had rock solid mechanics with many of their original parts still intact. They were built to last. The hard metals used in the body of the machines usually lasts forever, but even if neglected, with the right attention can be fully restored.

When embarking on a restoration project, start by researching your machine’s model and serial number. Websites such as ISMACS.net provide information on manufacturing dates, locations, and how many of them were made at the time. There are also schematics of the machine so you can begin take apart and clean or completely dismantle for a full refurbishing.

A Picture is Worth A Thousand Words

I always recommend taking detailed photos of the machine from all angles—top, from the front, sides, and back of the machine, especially if you plan to repaint and replace decals on the machine—to serve as a reference during reassembly, especially if repainting and replacing decals. The pictures will also be a helpful reference if you choose to purchase decals that resemble the original designs. There are also plenty of methods by which you can print your own decals. Take off the faceplate and take pictures.

Continue by taking off other plates and get pictures of the inside perhaps using a flashlight to get better light. Do not forget to take pictures of the bottom of the machine as well so that you have a reference for the mechanics of the machine.

Stay Organized

I also recommend moving around the handwheel and watching (many times) how the parts move when the handwheel is moving so you can begin to understand how these parts work when the machine is being put back together. Take your time to do the proper preliminary steps so you can refer to them when putting them back together. I like to organize the parts when removing them by area. I also tape screws to the pieces they came out of so I can remember where they go when going back to replace them. You may find your own way to organize better or perhaps your mechanical skills are sharp so you will have a better understanding than mine so you can find you own way to organize in the deconstruction phase.

The Cleaning Process

Once you have removed pieces they need to be cleaned. Cleaning involves rust removal using sprays, sanding, and polishing with tools such as a Dremel and fine sandpaper. Stubborn parts may require penetrating oil and patience to loosen. If there is rust, you will use rust buster sprays, and sanding methods to remove the rust. I have a trusty Dremel tool and use a wire brush to clean. I also use a fine sandpaper to sand even the screws which will return very shiny almost like new.

Any area in which you have trouble removing a screw or a part, use a penetrating oil. Some have used kerosene, but I have avoided it. A good penetrating oil should get the job done even if you must spray, wait, spray again, and then continue trying to loosen parts. Be patient, as this can take some time if there are years of buildup, dust, decayed thread, and such. Persistence and a good set of tools will be your friend for this process. I also utilized a polishing compound bar to polish and buff pieces once they are cleaned. I use my Dremel tool with felt heads to buff and polish. It is so rewarding to see how the pieces look when sparkling clean.

Stripping

When it comes to stripping a machine of an old paint job, my experience is limited. I am embarking on this task on my treadle Red Eye Singer 66 as I write this article. I have already purchased new decals and will be taking my machine down to the metal the old-fashioned way by using strippers, scraping, and light sanding until I reach the metal and provide a finish for the paint to etch. Many restorers will use a bonding material to smooth out the natural unevenness in the metal, but I am not skilled in this technique yet. However, the option is on the table.

Painting

Painting should begin after a thorough cleaning with alcohol to remove any oils from the machine head so the paint will adhere. You will also want to tape off any areas with painters’ tape to prevent paint buildup that could interfere with mechanical operation. You can also make use of silicone plugs that comes in a multitude of shapes and sizes. Some restorers use Q-tips, crumbled paper, and tape over that. Just remember that the holes have limited clearance for pieces so any buildup of paint will require you to file/sand off the excess so the mechanics will fit back in and work properly.

Singer 221 Featherweight Celtic Knot Faceplate and Decal Pattern

Use a primer paint first—you can even use more than one coat of primer if you feel it’s needed. Position the machine so you can get at all the sides and under the harp. You might even want to think about hanging up the machine with a strong wire so you can get in and around the areas to be painted. Use smooth even strokes in a back-and-forth fashion. Try to avoid overspray so there are no drip marks, although that’s frequently easier said than done. Practice makes perfect with this one. You can also buy a paint sprayers such as the ones used in automotive applications but remember to not only wear protective gear (including a mask) but also protect the area you are spraying.

It’s best to spray 3-4 light coats of the color paint you will be using, allowing sufficient drying time in between coats and including a light sanding and cleaning between coats. Once the machine is dry and the finish durable, add the decals. I use waterslide decals for this (see the list below for the source).

Once the decals are on, add 1-3 coats of clear coat to solidify the machine. Always give it 24 or more hours to cure between coats. Note that the colder the temperature is in your workspace, the longer drying time you may experience; however, I would not advise painting in a room that is below 50-degrees.

For further guidance, I highly recommend the tutorials of experienced refurbishers such as Bob Fowler and Marie Hill, whose expertise has greatly informed my own restoration journey. Their instructional videos offer invaluable insights for both beginners and seasoned restorers. (see links below)

Making a Base

Many restorers make a new wooden bottom case for the machine to sit in. If you choose to go this route, you will need to get a good woodworker to measure and make the cuts necessary for the machine to sit flush with the table. I have viewed some beautiful ones made by woodworkers and am sure there are YouTube tutorials showing how they are made. One example is included here, but there are plenty of other woodworking techniques one could use to do this.

Reassembling the Machine

Once you are ready for reassembly, refer to the schematics, your pictures and Bob and Marie’s videos on reassembly (and perhaps other vintage refurbisher’s videos). Armed with the info I have learned, I have successfully taken apart two Kenmore sewing machines, cleaned and polished them, reassembled, and adjusted timing. I have replaced bobbin case apparatus and replaced the oiling wick in several vintage Singer sewing machines, and adjusted needle bar heights and hook timing in both Kenmore’s and Singer’s. The reward comes when you thread these beauties and put them back into commission. I have worked on Singer 15- 91 for my sister, the 66 Crinkle I inherited, a 338 for my daughter, and I continue to work on my treadle 66 Red Eye. I have also worked on Kenmore 385, and 158 which are both great machines that will last a lifetime with small maintenance.

While I continue to learn, I am proud to have revived several vintage machines.

  • Some machines may only need to be cleaned and polished. I have done this to several, without a complete repainting. The polish adds a protective layer which only needs a repolishing every once in a white, depending on how much use they get.
  • I always cover my machines with covers made from fabric and foam, or I will store them in their original case if it came with the machine.
  • Do not store the machine in moisture prone areas like basements or attics as this will add to degradation of the machine. Heat, sunlight and large temperature fluctuations are not friends to any sewing machine.

Restoring and maintaining vintage sewing machines is a labor of love. By preserving these remarkable tools, we keep them out of landfills and ensure they continue to serve generations to come. These machines were built to last, and with proper care, they will far outlive us. If you own one, consider designating an heir for its continued use and appreciation.

Resources

  • https://www.vintagesingerparts.com/
  • http://www.singer-featherweight.com/
  • http://www.treadleon.net/
  • http://www.cathylynnforcino.com/
  • https://deskdave.com/
  • https://singer-featherweight.com/
  • https://dragonpoodle.blogspot.com/2014/06/painting-naked-singer-27.html?m=1
  • https://prometheansewingmachines.com/
  • https://www.youtube.com/@prometheansewingmachinesMarie Hill
  • https://sewingmachinerehab.com/
  • https://www.youtube.com/@SewingMachineRehabBob Fowler
  • https://bobsvsmservice.com/
  • https://www.youtube.com/c/BobFowlerWorkshop
  • https://ismacs.net/
  • https://www.singerdecals.com/

 Books:

  • Singer Featherweight 221, the perfect portable, 3rd ed. By Nancy Johnson-Srebo
  • The Sewing Machine Attachment Handbook, by Charlene Philips

~Kim Larcom, ASG Member (Boston Chapter), Entrepreneur for Astrosportswear Activewear, and The Bridgewater Seamstress. Kim graduated from the Master Seamstress certificate program at the University of Rhode Island and owns her own custom activewear business.

January 24, 2025

Sewing Over Pins: Do I, or Don’t I?

The dilemma…to sew over pins or not?

In the sewing world there are few topics that are controversial, but topping the list of differences of opinion might be the notion of whether or not it’s OK to sew over pins. Let’s look at some pros and cons on this pointed topic.

You CAN sew over pins, but SHOULD you sew over pins?

There are a host of different types of pins—from long and skinny shafts with plastic heads to short, bolder shafts with metal nub heads. The type of pin you choose varies by the task and the fabric, but the pin’s function is the same. We use pins to hold layers of fabric together while sewing a seam and sometimes for marking a design detail, like an opening that needs to be left unsewn to insert elastic or a drawstring. We also pin-mark fabrics that might otherwise be damaged by traditional marking tools.

If your machine hits a pin, there can be considerable damage to the pin, the machine and/or to you. The most common catastrophe is a broken needle and shards of that needle may never be found. They can fly across the room, into your face or become lodged in the machine mechanism. Ditto for the pin that’s broken in half by the piercing needle. If the pin doesn’t break, it can be seriously bent and play havoc with your machine’s bobbin area requiring a mechanic to fix the issue. And it’s not just the needle that can cause issues sewing over pins—there’s also the presser foot toes that can snag on a pin, distorting your stitches and potentially torquing the pin shape, jamming it into the machine throat plate.

Be wary that on some machines, sewing over pins can cause tension and stitch quality issues.

NEVER sew over pins if you’re using a serger. The sharp blades of the knife can cut the pin into pieces and you can face the same risks listed above.

Goin’ for it

Let’s just say that you’re someone who is convinced they can successfully sew over pins and throws caution to the wind. Here are some helpful hints for a more risk -free maneuver:

  • Place the pins perpendicular to the seamline with the head to the right. Position the pins so that the shaft is spanning the seamline and embedded into the fabric. Some experts suggest placing the pin so that just the tip is spanning the seamline, not the shaft.
  • Sew more slowly than you normally might.
  • Use a slightly longer than normal stitch length.
  • Never position the pins so that your seamline is near the pin’s head—that’s a collision course for sure with more potential damage than the pin shaft itself.
  • If you use fine, thin pins, there’s less chance of the needle hitting them, but on the other hand, if the needle does hit them, they’re more likely to seriously bend or break causing damage to the machine.

A Safer Option

If you’re wary about sewing over pins (and you should be), think about removing them as you stitch. Use pins to keep thick or delicate layers in place and place the pins perpendicular to the seamline, but as you approach them, pull them out two to three stitches ahead of the touchdown. Yes, we know you have to stop for a moment to do this.

If precision isn’t needed when seaming, move pins outside the seam allowance to hold layers together, so there’s no chance of hitting them.

Spring clips from Amazon

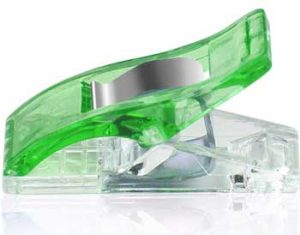
Or think about an alternative for holding potentially shifting fabric layers together. Spring clips are ideal and you can whiz right by them if they’re placed along the fabric’s edge.

Another option for a secure hold, especially when matching plaids or stripes, is to hand-baste the fabric layers together along the seamline or a hair inside it before taking the piece to the sewing machine. Then, sew right over the basting or next to it, depending on the positioning.

The choice to sew over pins or not is a personal one but know the risks (and expense) you could face if you do it. Is it worth it?


~Linda Griepentrog is the owner of G Wiz Creative Services and she does writing, editing and designing for companies in the sewing, crafting and quilting industries. In addition, she escorts fabric shopping tours to Hong Kong. She lives at the Oregon Coast with her husband Keith, and three dogs, Yohnuh, Abby, and Lizzie. Contact her at .

  • « Previous Page
  • 1
  • 2
  • 3
  • 4
  • 5
  • …
  • 82
  • Next Page »

Become a Member

Join the only national organization dedicated to Advancing Sewing as an Art and Life Skill.

Join Now button

Blog Article Categories

  • ASG Conference
  • Chapter Stories
  • Embroidery
  • Fitting
  • Learn to Sew
  • National Sewing Month
  • Products, Books, & Patterns
  • Projects
  • Quilting
  • Sewing
  • Sewing Techniques
  • Sewing Tips
  • Sewing Tours
  • Videos
  • Disclaimer
  • Privacy Policy

American Sewing Guild
National Headquarters
9660 Hillcroft, Suite 230
Houston TX 77096
713-729-3000 | 713-721-9230 Fax
www.ASG.org

ASG wordcloud - education, conference, discounts, videos, special offers, tours and more

Copyright © 1998–2025 · American Sewing Guild · All Rights Reserved