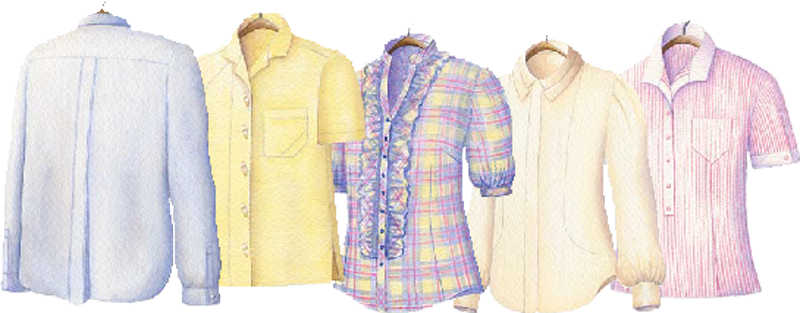
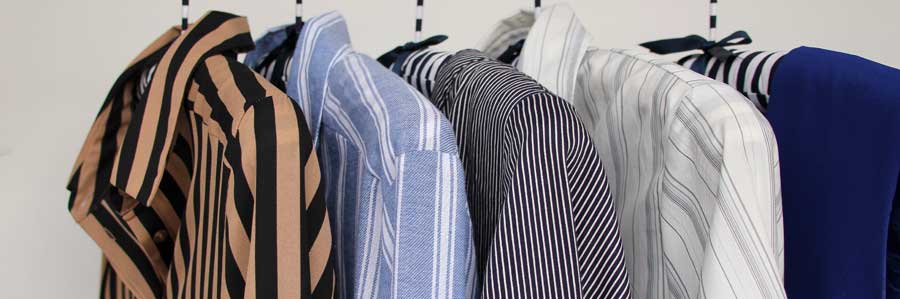
Custom shirt expert, Pamela Erny shares her sewing tips for achieving impeccable results, as well as ideas for adding a personal twist to traditional silhouettes. Pamela told us that many of her techniques can be used with both men’s and women’s shirts. Men’s shirts, women’s shirts, and children’s shirts all present countless opportunities for boundless creativity. Boundless? Yes!
“I absolutely enjoy every minute of my profession as a shirtmaker. The fabrics, the patterns, the design details, and the opportunity to bring my own original designs “to life” in fabric make the many hours spent in my studio joyful ones.”
Choosing Fabrics
Shirtmaking creativity begins right at the get-go when you are picking the fabric. Sure, there are fabrics actually labeled “shirting fabrics” and they are lovely to sew on, but if you cannot find “official” shirting fabrics, there are plenty of other options. Consider luxury sheets for fabric yardage. Beautiful high-thread-count Egyptian cotton sheets are available at reasonable prices from many online sources. And what about other fabrics? Here’s where the excitement begins. Silk dupioni, washed in hot water until the color fades, the slubs swell, and the shine is barely there, becomes wonderful “unexpected” fabric for shirts for both men and women. Or perhaps some linen tossed into a washer filled with hot water and some clean tennis balls (yes, tennis balls) and run through a few wash cycles, then tossed — tennis balls included — into a hot dryer, for a lovely distressed look fabric that’s perfect for making a fun, stylish shirt.
Pamela designs and hand-drafts many of the shirts that she sews, but she also uses commercial patterns as well. There are some fabulous patterns available for shirts for both men and women. Sources range from the major pattern companies to wonderful shirt designs from the small independent pattern lines. Vintage patterns, particularly when sewing men’s shirts, provide even more options.
Fine-Tuning the Construction
By and large, the most frequently asked questions about shirtmaking are about constructing collars, adjusting a pattern to accommodate a prominent abdomen, and the use of interfacing.
Interfacing: It is important to interface all areas of a shirt that experience stress and/or require added body. Of course, that includes the collar, front button band, and the cuffs. If any shirt details are cut on the bias, such as the front placket, be sure to cut the interfacing on the straight grain so that the bias is completely stabilized.
Collars: One hallmark of a poorly made shirt is a collar with lumpy points that refuse to lay flat. The solution is to ever-so-slightly change the angle of the point. This allows the seam allowances to have more room to settle flat and smooth when the collar is stitched, turned, and pressed. This simple method will work with any pointed collar, including shirt collars that are attached to a stand.
In this diagram of a collar pattern, the black line is the original pattern. The dotted blue line shows how to alter the angle of the point. The method is easy:
- Trace a copy of the pattern, without seam allowances.
- Make a mark on the outer edge of the collar, 1⁄8″ to 1⁄4″ in from the point.
- Draw a line from the collar’s center front neck edge to the mark at the outer edge.
- Cut along this newly drawn line to establish the new front edge of the collar.
- Add the appropriate seam allowances and cut out your collar.
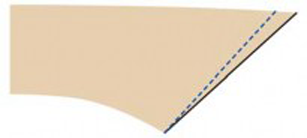
Since you haven’t changed the length or shape of the neck edge, all the “parts” will stitch together as usual.
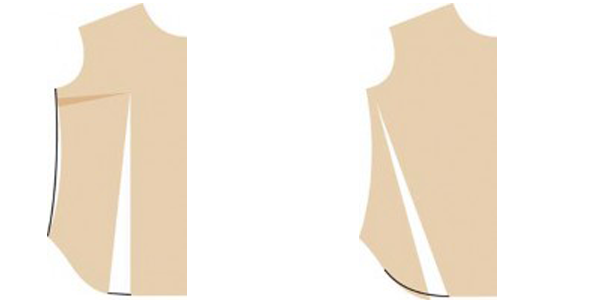
Full Abdomen and Hip Adjustment: One of the most common shirt fitting problems for both men and women is a garment that fits fine in the chest and shoulders but is too tight in the hip and/or stomach area. The alteration, which is quite simple, eliminates all the problems that would occur by moving up to the next larger pattern size. After slashing and spreading the pattern the necessary amount (as indicated in the illustrations below), “true” the lines of the pattern as shown.
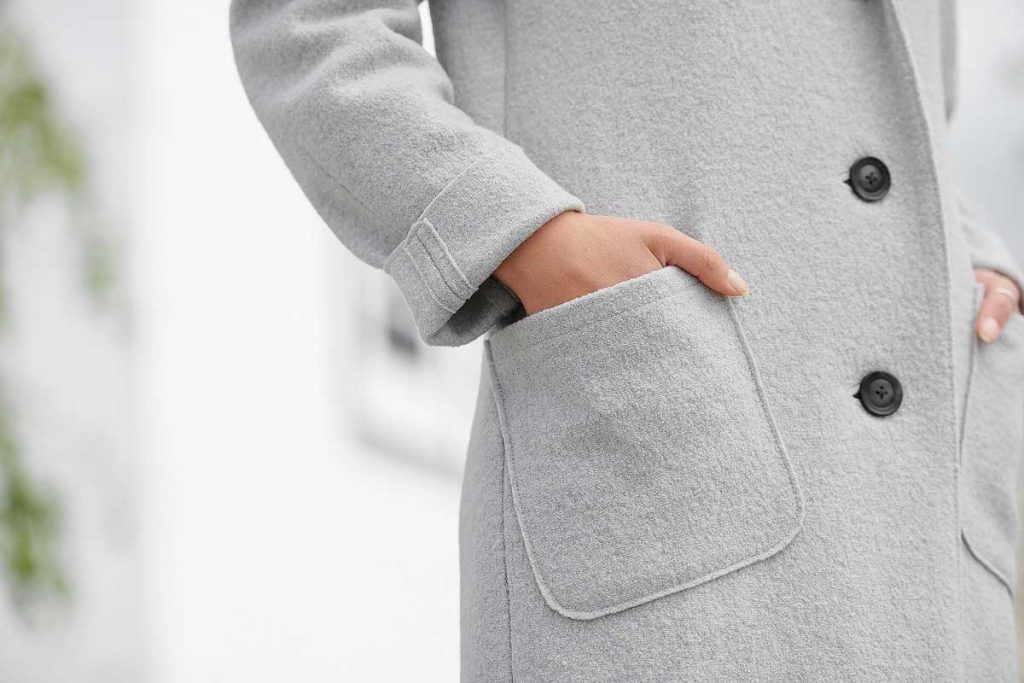
V-Bottom Patch Pocket: Here’s an easy way to achieve perfectly symmetrical results when constructing this classic shirt pocket.
 First, change your pocket pattern by reducing the side and bottom seam allowances to 3⁄8″ or less.
- To help with accuracy while cutting, place your fabric on a stable padded surface, such as your ironing board. Stab-pin the pattern through the fabric and into the padded surface, so that the fabric will not shift. Cut out your pocket. Mark the center at the upper edge of the pocket.
- With wrong side up, press the seam allowances in on one side and one angle edge.
 With right sides together, fold the pocket lengthwise from the point of the V to the center mark on the upper edge. Press the remaining bottom and side seam allowances under so that the two halves of the pocket match. Don’t worry if the seam allowances vary in width.
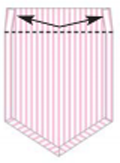 Now we need to address the pocket’s top (hem) edge. Before folding and pressing it into position, slide the top edges of the seam allowances in a scant 1⁄8″. By doing this, you have less bulk when the pocket is stitched to the garment.
- Finish the top raw edge of the pocket hem as desired. Fold down to the wrong side and press.
Adding Designer Details: One of the delights of shirtmaking is adding your own designer details. Over the years, Pamela has developed some favorites that transform even the simplest shirt into one that is fashionably chic.
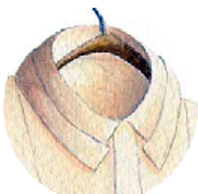 Pleated Collar: This detail works well on a woman’s shirt with a flat collar, i.e., one that has no “stand.” It is very simple to do because the collar is pleated after it is constructed and attached to the neckline of the shirt. Just fold out a 1⁄2″ to 3⁄4″ deep pleat on each front edge of the collar and pin to hold the pleat temporarily. Adjust, if needed, so that the pleat is smooth and a consistent depth all around the collar, then hand stitch the pleat folds in place on the underside of the collar.
Note: Some collars are too narrow for this technique. To test, make a muslin collar before cutting out your shirt. If necessary, increase the depth of your collar pattern.
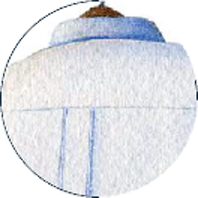 Edge-Stitched Back Pleat: Shirt patterns for men and women may have a center back pleat below the yoke. If not, you can create one by adding 3″ at the center of the shirt back pattern piece. This will give you a 11⁄2″ box pleat, the standard size on most shirts. Then, why not make it more of a design detail by edgestitching the folds? Before attaching the yoke, press the back pleat folds from the top edge to the hem, the entire length of the shirt back. Now, very carefully, edge-stitch along each pressed fold. Attach the yoke and proceed with the construction of the shirt.
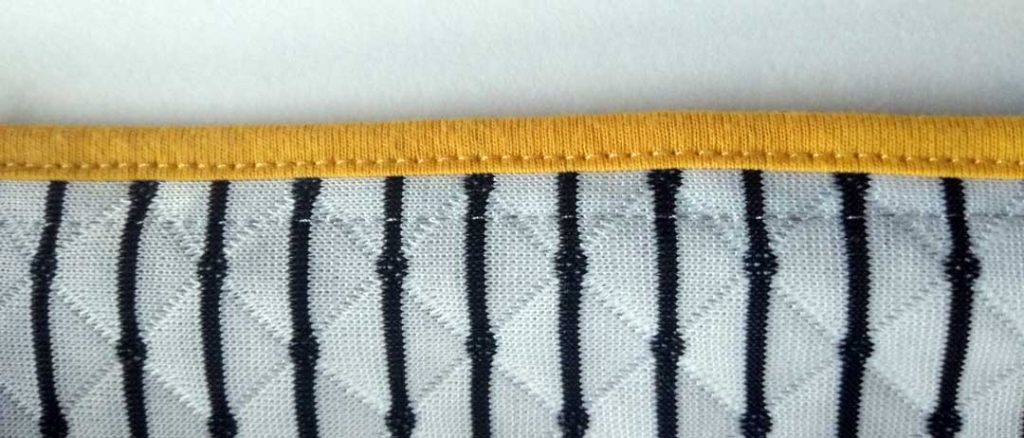
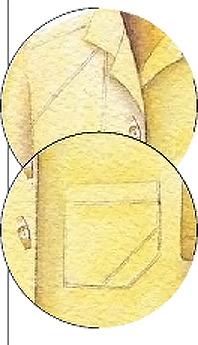 Accent Mini Tucks: Check out the details on these illustrations. What appear to be black lines are actually minute tucks on yellow distressed linen. These tiny tucks, which add dramatic accents to your shirts, require no pattern alterations!
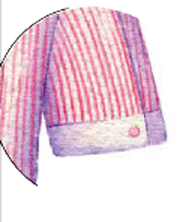
On this shirt, a diagonal mini tuck was added near the shoulder, another on the pocket, and a vertical tuck near the center front. If you limit your tucks to no more than two per main pattern piece, it won’t affect the size or shape of the shirt.
After the pattern pieces are cut out, decide where you want to place your tucks and draw a chalk line to mark each placement. Then, working at the ironing board, fold the fabric wrong sides together along your marked lines and press. Edge stitch along the pressed fold, no more than 1⁄16″ inch from the edge. Your mini tuck is complete, and you can continue with the construction of your shirt.
Pleated Sleeve Hem: Here is a nice detail to add interest to a short sleeve. It’s also an easy fix if you decide that the sleeves are too wide after you’ve finished sewing the shirt.
 Find the mid-point of the sleeve hem by pressing the sleeve in half. At that mid-point, pinch out a pleat that is 1⁄2″ to 1″ wide. Fold it toward the back or the front (your choice), and secure with a button.
Mother-of-Pearl Buttons: Mother-of-pearl buttons on shirts and blouses are beautiful, but they can vary widely in price from elegant, antique ones to thin, decorative ones (sometimes found in a bulk bag near the regular buttons). The thinner ones are more fragile, and usually don’t survive the washer and dryer unless you give them some help. Using a liquid glue that’s made to attach embellishments to fabric, coat the back side of the button, being careful to avoid filling in the holes. The glue will look “milky” when wet, but will be clear (and strong) when dry.
~Pamela Erny designs menswear fashions including custom-made shirts. She also enjoys designing fashions for children and sharing creative sewing and design techniques with others through articles, classes, and studio workshops. You can find her professional interfacing products at https://www.fashionsewingsupply.com, while www.offthe- cuff-style.blogspot.com is full of tips, techniques, and useful shirtmaking information. This article was adapted from an article printed in a previous issue of Notions.
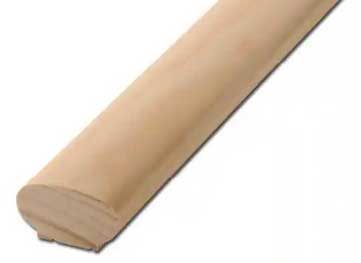 A 3′ Section of Wood Handrail makes a wonderful tool for pressing seams open without leaving an imprint on the garment. It’s round on one side and flat on the other, which keeps it from rolling off the ironing board. The 3′ length is great for pressing seams in a pant leg but you could have it cut any length.
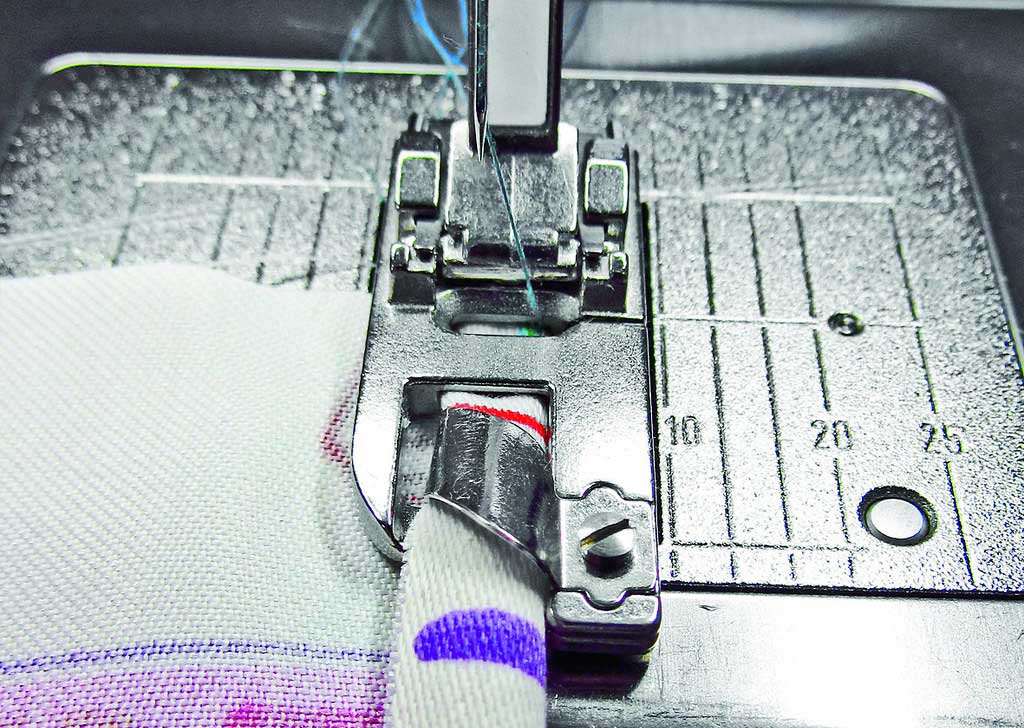
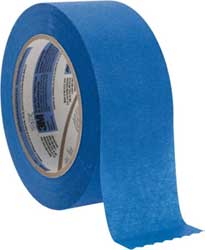 Blue Painter’s Tape makes a handy guide for seam allowances. Using a razor, carefully make two deep cuts into the roll about 2” apart and remove the entire cut area which should be about 1/8” to ¼” thick. Place this on the bed of your machine the required distance from the needle. Even if you use specialty feet or attachments, adding the tape gives you a further marking and lets the fabric ride along it well before reaching the needle. And because it doesn’t leave a residue, you can reposition the tape as needed. When it loses its stickiness, just remove the bottom layer of tape to rejuvenate your strip.
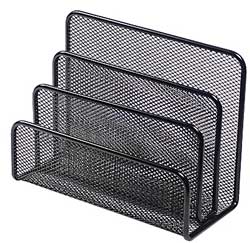 Vertical Mail or File Sorters are great for storing acrylic rulers. Judith says this multi-slotted desktop sorter doesn’t have enough slots for all the rulers, but they are still held conveniently in one place.
 Pipe Cleaners would make a great brush to remove dust and debris from under your presser foot and in the bobbin case. You may want to double it up or even make a loop with it.