


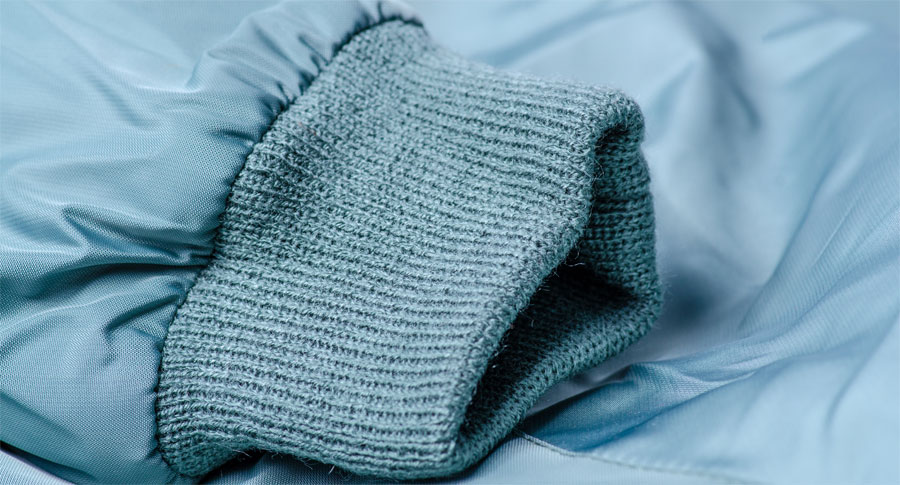
Sometimes a hem just doesn’t cut it—maybe you want something a little snugger, a little warmer, or even a contrast color. Look no further than ribbed cuffs to make all those things happen. They add a professional looking finish to any garment from outerwear to sport and loungewear, including our beloved joggers.
But, how do you work with them?
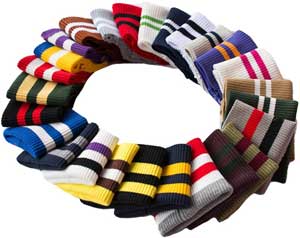
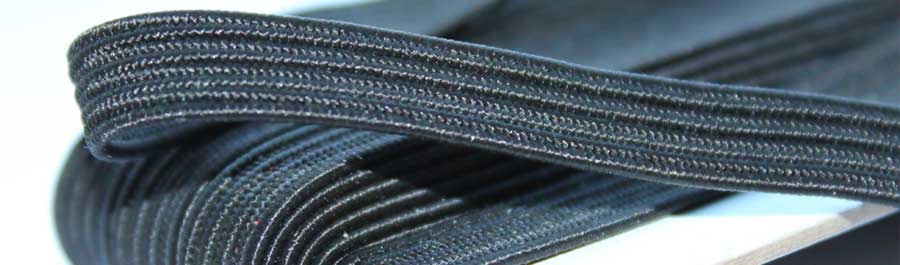
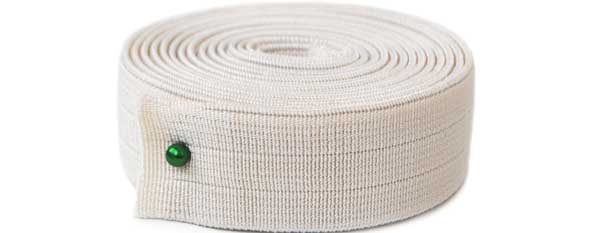
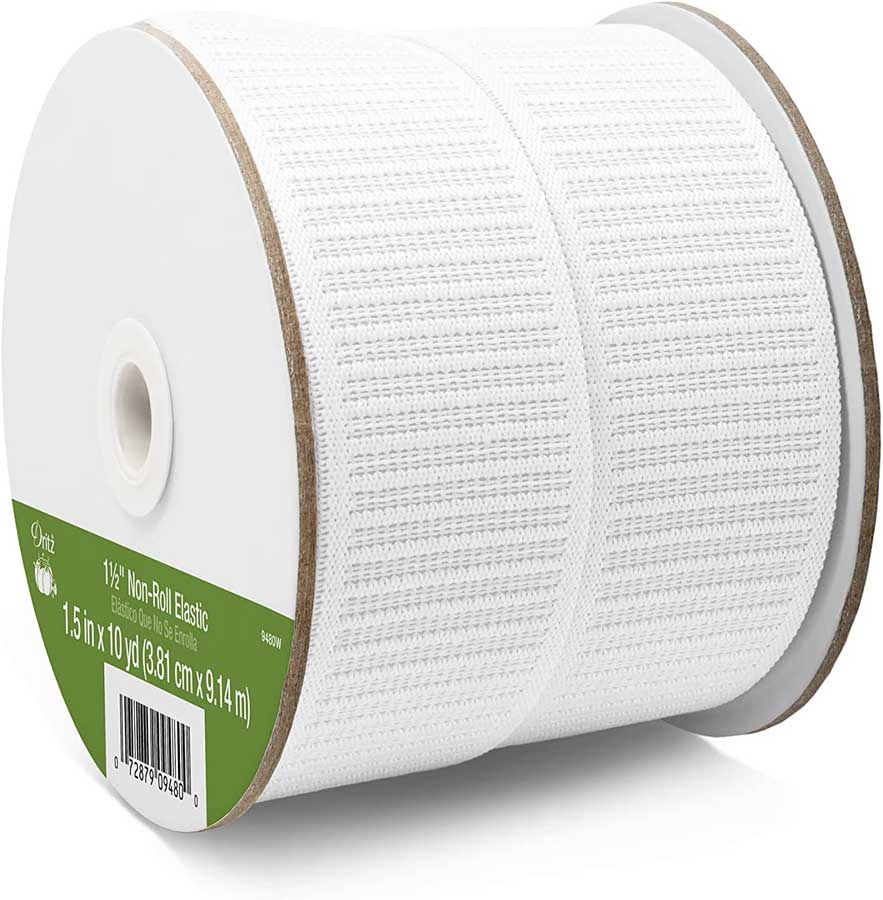
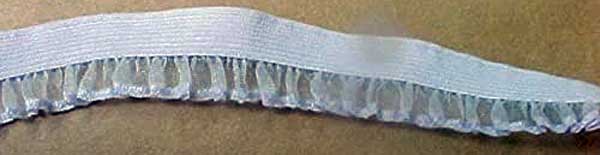
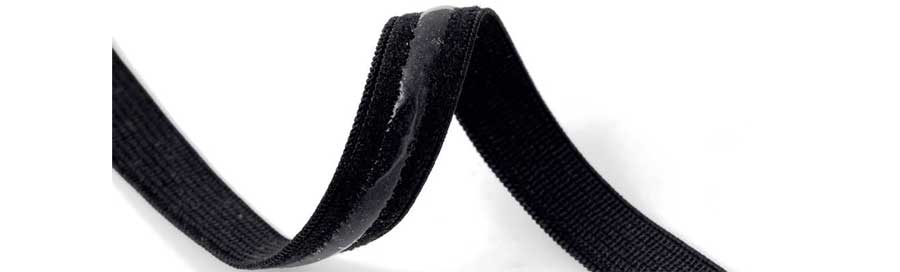
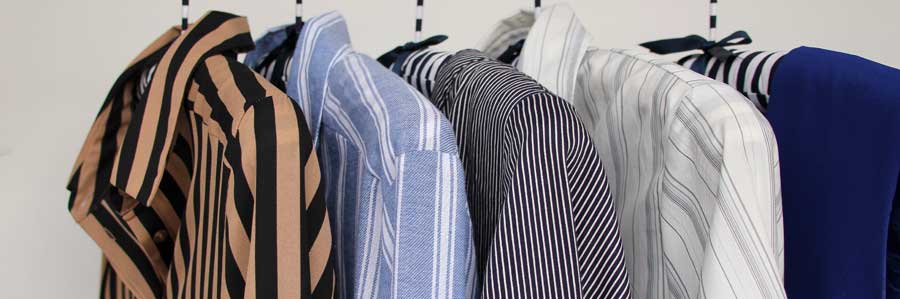
Ribbed cuffs can be purchased ready-made in a myriad of colors and varying textures of rib, both solid and striped patterning. They’re available in nylon, polyester, cotton and blends of those fibers, depending on what you’re putting them on, and they come in different weights—heavier for outerwear, lighter for T-shirts.
Cotton ribbings offer a more matte appearance, while synthetic fibers can add a bit of a sheen to the finished cuff. Cotton is less resilient to go back to its original shape after wearing, so it’s often paired with a synthetic to aid in that recovery.
If you’re purchasing ready-made cuffs, be sure to check the size, as many brands come in sizes for both children’s garments and adult sleeve finishing. Note not only the height of the cuff, but also the circumference, keeping in mind that ribbing stretches to allow for a snug fit.
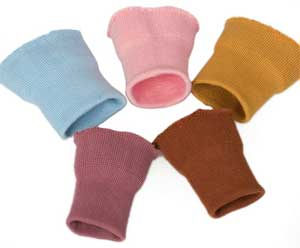
Most ready-made ribbed cuffs are seamless as they’re knitted on a round-needle machine.
Adding Cuffs
Ribbed cuffs can be applied to both woven and knit fabrics, and to sleeves or pant legs for a snugger, warmer fit than just a hem. If your pattern calls for ribbed cuffs, chances are good that the pattern length has been shortened to allow for the cuff length. If not, you may need to trim the length to accommodate the cuff length. For ease of instructions, we’ll be applying the cuff to a sleeve, but the same details apply if you’re applying a cuff to pant legs.
The lower sleeve edge will be larger than your cuff for proper fit. Starting at the underarm seam, divide the lower sleeve opening into quarters and pin-mark. Divide the upper edges (two layers) of the cuff into quarters and pin-mark. With right sides together, match the folded cuff quarters to the quarters of the sleeve opening. There should be more garment than cuff.
Using a narrow zigzag or serger stitch, sew around the upper cuff/sleeve edge stretching the ribbed cuff to fit the sleeve fabric. Sew with the ribbing side facing you. Sewing one quarter at a time allows for even distribution of the sleeve fullness as it’s attached to the cuff. If you’re using a serger, trim off the knit cuff/sleeve edges at the seamline; if you’re using a zigzag, sew along the seam allowance, trim if needed, and sew again over the knit edges to finish.
To add a sportier look, finger-press the seam toward the sleeve and topstitch 1/8” beyond the seamline.
D-I-Y Rib Cuffs
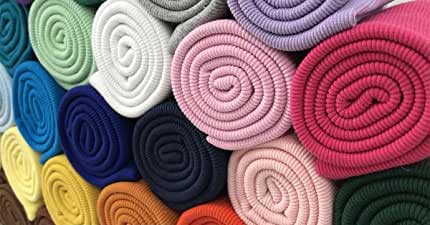 If you prefer to make your own cuffs, look for ribbing at your local fabric store or online resource to match or contrast with the garment. Generally, ribbing is narrower than fashion fabrics, and the rib patterning may vary depending on the weight. Note the fiber content as mentioned above. Ribbing can be sold by the yard or by the inch.
• You don’t need much rib to make cuffs—just twice the finished cuff length, plus seam allowances.
• To cut the cuffs, measure your wrist (or ankle for pants) and add 1”. Make a paper pattern for the cuffs using that measurement for the width and about 7” for the length—this will make a 3”-tall cuff using a ½” seam allowance.
• Cut the cuff so that the greatest amount of stretch goes across the width of the pattern and the ribs go vertically.
• Fold each cuff in half width-wise with right sides together and sew a ½” seam down the rib line. Trim the seam allowance and finger-press open. Try on the cuff to check for fit, and resew if necessary, depending on how snugly you want the cuff to fit.
• Fold the cuff wrong sides together, matching the seamlines and pin the upper edges together.
• Apply the cuff as noted above for ready-made versions.
WARDROBE TIP: Adding ribbed cuffs to either sleeves or pant legs is a way to extend the wearing life of garment for a growing child. As these areas get too short, just add a few extra inches of cuff to change the look of the garment and allow the item to be worn longer.
~Linda Griepentrog is the owner of G Wiz Creative Services and she does writing, editing and designing for companies in the sewing, crafting and quilting industries. In addition, she escorts fabric shopping tours to Hong Kong. She lives at the Oregon Coast with her husband Keith, and two dogs, Yohnuh and Abby. Contact her at .
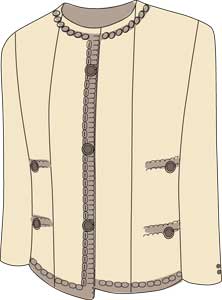 The gilded chain is an attractive, decorative trim on the inside of most Chanel jackets at the hemline, and is one of the most Chanelisms (the term used by the editors of Vogue Magazine to describe distinctive Chanel techniques). The chain is generally made of brass or heavy metal and is used instead of inexpensive lead weights that are hidden between the hem allowance and outer shell in traditional tailored jackets.
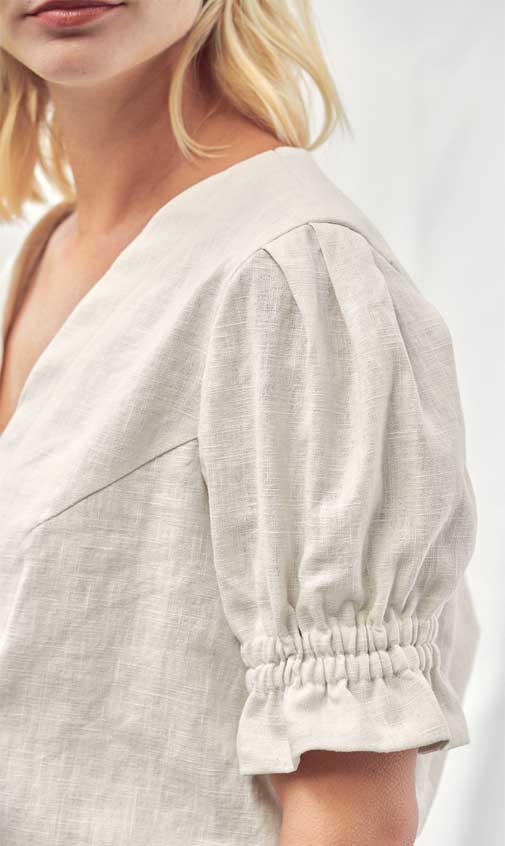


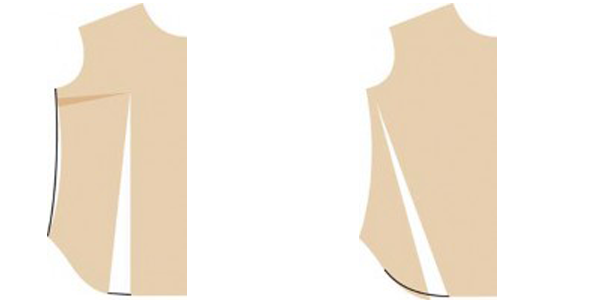
 First, change your pocket pattern by reducing the side and bottom seam allowances to 3⁄8″ or less.
 With right sides together, fold the pocket lengthwise from the point of the V to the center mark on the upper edge. Press the remaining bottom and side seam allowances under so that the two halves of the pocket match. Don’t worry if the seam allowances vary in width.
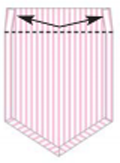 Now we need to address the pocket’s top (hem) edge. Before folding and pressing it into position, slide the top edges of the seam allowances in a scant 1⁄8″. By doing this, you have less bulk when the pocket is stitched to the garment.
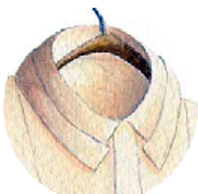 Pleated Collar: This detail works well on a woman’s shirt with a flat collar, i.e., one that has no “stand.” It is very simple to do because the collar is pleated after it is constructed and attached to the neckline of the shirt. Just fold out a 1⁄2″ to 3⁄4″ deep pleat on each front edge of the collar and pin to hold the pleat temporarily. Adjust, if needed, so that the pleat is smooth and a consistent depth all around the collar, then hand stitch the pleat folds in place on the underside of the collar.
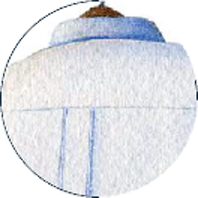 Edge-Stitched Back Pleat: Shirt patterns for men and women may have a center back pleat below the yoke. If not, you can create one by adding 3″ at the center of the shirt back pattern piece. This will give you a 11⁄2″ box pleat, the standard size on most shirts. Then, why not make it more of a design detail by edgestitching the folds? Before attaching the yoke, press the back pleat folds from the top edge to the hem, the entire length of the shirt back. Now, very carefully, edge-stitch along each pressed fold. Attach the yoke and proceed with the construction of the shirt.
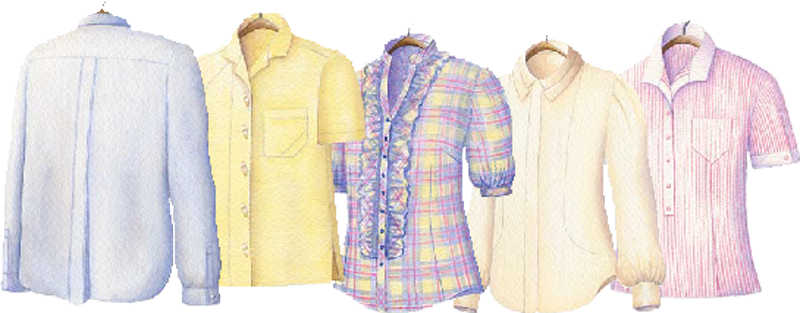
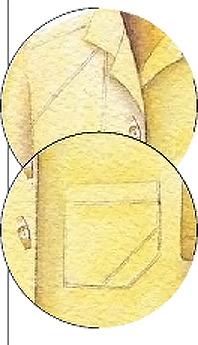 Accent Mini Tucks: Check out the details on these illustrations. What appear to be black lines are actually minute tucks on yellow distressed linen. These tiny tucks, which add dramatic accents to your shirts, require no pattern alterations!
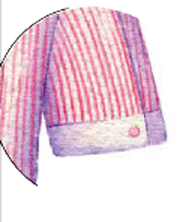 Find the mid-point of the sleeve hem by pressing the sleeve in half. At that mid-point, pinch out a pleat that is 1⁄2″ to 1″ wide. Fold it toward the back or the front (your choice), and secure with a button.