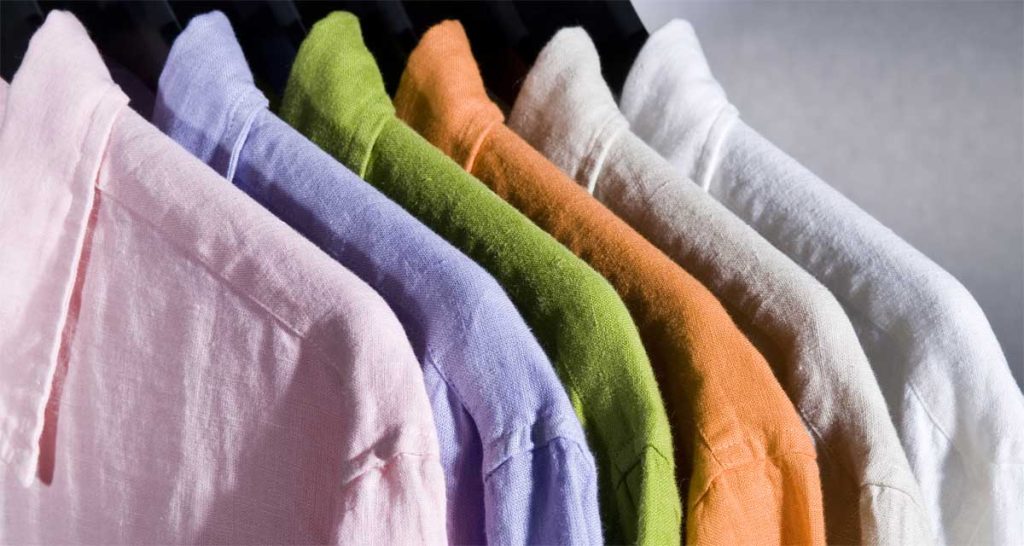
With temperatures already heating up, your summer wardrobe fabric choices can make the difference between being sticky or stylish. Enter linen, a breathable summer fabric that can easily transform from elegant to casual and sporty. Always on-trend, linen continues to be an attractive and comfortable choice and brings with it an air of relaxed sophistication.
Linen materials are available in different weights and weaves and range from whisper-thin shirtings to sturdy suit fabrics. Materials range from a crisp look with a soft hand, convenient blends, semi-sheer weaves, fine yarns with minimalized irregularities, high-twist and creped yarns, subtle novelty weaves, brushed finishes, and knits.
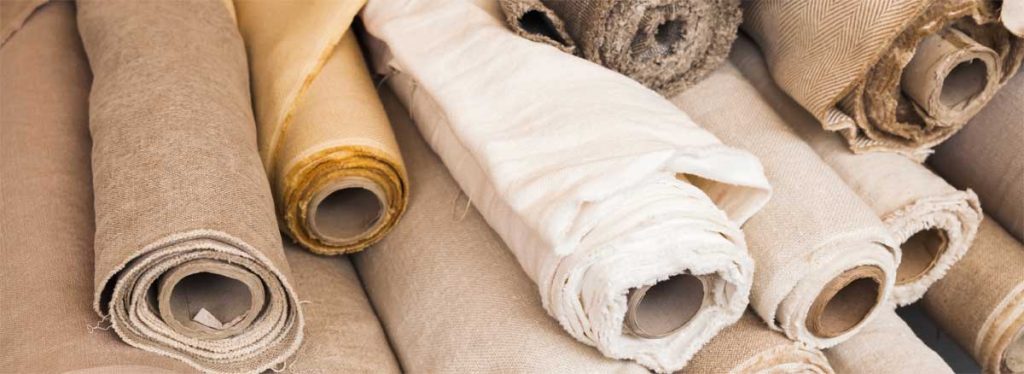
Discovered among the remains of the Swiss Lake Dwellers who lived about 10,000 years ago, linen was possibly the first fiber used to make fabrics. Made from the wiry stems of the flax plant, the flax fibers have a thick-and-thin irregular surface and are considered one of the strongest natural fibers in the world (two to three times as strong as cotton). Its smooth, hard surface sheds dirt, resists staining and pulling, and remains lint-free. It feels cool to the touch and since the fibers are hollow, it can absorb up to 20% of its weight in moisture. Linen has a natural luster to it which makes for a beautiful fabric. It boasts longevity, luster, and lovely drape. And since linen fibers are thicker than cotton fibers, a lower thread count is necessary to guarantee a high-quality, enduring linen fabric.
Planning Your Garment
Selecting the fabric
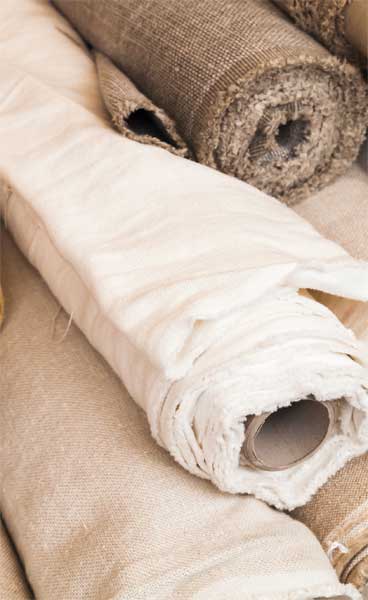 Even though some brand labels automatically denote quality, it’s best to learn how to distinguish good quality linen on your own. Linen does not have high elasticity and will hold its folded shape and any natural creases. It will have a soft, worn-in look. It may help to have a scrap of a known, good-quality linen to use as a comparison when shopping.
As a general rule, better quality linen will tend to be more expensive and will be easy to identify, thanks to its beautiful, natural creases throughout the fabric. Since the yarns, weave, and color are more uniform, the materials are smoother and more evenly woven. Dyes are more uniform, less likely to rub off, and have greater resistance to fading. When yarns are unraveled, the fibers are long and fine. Top-quality linen is simple to wash and dry and can usually withstand a machine wash and tumble dry.
Inferior linen is frequently sized heavily with starch to make it appear crisp. To test for sizing, rub the fabric together vigorously between your hands. If there is a powdery residue, this indicates that the fabric was treated with heavy starch and it will become limp after cleaning. If a linen looks too perfectly ironed, it’s most likely a linen blend or linen imitator.
Design Ideas
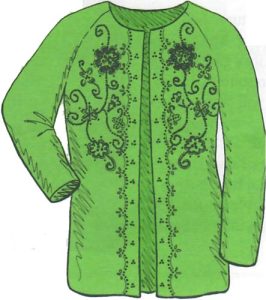
To showcase the fabric, choose simple designs with classic lines such as cardigan jackets, tailored separat4es, shifts and skimmers, blouses, and Japanese-inspired designs. Traditionally, heavier linens are used for jackets, skirts, and trousers while lighter-weight materials are used for blouses, shirts, and full skirts. However, since linen is extremely versatile, many designs such as flared and full skirts will be equally attractive in lightweight handkerchief or traditional bottom-weights.
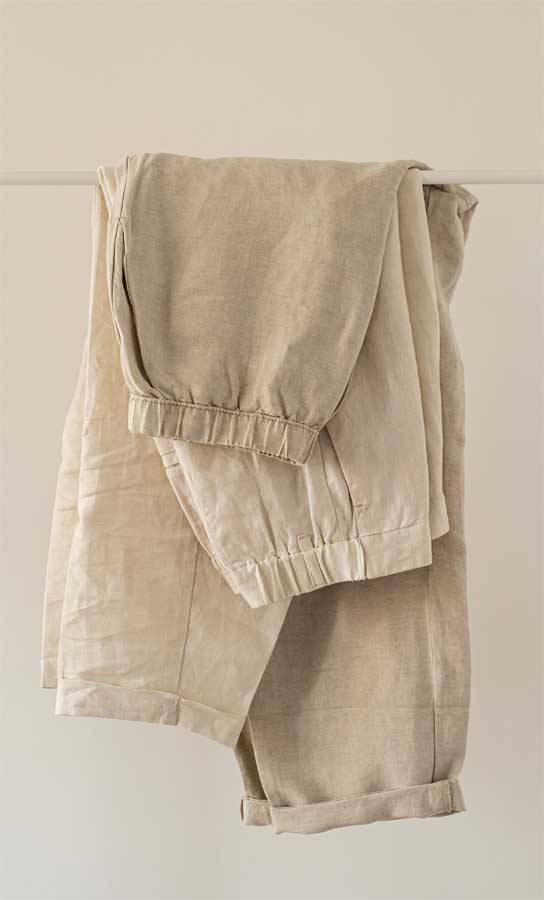
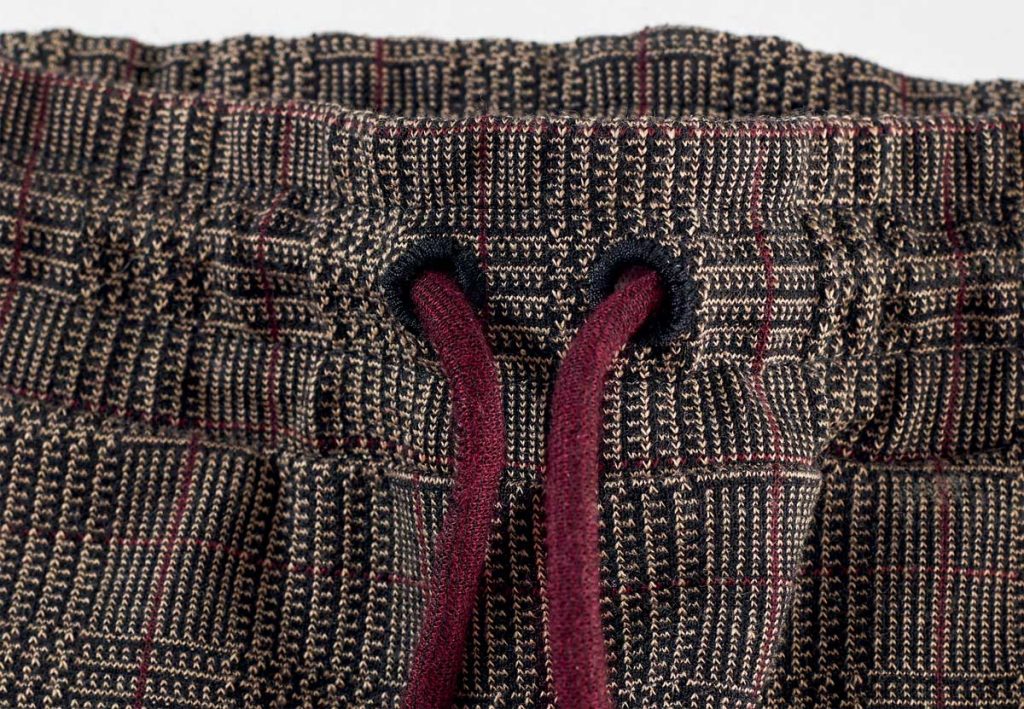
Handkerchief linen is ideal for the popular look of a traditional white shirt and drawstring pants. Alternatively, pair a handkerchief linen shirt with traditional trousers in a heavier bottom-weight linen.
When selecting your pattern, you can highlight the crispness of a fabric by choosing styles with pleats, tucks, gathers, and gores while reducing problems with ease by choosing designs with features such as shirt sleeves, kimono, raglan, dolman, and cap sleeves. Other features such as topstitched hems and seams, flat-felled seams, and lined yokes will not only accentuate tailored fashions, but also control linen’s tendency to fray. If you prefer laundering to drycleaning, choose styles that will be easy to iron.
Interfacings, Underlinings, and Linings
When selecting interfacings, consider the fabric weight, amount of crispness desired, your preference for sew-ins or fusibles, and the planned garment care. In addition to traditional interfacings, organza, tulle, or a self-fabric interfacing using the same linen are also good choices.
To reduce wrinkling or to add shape, underline the entire garment with a woven, sew-in interfacing. For a softer, more supple look, cut the interfacing on the bias. For increased crispness, underline with a lightweight fusing interfacing.
For most garments, traditional lining fabrics or blouse-weight polyesters are good choices. If you are creating a more luxurious garment that will be dry-cleaned, consider a good quality China silk, a lightweight silk shantung, or a crepe de chine lining.
Get ready though…
 Linen shrinks. As a general rule, inexpensive linen shrinks more than a higher-quality material, even bearing in mind that most linens will shrink more when laundered than when dry-cleaned. In addition, if linen is machine dried, it will often shrink more than if it’s air dried.
If you plan to launder the garment, be sure to wash the fabric before cutting. If you’ll be dry-cleaning the finished garment, have your drycleaner pre-shrink it. Alternatively, you can steam it generously at home using a good iron or quality steamer. Compare your measurements with those on the pattern and then adjust the pattern as needed before cutting.
Making the Garment
Layout, Cutting, and Marking
Before cutting, check the layout carefully. Many linens have prominent grainlines and even a tiny error could be quite noticeable. If the fabric ravels badly, cut one-inch seam allowances and use marking pens, chalk, or thread to make any markings rather than clipping with your scissors.
Sewing Tips
A universal point (H) needle works well on most fabrics, but a sharp point (H-M or H-J) is better, particularly when the fabric has larger slubs.
A “slub” is a section in the fiber or yarn that is thicker than the rest. Originally, slubs were mistakes and were usually either unwoven or the piece of yarn was thrown away altogether. However, someone took notice of the unique look that slubs created and decided to replicate them by intentionally weaving slight knots and knobbles (slubs) into the fabric. The resulting fabric had small rises that creates different textures, which in turn gives it an organic, tactile look and feel.
Choose a small size needle (60/8 or 70/10) for lightweight fabrics, and a medium-size needle (80/12) for heavier materials. Set the stitch length for 10-12 stitches per inch (2mm-2.5mm). Use a straight stitch presser foot to hold the fabric firmly so that the needle can penetrate the fabric easily.
Seams and Hems
 Consider the garment structure and care requirements when selecting seams and hems. Plain seams and hems finished with a serger or zigzag stitch are suitable for most garments. When using a zigzag stitch, stitch with a stabilizer under the fabric to prevent tunneling.
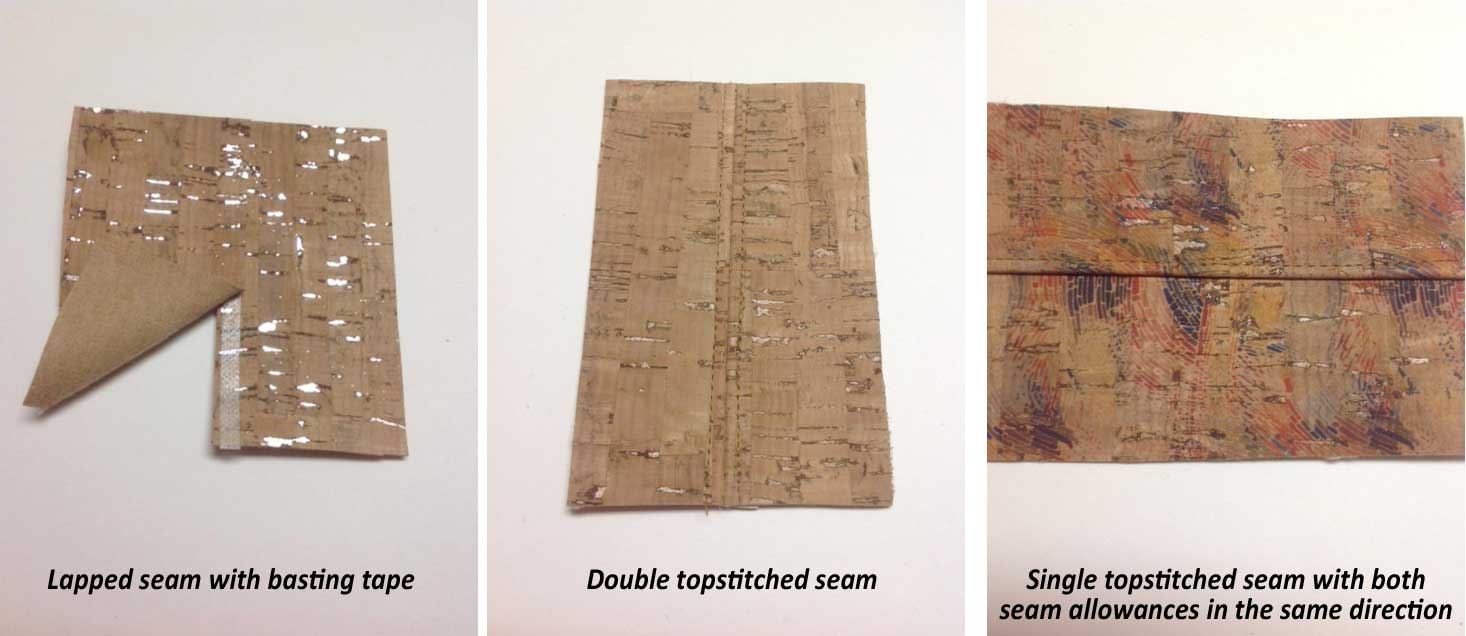
For washable garments, seams such as welt, topstitched, and flat-felled are decorative as well as sturdy. Narrow seams such as French and welt seams are good choices for handkerchief linens in light colors.
Topstitched hems are sturdy as well as attractive on both casual and tailored designs. For shirts and blouses, narrow shirttail hems are a good choice.
When working with handkerchief linen in light colors, double hems are particularly attractive and can be finished by hand or machine, depending on the style of the garment.
On suit skirts or tailored jackets, interface the hems with bias-cut wigan interfacing so that the hemline will have a softer fold and an attractive oval. If wigan isn’t available, you can substitute other lightweight, crisp materials such as handkerchief linen, polyester organza, or nylon ninon.
Buttonholes
All types of buttonholes and button loops are suitable for linen designs. To prevent fraying when using any type of buttonhole, reinforce the buttonhole area with a small rectangle of lightweight fusible interfacing.
Sleeves
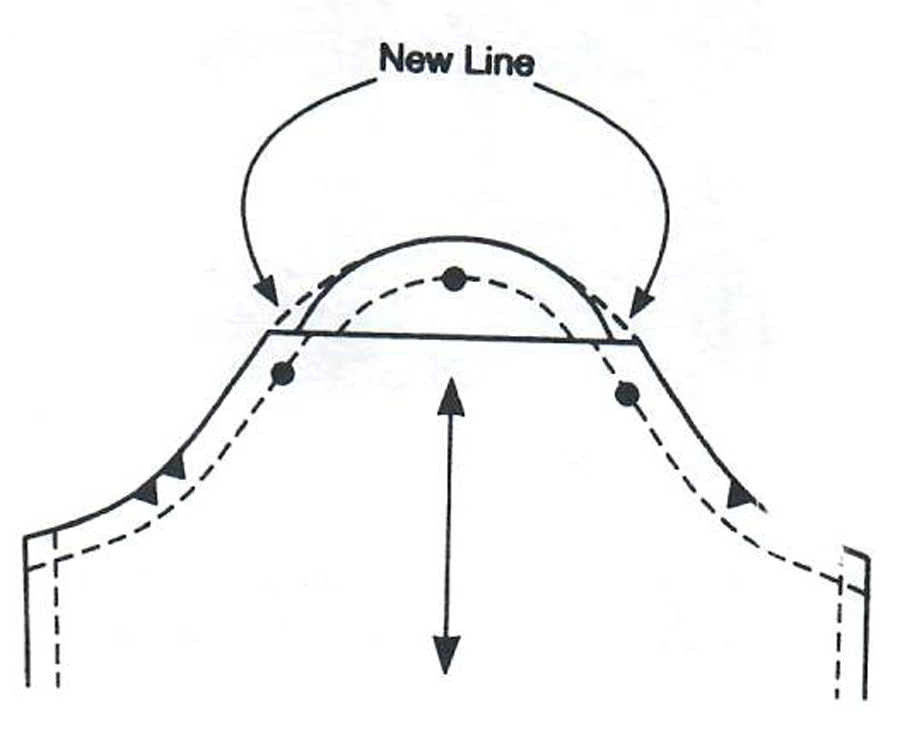
Since linen is difficult to ease, the sleeves are more difficult to set when the sleeve cap has more than 1″ of ease. To reduce the ease about 3/8″, make a 1/8″ tuck across the top of the cap. Redraw the cutting lines as shown in the drawing without reducing the sleeve width (image from page 72 of Claire Shaeffer’s book, Fabric Sewing Guide, c. 1994 out of print).
Pressing
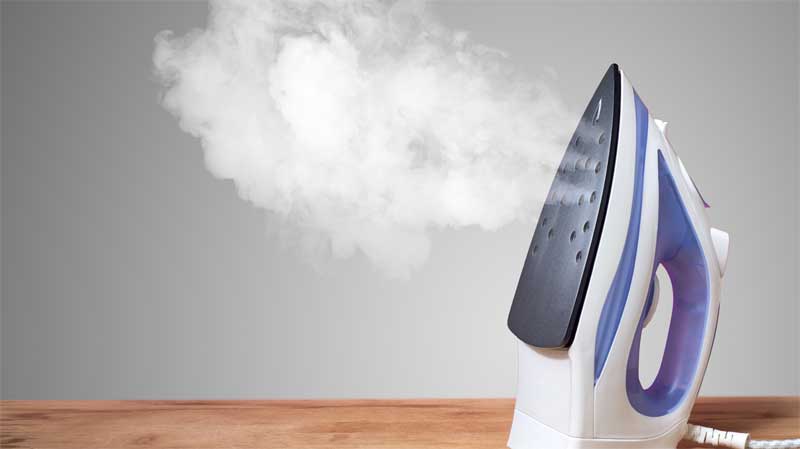 Linens require a hot iron to remove wrinkles and, once set, wrinkles and unwanted creases are difficult to remove altogether. Fabrics, particularly darker colors, are also easily slicked when pressed from the face side. To prevent “shine,” use a press cloth or press from the wrong side.
To set foldlines, creases on pants, or pleats, brush the fabric with a 50/50 solution of white vinegar and water, then press. However, always test on a fabric scrap for colorfastness before using the vinegar solution.
~Adapted from an article by Claire Shaeffer


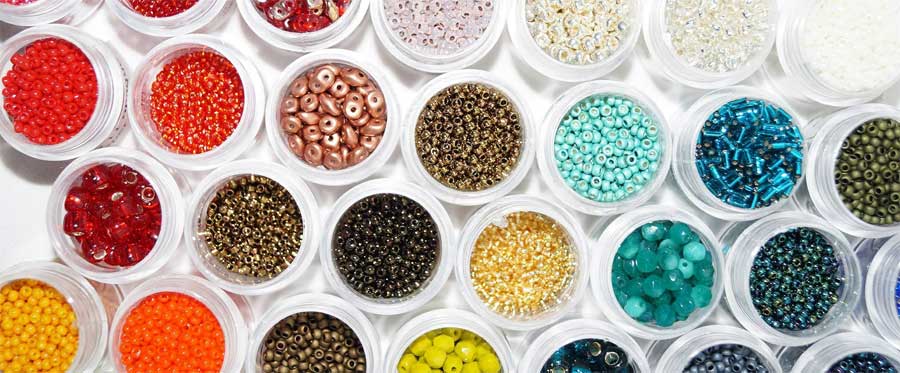
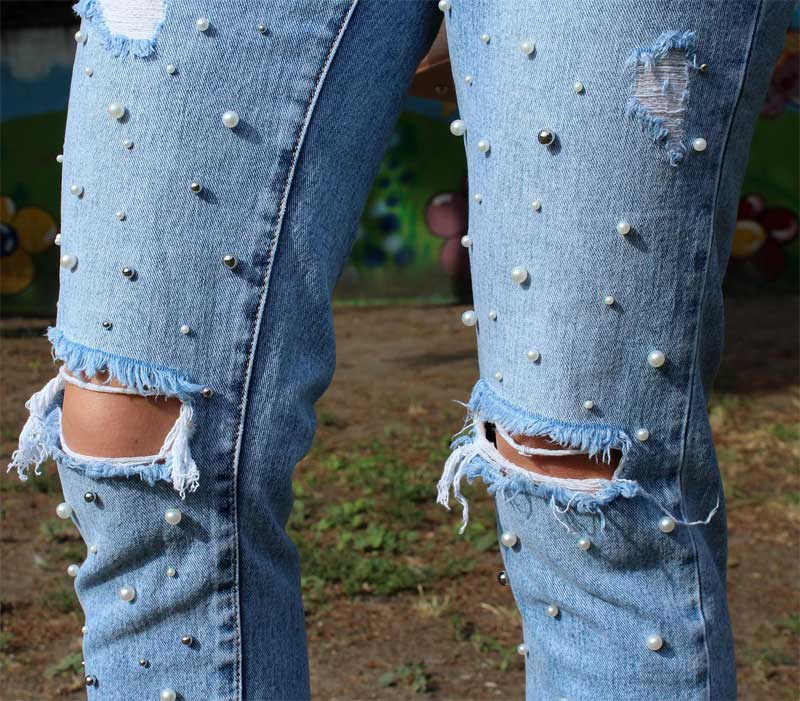
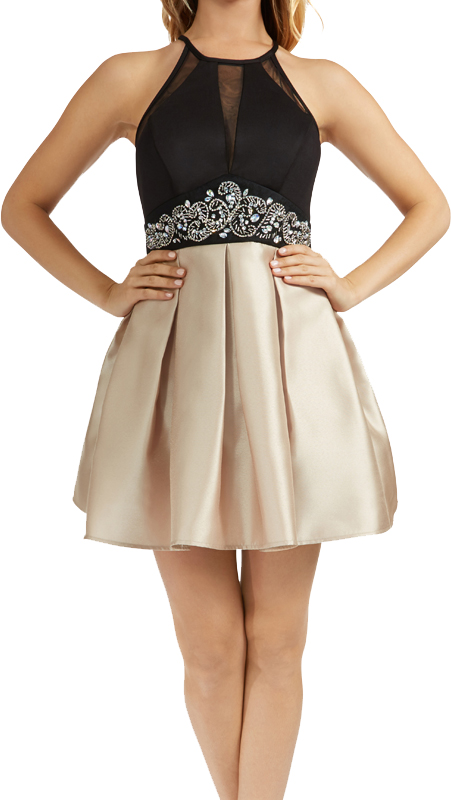
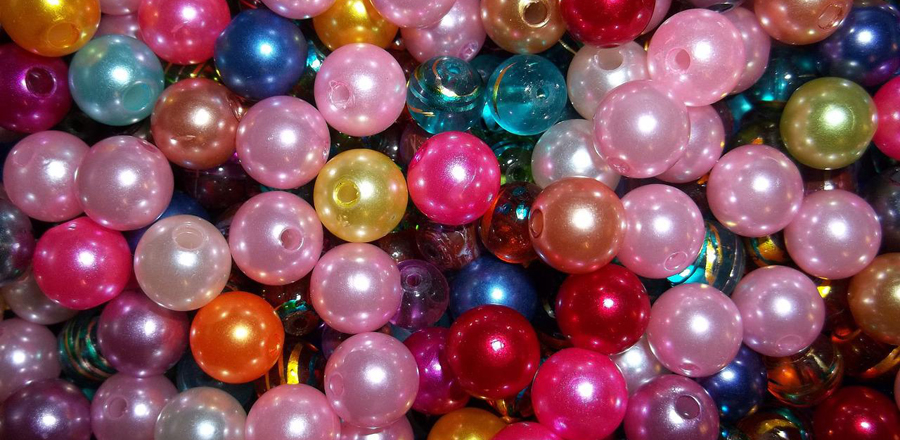
 The list of fabrics suitable for beading ranges from laces and chiffons to very heavy fabrics, such as tapestries and leathers. Besides fabric, beading can also be done on lace trims, ribbons, and 3-D embellishments (such as fabric flowers and crocheted rosettes). Because bead work becomes heavy very fast, especially when using glass beads, your fabric may require some sort of support. If this is the case, determine which stabilizing medium will prevent distortion and hold your design in its original shape. Choices include stabilizers made for machine embroidery, flannel (a favorite choice), muslin, organza, self fabric, interfacing, and grosgrain ribbon. Sometimes the best stabilizer might even be another bead, just like you would use a flat button to back a heavier button on a leather jacket.