


Have you looked at advertisements for new sewing machines lately? One boasts of 729 built-in stitches! The designs consist of holidays, seasonal references, geometrics, flowers, plants, bugs, scrolls, animals, lettering, and just about any topic you might be looking for. They are quite impressive, but where can they be used?
 In this article, Beverly Betz and Rosemary Fajgier set out to not only find uses for these great designs, but also to explore their machines and find some of their little known features. Although these stitches can be found on traditional sewing machines, when using them, there are a few embroidery tips that should be followed.
Starting Out
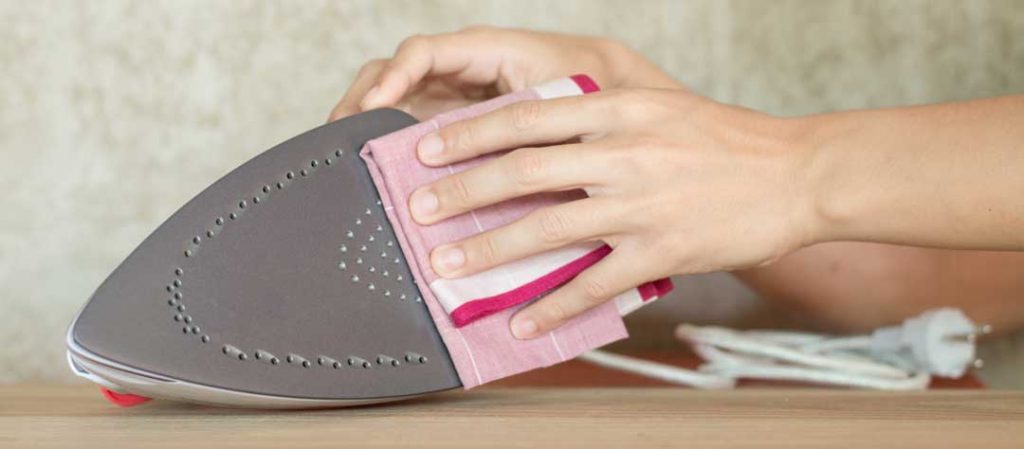
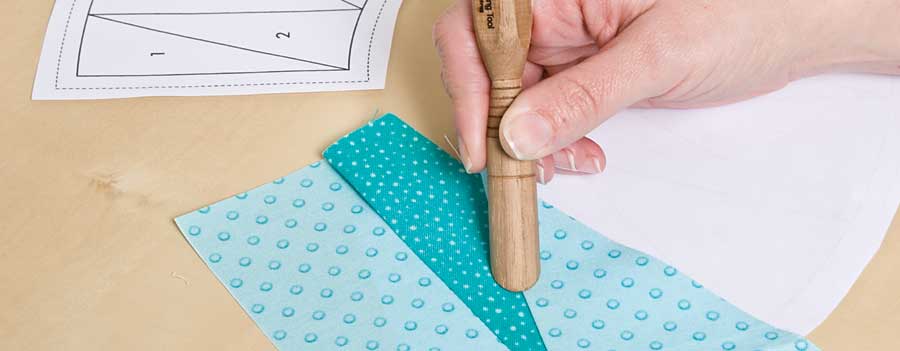
First, begin with the proper foot installed on your machine. Some machines will indicate the foot by number or letter. Generally, this will be a foot that has a wider needle opening to allow the needle to move from side to side without hitting the foot and breaking. The second characteristic of the foot is on the underside. If you turn the foot over, you will see that the foot has a channel running from the needle opening to the back of the foot. This channel is especially important for those stitches that are dense and use more thread when created. The channel allows the extra space needed for the stitch to clear the foot without getting hung up under it.
Stabilize It
The extra stitches often overwhelm the fabric and cause it to pucker if not supported properly. To avoid this, use a stabilizer under the fabric. What kind of stabilizer? That depends on several factors:
- Weight of the fabric—the lighter the fabric, the lighter the stabilizer
- Use of the item—if it will be worn and laundered, use a cutaway, otherwise a tear-away may be used.
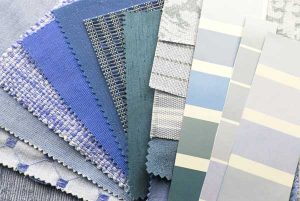
Which Thread?
Threads can make a big difference in the final appearance of the stitches. Embroidery threads have a glossy sheen to them and especially when contrasting colors are used, draw the eye to the stitching and make the design detail pop.
Tip: Before you begin stitching, always make sure you have enough thread on the bobbin to complete the line of stitching. Trying to realign your stitching once you change a bobbin is most frustrating!
Where to Use Them?
So where can these decorative stitches be used?
- One of the more traditional ways is to use them for top-stitching — try placing them on hems or collars to give a bit of detail on the edges of garments or on home dec items like curtains.
 If your machine has lettering capabilities, little kids love having their name stitched on the lining of their garment or as an accent around a pocket or other design detail It’s a great way to make that garment even more special because it will be personalized.
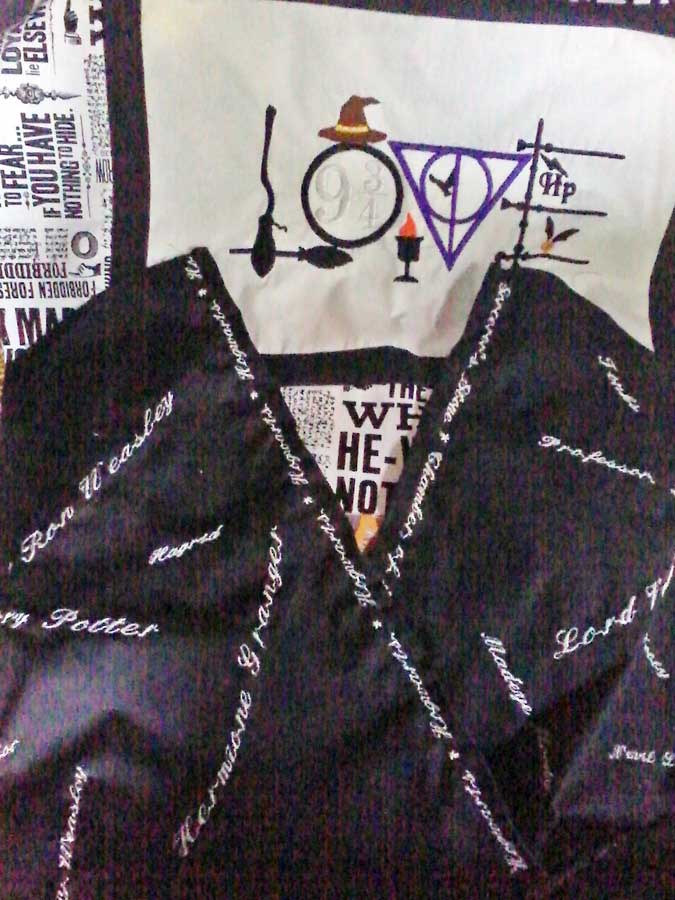
- Lettering can also be used to upscale other items. For example, rather than using a plain black fabric for this Harry Potter pillow (right), randomly stitched character names on the fabric made it a one-of-a-kind pillow.
- When putting in a zipper, top-stitching down the sides of the zipper gives a great accent and a pop of color.
- Purse handles get attention when accented with specialty stitches.
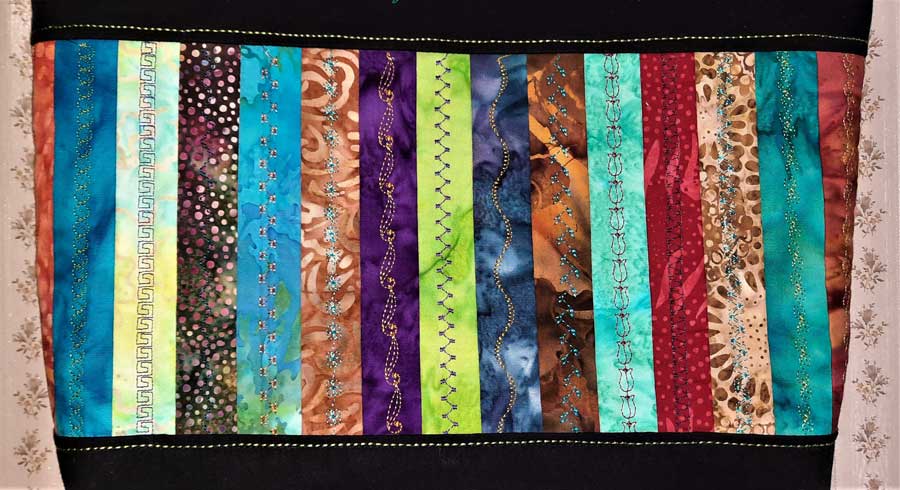
Quilters have long used these kinds of stitches to accent crazy quilts and even bindings. In this tote bag, a number of different patterns were stitched down the centers of strips to give the tote an added detail. The stitches can be applied on the strips as a sewing detail or to quilt the layers together.
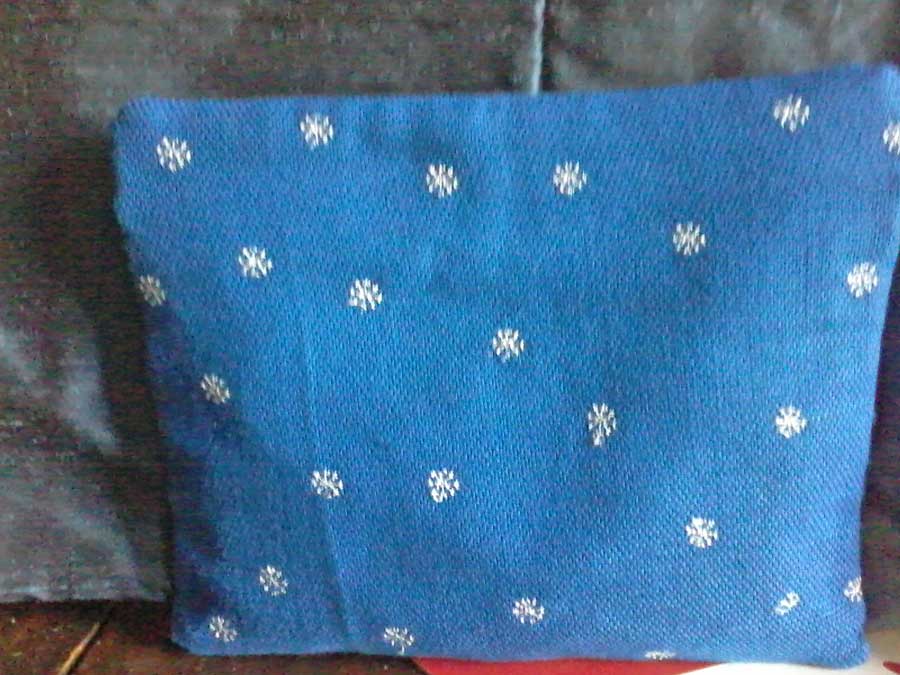
Just because we traditionally think of specialty stitches as long lines of stitching doesn’t mean that is the only way to use them. When this plain blue fabric got a new personality with embroidered snowflakes in a random pattern on the fabric. Note that some machines can be set to stitch single designs while others must be stopped manually after each motif. And instead of quilting in just straight lines, why not use the specialty stitches when you want to add a little creativity to plain fabric. Either way, it’s a great technique to use to create an all-over pattern or just a few random accents.
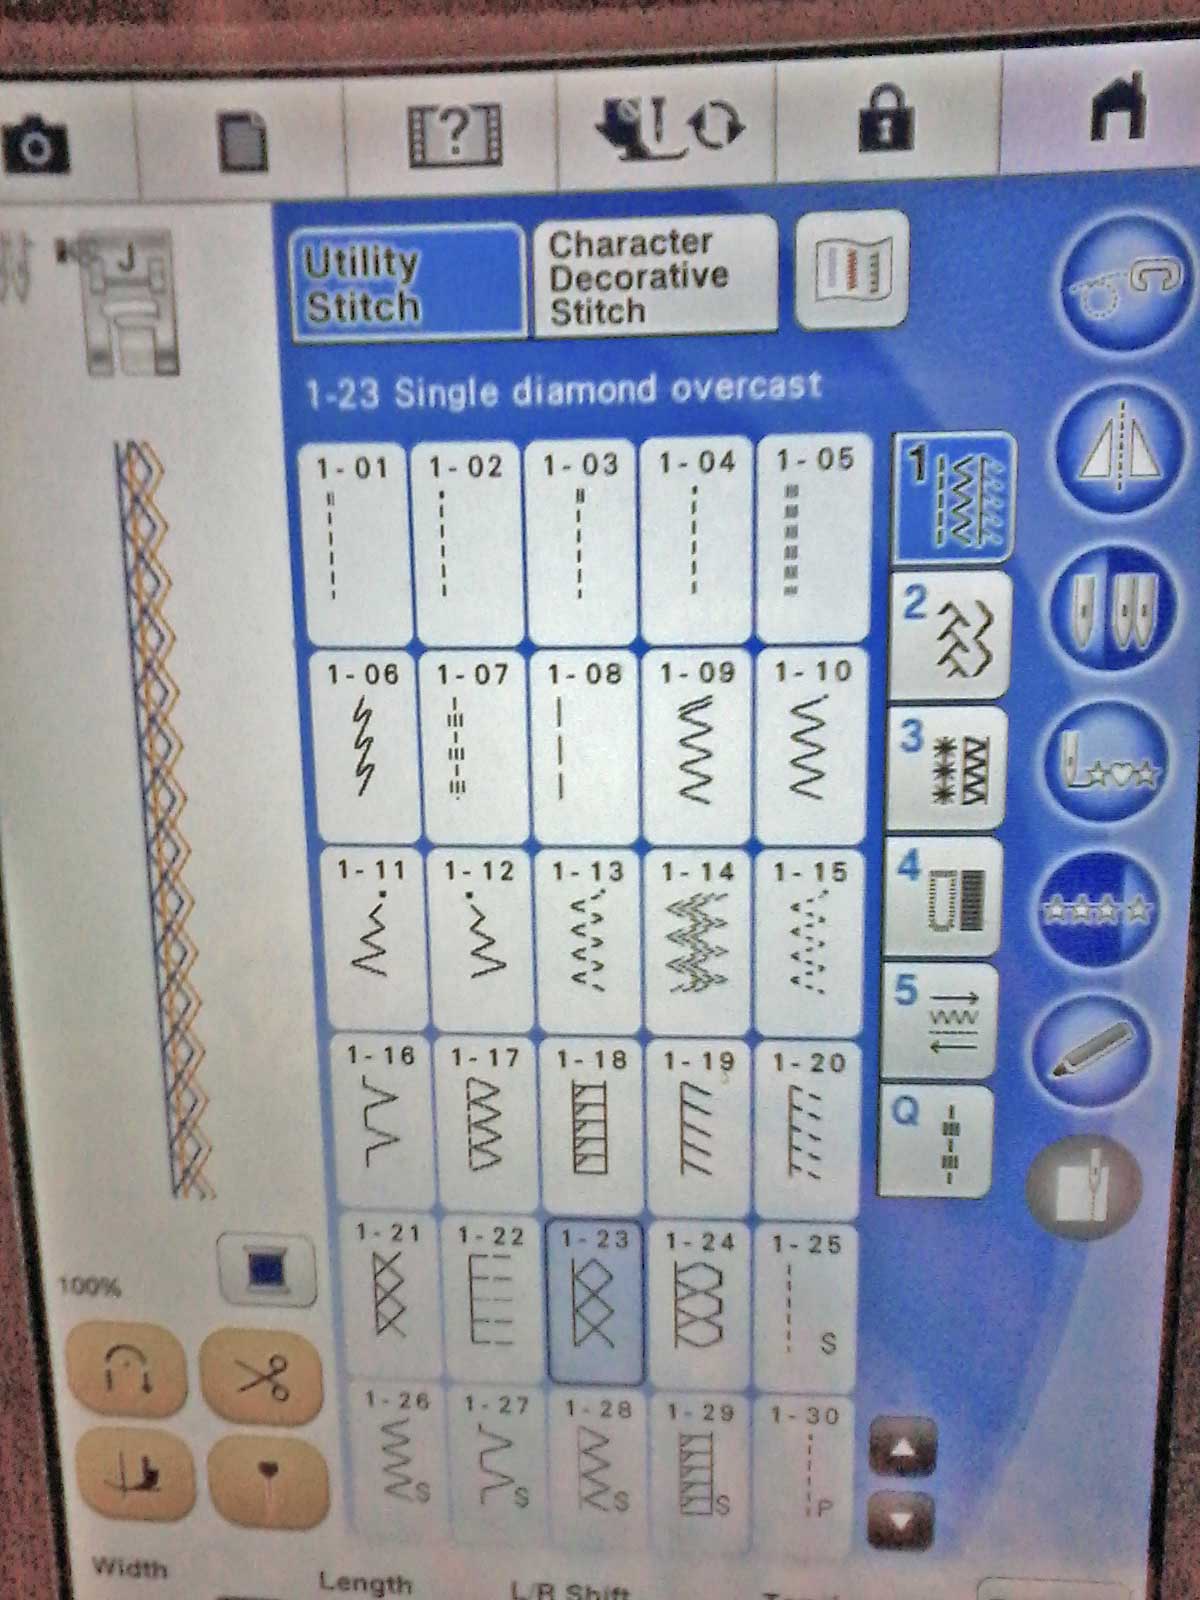
What’s on the Screen
 The way the stitch appears on the machine screen and the way it looks when stitched out is sometimes very different. Therefore, it’s a good idea to test out the stitches to see if you like them before placing them on your finished project. Even doing test stitches can spur some creativity, as shown here by placing a number of designs together to create an overall pattern. Starting in the center with tiny blue eyelets, a wavy pattern was added and stitched down either side of the eyelets. Then a utility stitch in yellow resulted in a heavier braid effect. Rows of stitches continued to be added until a desired width was achieved. This design is now slated to become the front of a peasant-style blouse, but it could just as easily become a decorative pocket, or used on the front on a purse. You can even take a plain piece of fabric and fill it with your pattern to create an entirely new look to the fabric.
To get a good design, it is important to align each new row of stitching in relation to the last. The width of the presser foot makes a great spacer, as does marking a line with chalk that you can follow when stitching. And if you have a laser pointer on your machine, here is a great use of that feature. But if you don’t want to keep sewing in straight lines, how about stitching in curvy lines from various directions to create a totally unique pattern. Placing decorative stitches on fabric in random patterns gives the impression of an all-over print.
Some machines provide the same stitch in both a small and large size. If the large design requires the feed dogs to move the fabric horizontally to achieve that wider width, accurate alignment with preceding rows can be very difficult. It is better to start with the narrower designs when first stacking straight rows. The wider width ones are best used when straight lines are not necessary.
Some machines allow the user to flip or mirror image designs. Mirror imaging allows you to create more symmetrical designs and achieve a framing effect.
Change Up Your Design
Now that you have the basics, how else might you change up your design?
- Variegated thread is an easy way to add different colors without having to change spools. Testing is critical when using variegated threads. Some of the dense, satin stitch designs just don’t translate well into these threads. They produce awkward bands of color, depending on the length of each color in the thread. Generally they create the best effects with light, airy stitches.
- Check to see if your machine allows the use of a double needle for specialty stitches. The double needle allows the use of two colors and gives a shadow effect while stitching. Not all stitches can be done with a double needle, so check your particular machine manual.
- Try using a double eyed needle — one needle allows thread from two different spools to be stitched at the same time within the same stitch. When the same color thread is used, it gives the effect of a heavier thread without the hassles of requiring a larger eyed needle. When different colors are used, you can choose the exact blend of colors and are not restricted to those on variegated spools. Because the two colors are always present, there is no banding like the variegated thread. The randomized twisting of the two threads also presents an ever changing effect in the stitching.
While creating a manual stitching pattern manually is time consuming, it’s not especially hard. And watching a pattern emerge is exciting and rewarding. While playing with her decorative stitches, Rosemary discovered that these same stitches could also be used in her embroidery mode on her machine. Using the embroidery mode took all the tedium out of trying to align the stitches and allowed more focus on the creativity of the patterns. But that’s another story. Look for Part 2, Using Decorative Stitches in the Hoop coming soon. Until then, give the manual method a try a see what you can create.
~Beverly Betz and Rosemary Fajgier
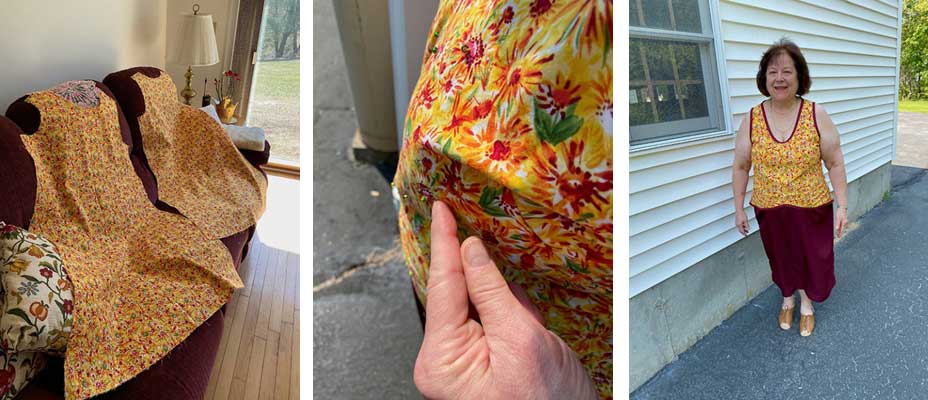
 Short answer—it depends! Many home décor fabrics can be used for garments, but some are better left on the bed or the chair. So, ask some questions about it before jumping into the switch.
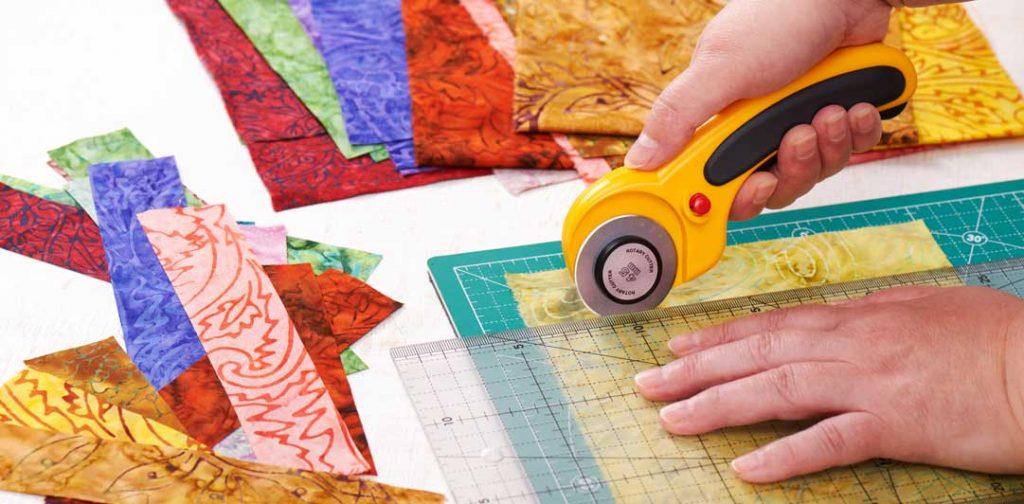
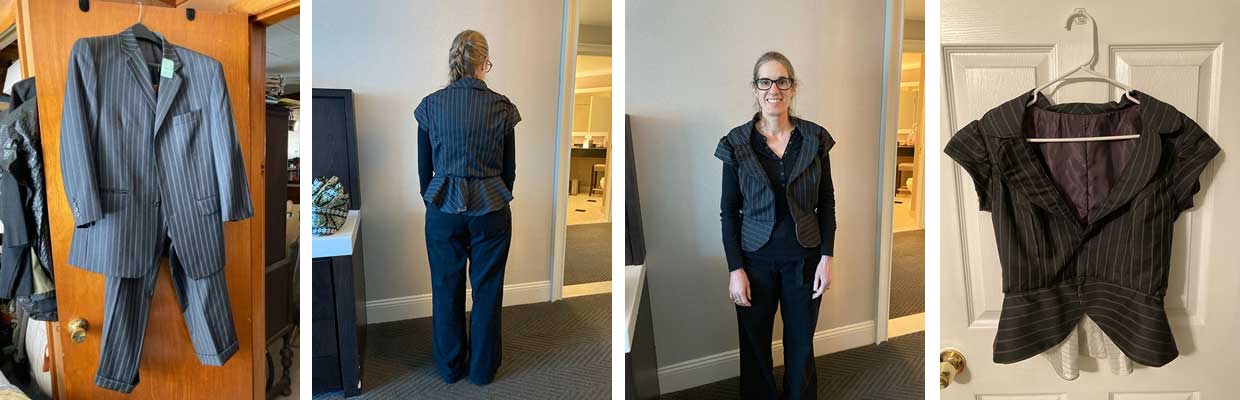
 An upcycling article in Threads Magazine was the inspiration behind a member contest in the Central MA ASG chapter. Four chapter members participated in the contest and they were judged by two members the North New Jersey chapter, and one from the San Jose chapter.
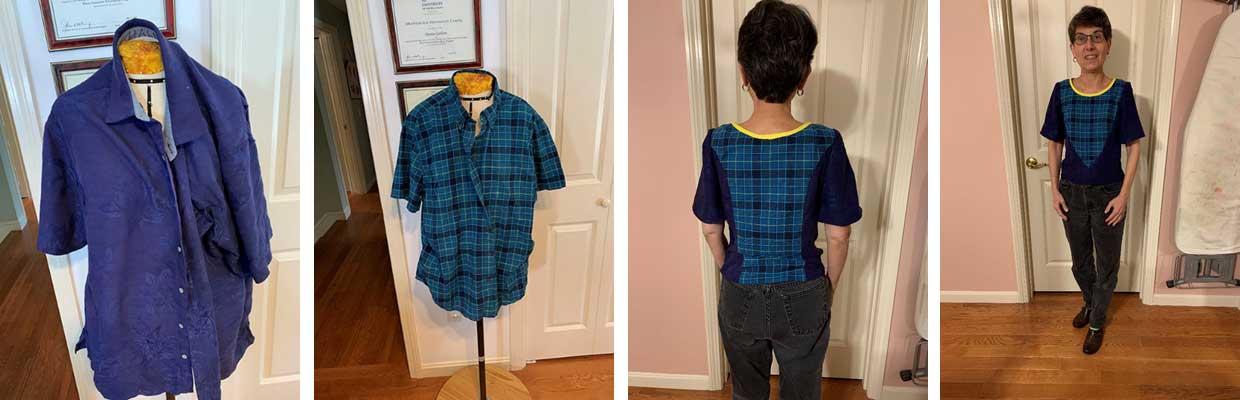
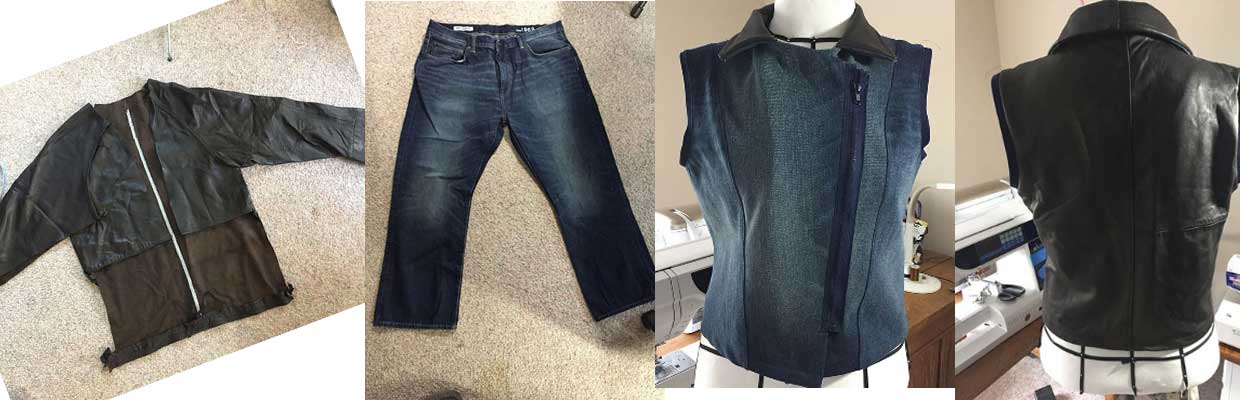
 Not your typical marijuana plant, hemp can now be legally grown (within very specific restrictions) throughout the US. A more familiar use of this plant is as a source of CBD oil. And while it only captures a small portion of the textile market — less than 1% — it is also used to make fabric.
 It all starts with Mycelium; the fungus mushrooms are made of. When harnessed as a technology, it can be used to create everything from a plant-based steak to fabric. The cells are grown on beds of agricultural waste and the byproducts are compressed into an interconnected 3D network. Finally, it is tanned and dyed to create a product that resembles leather.
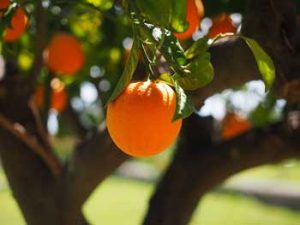 Fabrics are formed from a silk-like cellulose yarn made from citrus waste that can blend with other materials. When used in its purest form, the resulting 100% citrus textile features a soft and silky hand-feel, lightweight, and can be opaque or shiny.
 While it may sound cutting-edge to create fabric from a banana plant, it was actually back in the 13th century when banana fiber cloth was first introduced in Japan. It comes from leave sheaths around the stem of the plant of abacá, a species of banana. The length of the fibers can be more than 3 meters long. Currently, it is being increasingly used in the manufacturing of garments, household textiles and upholstery thanks to innovations in the process of this fiber.
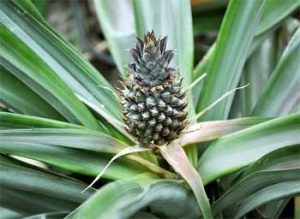 Often referred to as ‘pineapple leather,’ Piñatex® manufactures this material from the leaves of the pineapple, which are traditionally discarded or burned. There are several variations of the textile, with new developments for naturally dyed and 100% natural versions without the synthetic coating sometimes used to weatherproof the leather.
 “Wine leather” or “grape leather” transforms grape skins, seeds and stalks discarded during wine production from waste into a vegetal leather. And since 26B liters of wine are produced worldwide every year, the potential here is noteworthy.