American Sewing Guild (ASG)

Visit our blog Visit the ASG Facebook page Visit ASG on Pinterest Visit ASG's YouTube channel Visit ASG on Instagram
  • Home
  • Join ASG
    • Join Online
    • Chapter Locations
    • Member Benefits
    • Member Brochure
    • Join by Mail
  • Conference & Education
  • Resources
    • Contests & Awards
    • Giving Back
    • Hall of Fame
    • Links
    • Travel and Tours
    • Measurement Chart
  • Shop
    • ASG Store
    • Chapter Products
    • Video Resources
  • Blog
  • About
    • About Us
    • Donate to ASG
    • ASG Sensitivity Statement
    • FAQ’s
    • Start a Chapter
  • Contact
  • Member Login
    • Login First!
    • Members Only
    • Leadership Only
    • Website FAQ’s
    • Logout
  •  

August 14, 2020

What I’m Sewing: Itch to Stitch Hvar Jacket

Itch to Stitch Hvar Jacket patternToday, Nancy Nix-Rice from the St. Louis chapter shares her experience sewing the Hvar Jacket from Itch to Stitch.

In Nancy’s words…

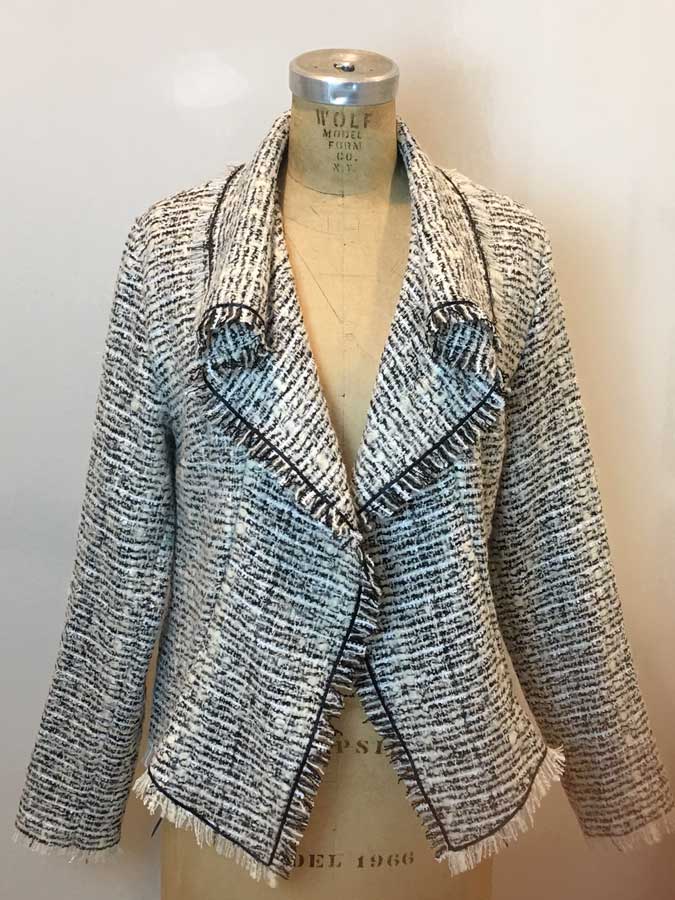
Although I sew primarily with patterns from the Big Four, I set a challenge for myself to sew a project every day of quarantine, using only fabrics and notions I have on hand. That has pushed me to sample a few indy designers with some great results, like this jacket.

Q. Item Created 
A. Hvar Jacket

Q. Independent Pattern Designer
A.
Itch to Stitch

Q. Name and Number of Pattern
A.
Hvar jacket

Q. Fabric Used:
A. Wool and mixed-fiber tweed in cream and black

Q. Special Embellishments/Notions Used
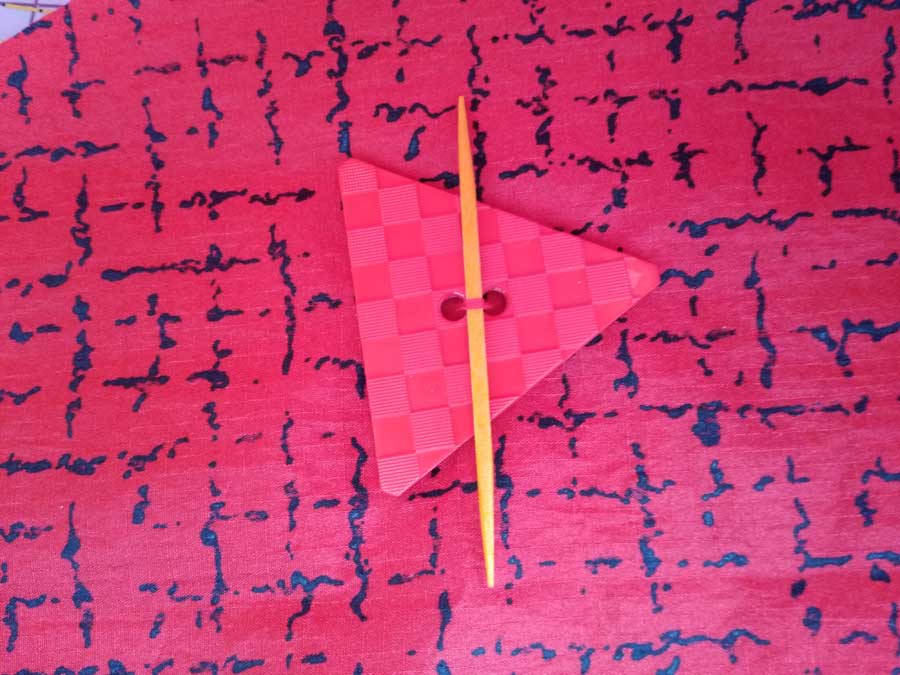
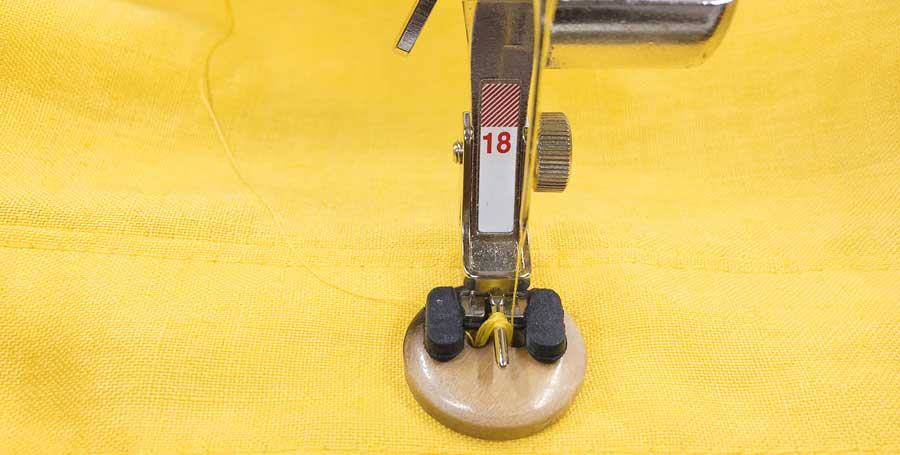
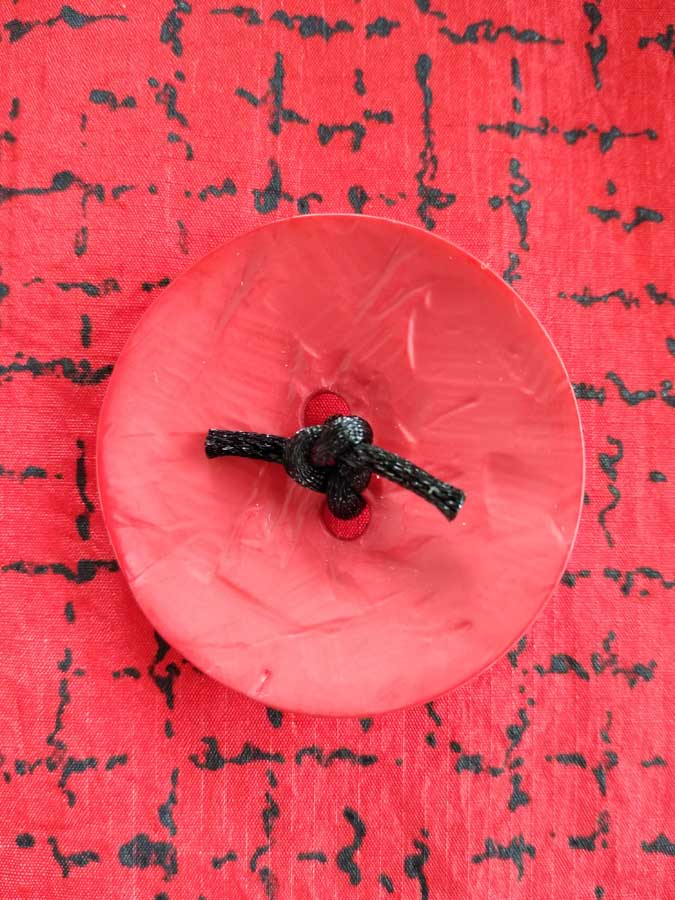
A. 1/8″ satin ribbon

Q. Skill level required?
A.
Basic

Q. Are the instructions easy to follow?
A.
Yes. I did modify them to suit this fabric.

Q. Are you pleased with the finished result? Did it meet your expectations?
A.
I love the finished jacket – tweeds, fringe and cascade fronts are all on my favorites list. And I love that I can wear this dressed down with black denim or dressed up with a winter white ponte sheath dress. It also spans the seasons except true, hot summer.

Q. Did it look like the picture?
A.
The styling looks like the picture, but the fabric gave it a dressier presence compared to the more casual example on the pattern.

Q. Did you make any modifications in the pattern?
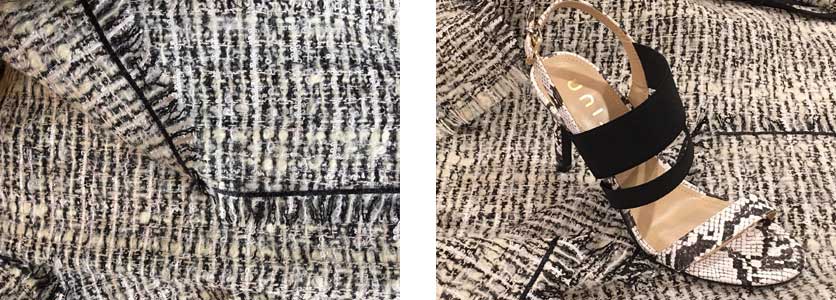
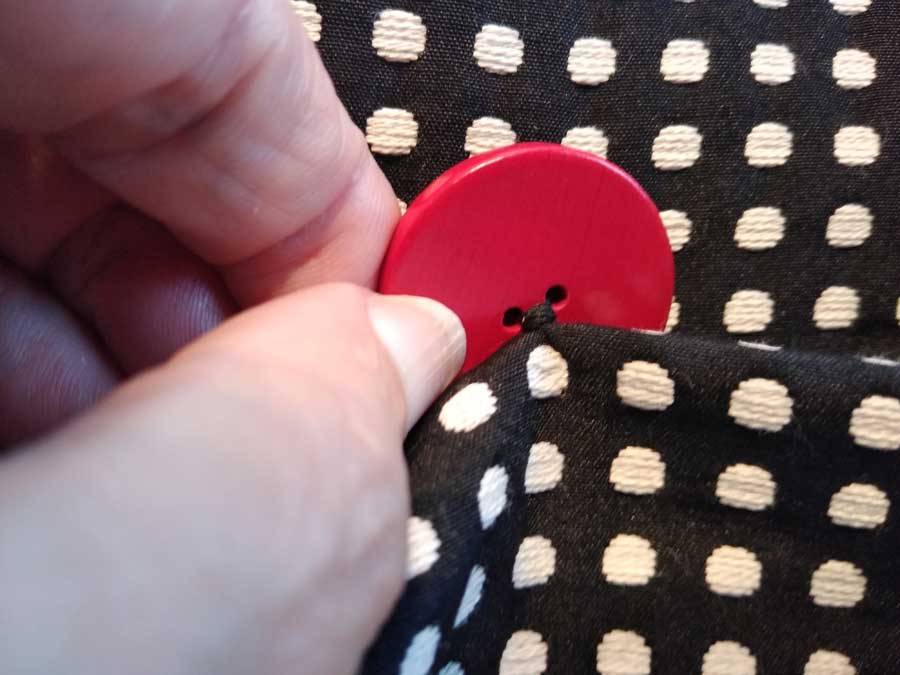
A.
I eliminated the double-layer front/collar in favor of a single layer finished on all the edged by fringing the fabric. Then I continued the fringe around the entire hemline, using the satin ribbon (zigzagged in place) as a “fence” to define the end point for the fringe – especially relevant since some of the edges were not entirely straight grain. (SNEAKY TRICK: because opposite sides of the fabric are visible above and below the roll line, I worked an opening into the weave of the fabric and fed the ribbon through to change sides as needed.) I also used bias strips of black lining fabric to bind all the inside seams.

Q. Are there any changes you would have made?
A. I will go back and put a lining into the sleeves because the fabric is a bit scratchy against bare arms, but that really isn’t an issue with the pattern.

Q. Did the pattern teach you any unique or special techniques?
A.
I learned off-grain fringing in this product, but not fro the pattern directions.

Q. Would you make this again?
A.
I will probably make a more casual version as well.

Q. Would you recommend this pattern to others?
A.
I would recommend it highly – extremely easy and fast to sew, with great-looking results.

Pattern information: https://itch-to-stitch.com/new-pattern-hvar-jacket/


~Nancy Nix-Rice, St. Louis Chapter of ASG
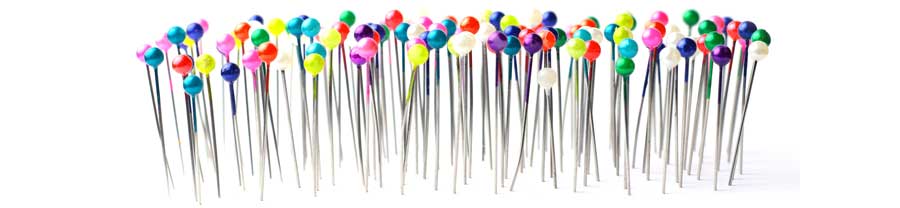
Did you enjoy this article?
Are you an ASG member?
This field is for validation purposes and should be left unchanged.

August 7, 2020

Buttons: Attachment Antics

Button, Button

Whether you use them functionally to close a garment, tote or other project, or you line them up as a border or trim or even string them together for a bracelet, buttons are definitely a fun sewing notion.

You can find buttons made from plastic, metal, bone, rhinestones, wood and a host of novelty materials. They can be machine made and mass produced in a variety of shapes and sizes, or carefully handmade one at a time. And you can even make your own buttons.

Sew-through or Shank?

buttons with holes
Buttons with holes

When you first look at the button rack in your sewing store, you will notice two types of buttons—those with visible holes and those without. The holed buttons may sport two, three, four or more holes, offering a wide range of options for attachment.

buttons with shanks
Buttons with shanks

Shank buttons don’t have a visible means of attachment on the button surface, and thus offer the opportunity for a more ornate design. The attachment loop is on the underside, either molded into the button backing, or as an attached plastic or wire loop.

While a sew-through button is flatter against the fabric surface, a shank allows the button to sit above the surface of the fabric and is ideal for thicker fabrics like coating and suiting.

Size Wise

Buttons can range from 1/8” to around 2 ½” diameter. Your project pattern should tell you what size is recommended and you can look for that measurement on the button card.

It’s a good idea not to vary the button size too much from the pattern’s suggestion, as the closure needs to fit within the allotted space on the garment. If you choose a different size, it may be necessary to re-space and/or resize buttonholes.

Attachment Antics

While you may have years of experience sewing on buttons, there are some tricks to make the process easier.

If you have a sew-though button and you’re putting it on a garment sewn from a thick fabric, consider making a thread shank to avoid having the button make an indentation in the overlapping layer. The easiest way to do this is to put a toothpick between the button holes while sewing it on. Then, pull out the toothpick when the attachment is done, leaving you extra thread length to accommodate the fabric thickness.

A second way to make room for thick fabric involves leaving extra space below the button for a thread extension, then wrapping that extension to neaten the multiple thread strands of the shank. The length of the shank should accommodate the fabric thickness.

For a quick and easy button attachment for sew-through versions, use your sewing machine to secure the threads. Consult your owner’s manual for exact settings, but use an open-toe foot (some machines have special button sewing feet). Some button feet offer a metal projection to allow for making a thread shank on the button. If you need to secure the button before sewing, tape it in place, stitch through it, then peel off after sewing. Set the stitch length to zero and the adjust the stitch width to span the button holes. Then stitch back and forth between the holes about five times, and if it’s a four-hole button, move onto the next hole set and repeat. At the end of the process, lock or tie the threads on the underside.

Photo courtesy of Bernina

Button with a tied mountGot a novelty thread or ribbon you want to showcase, or a thin leather strip? Tie the sew-through button on. Put the strand through a large needle eye and stitch down through the hole from the right side, leaving an end long enough to tie. Bring the strand back up through the other hole(s) and tie off securely in a square knot. A bit of seam sealant can be used to secure the knot. Clip the strand ends shorter.

Fun or Funk

If you have an especially large or odd shaped button that you dearly love, but it would need a giant buttonhole to actually function, be clever and just sew it to the overlap side, either with or without an uncut buttonhole stitched under it. To make the functional closure, use snaps for an open-and-shut case without undo stress.


~Linda Griepentrog
Linda is the owner of G Wiz Creative Services and she does writing, editing and designing for companies in the sewing, crafting and quilting industries. In addition, she escorts fabric shopping tours to Hong Kong. She lives at the Oregon Coast with her husband Keith, and two dogs, Yohnuh and Abby. Contact her at .

Did you enjoy this article?
Are you an ASG member?
This field is for validation purposes and should be left unchanged.

Tagged With: buttons, sewing, shank buttons

July 31, 2020

Working with Snaps

Snap to it! Snaps, the handy two-part fasteners that we often don’t think much about, offer a multitude of options for garment closures.

Look for them in metal finishes (silver, gold, black or some colors) and in a multitude of plastic hues. There are also clear snaps available for greater invisibility and they’re ideal for prints, where choosing the right color can be tricky. When choosing metal snaps, be sure they are rustproof for durability.

Whether you use them for their intended purely functional purpose of holding two fabric layers together without visibility, or you use them artfully for a collage of added texture or a blatant “accessory”, the humble snap deserves attention.

Sew-on snaps come with two parts—a ball or knob portion, and a socket portion that accommodates the depth of the ball section when the pieces are pushed together. These are sometimes referred to as the ball and socket, or the male and female portion of snaps.

Size Wise

Snaps come in a variety of sizes from 1/8” diameter up to about 1 1/4” diameter. Most snaps are round with multiple holes around the perimeter, but some snaps are square, hexagonal or novelty shape, like flowers, hearts, etc.

Looking to purchase snaps? Shop Ghees or the Sewing Place and don’t forget to check the Special Offers page for ASG member discounts.

Smaller snaps are thinner than their larger counterparts, and thus have less holding power, so match the snap size to the weight of the fabric and the durability needed for the closure.

Snaps utilize three different sizing systems, depending on the brand. Some are categorized by their fractional or metric size (i.e. 1/4” or 30mm), others utilize a ligne system where 40 lignes=1”, and still others are listed by a letter sizing system. It’s easiest to just look at the snap and decide its practicality for the intended use.

Attachment Options

Snaps go between two layers of a project opening and are normally concealed, though fashion trends vary and often snaps become a decorative feature. It’s a good idea to have interfacing in the area where the snap sections be applied for durability.

Stitching a snapMark the location of one half of the snap, noting that the ball portion usually is applied to the underlayer and the socket portion to the overlap, but some sewers prefer the opposite. For easier marking, attach the ball portion first, then chalk the extension and press in place over the underlayer to transfer the marking.

To attach the snap sections, sew in and out of the same hole three to five times, being sure that the stitching doesn’t go through to the outside of the garment. After one hole is secure, carry the thread through the fabric layers to the next hole and repeat the process for each subsequent hole before knotting the thread and burying the tails.

For a more couture finish, attach the snap sections using a blanket stitch to secure the holes.

Snap portions can also be attached by machine, much as you would sew on a button. To hold the snap in place for sewing, tape it in place, sew through the tape, then peel off when stitching is complete. Use an open-toe foot, set the machine for zero stitch length and a stitch width to span the hole opening and the edge of the snap. Stitch in place three to five times to secure, then move to the next hole. Note that with this method, stitching will show on the reverse side of the garment opening.

Covering Up

Covered snapIf you don’t like the look of a large metal snap, especially on a tailored garment, think about covering the parts. You can also purchase snaps in various colors that are pre-covered.

To cover a snap, cut a circle of tightly woven lining two and a half times the diameter of the snap for each section. Hand-sew a line of running stitches around the perimeter leaving long thread tails. Place the snap half right side down onto the circle and pull the threads to gather the fabric tightly around the snap section. Pull tightly and stitch the circle edges together. The gathered fabric portion edges are hidden under the snap when it’s sewn in place. Repeat for the second snap half. To expose the ball portion, push the snap halves together and separate the fabric threads. If your covering fabric is prone to fraying, use a toothpick and add a very thin line of seam sealant around the base of the extension.

Sew on the snap sections as you would an uncovered variety.


~Linda Griepentrog
Linda is the owner of G Wiz Creative Services and she does writing, editing and designing for companies in the sewing, crafting and quilting industries. In addition, she escorts fabric shopping tours to Hong Kong. She lives at the Oregon Coast with her husband Keith, and two dogs, Yohnuh and Abby. Contact her at .

Did you enjoy this article?
Are you an ASG member?
This field is for validation purposes and should be left unchanged.

Tagged With: closures, Fashion, sewing, snaps

July 24, 2020

Sewing Basics: Getting to the Point of Pins

Do you know the different types of pins?

Various styles of pins on cushionPins may not be the most exciting item in your sewing box, but they are a vital tool to anchor your fabric when you are sewing. When choosing the type of pin to use, there are several elements that should be considered as each type of pin is made with unique characteristics that target a specific purpose, depending on the type of project, the fabric used, or even how it’s going to be sewn. We will look at:

  • Head style
  • Length
  • Thickness
  • Point style

After a review of the characteristic of each, we’ll suggest four common pins you may want to keep in your sewing box to be prepared for almost any type of project.

Head Style

Pins come in three basic head styles, each with a different purpose. The choice comes down primarily to your need for visibility and ironing.

  • Flat/No Head: This type of head can be difficult to see but has the advantage of working well when you need to iron the project with pins in place since there is no head to melt. It is also a good choice for hand sewing as there isn’t a head for your thread to catch on.
  • Glass: Like flat head pins, glass pins are good for projects which need to be ironed with pins in place because the glass heads will not melt on the fabric. They also have the advantage of better visibility since there is a colored head that shows more prominently than flat/no head pins.
  • Plastic: These pins come in all sorts of brightly colored ball or flower shaped heads and are the easiest to spot on your project. If you keep that hot iron away from those plastic heads, they can be a great choice.

Length

Pin length is tied to the thickness and layers of fabric you are working with. The thicker the fabric and the more layers you are working with, the longer length pin you should choose.

  • Short and stubby: The shortest pins are about ¾” long. These work best for small delicate projects. Due to their short length, they are not well suited for anything other than the sheerest of fabrics.
  • Universal/dressmaker length: This is one of the most common lengths and will work well on most fabric types and thicknesses. They are 1 – 1 ½” long which is long enough to pierce through most fabric types but short enough to avoid bending too much as you pin through the layers.
  • Quilting length: These pins are longer since they need to handle multiple layers of fabric, as well as batting. They are usually 1 ½ – 2” long which can easily manage all those thicknesses.

Thickness

Pin thickness choice will be impacted by the delicacy of the fabric you are working with. Pins make holes so your fabric’s ability to recover from those holes drives your choice. The general rule is the finer the fabric, the finer the pin.

  • .4mm: This size passes beautifully through the finest of sheers.
  • .5mm: These may be called extra-fine, super-fine, silk, or satin. They are recommended for fine, lightweight fabrics, including some sheers.
  • .6mm: Most all-purpose pins are labeled fine and are best paired with medium-weight fabrics.
  • .7mm or .8mm: These may be harder to find, but the diameter is great for thicker fabrics like heavy wools, denim, and quilted layers. Just remember that they will make larger holes.

Point Style

The point style choice is directly impacted by the fabric you are working with, in particular woven vs. knit. Think about how you choose your sewing machine needle — one type for knits and other types for different wovens. The same logic applies in choosing the right pin.

  • Sharp: These all-purpose points work well with most woven fabrics in all but the more delicate weights.
  • Extra-sharp: These have a more defined, tapered point that will pass cleanly through the more delicate fabrics.
  • Ball point: Ball point pins are intended only for use with knits. The point is rounded so it slips between the loops of the fabric and does not pierce or pull the yarns.

What should you have?

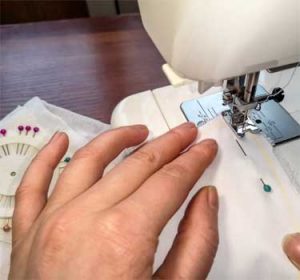
Now that we know about the various elements of pins, let’s get to the point for what is a good mix to have in your stash of pins. With this variety, you will be well prepared to handle almost any project.

We suggest:

  • Glass Head: Keep a stash of universal glass head pins on hand. They will probably be about 1.5” long and .6mm thick which is a great choice for most projects and won’t melt if you touch them with a hot iron.
  • Ball Point: Keep a stash of these for your knit projects. They are likely to be about the same length as your glass head pins but are likely to have a plastic head since knits are much less likely to be ironed with a hot iron.
  • Silk: If silk or similar delicate fabrics frequent your projects, this is a good pin to include in your stash. In addition to having a delicate shaft, they usually have a flat head or no head so ironing over them is not a problem. Always test your pin on a scrap to see how the fabric recovers and keep pins within your seam allowance to help avoid unwanted holes.
  • Quilting: Even if you are not a quilter, these are good pins to include in your stash. They usually have plastic ball heads, but melting isn’t usually a concern since most ironing on quilt projects happens before and after pinning. And because quilts are usually made with a sturdy cotton, your fabric should be able to handle the heavier weight of the pins.

Now that you know the point of pins, you should be able to choose the right type of pin to use for your project.


~Sheryl Belson, ASG

Did you enjoy this article?
Are you an ASG member?
This field is for validation purposes and should be left unchanged.

Tagged With: ball point pins, glass head pins, pin style, pins, quilting pins

July 22, 2020

Fireside Chat: Heather Lou, Closet Case Patterns

Listen in as we talk with Heather Lou, founder and director of Closet Case Patterns. Heather has taken her business from her first pattern, the Bombshell swimsuit back in 2013, to an extensive line of 23 patterns, 7 supply kits and 4 online classes that are popular choices for sewists in all age groups.


~Sheryl Belson

Did you enjoy this article?
Are you an ASG member?
This field is for validation purposes and should be left unchanged.

Tagged With: Closet Case Patterns

  • « Previous Page
  • 1
  • …
  • 55
  • 56
  • 57
  • 58
  • 59
  • …
  • 82
  • Next Page »

Become a Member

Join the only national organization dedicated to Advancing Sewing as an Art and Life Skill.

Join Now button

Blog Article Categories

  • ASG Conference
  • Chapter Stories
  • Embroidery
  • Fitting
  • Learn to Sew
  • National Sewing Month
  • Products, Books, & Patterns
  • Projects
  • Quilting
  • Sewing
  • Sewing Techniques
  • Sewing Tips
  • Sewing Tours
  • Videos
  • Disclaimer
  • Privacy Policy

American Sewing Guild
National Headquarters
9660 Hillcroft, Suite 230
Houston TX 77096
713-729-3000 | 713-721-9230 Fax
www.ASG.org

ASG wordcloud - education, conference, discounts, videos, special offers, tours and more

Copyright © 1998–2025 · American Sewing Guild · All Rights Reserved