


Enjoy this 30 minute Fireside Chat to hear how Olivia Mears ignites her creativity to create ball gowns from Christmas wrapping paper, Taco Bell sauce packets, and more!
Visit Olivia’s website at avant-geek.com
~Sheryl Belson
Enjoy this 30 minute Fireside Chat to hear how Olivia Mears ignites her creativity to create ball gowns from Christmas wrapping paper, Taco Bell sauce packets, and more!
Visit Olivia’s website at avant-geek.com
~Sheryl Belson
 As we reach the one-year mark of what was to have been a two-week isolation for Covid-19, it’s hard to believe that a virus could shut down our world, cause schools, restaurants, gyms, stores, and even churches to shutter their doors. So many got sick, lost jobs, experienced feelings of isolation and depression, and even lost their lives. Some have not seen family and friends during the year. How have we been able to not simply survive these times but, in many cases, to even thrive?
My friend and fellow ASG member, Kendra, and I were discussing this topic during one of our many phone calls this past year. Kendra is a nurse in a major hospital’s Covid wing. When I asked how she was doing, she explained that she had just had a horrible day in which she had lost five patients to the virus and was feeling especially down. In that moment, she felt the best thing she can do for herself was to come home and go to her “happy place”— her sewing room. She said that when she goes into her room and starts to play with her fabric, the stress and tensions of the day seem to melt away and she is renewed to fight another day.
As I talked with other friends who have weathered this Covid-19 storm, I’ve heard over and over again how sewing and ASG have made the difference for them and gave them the strength to not just go on, but to go on with a positive attitude.
So many of us rallied in the beginning when we were asked to make masks. We were compared to Rosie the Riveter of WWII, heeding the call to service not for our own gain but to help others on the front lines. Our knowledge of sewing gave us the ammunition to wage war on the virus. This didn’t just help pass the time, it gave us purpose and a feeling of accomplishment. We were so engrossed in service, we didn’t have time to waste fretting over being isolated at home.
As mask production began to taper off, we found we had time on our hands—time for us! Luckily, most of us had enough fabric stashed away to feed our sewing habit, and we began sewing for ourselves. Just about that time, both ASG National as well as many chapters kicked in with internet neighborhood groups and classes. Without having to risk possible infection, we could stay home and tune in to some great programs on sewing, fitting, quilting, wardrobe planning, sergers, and more. All we needed was a computer or a smartphone, but even a land-line provided audio access. How amazing was that! When Director Joi Bostic introduced us to Zoom at the ASG conference in Boston in 2019, who would have thought that this new concept would (within a year) be the lifeline on which so many of us now depend? Not only did it link us to our ASG organization it also provided a means to keep in touch with extended family members that we couldn’t visit.

Speaking of families, I can’t ignore the stories I’ve heard of how our ASG family has reached out to each other during this past year. Whether it was through phone calls, emails, or Zoom, our sewing sisters and brothers have reached out to keep relationships going and check on the well-being of this national family. ASG Director, Sheryl Belson, started a Saturday morning group in Plano, TX for just that purpose. What started out as a homegrown group to just check in on Plano members has blossomed to include members from across the country and has even introduced some new members to ASG. Way to go, Sheryl!
 I’m reminded that my 2020 New Year’s resolution was to do more with my embroidery machine, so I started a small ASG embroidery group with 4 other women. We first met in January for an organization meeting, then February brought high hopes of doing special projects. By our March meeting, everything in our state was shut down for what was supposed to be just 2 weeks. In April we decided to go online and have been holding Zoom meetings ever since. We have now reached our first anniversary and I am thrilled to say our group is going strong with 50 members from chapters across the country. It has been an amazing experience to share our knowledge of sewing and inspiring projects with each other.
![]() Looking back on 2020, I have to admit it brought many challenges and disappointments but, thanks to ASG, it also came with inspiration, learning opportunities, feelings of purpose, and so many new and renewed friendships. So, thank you ASG for getting me through 2020, and I know that whatever 2021 has in store, my ASG family will be here for me as well.
Looking back on 2020, I have to admit it brought many challenges and disappointments but, thanks to ASG, it also came with inspiration, learning opportunities, feelings of purpose, and so many new and renewed friendships. So, thank you ASG for getting me through 2020, and I know that whatever 2021 has in store, my ASG family will be here for me as well.
~Rosemary Fajgier
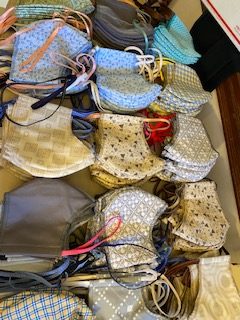
 The Central Illinois chapter members, spearheaded by Charlotte Cronin and Vicki Ghidina, made repairs to 52,000 N95 protective masks for OSF Healthcare. The elastic in those masks had deteriorated and without their help of ASG members, friends and family, the masks would have been deemed unusable. Instead, these mask angels assured that this critical PPE item was able to be used to protect healthcare workers. Congratulations to all! Read the full story
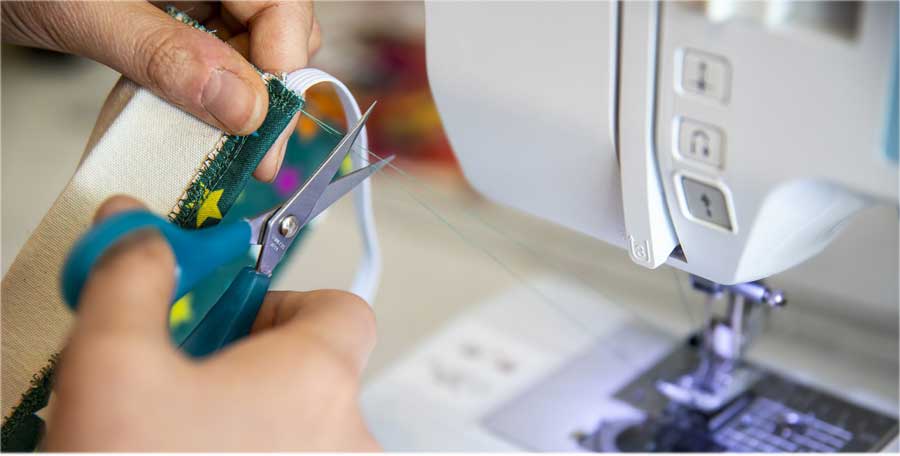
 And as the world went in to lockdown, the Dayton chapter encouraged its members to make face masks or sew other community service projects. With the stay at home order, here’s how members, Carol Coleman, set up a one woman very efficient assembly line. Each step was completed for all the masks before going to the next step. She pre-washed some donated cotton fabric, then used a Silhouette Pattern that covers the face with no gaps to cut out all of the fabric. From there, it was on to serging the curved part of the lining and placing the inner lining of either a knit or old sheeting on top of the two outer sections which were cut out right sides together and serged this curve (4 layers). Then it was on to opening the curved seams and placed the lining and and the outer fabric wrong sides together and stitching around each mask. Some time at the ironing board allowed for pressing and folding up the 1/2″ for the casing. The ribbon or 1/4″ bias tape (sewn closed) was cut and enclosed in the casing. In 4 days time, 75 masks were completed and on their way to a medical supplier in Long Island, NY.
Anne Marie Soto was interviewed by NorthJersey.com, part of the USA Today Network, sharing the North Jersey’s chapter’s enthusiastic readiness and support to make masks for healthcare facilities in the area. Read the full story
Sheryl Belson shares a funny video she made regarding making masks.
More than 30 members of the Sacramento chapter shared their time and talents by making thousands of masks for area hospitals. There is no doubt that their efforts touched the hearts of the recipients of these masks of love. Read the full story

 A table runner can be used to add color and interest to any part of your home décor, showcase a display of collectibles, or it can be used simply to protect the dining table surface. You get multiple functions in one! A runner can even be used over a tablecloth to double the decorating punch.
Runners can be as simple as a length of fabric with both edges fringed—a perfect project for kids to make, or they can be more elaborate as a canvas for stenciling, stitching, piecing and quilting.
Don’t limit the use of a runner to an eating table—they can also be used on dressers, coffee tables, buffets, breakfast bars, atop shelving units and other flat surfaces.
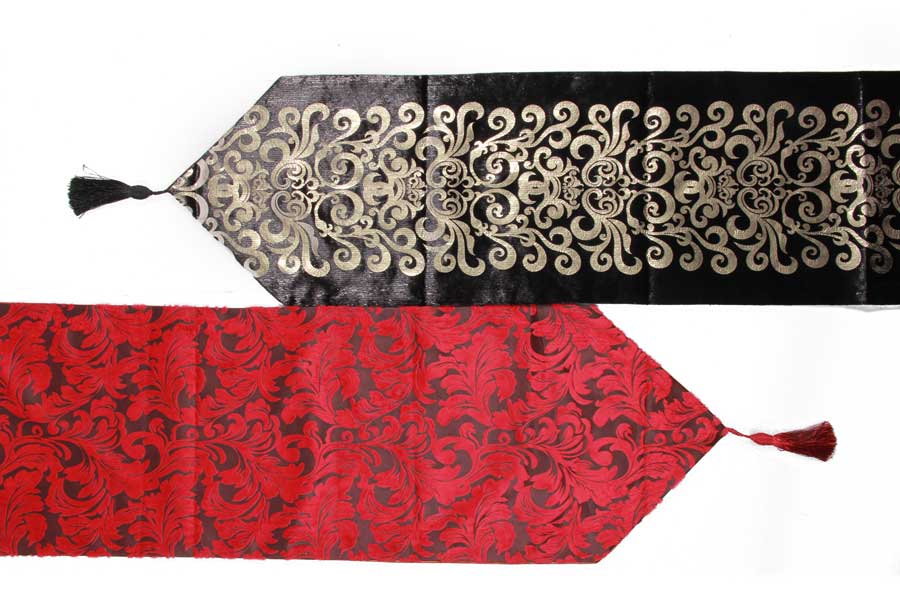
Table runners can be used to dress any table shape, from rectangular to circular. On rectangular tables, they can be placed lengthwise down the center, at one end or crosswise. Multiple crosswise runners can double as placemats. Runners can also be combined both lengthwise and crosswise on a table, visually connecting diners.
Use coordinating fabric to make napkins to accent your runner.
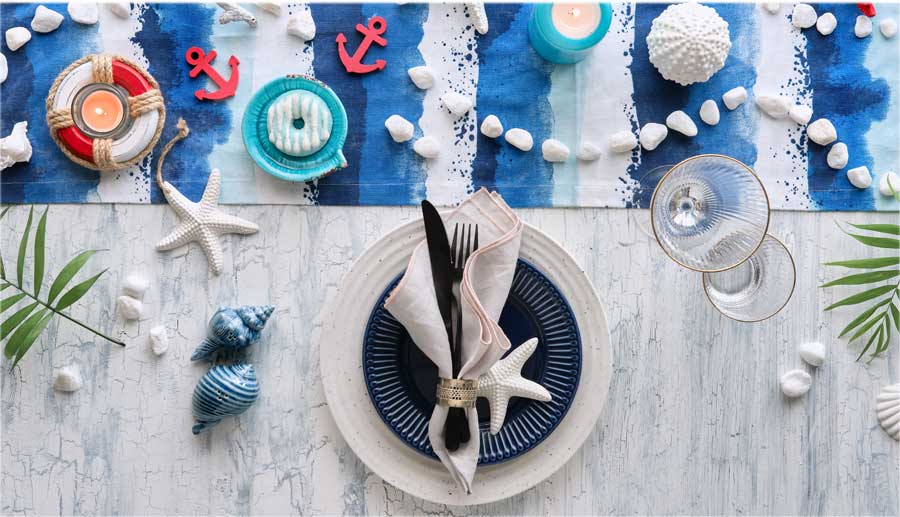
So how wide should a runner be? While there are no absolutes and it’s purely a matter of preference, the general rule is that a runner should be about 1/3 the width of table if it will be displayed lengthwise. This allows for place settings on both sides without having plates teetering half on and half off the runner. So, for a 48” table, the width should be about 13”-16”.
And how long? Again, a matter of preference. If the runner is longer than the table, there should be a 6” fabric overhang on each end. If it’s going over a tablecloth, the runner should not hang below the tablecloth edge. It should also not hit the seat of any guests. On a buffet table accent, the runner could go all the way to the floor as it won’t interfere with diners.
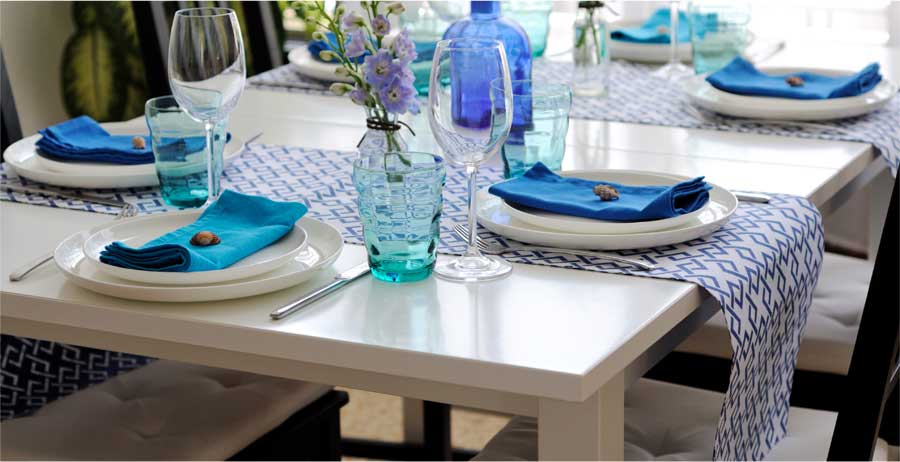
When figuring length, it’s important to consider any leaves that might be added to the table, as you might need longer runners if you’re adding leaves to increase the table length.
Another consideration for length is family pets (and small kiddos) who might be intrigued with dangling tassels, beads, etc. and opt for pulling the runner off the table surface sending any breakables crashing to the floor.
Runners roll up for easy storage, so plan to make several for different occasions.
~Linda Griepentrog
Linda is the owner of G Wiz Creative Services and she does writing, editing and designing for companies in the sewing, crafting and quilting industries. In addition, she escorts fabric shopping tours to Hong Kong. She lives at the Oregon Coast with her husband Keith, and two dogs, Yohnuh and Abby. Contact her at gwizdesigns@aol.com.
We are talking with handmade designer of women’s apparel, Ann Williamson. Ann is sure to get your creative juices flowing full force. Watch our 30 minute chat to learn about her creative process, her love of kimono silk, and her fun interaction with Ruth Bader Ginsberg.
~Sheryl Belson
