American Sewing Guild (ASG)

Visit our blog Visit the ASG Facebook page Visit ASG on Pinterest Visit ASG's YouTube channel Visit ASG on Instagram
  • Home
  • Join ASG
    • Join Online
    • Chapter Locations
    • Member Benefits
    • Member Brochure
    • Join by Mail
  • Conference & Education
  • Resources
    • Contests & Awards
    • Giving Back
    • Hall of Fame
    • Links
    • Travel and Tours
    • Measurement Chart
  • Shop
    • ASG Store
    • Chapter Products
    • Video Resources
  • Blog
  • About
    • About Us
    • Donate to ASG
    • ASG Sensitivity Statement
    • FAQ’s
    • Start a Chapter
  • Contact
  • Member Login
    • Login First!
    • Members Only
    • Leadership Only
    • Website FAQ’s
    • Logout
  •  

December 13, 2019

Spreading the Skill of Sewing in Kansas City

We love sharing stories from ASG chapters!

Melba at the Sewing LabThis wonderful article came to us from the Kansas City chapter. It offers inspiration and shows, once again, how generous ASG members are with their knowledge and time.

The Kansas City North Neighborhood group found a great audience for teaching sewing at the North Kansas City library. With funding help from the Rotarians, the NKC library had created a maker space with a dozen sewing machines, cutting tables, irons and cabinets of fabrics and other supplies. After one of our members, Barb Lea, started teaching a bimonthly quilting class at the library, group leader Jan Letkowski had the idea that teaching others to sew would be a challenging and worthwhile endeavor in addition to our efforts of sewing quilts and other items for charity.

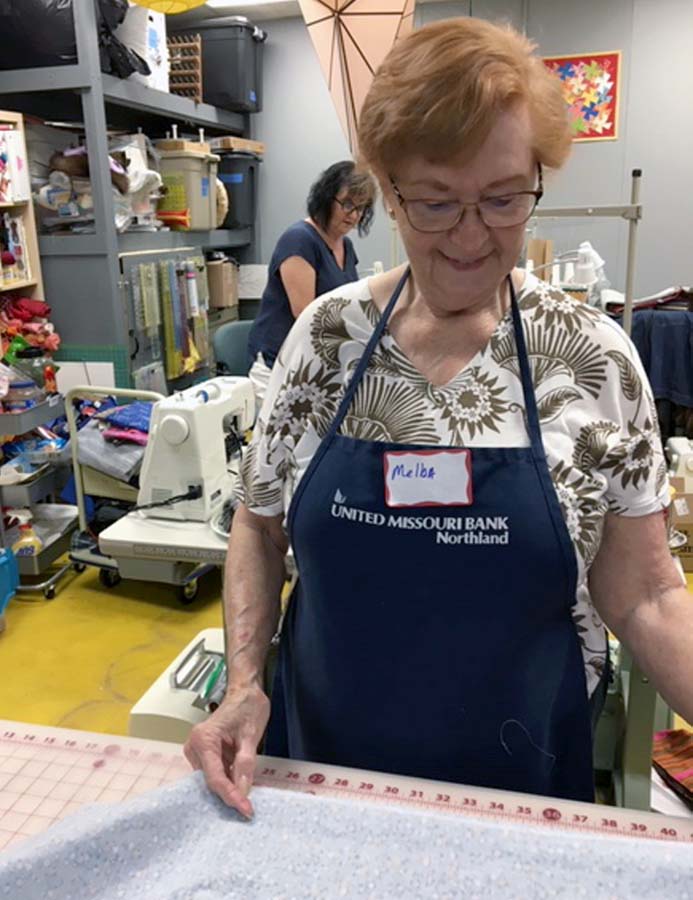
In the spring of 2019, Jan, Melba Nicolaisen and Phyllis Carlyle visited Amy Brown, director of programming at the library.  The library had been teaching projects twice a month, plus offering open sewing times and Amy was thrilled to learn that skilled sewists were interested in outreach education to their patrons. We were happy to see a well-equipped space with quality Janome machines, Oliso irons, task lamps and a box of tools at each sewing machine.

New sewists showing off their projects

Getting Started

Phyllis teaching machine appliqueWe initially committed to teaching three classes, July through September. Each class would be taught by a team to involve as many of our members as possible.

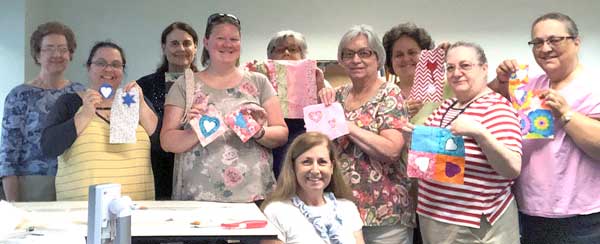
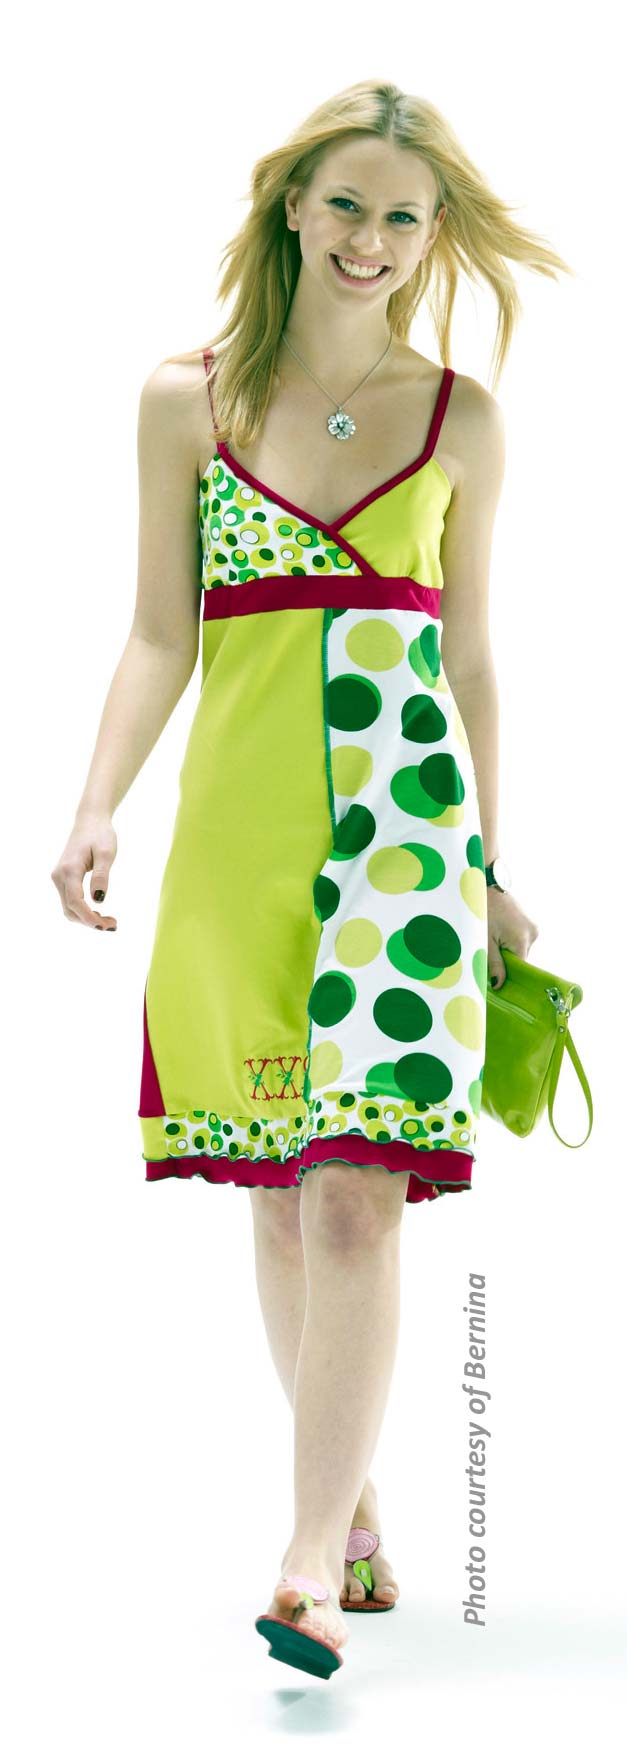
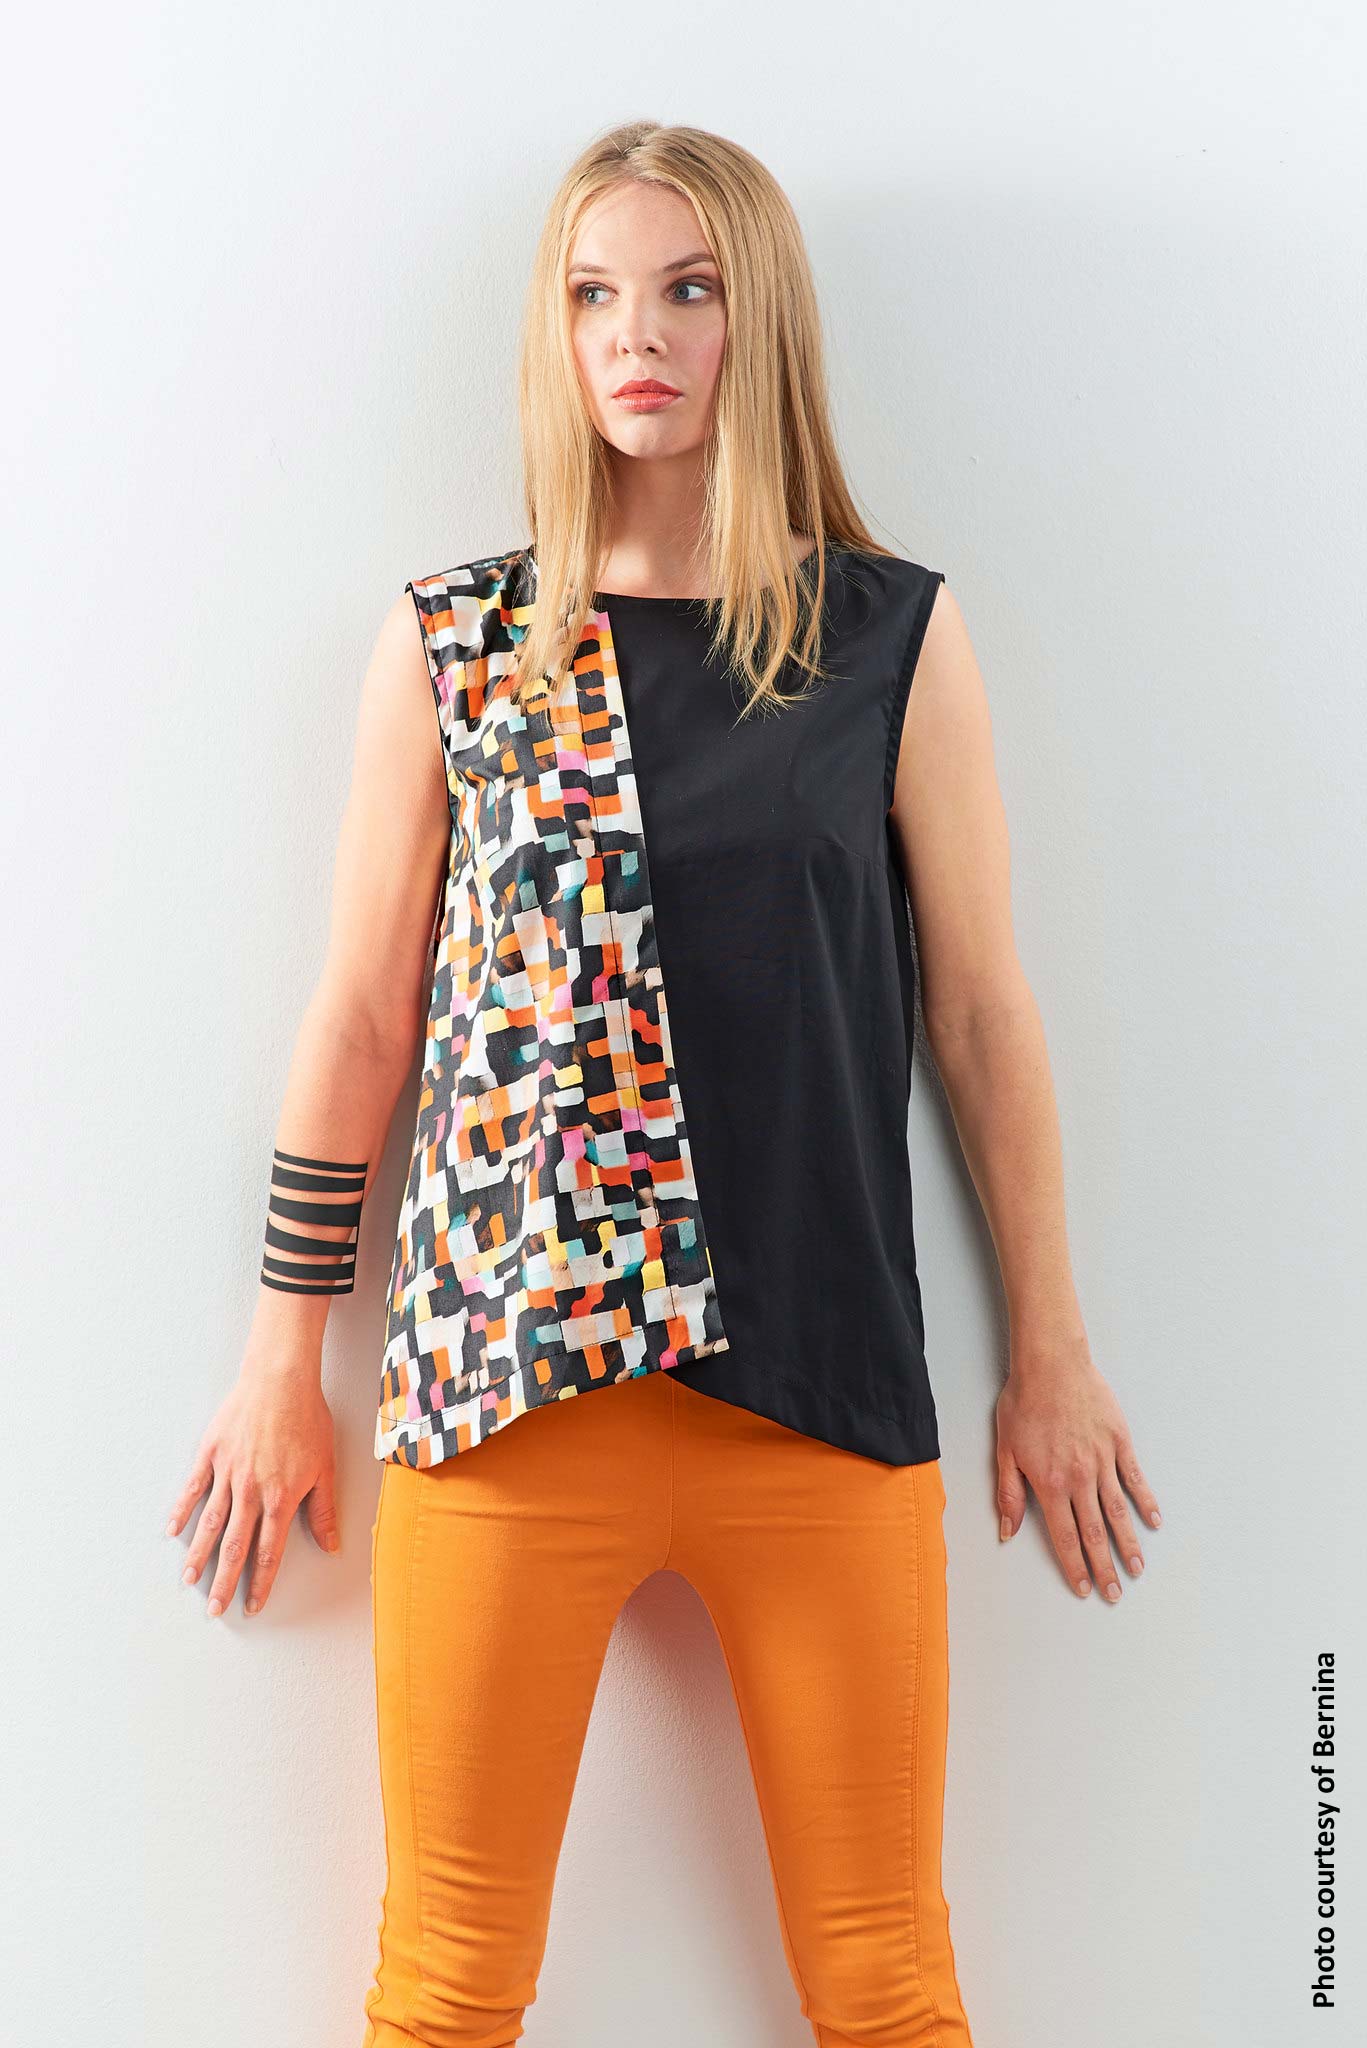
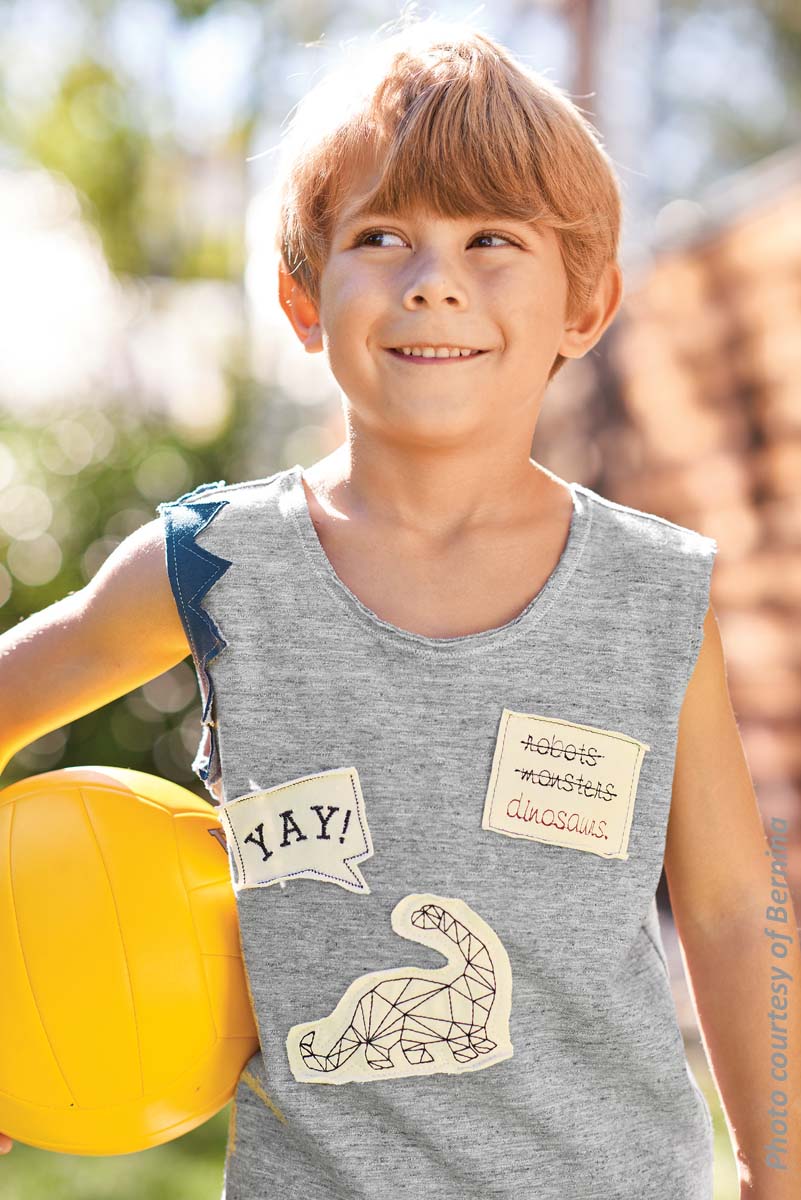
Phyllis Carlyle volunteered to lead the first class on fused machine applique for clothing, accessories and home dec.  Ten students showed up to hear about the materials and techniques for successful machine applique. With the assistance of Bonnie Anderson and Sandy Cahill, the students made test samples using provided patterns from a 4 page handout. It was gratifying to see some of the students go beyond the basics and at the end, director Amy Brown asked for the class to be taught again. We were so excited!

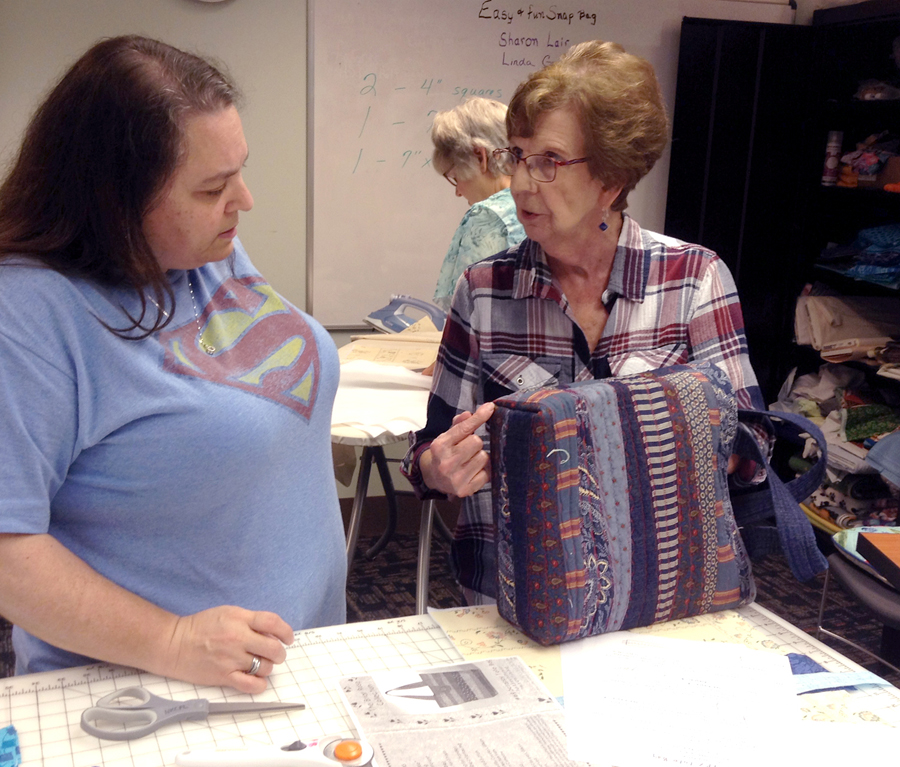
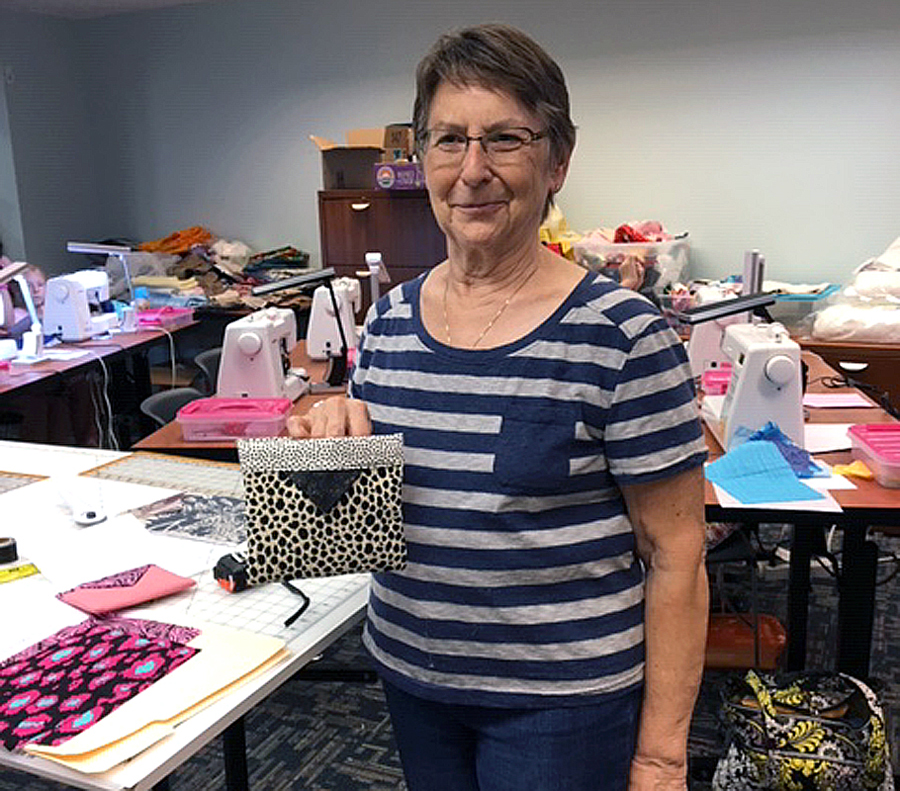
For the next class, Sharon Lair and Linda Gregg presented a workshop on making snap bags. Patrons enjoyed sewing these small bags using printed cottons and metal measuring tape pieces for the closure. It was a perfectly sized project for an evening class with lots of gifting possibilities.

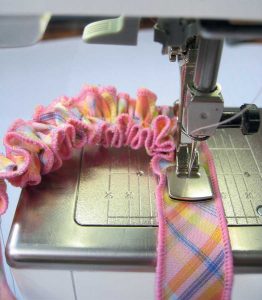
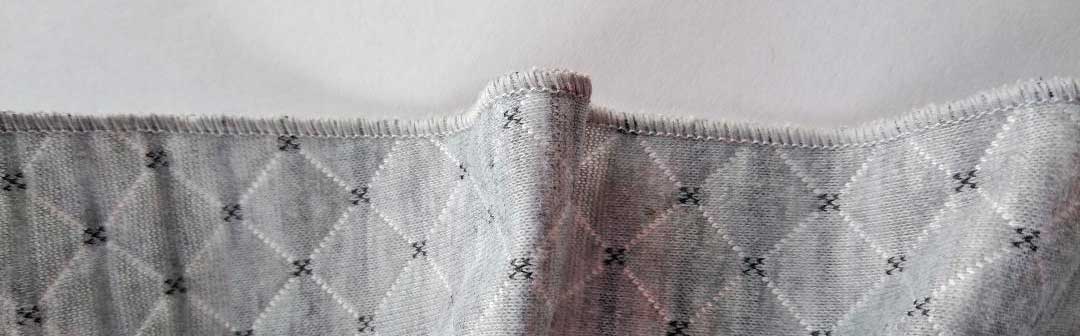
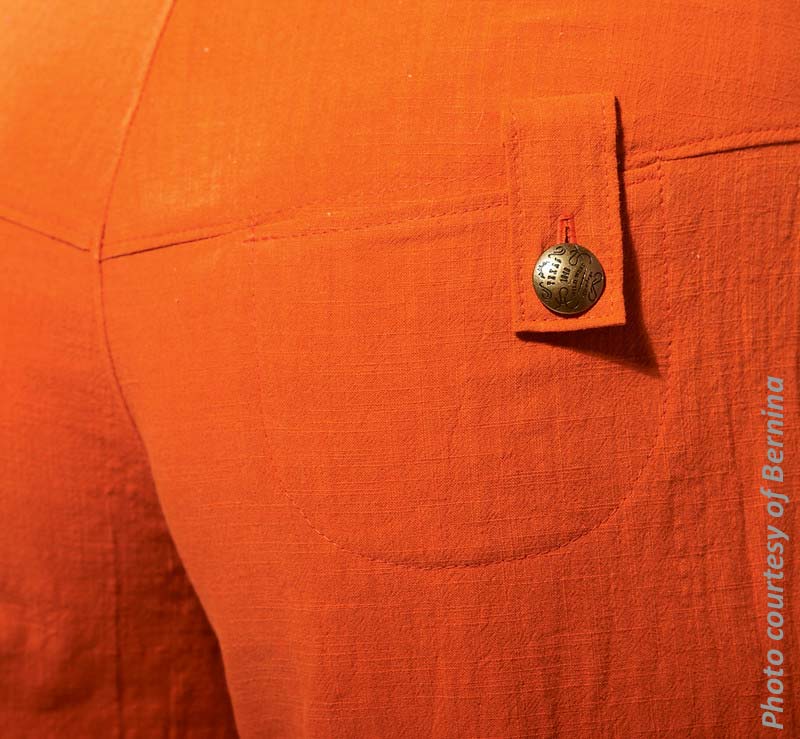
Then, in September, Jan Letkowski and Vicki Portwood presented a class on sewing basics: seam finishes, gathering techniques, making a perfect patch pockets, and learning to read patterns and follow instructions. Once again, attendees loved seeing samples of our favorite tools and supplies. This class was so popular, the participants begged Jan and Vicki to return so they took Holiday sewing projects to the open sewing session the following week.

Sewists Want to Sew

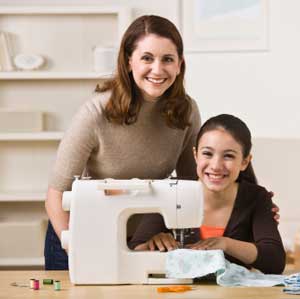
Library patrons at these sessions range from teens to seniors, mostly beginners, with a variety of sewing skills. For some, this is their only access to sewing machines. Our experience has shown that the patrons at the sessions WANT TO SEW! We are mixing in skill-building during each session, but find we need to take at least one project or sample for them to try. In addition, some of our members are attending the scheduled informal open sewing sessions to offer assistance to anyone who shows up.

More Community Outreach

In addition to teaching at the library, the group also volunteers at The Sewing Lab, a non-profit community resource center providing classes and jobs training in sewing-related arts in the KC urban community. Melba Nicolaisen, Linda Gregg and Vicki Portwood have been assisting with teaching classes to immigrants. The students from the Don Bosco center are hard workers who are eager to learn and they appreciate our help. Manager, Linnca Stephens, loves having volunteers who relieve the class teacher of many mundane tasks such as problems with the machines so they can concentrate on instruction.  There are many teaching, learning and donating opportunities all over and we encourage members to get involved in sharing the life skills and creativity of sewing that we love.


~Phyllis Carlyle, Kansas City Chapter of ASG

Tagged With: chapters, education, kansas city, sewing classes

December 11, 2019

Easy Embellishments Collar

Adding a bit of detail to a collar can add flair and interest on a plain shirt, jacket or dress. This short video will show you how to use bias tape to embellish your next collar.

https://www.asg.org/wp-content/uploads/2019/12/Easy_Embellishments_Collar_HQ.mp4


~© ASG: Thank you to Sheryl Belson, ASG Plano Chapter

December 6, 2019

Creative Fixes

OOOPS!

Much as we love sewing, things don’t always go as planned. Sometimes an accident happens in the process from cutting to finishing, or even at the first wearing. Rather than using any of ‘those’ words, it’s a lot more fun to try to figure out a creative solution to the problem that looks like it was intentional. Let’s look at three of those possible occurrences:

Not enough fabric

We’ve all done it, thinking we can outsmart the pattern company requirements. Maybe we’re trying to use up fabric in our stashes, but somehow there’s not quite enough. Two creative solutions are pattern mixing and color blocking. Instead of cutting all the garment pieces from the same fabric, mix them up for fun.

Make it seem like there was a plan for your artsy touch. Look for prints in similar colors and/or motifs. Fabric manufacturers often make coordinated groupings that are made to go together. Choose fabrics with similar motifs—for example, garden or flower prints. Select prints of similar scale and contrasts. Solids are always a good go-to tie-together—pick a color found in the print(s) or go with one directly across the color wheel for a bolder look. Just remember when cutting, you’ll need a left and right half to the garment and it’s easy to forget to flip the pattern piece over.

Errant scissor cuts

Let’s just say you accidentally cut a hole in your garment while trimming a seam allowance. Who hasn’t done that at some point in their sewing life? The creative solution: Add something to cover it—like a tab. But before you do, stabilize the erroneously cut edges by ironing a piece of fusible interfacing on the wrong side of the snip to hold the edges together and keep them from fraying. No one will be the wiser to your solution.

Stain game

It never fails, the first time your grandchild wears a garment you’ve painstakingly made, they spill something on the front of it and voilà—permanent stains, despite your best efforts. A fun solution: Use embroidered patches to cover the stains and add some fun. Embroider them yourself or purchase them from the notions wall at your favorite fabric store. Use invisible thread and sew around the edges and listen as people say, “Isn’t that a cute shirt? I love the patches.” We’ll never tell.

So, when something doesn’t quite go as planned, take a deep breath, don’t panic and find a sewing friend to help you come up with a creative resolution. Sometimes the solution is more fun than the original plan.


~Linda Griepentrog
Linda is the owner of G Wiz Creative Services and she does writing, editing and designing for companies in the sewing, crafting and quilting industries. In addition, she escorts fabric shopping tours to Hong Kong. She lives at the Oregon Coast with her husband Keith, and two dogs, Yohnuh and Abby. Contact her at .

Tagged With: color blocking, patches, sewing, solutions

November 29, 2019

Pedal to the Metal, Sewing is Like Driving

This story is by Hope Wright from ASG Springfield Lincolnland Chapter

I taught a Summer Sewing Camp this year and when I went to the school for start of sign up, one teacher’s aide expressed some regrets that she never learned to sew. I told her that if she could drive, she could learn. That was based on my opposite experience — since I could sew, it was pretty easy to learn to drive. Just had to remember to step on the brake, not just lift the foot from the pedal! Since then, I’ve been thinking of comparisons.

  • For Adults: If you can drive a car you can learn to sew.
  • For Kids: If you learn to sew, it will be much easier to learn to drive when you are older.

Using a sewing machine is like driving a car:

  • Both have a start switch, although a key isn’t needed with a sewing machine.
  • Although you can leave them running when you aren’t in the driver’s seat, it isn’t a good idea. (especially be sure to unplug irons!)
  • You have to figure out the purpose of all the buttons and levers on the sewing machine, like all the buttons and levers on a car – and every model can be different so you have to figure it out for a different sewing machine as well as a different car.
  • You have to steer the fabric just like turning the steering wheel. Continual adjustments are needed, and eventually many of them will become automatic.
  • The more you press down on the foot pedal the faster it will go, up to where the pedal is to the metal/floor.
  • You have to figure out where to look to be able to go where you want to go. Keep your eyes on the feet/fabric, not the needle, just like you keep your eyes on the road, not the hood.
  • You can’t be distracted — you could sew through your finger or have an accident.
  • There are times that it is boring, but you have to stay alert or you could sew through your finger or have an accident.
  • You have to plan ahead to know where to turn your fabric or change lanes.
  • Sometimes you have to make corrections, either unpick some stitching or make a detour.
  • Preparation is needed for both. For sewing, you have to to select and cut out the project. For driving, you have to plan your route and make sure you have your driver’s license, etc. before you leave home.
  • Both need to go to a mechanic for oil changes and repairs at regular intervals or when something quits working.
  • You can spend lots more for extra “stuff” and for flash, but there are economical changes you can make.
  • Both have practical uses that will save money, like repairing and upcycling clothes or traveling without taking a bus or cab.
  • Both have fun uses – exercise your creativity and artistic skills, or take a drive to enjoy the scenery.
  • The more you sew or drive, the easier it gets — practice is important!

What is different about it?

  • If you take your foot off the foot pedal of a sewing machine, it will stop. To stop a car, you have to step on the brake.
  • You don’t have to watch out for others who might sew in to you or that you might sew in to.
  • There aren’t very many “rules” in using a sewing machine; certainly nothing that will get you arrested!
  • You can sew at a much younger age than you can drive. And you will probably be able to sew long after you have given up driving.
  • Driving creates memories, but sewing gives you something tangible to show, wear, use, or give.

© Hope Wright, ASG Springfield Lincolnland Chapter


November 22, 2019

Serger Rolled Hem

Perhaps you use your serger only for making neatly finished seams—but there’s so many other things you can do with it. One of my favorites is a rolled hem.

Whether you’re creating beautiful edges on napkins or silk scarves, or delicate hems on lingerie, the rolled hem is perfect to hide any “pokies” of thread along the edge. It’s also ideal for quickly finishing ruffle edges.

On a Roll

Image courtesy of Bernina
Used with permission

Before you begin the rolled hemming process, read your instruction manual for setting adjustments. Some brands of sergers utilize a different needle plate, others a separate foot or attachment, but common to all is altering settings so that the fabric edge rolls under. This is usually accomplished by making adjustments to the tension settings and stitch width, and using only one needle.

Narrow rolled hems can be stitched with regular serger thread or a novelty thread, like Woolly Nylon or a texturized polyester that fills in the stitched area. These threads will produce more of a satin stitch look to the edge, covering the entire fabric edge. Using rayon thread in the upper looper will produce an edge with a sheen, while texturized polyester thread creates a matte finished edge.

If your serger has a standard setting for a rolled hem, follow the instructions for its use. If you need to manually adjust, begin by using a narrow stitch finger for a perfect roll. Tighten the lower looper tension so that the fabric edge rolls under and is encased by the upper looper thread. You may need to adjust the needle tension to perfect the stitch. Shorten the stitch length to produce the look you want. It’s all a matter of testing on the fabric you want to hem, as each fabric reacts differently. Softer fabrics roll easier than stiffer fabrics which may not roll at all.

Rolled edge on knit fabric
Rolled edges are ideal for knit fabric finishing.

Change it Up

For variation, try using a variegated thread, but note that you might produce a striped edge depending on the thread brand, as some threads are dyed in regular intervals, while others are dyed randomly.

In addition to creating a lovely edge finish, a narrow rolled hem can also be used to stitch a seam in delicate fabrics like lingerie tricot or sheers. Only the width of the stitch shows, creating an almost invisible seamline. To use as a seam, leave the stitch length slightly longer than for edge finishes to keep the seam soft and subtle.


~Linda Griepentrog
Linda is the owner of G Wiz Creative Services and she does writing, editing and designing for companies in the sewing, crafting and quilting industries. In addition, she escorts fabric shopping tours to Hong Kong. She lives at the Oregon Coast with her husband Keith, and two dogs, Yohnuh and Abby. Contact her at .

Tagged With: finishing edges, rolled hem, serger, sewing technique

  • « Previous Page
  • 1
  • …
  • 64
  • 65
  • 66
  • 67
  • 68
  • …
  • 82
  • Next Page »

Become a Member

Join the only national organization dedicated to Advancing Sewing as an Art and Life Skill.

Join Now button

Blog Article Categories

  • ASG Conference
  • Chapter Stories
  • Embroidery
  • Fitting
  • Learn to Sew
  • National Sewing Month
  • Products, Books, & Patterns
  • Projects
  • Quilting
  • Sewing
  • Sewing Techniques
  • Sewing Tips
  • Sewing Tours
  • Videos
  • Disclaimer
  • Privacy Policy

American Sewing Guild
National Headquarters
9660 Hillcroft, Suite 230
Houston TX 77096
713-729-3000 | 713-721-9230 Fax
www.ASG.org

ASG wordcloud - education, conference, discounts, videos, special offers, tours and more

Copyright © 1998–2025 · American Sewing Guild · All Rights Reserved