Depending on where you’re from, May brings to mind the smell of spring, the taste of mint juleps while watching the Kentucky Derby, or the colors of Cinco De Mayo. But when you’re a sewing enthusiast, it might remind you of something else: Me Made May!
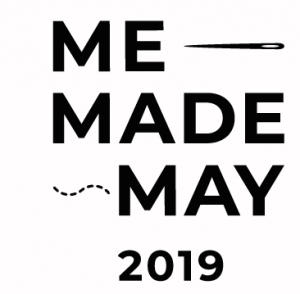 If you haven’t heard of Me Made May before, it’s a challenge created by Zoe of the So Zo, What Do You Know? blog. She launched the project in 2010 as a challenge to herself to see if she could wear an original article of clothing each day of the month. As it turns out, it was a pretty appealing challenge! When she brought the idea up to her readers, she had 80 challengers sign up to join her. Since then, she’s added hundreds more.
This year’s challenge will actually be the 10th challenge that Zoe has hosted. There were two “Me Made” challenges in 2010: One in March and one in May. Zoe found it challenging to do the challenge in the cold weather, so she tried again when the weather got better.
So, what are the challenge rules?
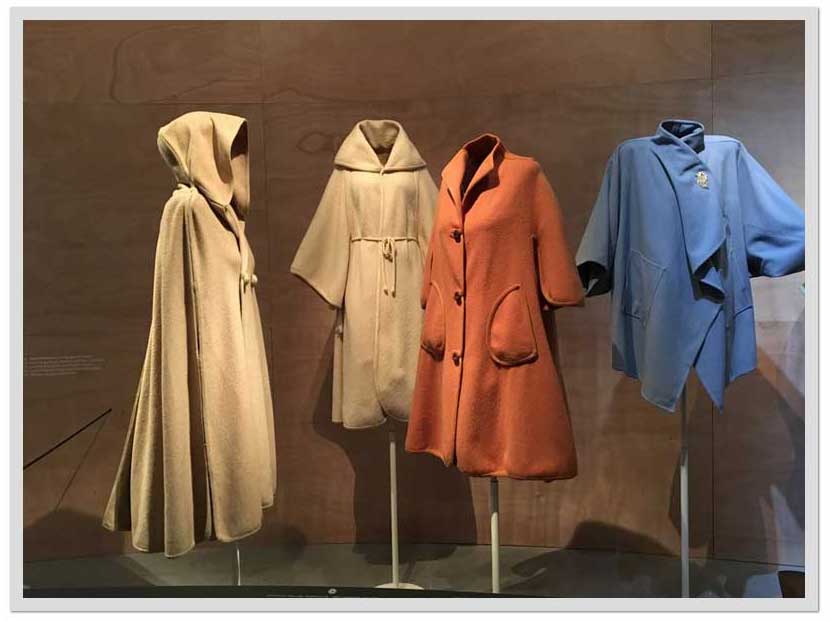
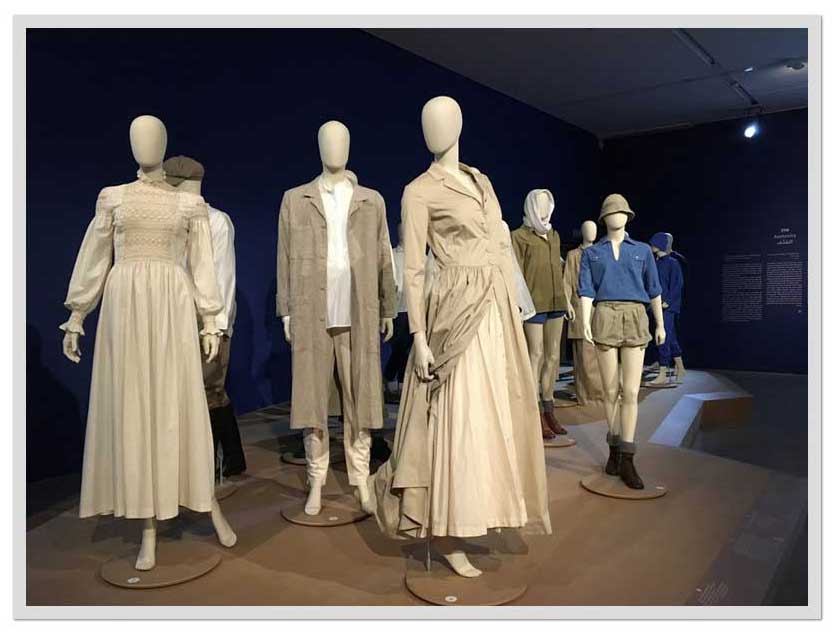
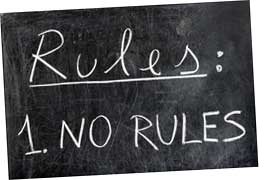 The beauty of the challenge is that there aren’t any rules. In general, the challenge is meant to help you appreciate your handmade garments and think about the goals you want to achieve when it comes to your sewing. The most common “rule” that challengers follow is to wear a self-made or repurposed garment every day of the month. But if you only have a small collection of clothing you’ve made for yourself, you may instead choose to style one item differently each week or to share one amazing item you’re creating and document your progress. It’s a challenge that works with your skill level or your personal collection of handmade clothing.
While many challenge participants choose to share their progress on social media, it isn’t a requirement.
- Those who do wish to share their challenge on Instagram can used the hashtag #MeMadeMay2019. When you add this (or any) hashtag to your post, it is included in a feed of Instagram posts with other creatives taking part in Me Made May.
- And while you’re hashtagging your challenge, remember to tag the American Sewing Guild headquarters at asguildhq on Instagram. We’ll be reposting some of your progress all month long!
To officially take part in Me Made May, you can share your pledge on Zoe’s blog. It’s simple, and Zoe gives more ideas on what to do for your challenge.
Now it’s time to brainstorm what YOU will me making this May!

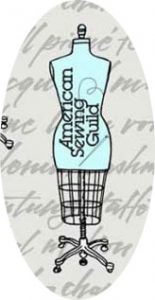
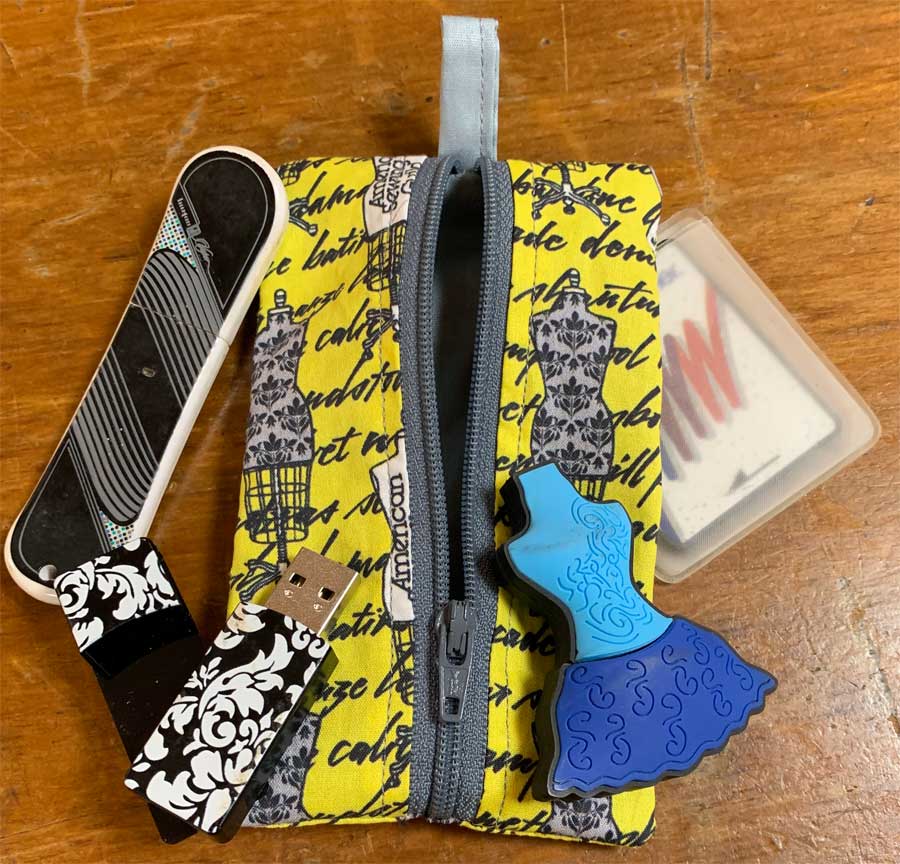
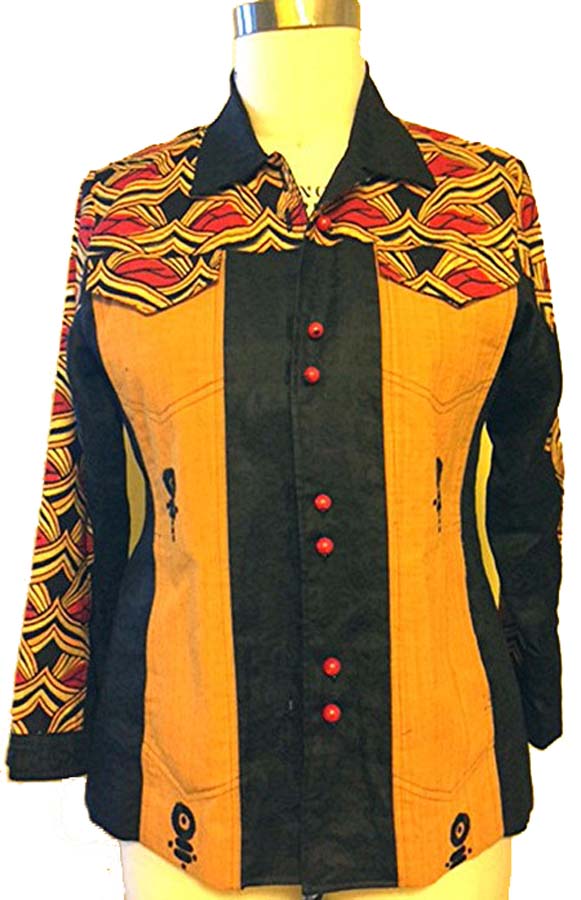
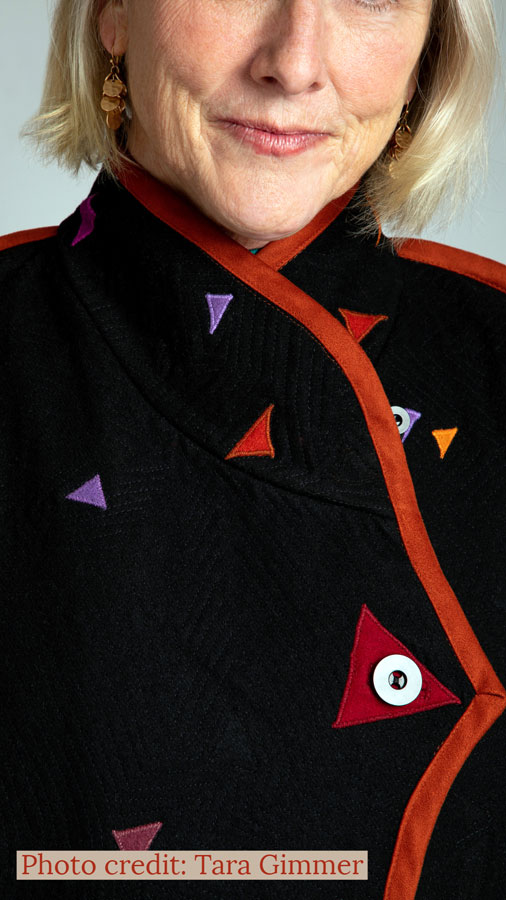
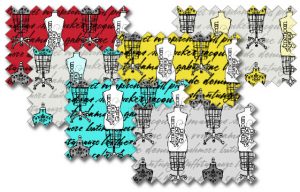 What have you been making from our ASG fabric? We are currently looking for original designs that our members created from our very own unique fabric—the one with the dress forms and the ASG logo.