When the cold settles in and the forecast starts sounding like a dare, fleece suddenly becomes less of a fabric choice and more of a survival strategy. Soft, warm, and forgiving, it’s the go-to material for garments that actually get worn all season long—from cozy pullovers and joggers to layering pieces that trap heat without weighing you down. This is the time of year when making something warm isn’t just satisfying—it’s essential, and a quality-made fleece garment delivers both comfort and practicality. In addition, when made with an attention to the type of quality that I sew into all of my garments, it will stand the test of time
The Fabric
There are many different types of fleece available, but not all are created equal. Some are far more resilient than others, which is why my go-to choice is Polartec. When selecting fleece for garment construction, durability should be at the top of your list.
One of the first things to consider is pilling. Lower-quality or imitation fleeces often pill quickly with wear, frequent laundering, or friction—dramatically diminishing the appearance of an otherwise well-made garment. While pilling can be removed with specialized tools, doing so ultimately degrades the fibers. Choosing a superior fleece from the start ensures your garment maintains its appearance and longevity.

Part 1
Polartec is a standout in this category and is available through sources such as New Hampshire Mills Direct Textiles (larger quantities or cut yardage). Polartec fleeces come in a wide range of types and weights.
- The Polartec 100 series weighs approximately 9.5 ounces per linear yard.
- The 200 series about 12.5 ounces
- The 300 series is roughly 16 ounces per linear yard.
- As the numbers increase, so does the fabric’s ability to block cold air.
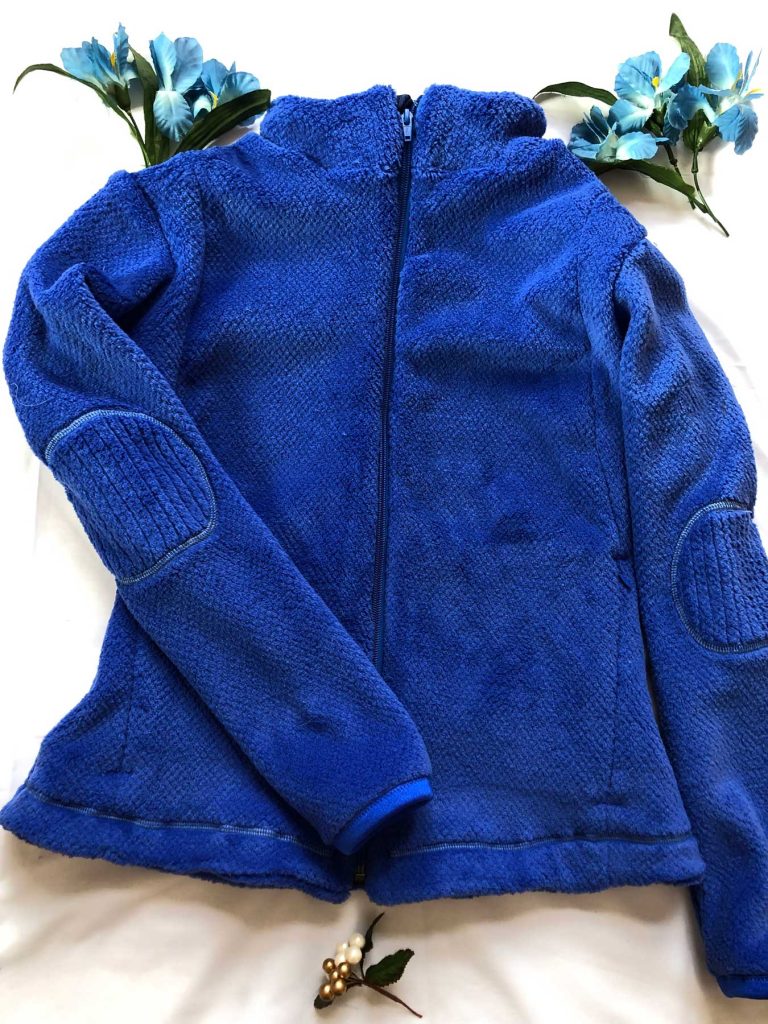
- High loft fleeces have a fur type look to them and are soft and very warm.
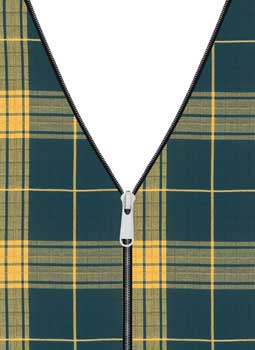
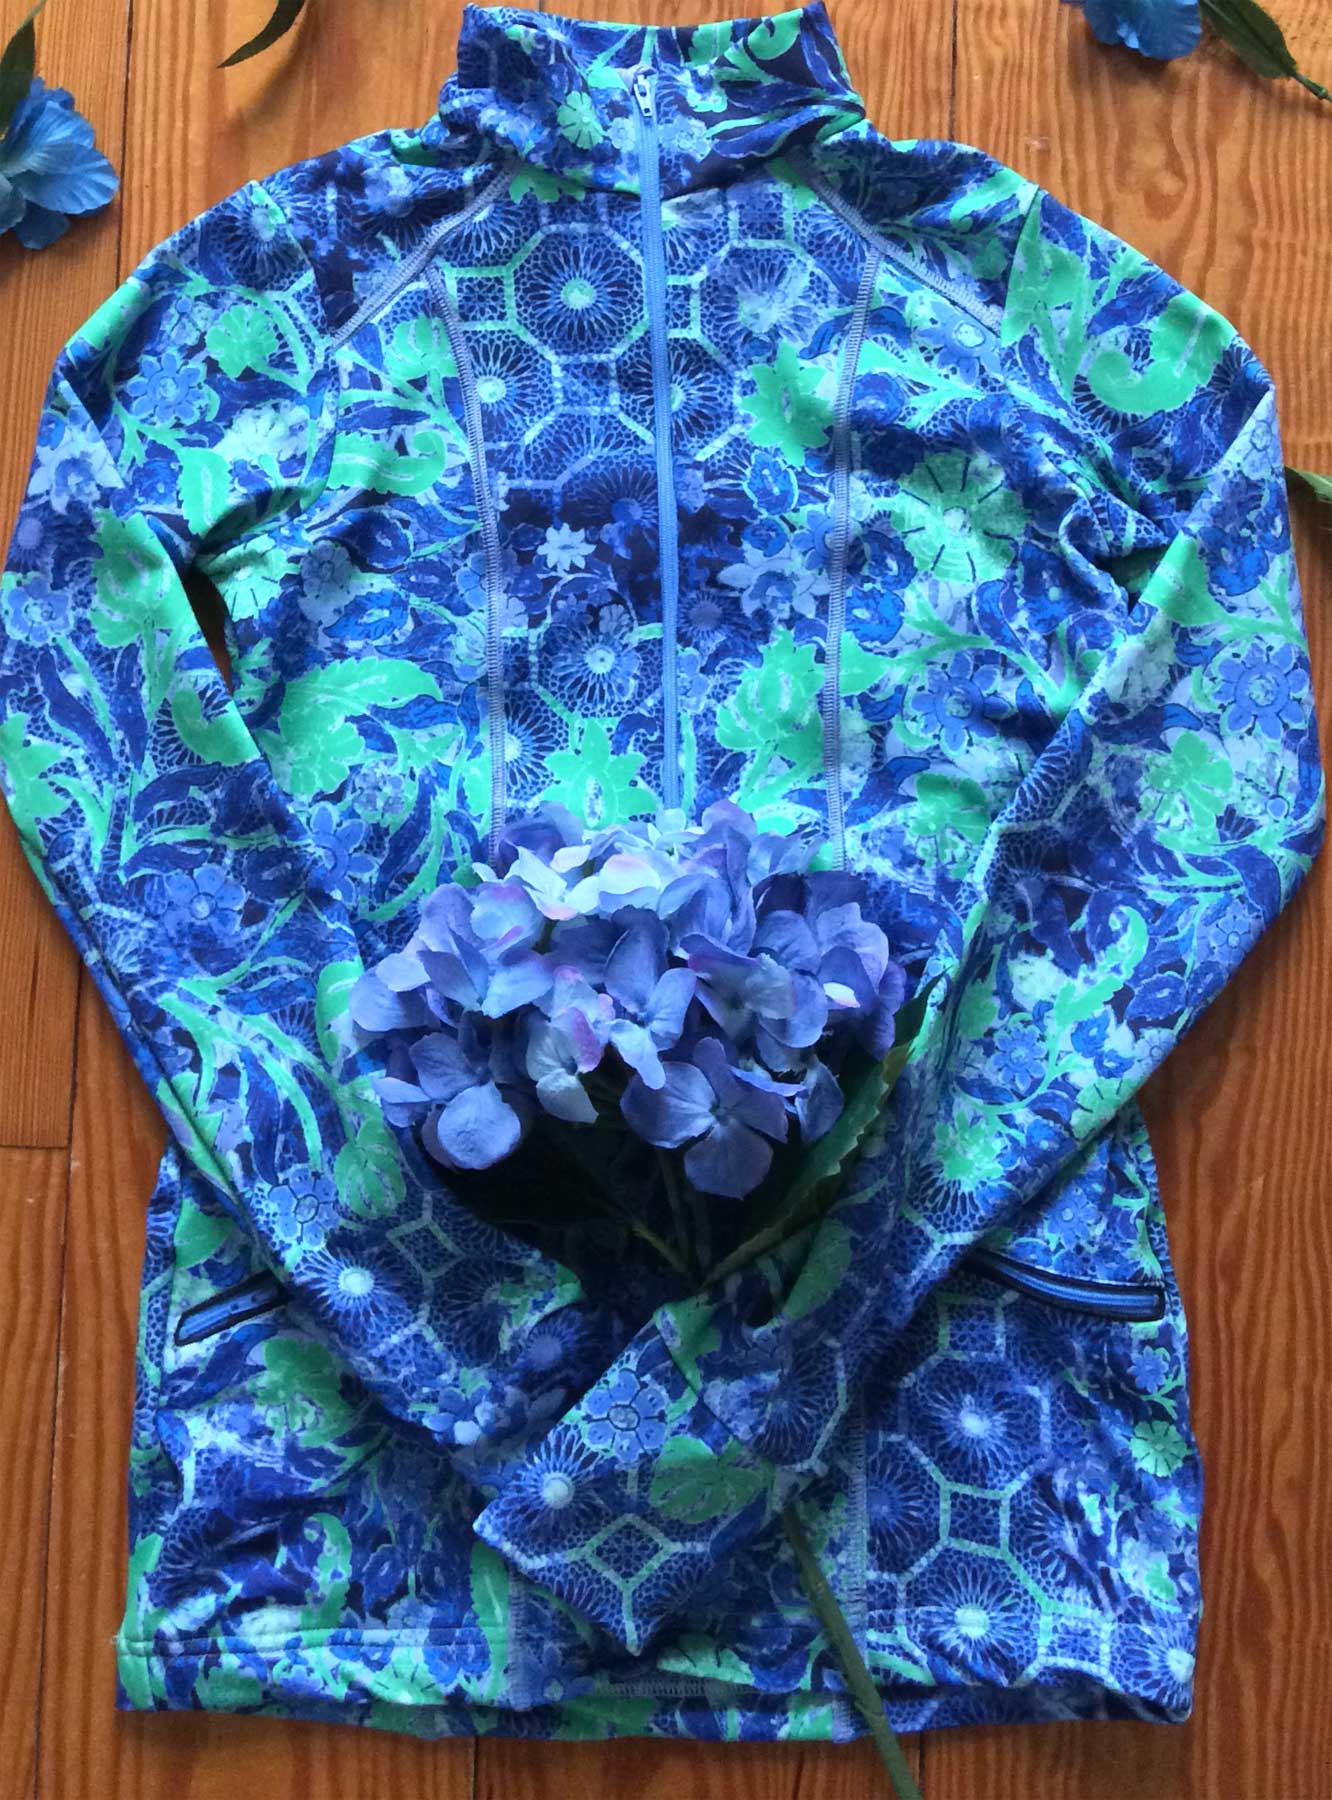
- Power stretch fleeces are ideal for zip-front jackets and layering garments, featuring a smooth, knit-like face and a soft fleece interior. These fabrics provide warmth without bulk and offer excellent stretch, making them well suited for garments such as tights, base layers, and tops for cold-weather activities like skiing, snowshoeing, or just winter walking.
- Some Polartec fabrics feature a hard face with a soft interior, while others include weather-resistant exteriors or grid-patterned pile designed to trap warm air close to the body. One of the advantages of Polartec is the ability to combine multiple fleece types within a single garment to balance warmth, flexibility, and performance.
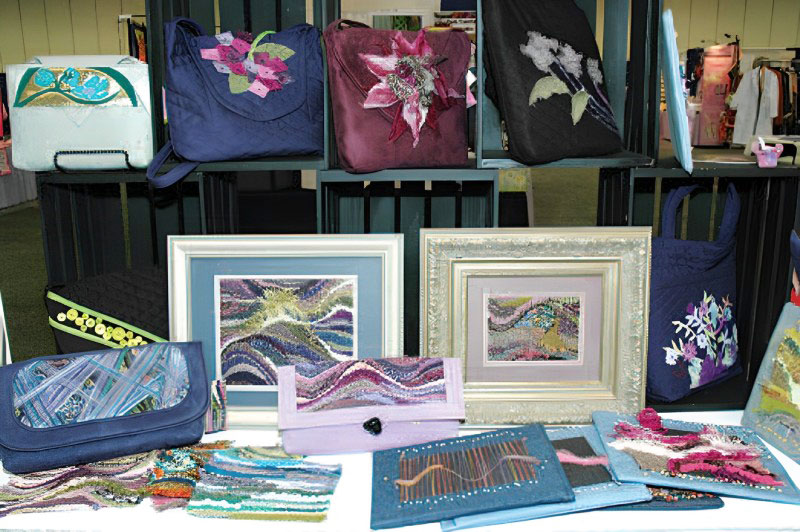
I use Polartec fleece fabrics for a variety of garments such as pants, jackets, sweatshirt-style tops, three-quarter zip pullover shirts, hats, mittens, scarves, ear warmers and more. Maintaining warmth while preserving full mobility is key—not only for active wearers but also for those who typically dislike cold weather. The right fleece garments can make outdoor activities far more enjoyable.

You can make your fleece jackets out of Polartec and pair them with other fabrics to reduce bulk or add function. For example, when adding pockets, making them completely from fleece, while adding bulk, will also add warmth. But you can also make one side of the pocket out of a polyester or mesh-type lining, Coolmax, or nylon. In fact, the use of nylon was very popular in a major brand of fleece jackets years ago.
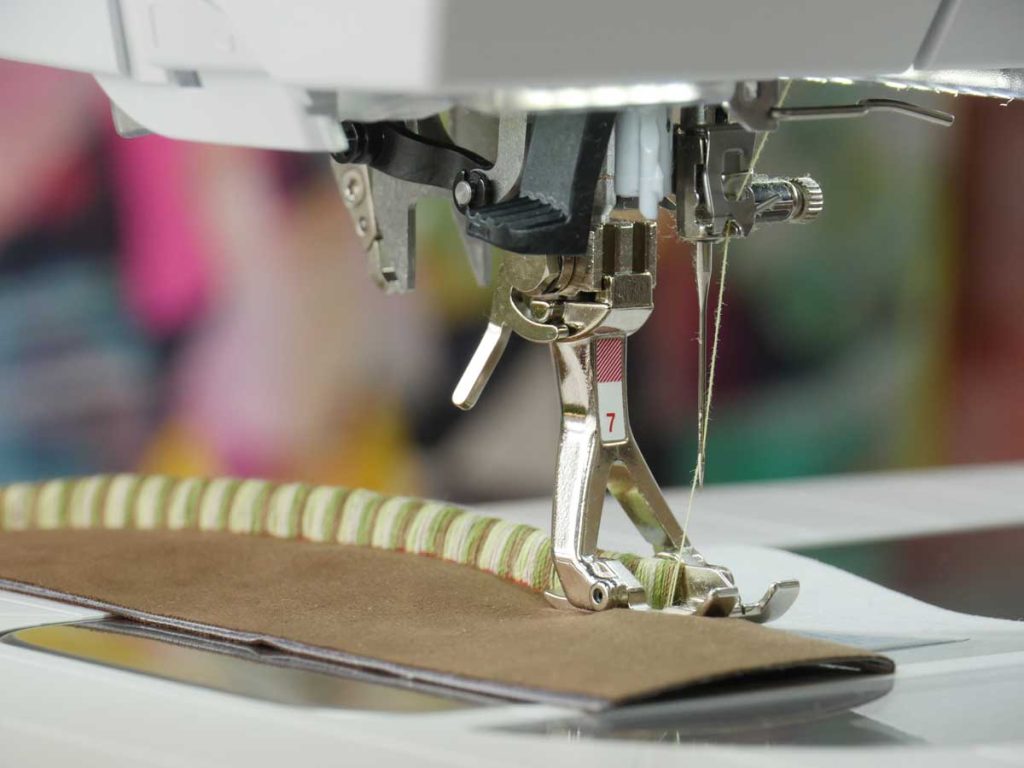
Stitching Considerations
You can use a variety of stitch types to sew your garments, especially since Polartec fleece is well suited to both home and industrial sergers. A four-thread overlock stitch with a ¼-inch seam allowance provides excellent strength and allows garments to sit closer to the body, enhancing warmth. For garments that will experience heavy wear and frequent laundering, reinforcing overlocked seams with a straight stitch placed 3/8 to 1/2″ away can add durability, though this increases seam allowance and bulk. Note that you may have to alter your patterns to work with overall larger seam allowance.
Garment type should guide stitch choice. Close-fitting garments such as leggings make from Polartec will benefit from overlocked seams only which minimizes bulk and preventing chafing while maintaining stretch and warmth. Polartec leggings will virtually make the cold disappear, even when out on a crisp walk with Fido.
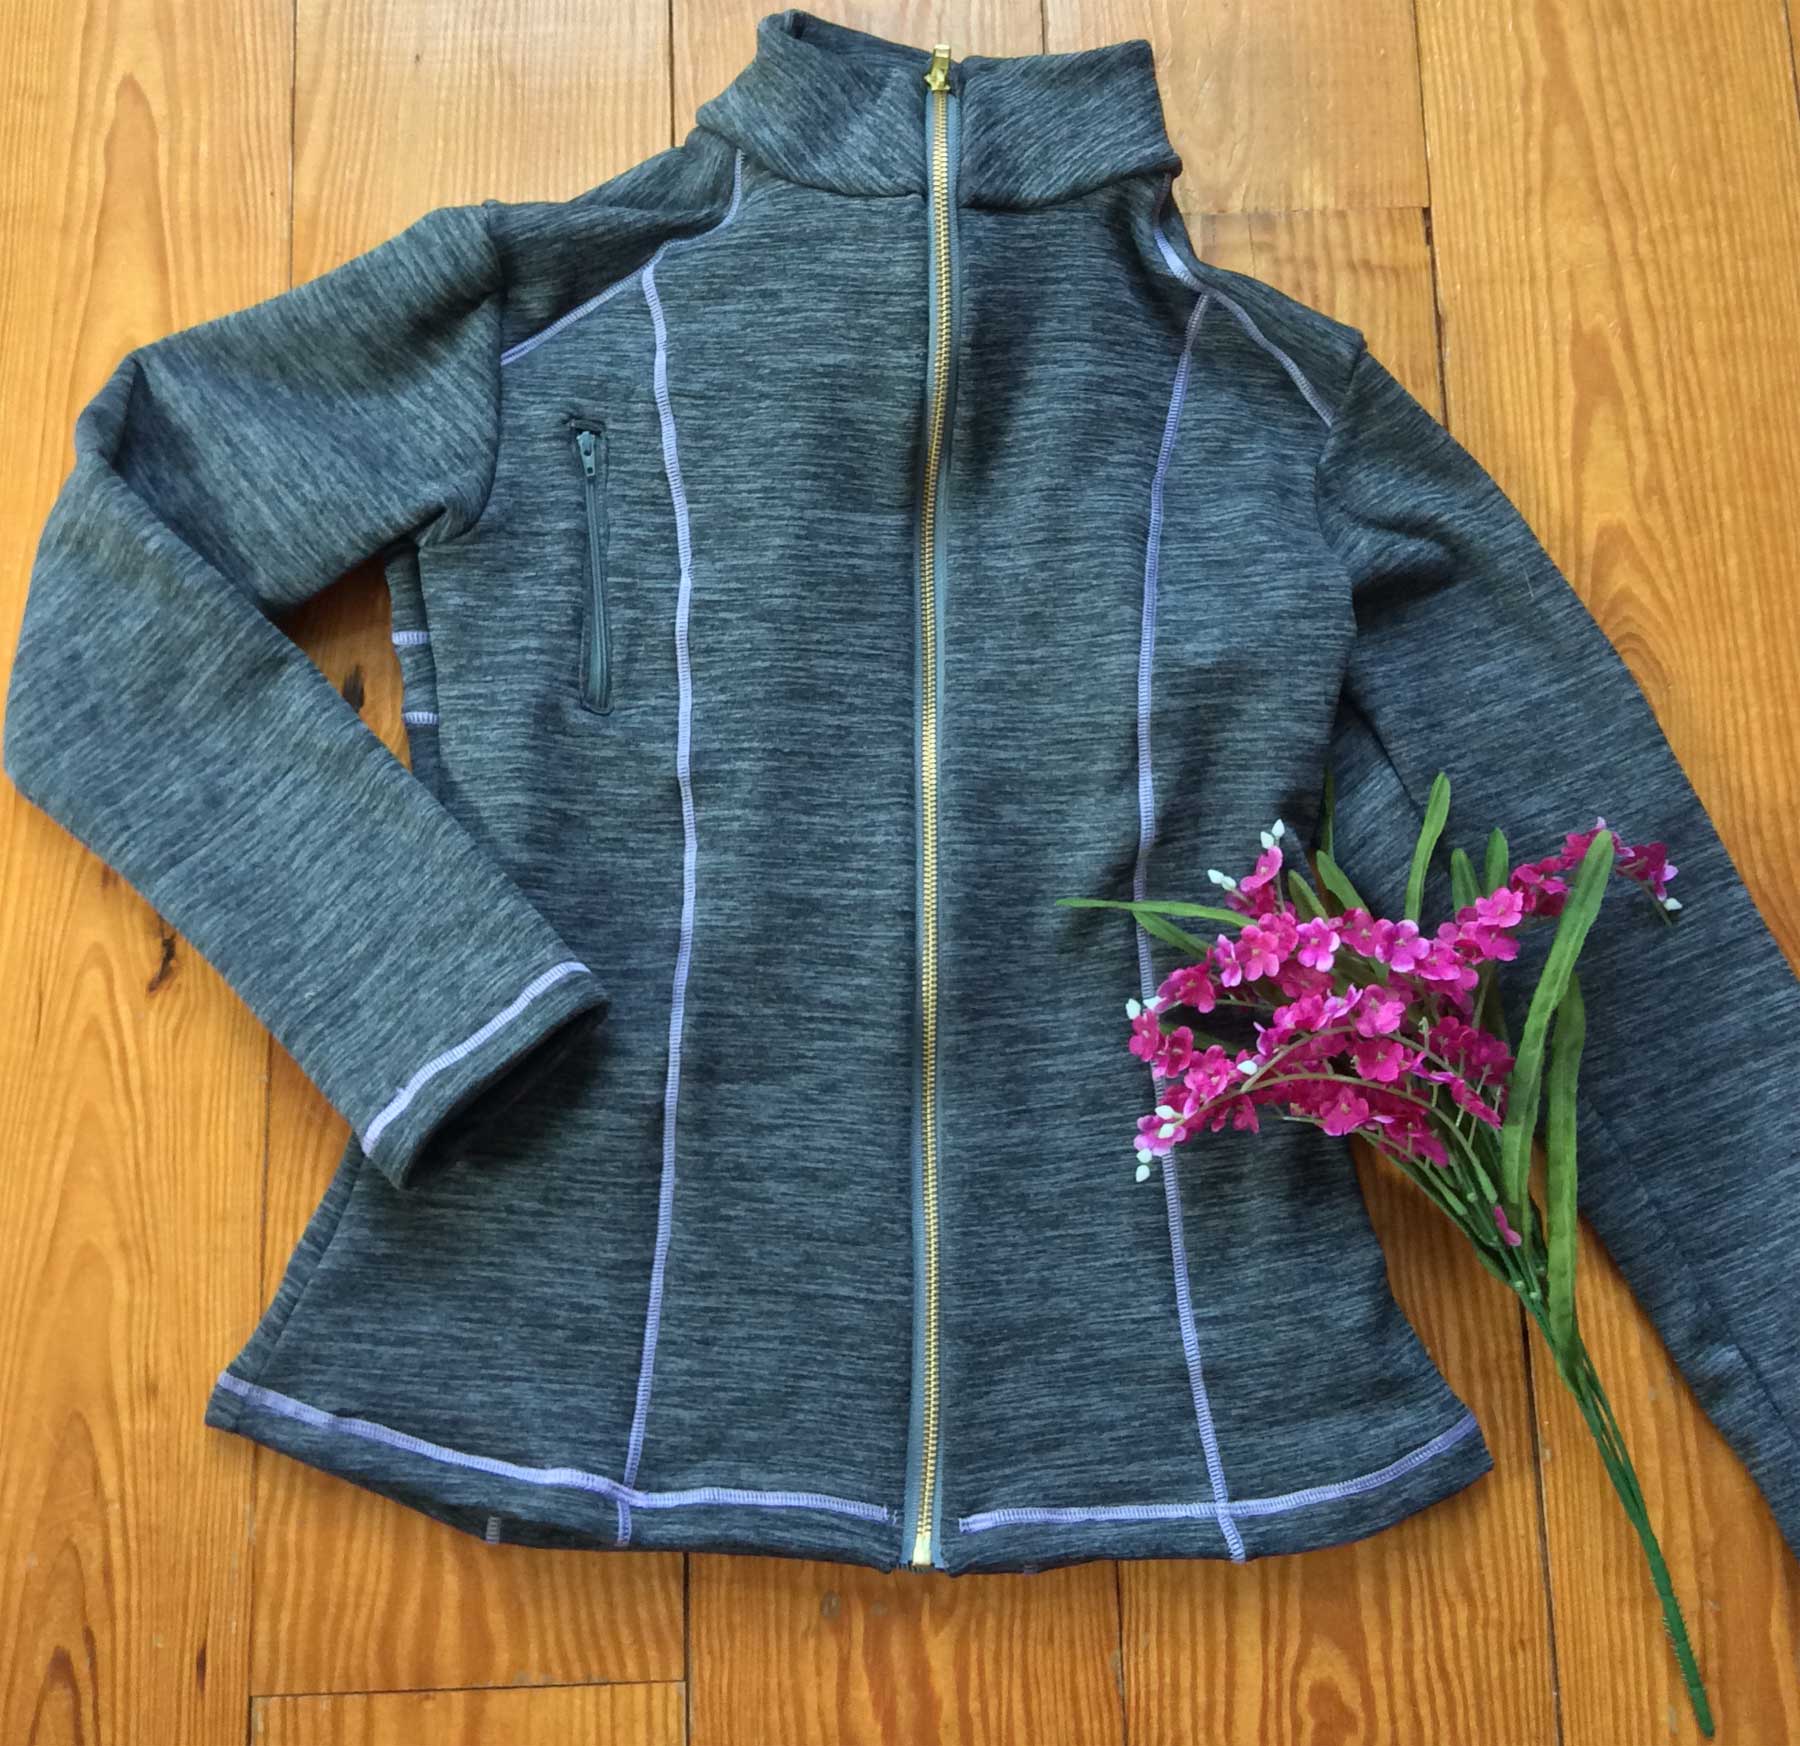
Jackets and pullovers, on the other hand, often benefit from a combination of different stitches. Overlocked and straight-stitched seams give added structure and insulation but make for a larger seam allowance. Cover stitching —while an added step—can further flatten seams and prevent them from rubbing against the body and add decorative detail, especially along princess seams—one of my favorite design features in activewear.
Bar tacks are particularly useful on fleece garments and are easy to apply. I use them frequently at stress points such as zipper ends and other areas that take added stress. A narrow zigzag stitch with a shortened stitch length and shortened stitch width creates a durable, satin-like bar tack. For example, I will use a 1.5mm width, and 0.5 mm length to achieve that look.
Cover stitching also works beautifully for hemming fleece. You can use no top cover for a double or triple line of stitching by choosing to use the double or triple needle option. Alternatively, you can include top cover to either of these options for a decorative effect or to flatten an overlocked seam where there is a risk for chafing on the body. For example, use a two-needle cover stitch to flatten the overlocked seam in Polartec pants with a gusset. (note that manufacturers often use a flatlock stitch here). This is a seam where the machine butts the two edges of the fabric and has top and bottom cover with typically 4 rows of straight stitch. This completely eliminates bulk and adds strength. While industrial flatlock machines are commonly used in the industry to eliminate seam bulk entirely, similar effects can be achieved at home by combining overlock and cover stitching. Though it adds an extra step, it’s a worthwhile technique for achieving professional results.
Thread Choices
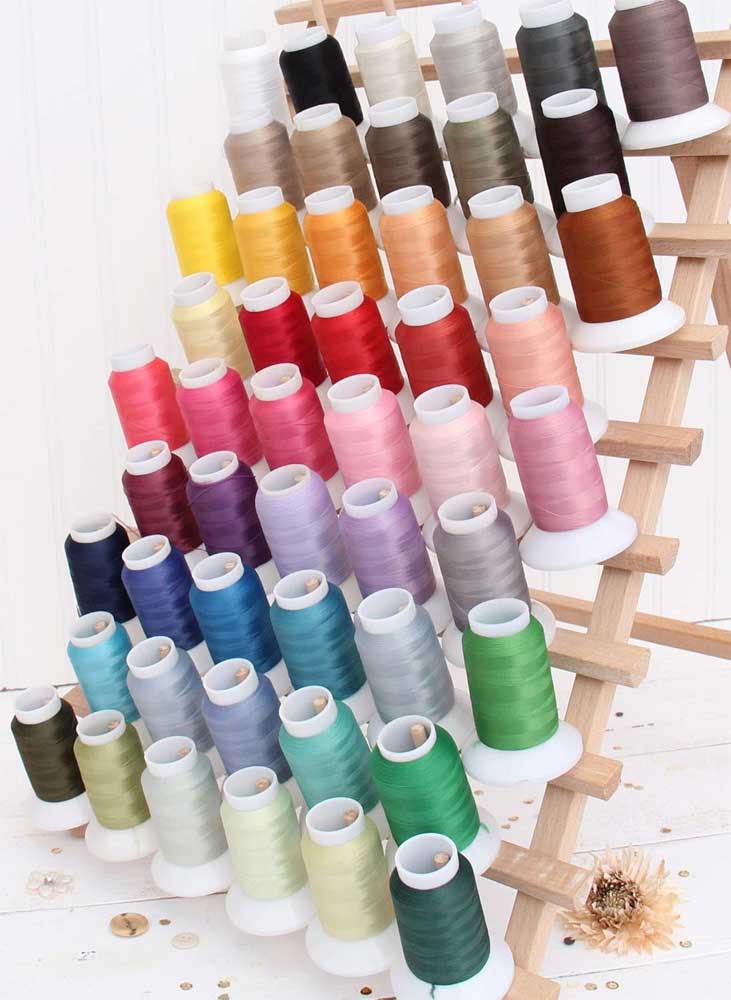
When using an overlock machine of the home or industrial variety, it’s a good idea to use woolly nylon—also known as texturized polyester—in the lower looper; however, it can also be used in the upper looper as well. Wooly nylon has a fluffy texture but will tighten when pulled so that it looks like most other threads. It produces soft, flexible seams with excellent stretch, making it a staple in swimwear, dancewear, and fleece garments alike. It has great stretch and comes in lots of colors which provides an opportunity to use it in the top cover stitch of your cover stitch machine for a decorative effect or to create detail. You can use poly cotton in the needles of the overlock stitch, the needle of your lockstitch machine, and the bobbin.
Part 2
Construction Details That Matter
Because Polartec fleece has inherent stretch, certain areas require stabilization such as when you are creating a pocket with a zipper closure or an invisible seam line zipper pocket application. Lightweight interfacing cut into narrow strips can be fused along zipper openings, pocket windows, or seam insertions to prevent stretching during construction. For example, if you are applying a zipper to a window on a pocket, interface the entire window box on the pocket and interface on the jacket. Mark out the stitching box on the interfacing on the pocket bag wrong side. Place on top of the jacket right side. Stitch the box, cut the box, and turn the pocket to the inside of the jacket.
If placing a zipper on a pocket in a seam, cut strips of interfacing and fuse on the wrong side of the fabric on both sides of the seam where the zipper with be inserted. The interfacing will somewhat restrict the Polartec from stretching while inserting the zipper. Thoughtfully placed pockets, including zippered chest or sleeve pockets, add both function and visual interest when paired with proper reinforcement.
I tend to place zippered pockets in the upper front or upper sleeve to hold small items like keys or a credit card. You can also add an oval or square-shaped zippered window pocket on top of the garment. In this case, create the zipper window on the zipper pocket interfacing so that the actual garment piece will act as the other side of the pocket.
Another nice detail option is to add the top and bottom cover stitch to the 3-needle cover stitch. Remember, though, that you will need to adjust the pressure on the pressure foot to avoid stretching the Polartec and distorting the shape of the pocket. Consider applying strips of interfacing to the center front seam allowances for zipper application.
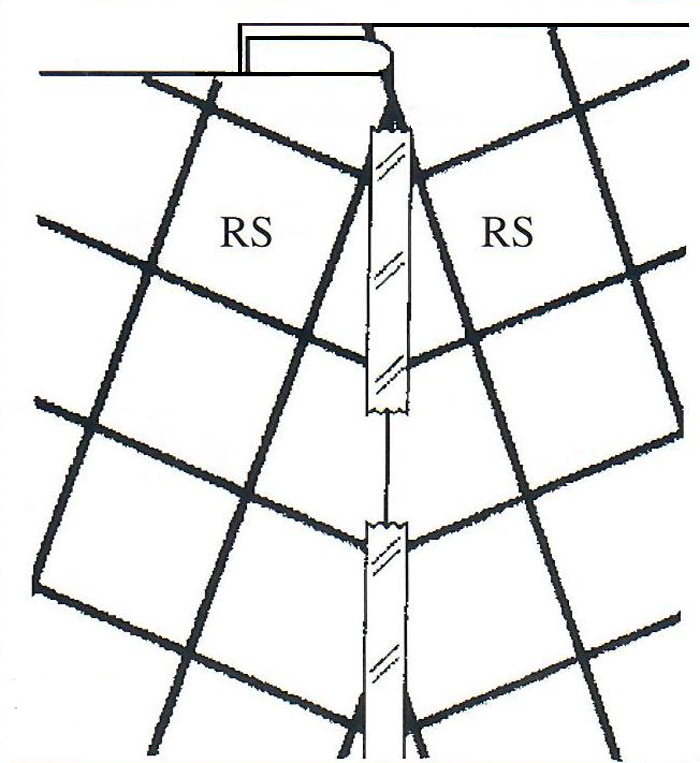
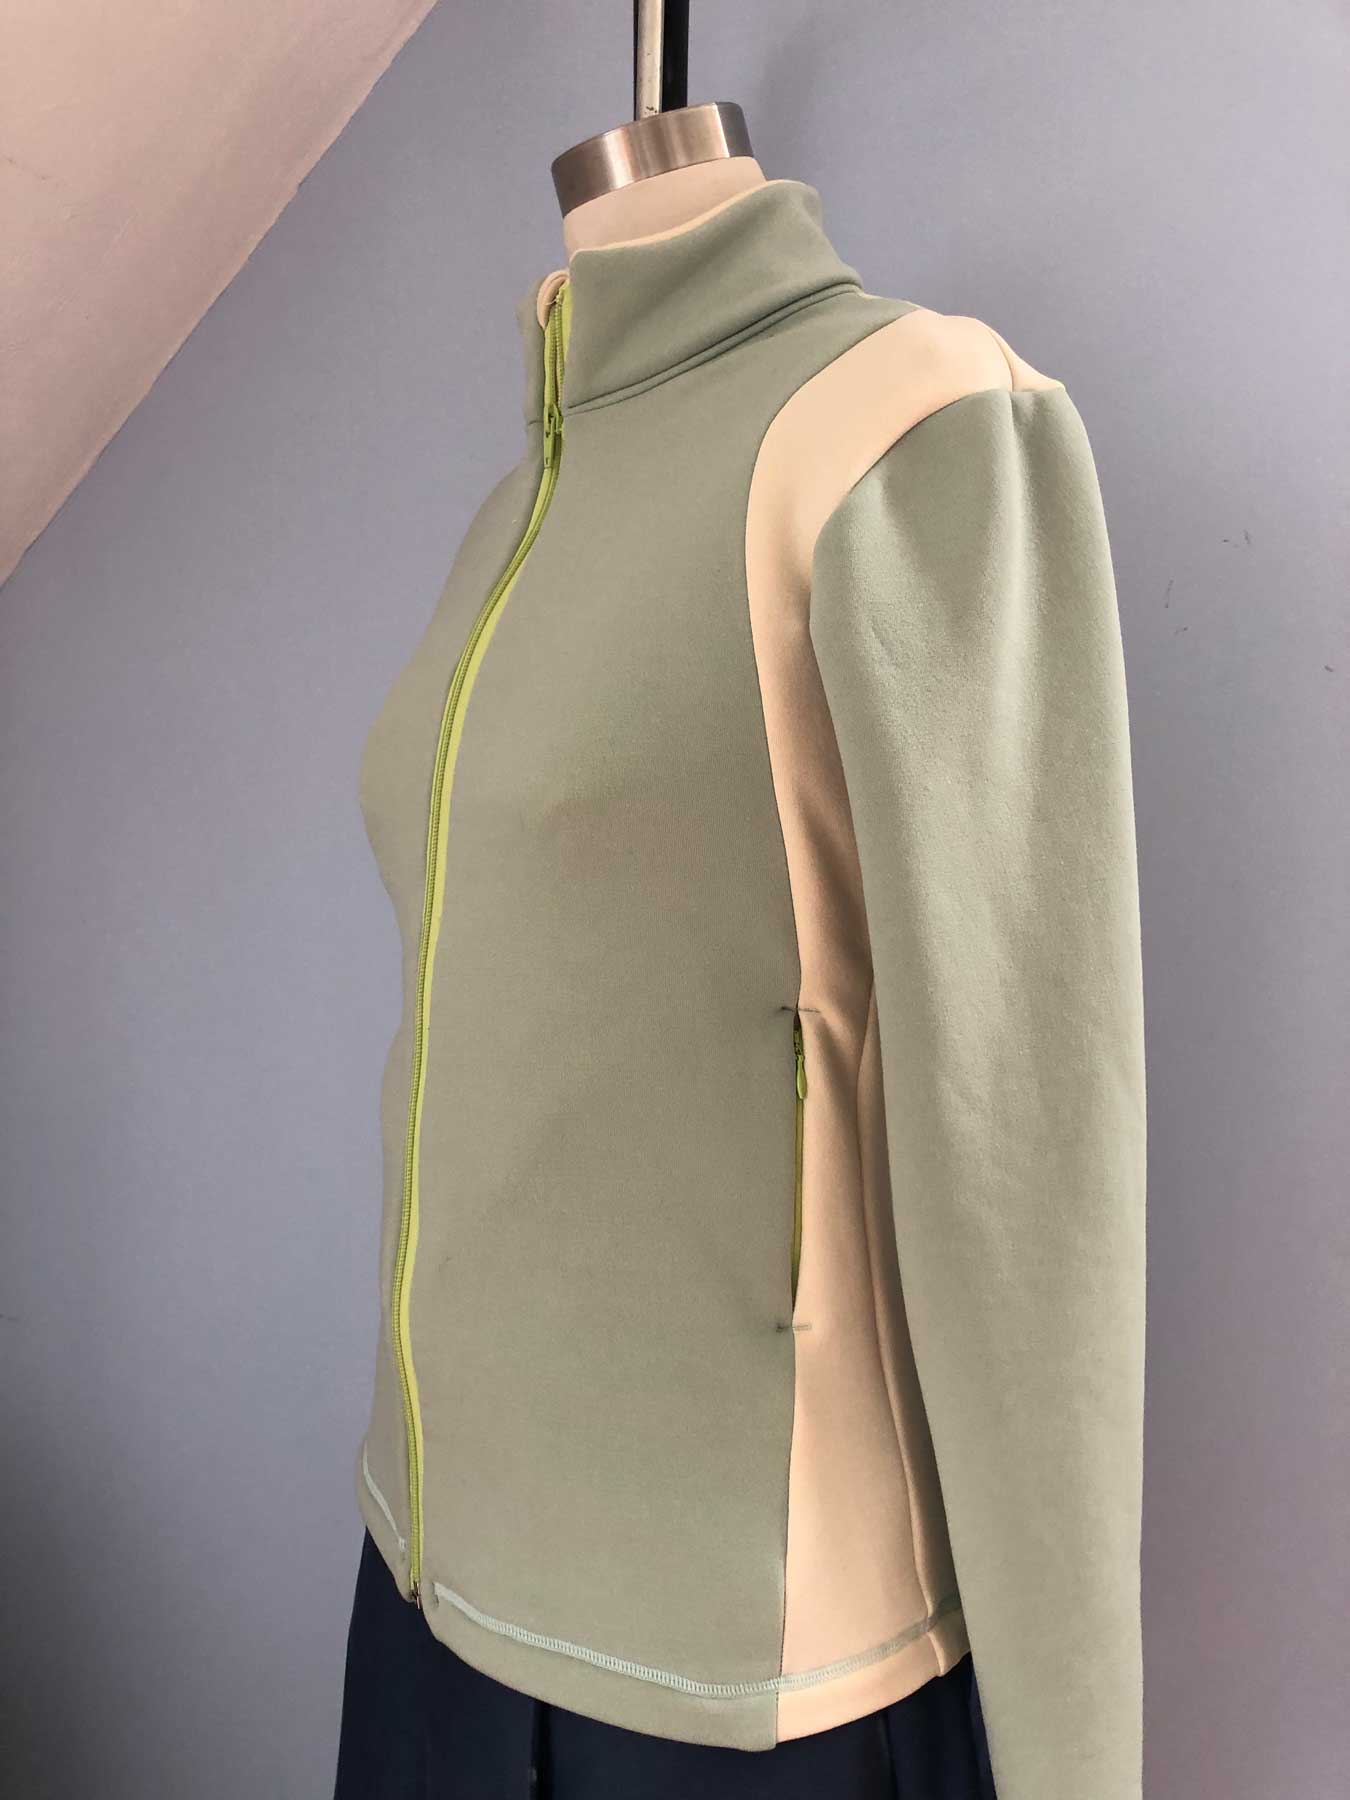
I also recommend incorporating a zipper facing, especially for jackets with collars or children’s garments. A simple fleece facing folded over the top of the zipper protects the chin and improves comfort during active wear and significantly enhances both function and wearability. To accomplish this, cut a long piece of fleece the length of the center front and about 2” wide. Fold in half, then sew on the top folded edge to taper the top. This will then be folded over the top of the zipper to form a cover over the zipper.
To add some design detail, try incorporating other fabrics for the zipper facing, such as nylons or interfaced stretch fabrics. The facing is then stitched into the center front seam on one side of the zipper as the zipper is being applied so that one side will have jacket fabric, zipper tape, and facing all applied at once. At the top of the zipper, the tapered side of the facing will be folded over the zipper. This method will require some planning when applying the zip facing and zipper but will make for a quality garment.
Cuffs and Hoods
Sleeves can be finished with simple hems, cuffs, or glove-hand cuffs, which extend over the hand and include a thumb opening for added warmth. While this detail requires pattern adjustments, it provides excellent protection in cold-weather conditions.
- To accomplish this, you will need to eliminate the hem allowance, but add a cuff allowance. Normally, a cuff goes from the end of forearm to the wrist but in the case of a glove hand, the sleeve will end at the wrist and the cuff will make the glove.
- Make sure the sleeve ends at the prominent bone in the wrist: measure from shoulder point to just below the bone in wrist (towards the hand).
- Measure from wrist to knuckles. This will be the width of your glove hand. Double this measurement (because the cuff is folded over). Note that the length of the cuff will go around the sleeve end so make sure that it matches the sleeve end circumference, to no more than 1/4” smaller.
- The seam of the cuff with be matched up with the inseam on the sleeve.
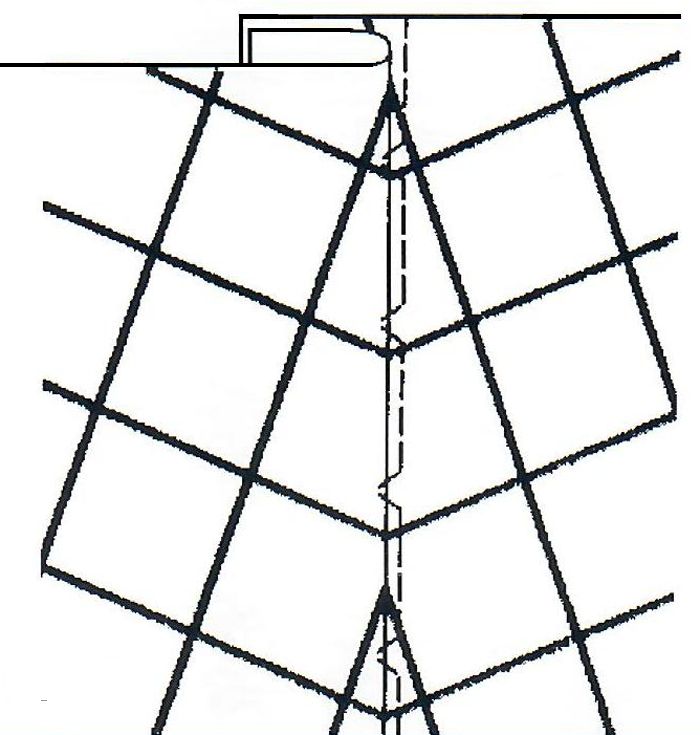
- From this seam, mark the slot for the thumb and mirror that mark on the opposite cuff. The thumb slot is marked to the left of the cuff seam on the left glove, and to the right of the cuff seam on the right glove. Place this approximately 1 ½”—but no more than 2”—to the right and left of cuff seam. The length of the slot for the thumb should be 3”.
- A typical cuff is cut 8” x 8- or 9”, depending on sleeve width at the wrist. Fold the cuff wrong sides together, sew the seam, turn right sides out, and fold it in half so the wrong sides are together. It will look like a cuff at this point.
- Place both cuffs facing down with the seams facing each other. Mark a 3” line to the right and left of the seams on the respective cuffs to make the thumb slot. Cut the slit. Cut a strip of fabric, either a spandex, or stretch fabric twice the length of slit plus 2” so 8” long slit by 1.5” wide. Sew the strip right sides together to the slit.
Tip: This application is one of a continuous bound placket application that is explained in the Vogue Sewing book.
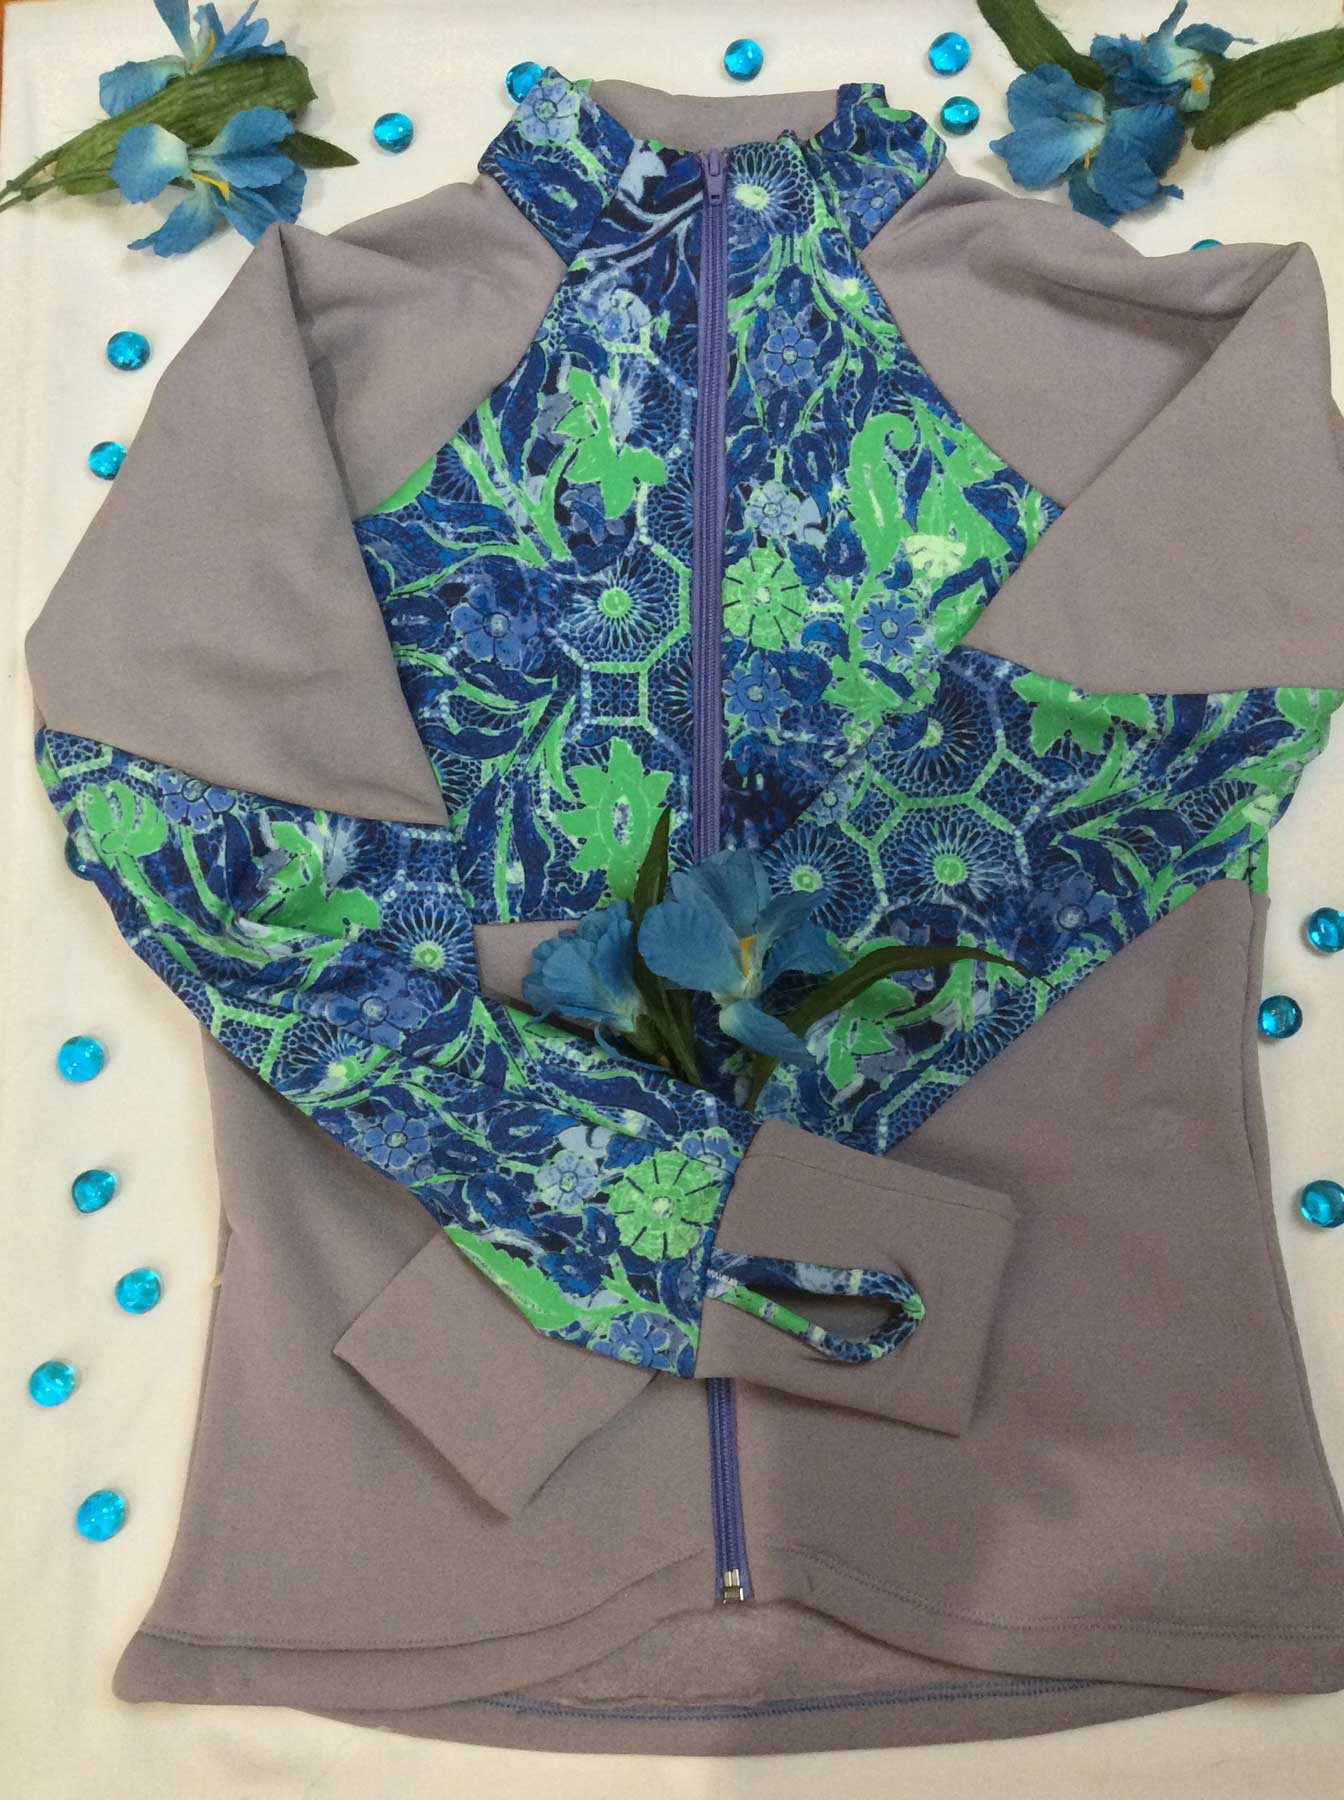
Hoods are another valuable addition to Polartec jackets, with or without collars. Designs featuring a center panel offer better fit, especially when worn over hats. Drawstrings can be added for adjustability, and hoods may even be drafted with integrated collars for additional warmth.
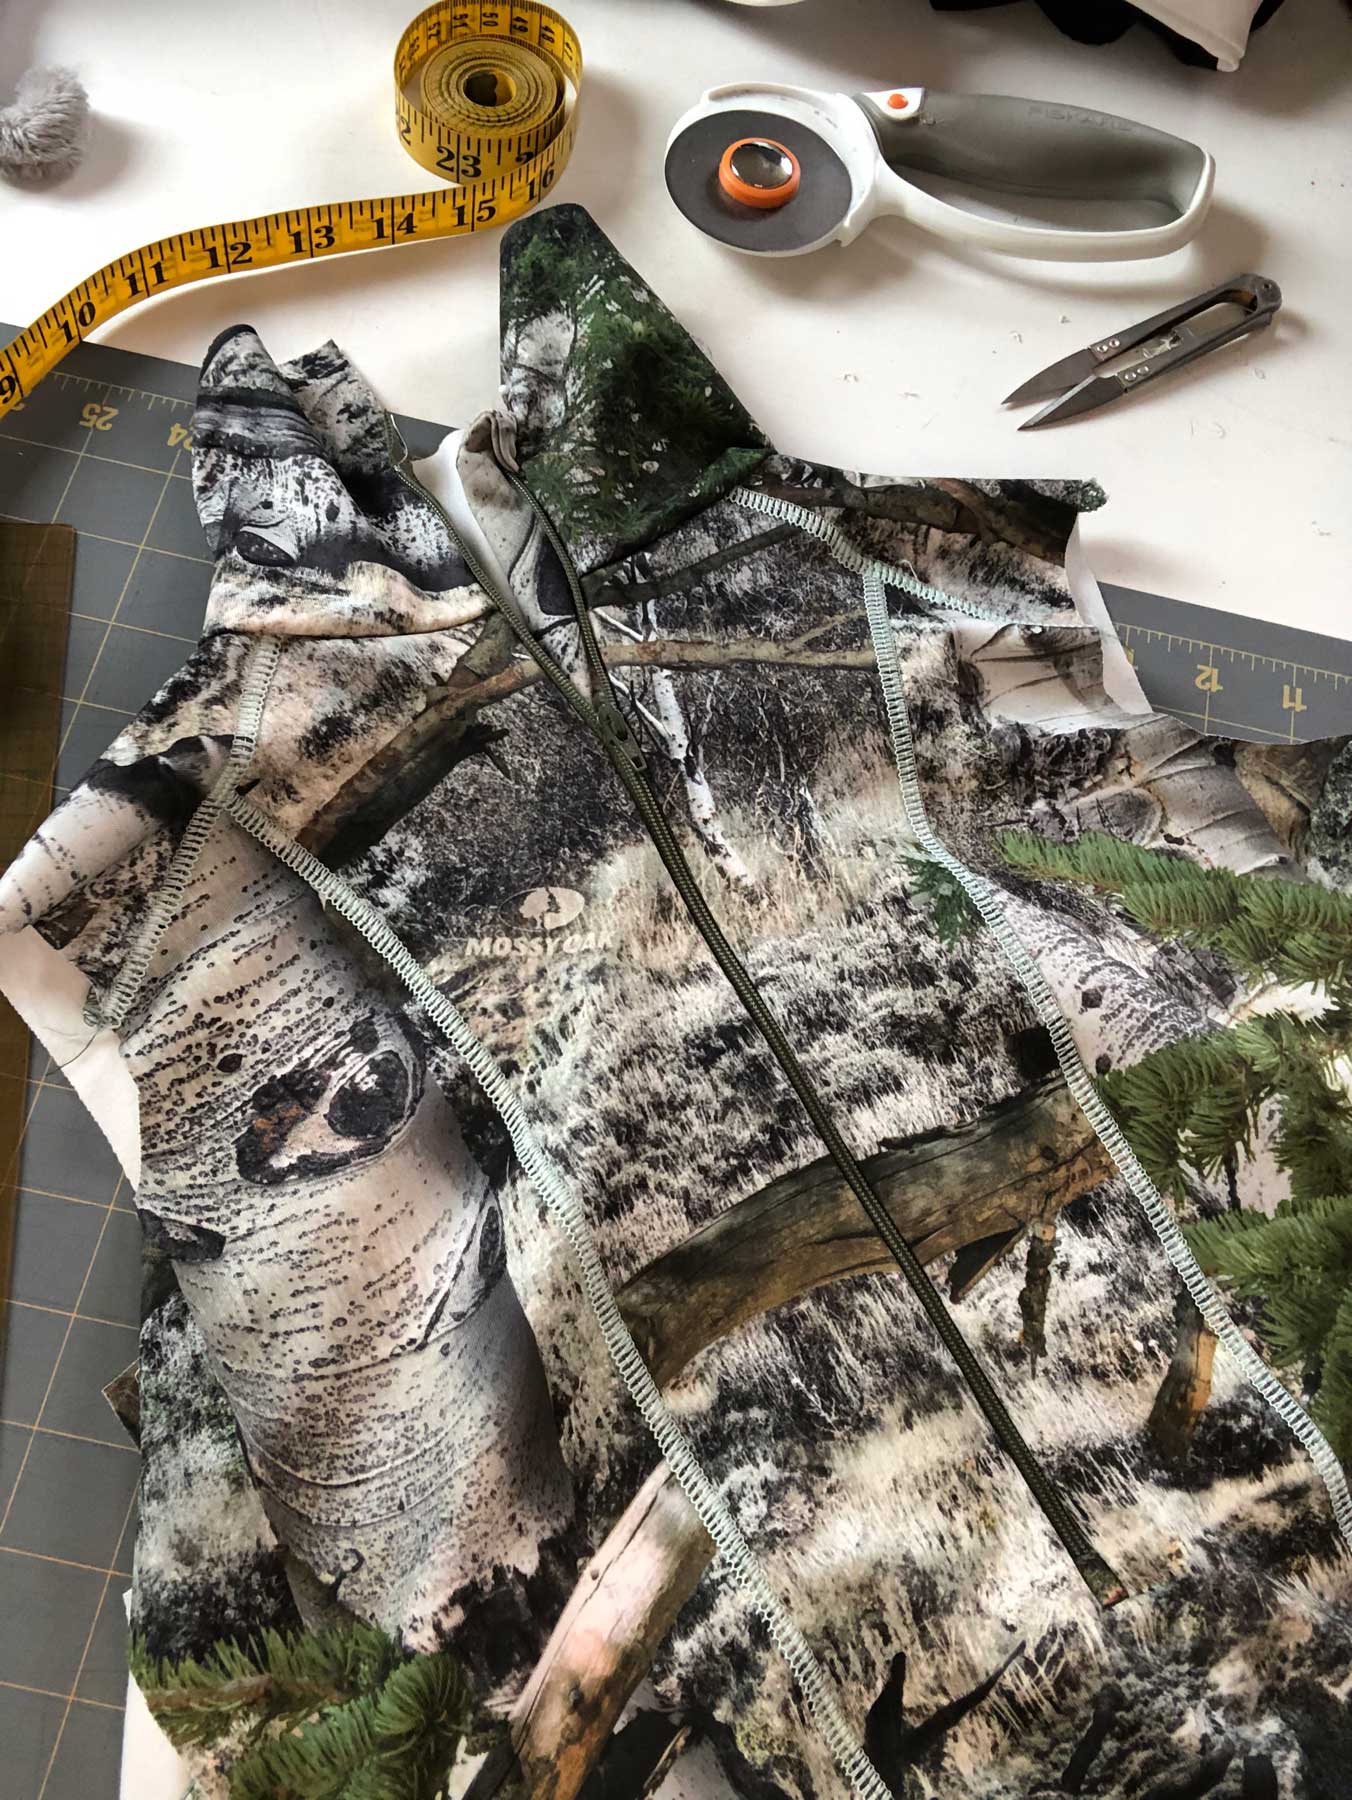
If adding a drawstring cord, overlock the front edge of the hood. Turn 1” to the wrong side and topstitch 1/8” from the raw edge giving you plenty of room for hoodie drawstring flat tape, which is chunky. You can even draft a pattern in which the hood has a built-in collar, as shown in the images.
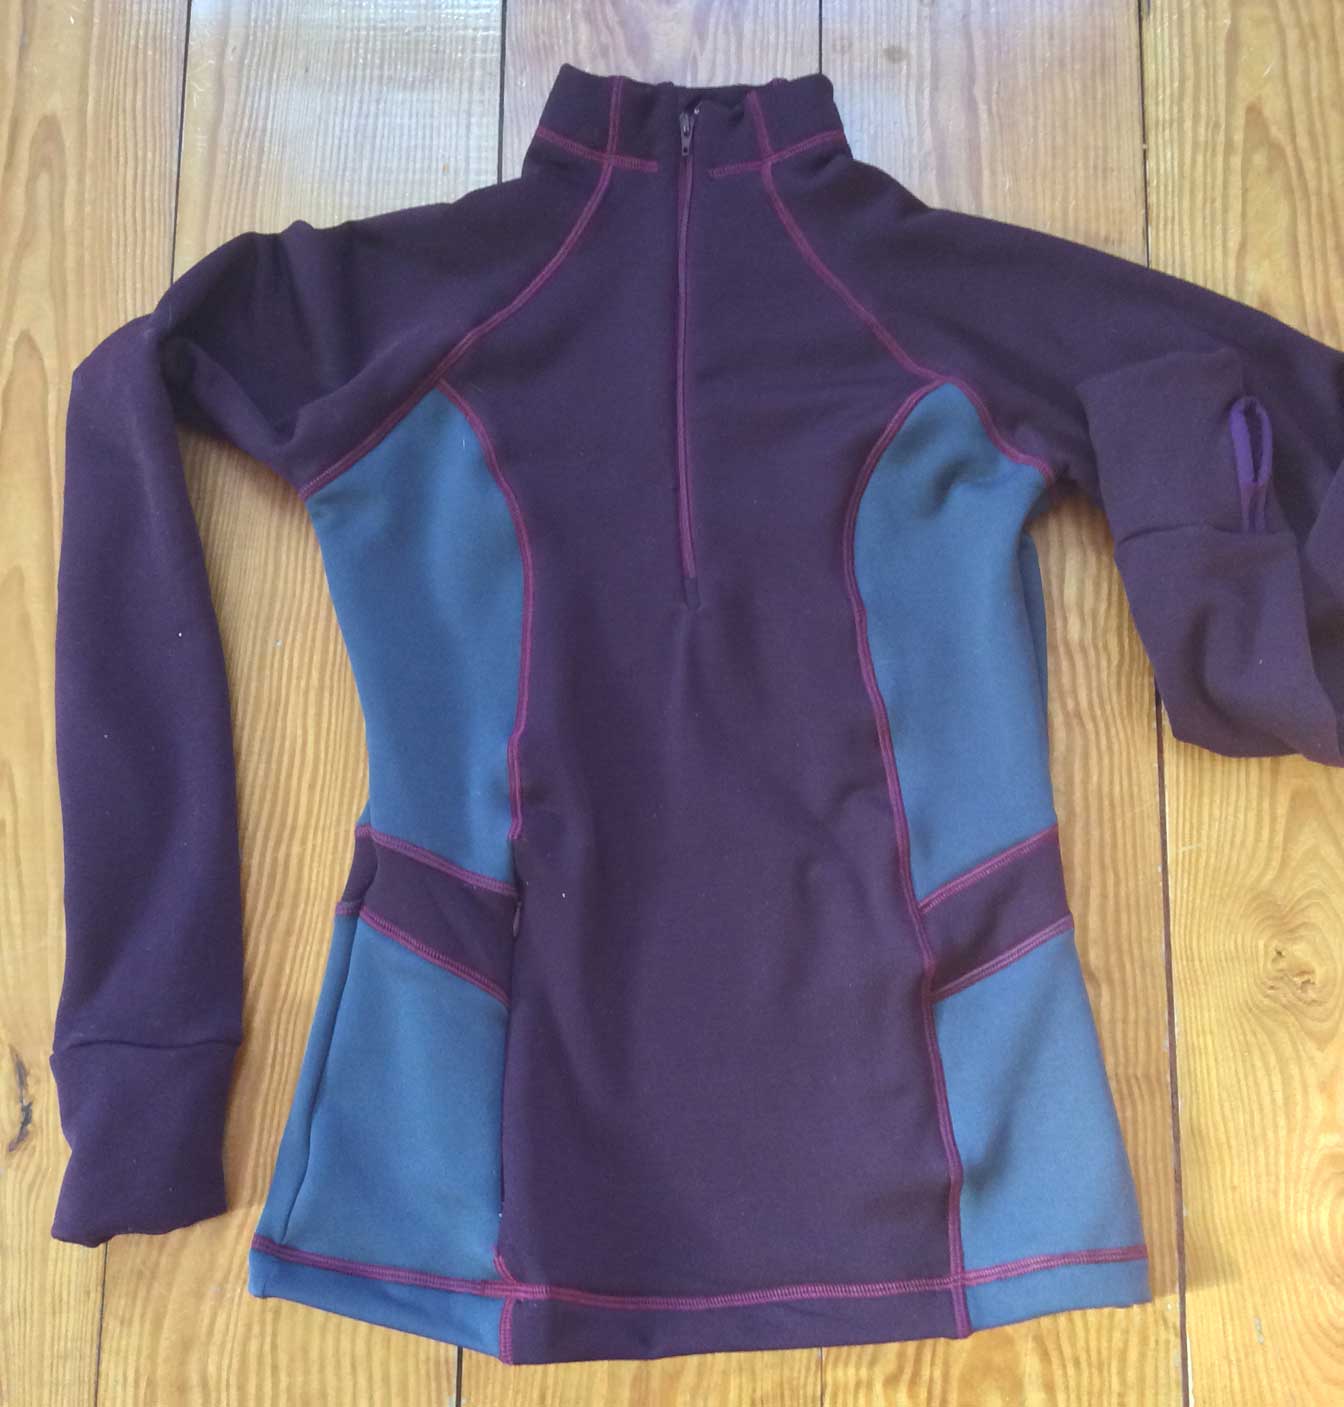
Style Lines for Better Fit and Beauty
Finally, style lines such as princess seams and contoured panels allow for better fit and visual interest and can add or reduce ease, depending on what you are looking for in the overall function of the garment. Whether designed for athletic performance or casual wear, well-placed seams can enhance mobility, warmth, and overall garment aesthetics.
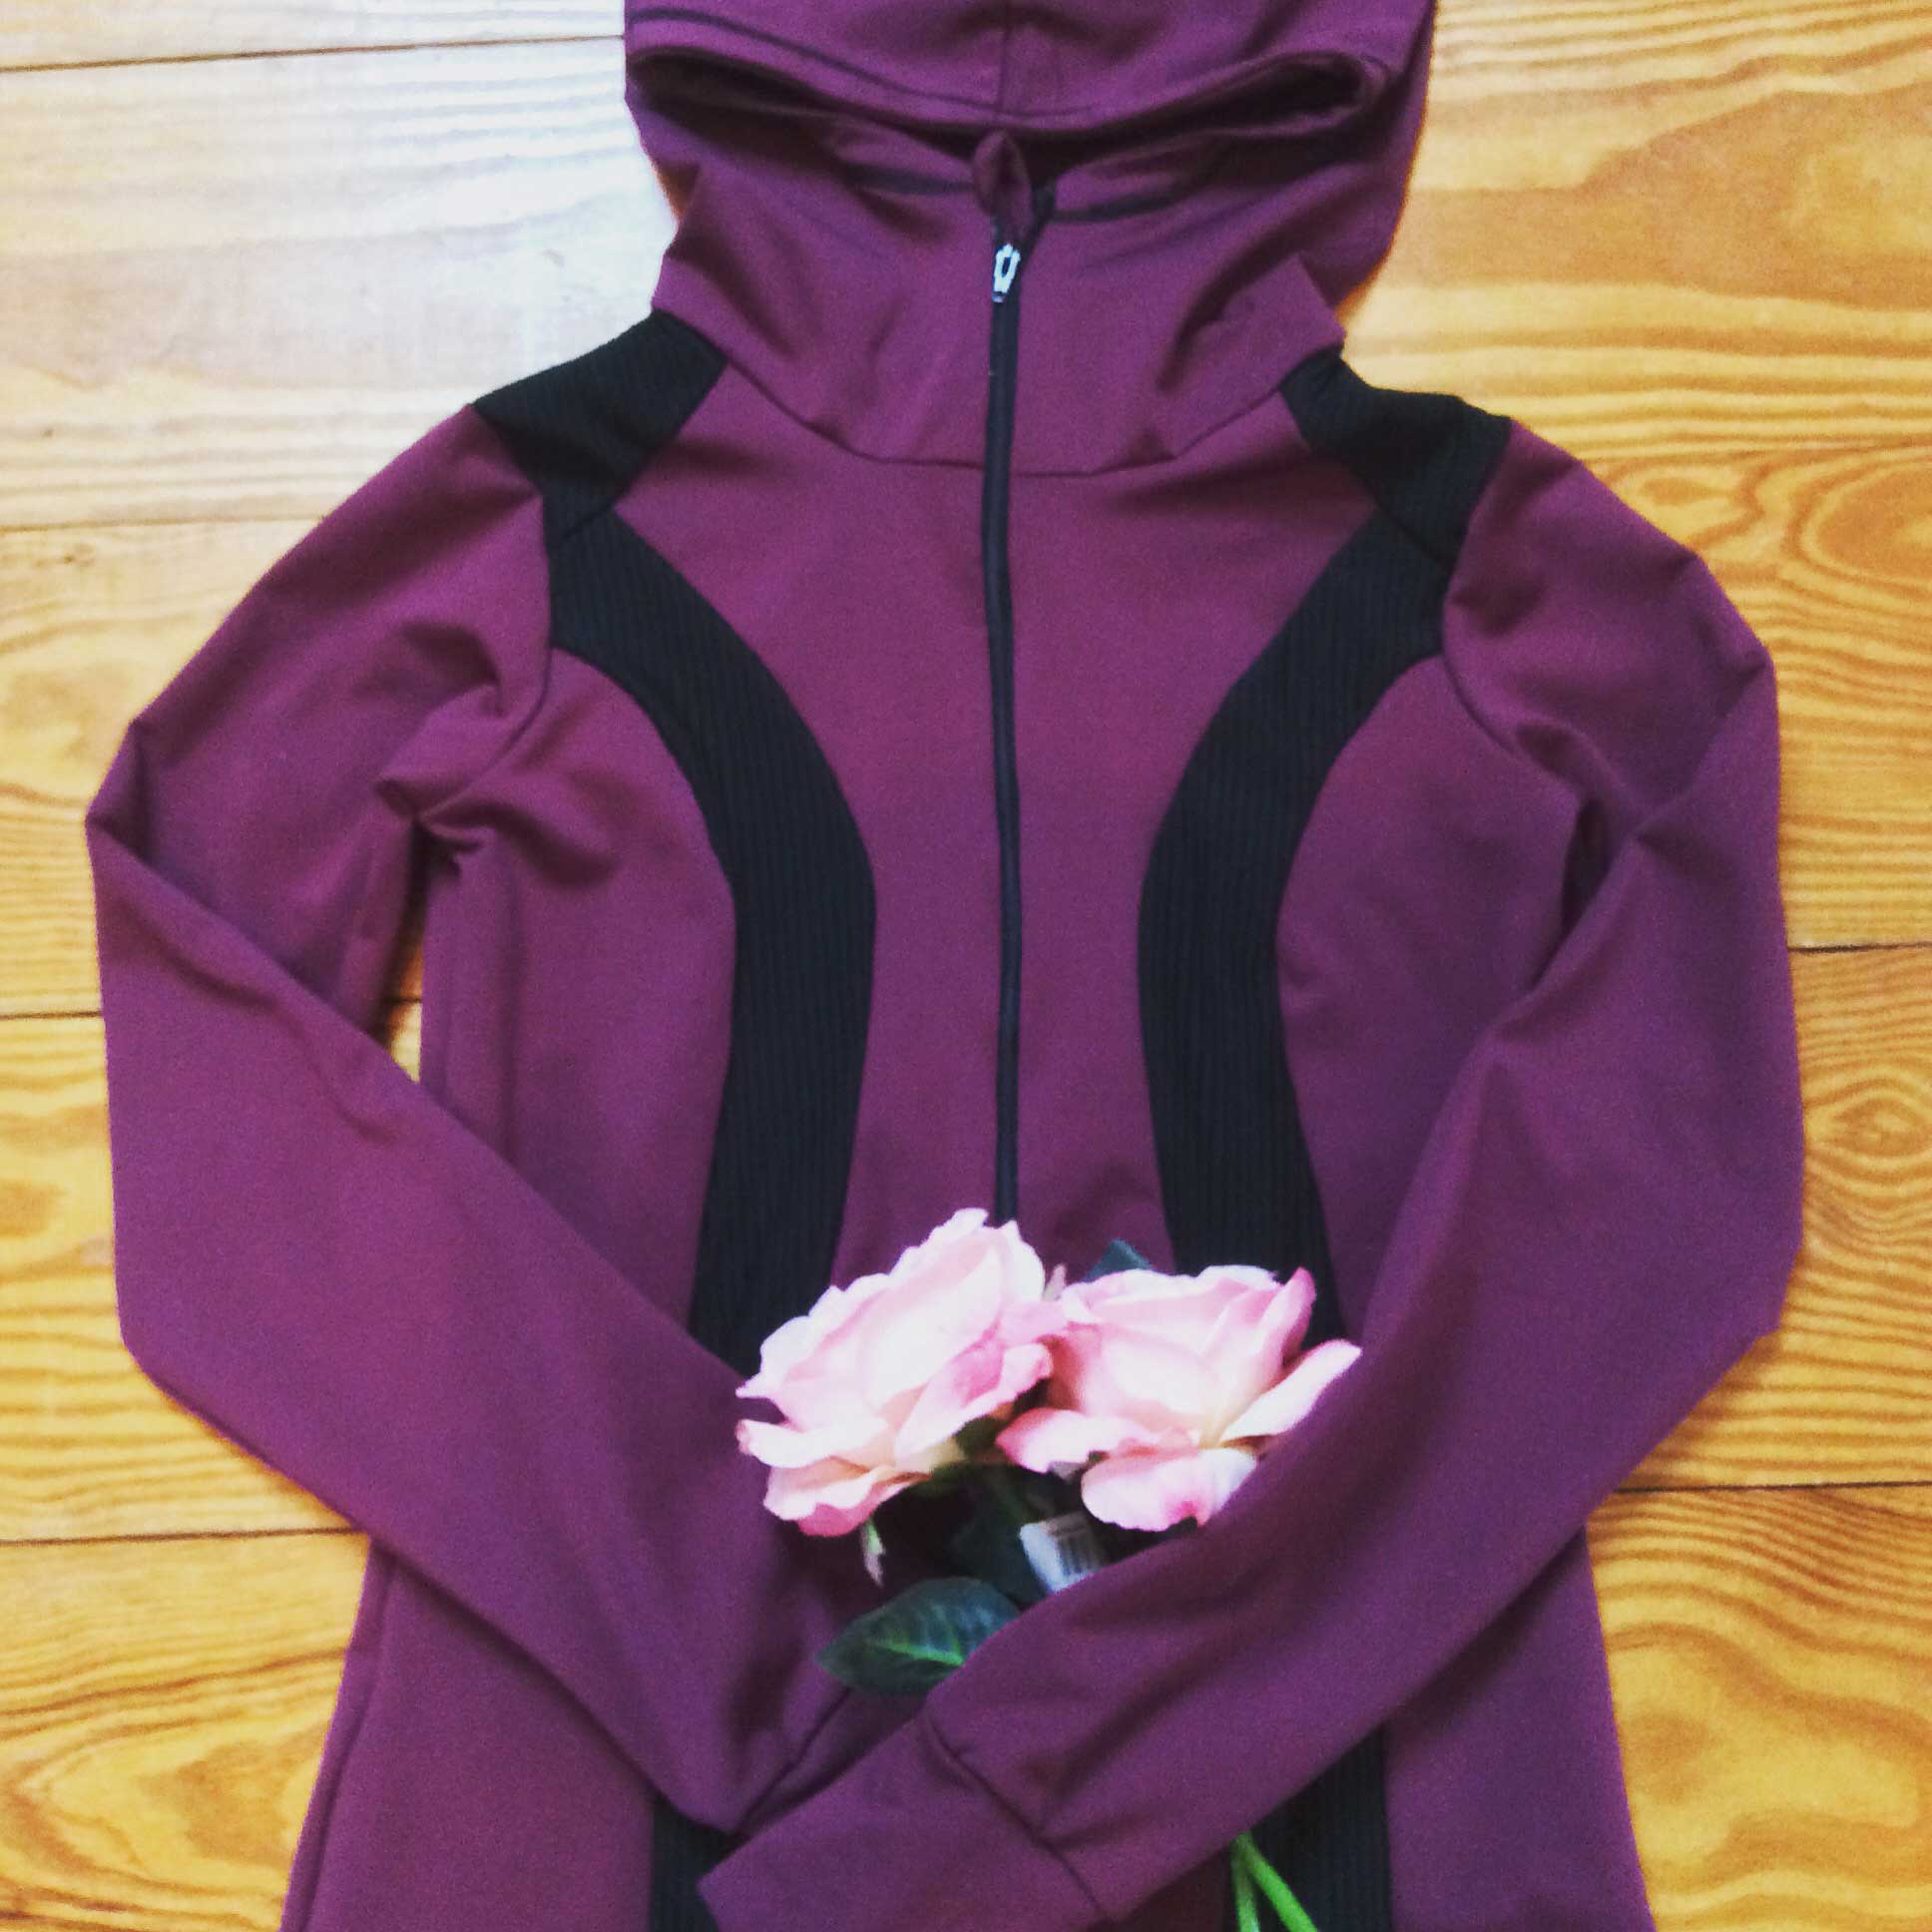
Using an overlock machine will allow you to create contoured seams and cover stitching for added interest and detail. Carefully drafted and pieced patterns can be used to create a fitted sleeve or curved side seams. Try adding additional pieces to the bodice of the front and back to create a princess seam and then eliminate the side seam. This feature works well with a knit fabric here. Color blocking and fabric contrasts further elevate the design while maintaining functionality.
Thoughtful construction techniques and attention to detail are what transform a fleece garment from basic to exceptional—and ensure it stands up to years of wear in cold conditions.
Order of operations
- Overlock the edges of the hem of the sleeve, the bottom of jacket front and back, the collar facing bottom, the center front of jacket front where zipper will be inserted, and the pocket bag edges to make the cut fabric easier to handle. This is an optional step but will make your sewing process easier.
- Sew the shoulder seams together and partially sew any princess seams. If any of the princess or other style seams have pocket applications, leave them open for zipper application.
- Leave seams partially unsewn if using an invisible zipper application. Overlock up to about 2” of the zipper placement. Carefully mark the top and bottom of the zipper placement. I like to add the top and bottom of the zipper tape where there are no teeth and beyond the stop. There are areas that will have a bar tack applied to lock in the zipper. Apply the zipper.
- Add the pocket bags to each side of the zipper. I like to use the Polartec side of the bag so that when the zipper is open, the inside of the pocket shows Polartec, while the other side which is sewn on top might be a mesh type or lighter fabric. You will be sewing the pocket bags to the zipper tape and seam allowance of the jacket. It is a good idea to use a zipper foot to get a close accurate stitch line.
- Once the pocket bag top and bottom is attached to the zipper, close the bag. Stitch the top, side, and bottom of the zipper. From the front side of the jacket, mark the placement of any bar tacks at the top and bottom of the zipper. I use a small satin stich that is 1.5mm width zigzag, with a.25-5 mm length. Reverse on both ends to ensure a rock-solid tack.
- Make the zipper front facing. Sew the collar to front and back before applying the front zipper. However, if you chose to have a hood and collar, baste the hood to the collar area and then apply the collar. Pin the zipper facing in place on one side of the front, then apply the zipper. Remember to fold the top of the facing over the zipper.
- Mark the where the collar meets the zipper tape on both sides so that when the zipper is zipped, the collar lines ups. Leave 1/2” at the top of collar to apply the under collar and fold away the zipper tape at the corner.
- At the bottom of the zipper, fold over the hem allowance to enclose the bottom of zipper. Make sure both sides match in terms of width of hem so that any topstitching will have matching widths on both sides of the zipper.
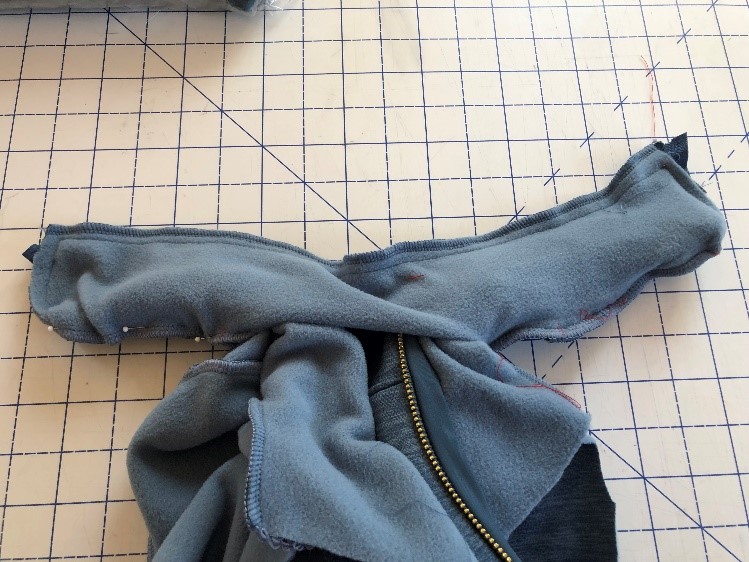
Collar Facing/Undercollar Treatment
- Overlock the edge of the under collar that is not attached to the upper collar. After stitching the undercollar to the upper collar, run an overlock edge across the top.
- To secure the lower edge of the collar facing, consider a hand slip, blind stitch, or other securing method of your choice.
- On both sides of the collar, mark on the under collar where the collar and shoulder seam will lie. Tuck the front side of the jacket inside the upper/under collar from the zipper to the shoulder seam or just past the shoulder seam. In doing this, you are tucking in the jacket front like a burrito into this one side of the collar. Make sure not to stretch the under collar.
- Pin the seam allowance of upper collar to jacket edge to under collar serged edge. Repeat this on the other side.
- Straight stitch as close to the center back of the collar as possible. There will usually be 2” or more than cannot be sewn but it’s fine to leave it as it is. However, if you’d prefer more finishing, when turning the collar right side out, carefully top stitch this open area, making sure to turn under 1/4” or slightly less of the under collar edge before topstitching.
- An alternative treatment for the undercollar attachment to the jacket is to bind the lower edge, then stitch in the ditch of the collar on the right side of the garment, making sure to catch the bound edge when stitching. Note that this method tends to be more difficult.
Hems
If your garment has a cuff or glove hand, the sleeve hem is taken care of in this detail application. One option is to bind the edge of the sleeve with a strip of matching stretch fabric in a contrasting or coordinating fabric. I usually apply the sleeve binding before finishing sewing the sleeve underarm seam, but it can be done afterwards as well.
For underarm seam unsewn, cut binding 2” wide on the cross or weft grain of the fabric by the length of the sleeve at the wrist. Subtract 1” if (and only if) you want a snug end to the sleeve. With right sides together, the ends can be overlocked then followed up with a straight or safety stitch at the 1/4” mark, making a total of 1/2” seam allowance. Turn the binding over the seam allowance to the wrong side of the garment and pin in place. Stitch in the ditch on the right side of the sleeve or zigzag stitch on the edge of the binding. Carefully trim off the excess. Most stretch fabrics will not fray so you don’t need to clean finish the binding by folding under that edge, just leave it raw. Once the underarm sleeve seam is sewn, I like to bar tack the seam allowance at the binding at the sleeve end to one side.
If you have sewn the underarm seam already, measure the circumference of sleeve end. Again, subtract 1” for a snug fit or use the full amount for the length of the binding strip, by 2” wide. Sew in the round the binding right sides together once again using both an overlock stitch, followed by a straight stitch for a total of 1/2” seam allowance. Turn the binding over the seam allowance and pin in place. Stitch in the ditch on the right side of sleeve. Trim off the excess of binding 1/8” to stitching without cutting into stitching.
When hemming the bottom of the jacket, press the seam allowances but be sure to use a press cloth to help keep the seam in place. Adding interfacing will minimize stretch when hemming and use pins in the seam junctions.
Another design option on sleeves and the bottom of the jacket hem is to use your overlock machine to make what looks like a binding/cuff type look. First, be sure to add length to the pattern to accommodate the option. Then turn the hem under the desired amount towards the wrong side, and turn the entire hem back over to the right side. At this stage, you be overlocking three layers; overlock the edge of the fold and the raw edge of the hem. When it’s turned to the right side, it will look like a cuff type application, but will have been hemmed by the serger. This method can be used for a quick hem on spandex bike shorts hems but will also work on a fleece garment sleeve and bottom edge hems as well. Press or tack the serged hem allowance to make it as flat as possible. If tacking, only do it at specific places like side seam junctions and center front, but not limited to.
All of these details will make for a long-lasting garment.

~Kim Larcom, ASG Member (Boston Chapter), known as The Bridgewater Seamstress, is the Entrepreneur behind Astrosportswear Activewear. She graduated from the Master Seamstress certificate program at the University of Rhode Island and owns her own custom activewear business.