American Sewing Guild (ASG)

Visit our blog Visit the ASG Facebook page Visit ASG on Pinterest Visit ASG's YouTube channel Visit ASG on Instagram
  • Home
  • Join ASG
    • Join Online
    • Chapter Locations
    • Member Benefits
    • Member Brochure
    • Join by Mail
  • Education & Classes
  • Resources
    • Contests & Awards
    • Giving Back
    • Hall of Fame
    • Travel and Tours
    • Measurement Chart
  • Shop
    • ASG Store
    • Chapter Products
    • Video Resources
  • Blog
  • About
    • About Us
    • Donate to ASG
    • ASG Sensitivity Statement
    • FAQ’s
    • Start a Chapter
  • Contact
  • Member Login
    • Login First!
    • Members Only
    • Leadership Only
    • Website FAQ’s
    • Logout
  •  

August 11, 2023

Basting Methods for Plaids

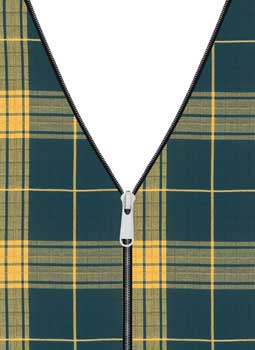
Plaid vestWhen selecting a basting method for plaids, consider the complexity of the plaid, the texture of the fabric, and the garment design, as well as your sewing skills. Here are a few basting methods that can help you achieve precise plaid matching:

First Step

For best results, baste with the right sides up. It’s also helpful to stay stitch the edges of your fabric pieces. This helps maintain the shape of your pieces while you work on matching the plaids.

Glue Sticks and Tapes

Glue sticks and water-soluble double-stick tape are easy basting techniques that could work well on some fabrics where, for example, needle punctures would not be appropriate. Position the glue or tape just inside the seam line on the right side of the unpressed section. Align the plaid bars and press the layers together. Let the glue dry before stitching.

Another easy basting method is to use drafting tape. Match the color bars and tape the sections together. Then, right sides together, stitch from the wrong side on the seam line. (Figure 1).
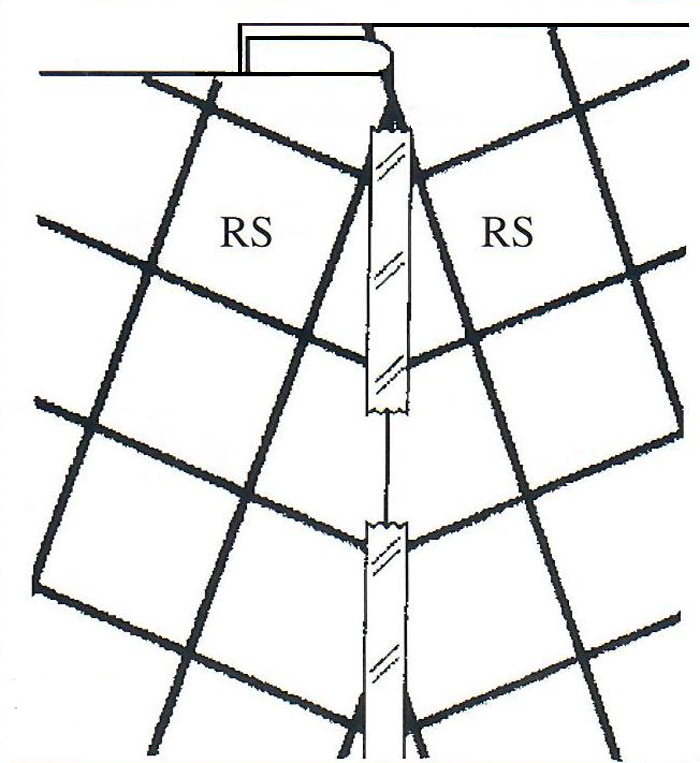
Basting plaids
Figure 1

Tip: Before using drafting tape, test to be sure the tape won’t mar the fabric or pull off the nap.

Hand Basting

For difficult seams, hand-baste. With right sides up, align and pin the sections together. Then use a short slip stitch or fell stitch to baste. Use a contrasting thread color that’s easily visible against the plaid pattern.

  • The fell stitch tends to hold the fabric a little more securely; however, on the wrong side, the stitches are slanted and if you aren’t using a water-soluble thread in the bobbin, they are more difficult to remove.
  • If using the slip stitch, consider adding a safety by turning the garment over and putting in a second row of basting from the wrong side so that there are no spaces in between the stitches.

Machine Basting

Machine basting works well on fabric that won’t be damaged by extra needle holes. With right sides up, align the color bars and pin the sections together. Set the machine for a blind hemming stitch (Width: 2″, Length: 2.5″) and a loose tension, then stitch next to the fold line. Only the zig-zag stitch will catch the fold line (Figure 2). Consider using water-soluble basting thread in the bobbin, but remember that this thread could dissolve in hot, moist hands or when wound on to a bobbin at high speed. In this method, it could help to use a contrasting thread color that’s easily visible against the plaid pattern.
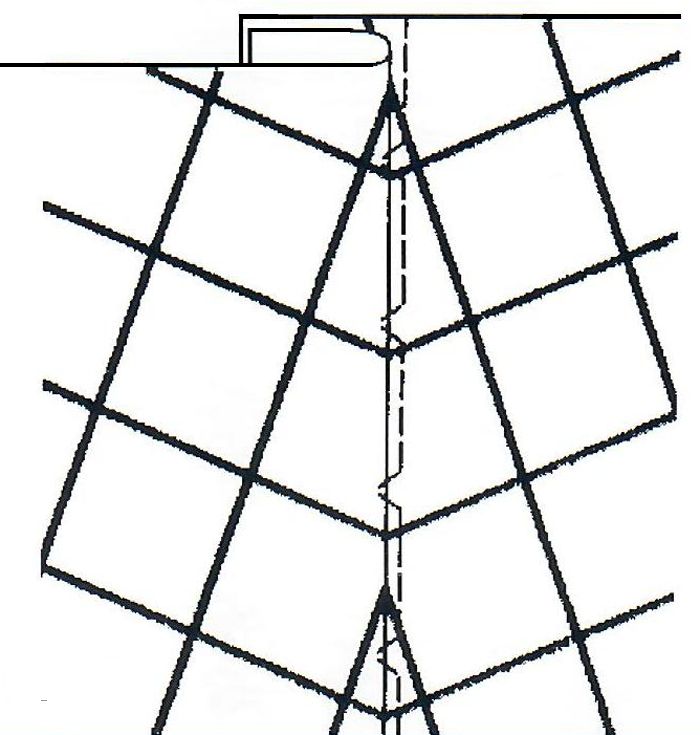
Matching plaids
Figure 2

Pin Basting

Pin the plaid pattern pieces together along the plaid lines, making sure the lines match up perfectly. Place the pins parallel to the plaid lines and about an inch apart, then place the pins in both vertically and horizontally to keep the pattern pieces aligned.

Clipping and Notching

When you have intersecting seams, clipping into the seam allowances or notching them can help align the plaid lines more accurately. Make small diagonal snips (clips) or triangular notches along the seam allowances, being careful not to cut into the stitching line.
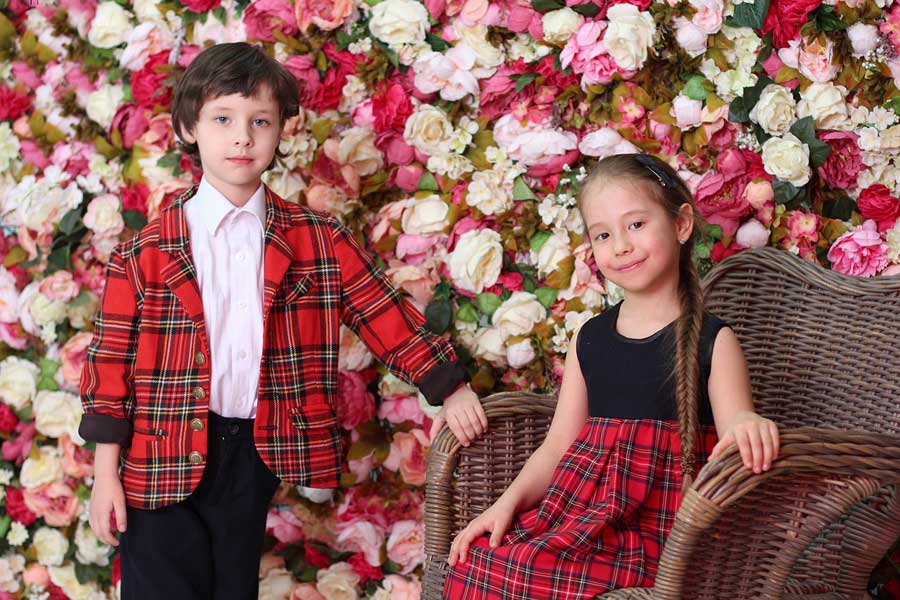
Plaid jacket and dress on children


~Partial contribution from an ASG article by Claire Shaeffer
This field is for validation purposes and should be left unchanged.
Did you enjoy this article?
Are you an ASG member?

April 21, 2023

Sewing Tools: What’s This?

We all know that sewing enthusiasts need certain tools to function—a sewing machine, scissors, thread, pins, etc.—but there are some other tools of the trade that might just be nice to have. Are they a necessity? No. Are they a convenience? Absolutely. Let’s take a look at some of those handy-to-have specialty items.

This page contains Amazon affiliate links. If you shop from these links, we may earn a small commission on your purchase (at no additional cost to you).

Needleboard

Needle Board for Velvet
Needle Board for Velvet, available on Amazon

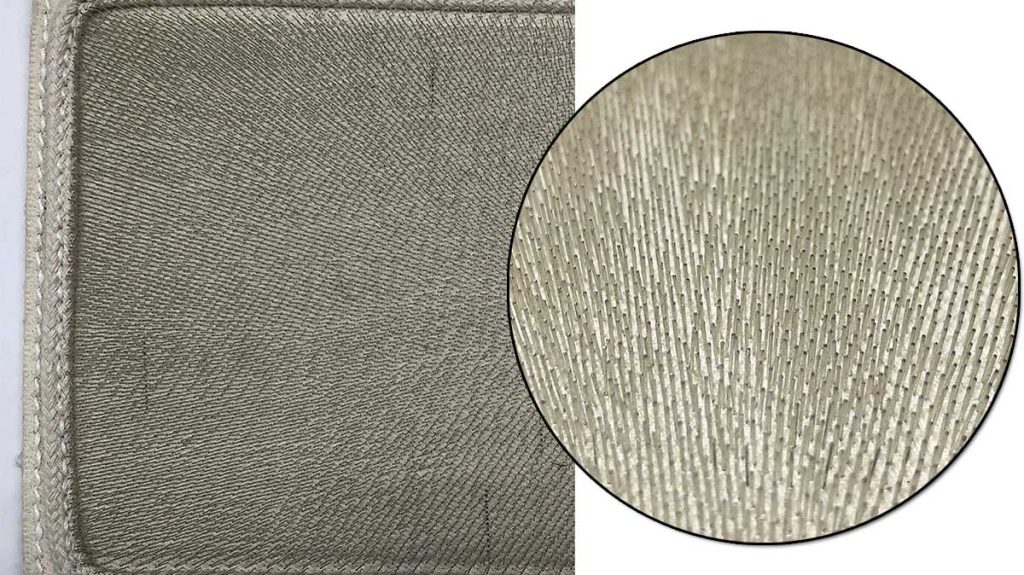
If you work with velvet, velveteen, corduroy or plushes, you know how difficult it is to press without crushing the pile or imprinting the holes of the steam iron onto the fabric. The surface of a needleboard, as its name suggests, is covered with short metal pins that fit between the pile strands of a plush fabric for pressing. It keeps the fabric backing elevated without crushing the surface pile. To use, simply place the fabric face down onto the protrusions, then lightly press.

With a somewhat hefty price tag, a needleboard is a luxury, but if you work with these pile fabrics frequently, it’s something you may truly deem a necessity as the pressing results speak volumes.


Seam Roller

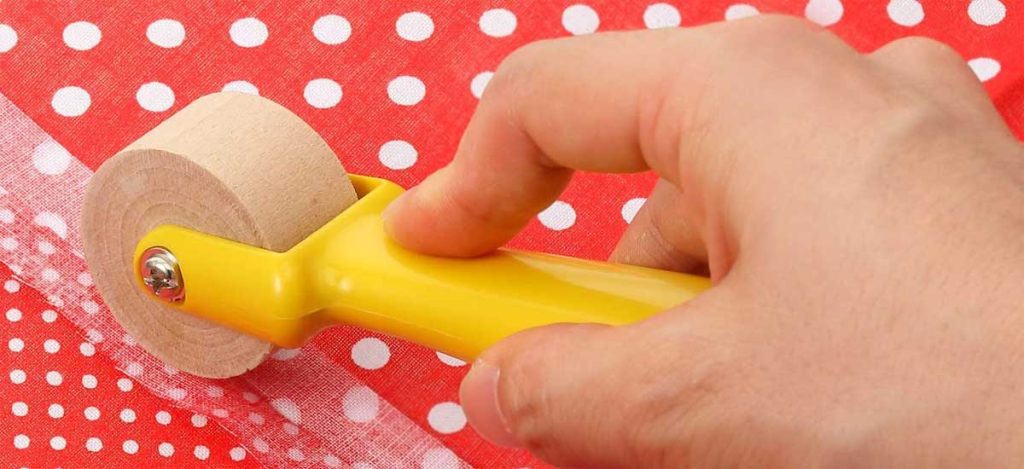
Seam roller
Seam Roller, available on Amazon

We’ve all been taught to press seams as we sew, so whether you’re pressing open a quilt block seam or setting a facing seam, this handy seam roller lets you do that at your sewing machine without a trip to the ironing board. Just hold the seam in the direction you need it, then roll over it using a moderate amount of pressure, depending on the fabric. It’s handy to reach small areas where it’s difficult to get an iron, and it keeps your fingers out of the way. In addition, the seam roller can be used to make creases at fold lines and edges. If you’re a scrapbooker or card maker, it works well on paper too.


Sticky Tape

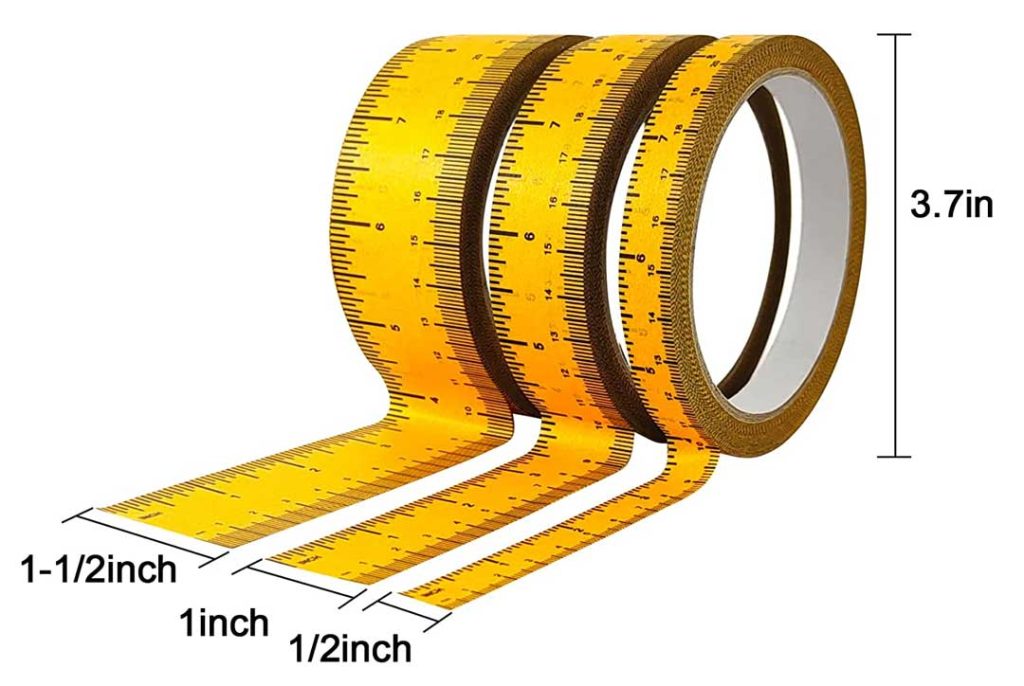
Sticky Tape
Sticky Tape available on Amazon

There are times when having a measuring tape with a sticky backing comes in handy and there are multiple types available. Look for ½”, 1” and 1 ½” widths, and differing calibrations. Sticky masking tape comes with incremental markings of 1/16” up to 1/8”, and some brands come with metric markings as well. The tape can adhere not only to your cutting table or sewing machine base plate, but to your garment or other sewing project to help mark seam allowances, pleat spacing, buttonhole lengths, quilting or topstitching lines, etc. It won’t damage the surface on most fabrics and leaves no residue.


Buttonhole Knife

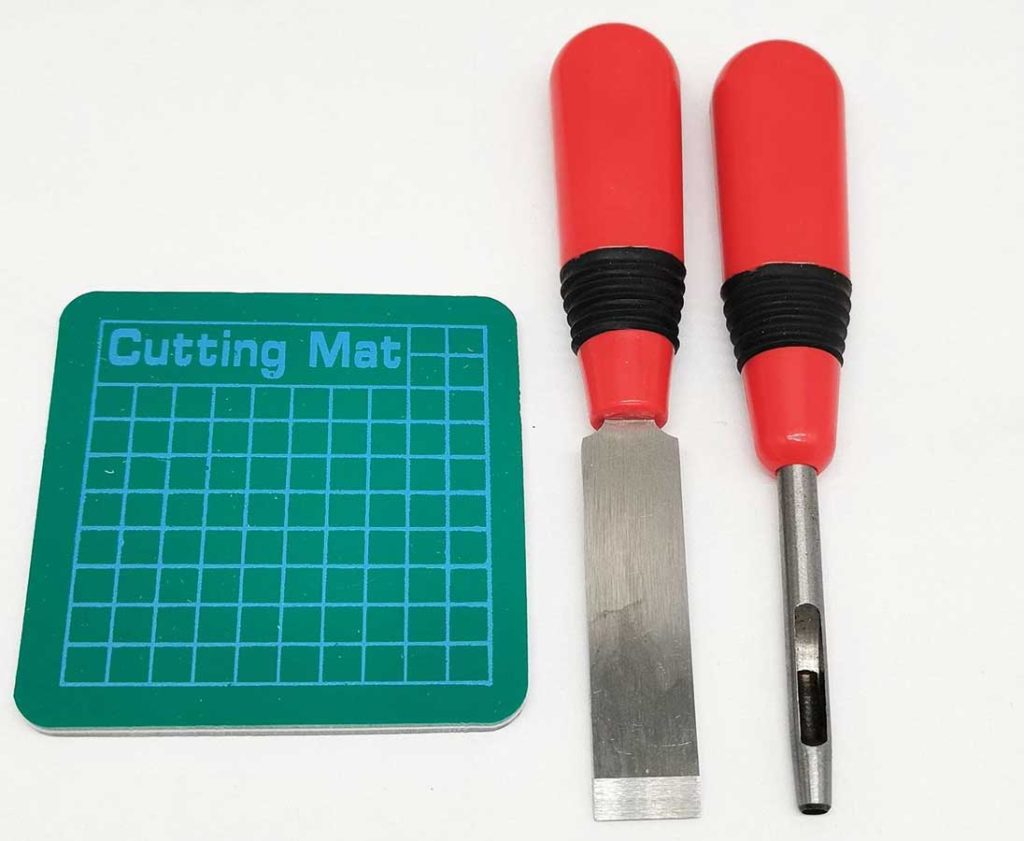
Buttonhole Knife
3 Piece Buttonhole Cutter Set, available on Amazon

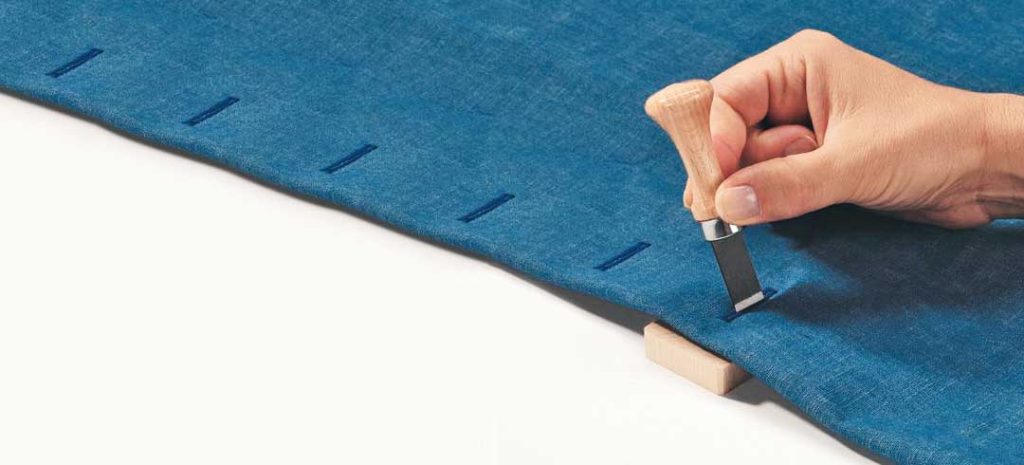
There’s nothing scarier than having your garment all finished and it’s time to cut open the buttonholes. One slip and you’re facing some creative solutions to repair and disguise potential errors. A buttonhole knife helps with that trepidation. Coming with a tiny cutting mat or a wooden cutting block to protect your table surface, the cutter has a sharp knife edge to slice open buttonholes without severing the stitches. It can be used straight on or at an angle, depending on the size of the buttonhole. For keyhole buttonholes, some cutters also come with a separate punch to open the circular end. Just press down on the tool for a smooth cut. If the buttonhole is longer than the blade width, move it along the length after the initial cut.

Bernina Buttonhole Knife in use
Image courtesy of Bernina

Stiletto

Stilletto
Stiletto available on Amazon

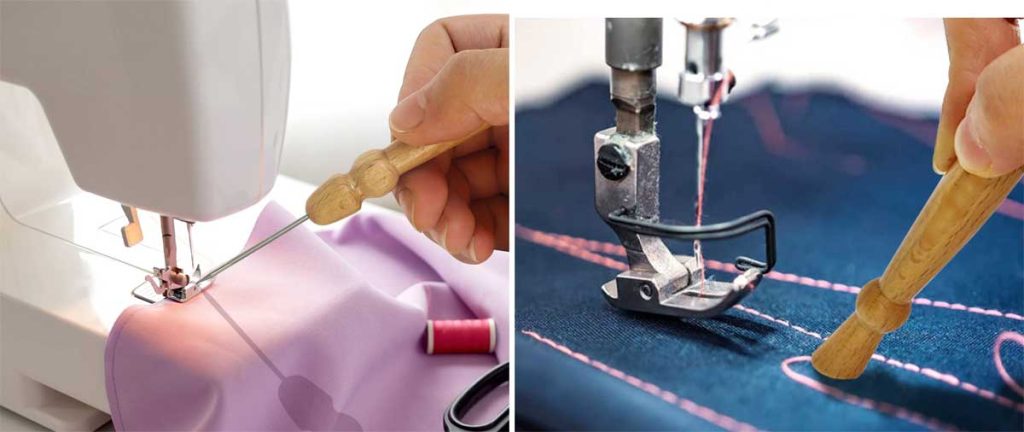
If you have ever wished for a third hand, the stiletto is your answer. This sharp little tool is handy for guiding fabric under the presser foot and aligning edges as you sew. It fits very close to the presser foot—closer than your fingers. If you’re crossing over seams, it can hold them open as you pass, or push them in a single direction if preferred. When sewing bulky fabric like wool suiting and coating, the stiletto can help push them flatter as you approach the presser foot. Tedious needle-turn appliqué is easier with a stiletto, as you can easily fold under the fabric’s raw edge with the point. Sharp-pointed stilettos can also be used to punch holes for eyelets or grommets. Most stilettos are metal, but others are plastic or bamboo and some brands of stilettos have a blunter point than others, but function in a similar way (except for punching holes). Don’t have one? Use the longer point of your seam ripper for the same functions, or hunt up a super-sharp porcupine quill!


~Linda Griepentrog is the owner of G Wiz Creative Services and she does writing, editing and designing for companies in the sewing, crafting and quilting industries. In addition, she escorts fabric shopping tours to Hong Kong. She lives at the Oregon Coast with her husband Keith, and three dogs, Yohnuh, Abby, and Lizzie. Contact her at gwizdesigns@aol.com.

This field is for validation purposes and should be left unchanged.
Did you enjoy this article?
Are you an ASG member?

March 31, 2023

Designer Bias Trim (preview)

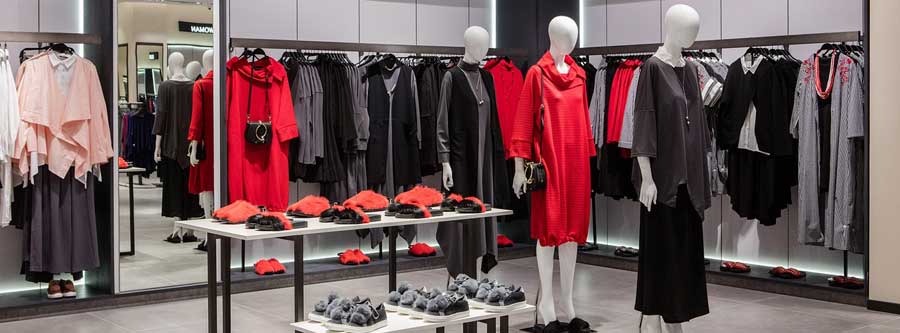
I occasionally head out to shop on what I call  “snoop day.” Armed with a small tablet and pencil to be able to copy down ideas. I shop in the better departments of boutique and major stores (i.e. Ellen Tracy, Escada, Dana Buchman, Chanel, and Armani) and I’m usually looking for pocket, collar, trim and seaming details. I might be seeking out an entire outfit, or just details like embroidery and trims.

Shopping

Editor’s Note: Planning your own snoop days?  While a pencil and tablet will be helpful, plan to snap pictures on your phone. You can also download tape measure apps on your phone if you need to take any measurements.


CLICK HERE to read the full article. Not a member? Join online!


Tagged With: bias binding, designer details, garment sewing

December 9, 2022

Bag a Skirt in 10 Easy Steps (Preview)

Lady in a straight skirtEveryone knows that a lined skirt will look new longer, wrinkle less, hold its shape better, and be more comfortable to wear. But since it takes quite a bit longer to sew a lined skirt, it’s easy to succumb to temptation and simply make one sans the lining.
The 10-step method described here is so quick and easy, you can actually sew a lined skirt in the same amount of time you used to spend sewing an unlined one. A variation of the bagging technique for jackets is described in my book The Complete Book of Sewing Short Cuts. This method is used extensively in the fashion industry. It is called “bagging” because the garment forms a bag when the hems of the skirt and lining are joined.

The complete version of this article is available on the ASG Members Only blog and requires member login.
CLICK HERE to read the full article. Not a member? Join online!

Tagged With: sewing, skirt

November 4, 2022

How Bad Is It To…

We all have our idiosyncrasies and shortcuts to help our sewing go faster and easier, but are some of those things harmful to the final product?

How bad is it to sew over pins?

Pretty Bad

sewing over pins

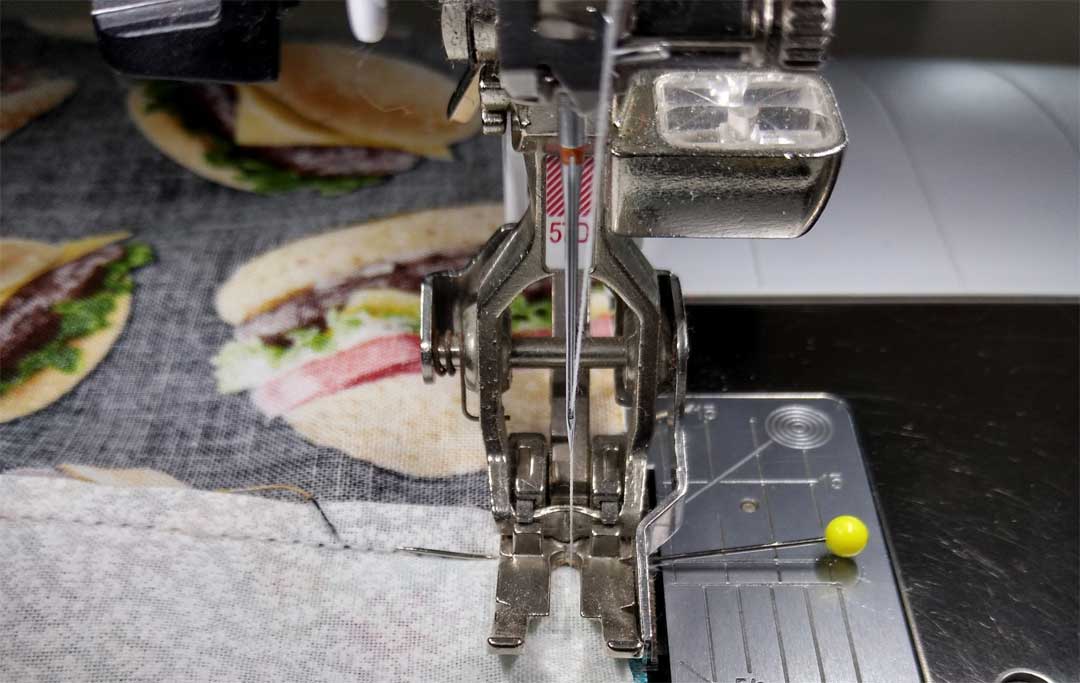
While technically you can sew over pins that are placed perpendicular to the seamline, it’s better not to as several bad things can happen. Firstly, the needle may hit the pin resulting in a broken needle. If not broken, damaged beyond use. Shards from a broken needle can fly and injure you, and bits can become lodged in the machine’s bobbin mechanism. Secondly, the pin may bend and become lodged in the bobbin mechanism causing damage. Hitting a pin can also hurt the timing on the machine, necessitating a service call. It’s fine to sew up to the pin, but remove the actual pin before crossing it.


How bad is it to mark my fabric with an ink pen?

Really Bad

Marking fabric with an ink pen can lead to some catastrophic results. Some inks are permanent and could show through the finished project, especially if used on light colors. But perhaps worse, during washing or dry cleaning, the ink can run, permanently discoloring the project fabric. There are many types of pens and pencils designed specifically for use on fabric, so they are much better choices. Many are easily removable so there’s no risk of damage. So, don’t grab the Sharpie® when you really want the FriXion®.


How bad is it to watch TV/listen to music, an audio book or podcast while I sew?

Not Bad at All

Sewist with headphones

As long as you can still concentrate on your project directions, it’s fine to zone out with another relaxing option. If you’re watching something compelling on TV, it may slow your sewing a bit as you don’t want to miss something captivating in the plot.


How bad is it not to preshrink my fabric?

Really Bad to Not So Bad

This topic is one of the most controversial in sewing, as there are die-hards on both sides of the arguments. Depending on the fiber content and how you plan to care for the project, the answer may swing to the other end of the pendulum. For garment sewers, preshrinking fabric is sometimes a rite of passage held over from school home economics classes. If you don’t preshrink, obviously fit is affected should the fabric shrink during care, so the “rule of thumb” is to pretreat the fabric as you plan to care for the garment. Some fabrics are fine with normal laundering, others, like wools, are best being steam pressed, either at home or by a drycleaner.

Some fabrics, like denim and handwovens, may experience residual shrinkage, meaning that they continue to shrink, so pretreating more than once is desirable.

Unless the label states that it’s washable, do not wash wool fabrics, as they can not only shrink a lot, but also felt, changing the original hand of the fabric irreversibly.

The subject of preshrinking divides the quilting community. Some like to ensure no later shrinkage, others like the feel of unwashed fabrics showcased in a quilt. If a quilt is washed, it tends to pucker up a bit anyway, depending on the fabric and batting used, and that look is not necessarily a negative. Long story short for quilters—it’s a matter of opinion, but be consistent throughout the project to avoid any surprised later.


How bad is it to not backstitch at the beginning and end of seams?

Kinda’ Bad

It’s ideal to cross a seam with another seam to secure it, but in many cases that’s not possible. If you don’t backstitch at the beginning and ending of a seam, it can begin to pull out. Some machines can be programmed to backstitch automatically, others offer a lockstitch that will simply stitch in place or greatly reduce the stitch length to anchor seam ends.

Some places, like the pointed end of a dart, are best not backstitched so as not to build up a heavier stitching line. At the end of a dart, simply shorten the stitch length starting about ½” before the end to secure the stitches. This technique works anywhere you don’t want the added bulk and/or visibility of backstitching—like on sheer fabrics.

If you’re topstitching, don’t backstitch, as the build-up of stitches will show. Instead, pull the top thread to the underside and tie off with the bobbin thread to secure.


~Linda Griepentrog is the owner of G Wiz Creative Services and she does writing, editing and designing for companies in the sewing, crafting and quilting industries. In addition, she escorts fabric shopping tours to Hong Kong. She lives at the Oregon Coast with her husband Keith, and three dogs, Yohnuh, Abby, and Lizzie. Contact her at gwizdesigns@aol.com.

This field is for validation purposes and should be left unchanged.
Did you enjoy this article?
Are you an ASG member?

  • « Previous Page
  • 1
  • 2
  • 3
  • 4
  • …
  • 15
  • Next Page »

Become a Member

Join the only national organization dedicated to Advancing Sewing as an Art and Life Skill.

Join Now button

Blog Article Categories

  • ASG Conference
  • Chapter Stories
  • Embroidery
  • Fitting
  • Learn to Sew
  • National Sewing Month
  • Products, Books, & Patterns
  • Projects
  • Quilting
  • Sewing
  • Sewing Techniques
  • Sewing Tips
  • Sewing Tours
  • Videos
  • Disclaimer
  • Privacy Policy

American Sewing Guild
National Headquarters
9660 Hillcroft, Suite 230
Houston TX 77096
713-729-3000 | 713-721-9230 Fax
www.ASG.org

ASG wordcloud - education, conference, discounts, videos, special offers, tours and more

Copyright © 1998–2026 · American Sewing Guild · All Rights Reserved