Zippers have a bad rap as being difficult to work with; however, they are simple to insert when stitched correctly with the proper feet. I recommend using the All-Purpose Foot and the Edge Stitching Foot. You’ll marvel at the ease of inserting zippers in pockets, pillows, handbags and garments when using the right tool. Consider letting a zipper make a statement on your next project by using decorative zippers. The opportunities are endless and the results so much fun. Whether for garments or bags, you can insert zippers trouble free, the easy way.
Did you know that zippers were originally designed for closure on boots? As time progressed zippers were added to garments for closure instead of the traditional buttons. Today, zippers can be seen everywhere, not only garments, but shoes, luggage, sports and outdoor products like tents, sleeping bags, home décor, jewelry, trims and the list goes on and on. The sky is the limit.
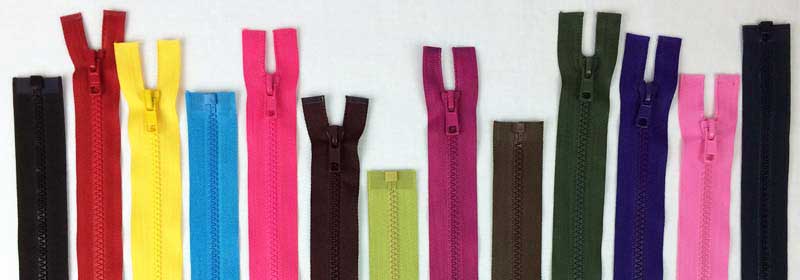
Zippers are available in many configurations
They may be purchased by the yard or in a roll, closed end (C/E), open end or separating (O/E) to name a few.
The sliders may have several different options as well — locking, 2-way open-end/separating, double slide, and reversible.
They are available in metal, nylon coil, molded plastic teeth and rhinestone.
They are also available in a variety of sizes
#3 is the tradition size used for a dress, skirt or pants. The coil is approximately ⅛” or 4mm.
#5 is a size used in jackets or outer wear. The coil or teeth (chain) are approximately ¼” or 6mm.
The size of the chain may be larger for luggage and other sports related products, or smaller for children’s wear, dolls and such.
Of course, much of this has changed, nowadays, with zippers being used in a variety of ways other than the traditional.
My Favorite Zippers
My favorite zippers are #3 coil for inside pockets of handbags or small bags, and #5 for handbag closure, jackets and coats. I particularly love the nylon coil, plastics and rhinestone zippers. In general, I shy away from metal zippers because of the weight, tendency to pull or snag soft fabrics, and possibility to break needles if not properly applied.
Size it Right
Did you know you can shorten a zipper — very carefully, of course — by cutting it? Make sure to purchase the right zipper for your needs though. A separating zipper must be purchased as a separating zipper and can only shortening from the top. A closed end zipper can never be made into a separating zipper as the home sewer does not have the equipment to add the retainer box and insertion pin to a zipper.
Inserting a Zipper
Now that some of the basics are out of the way, this is my favorite way to insert a zipper when the teeth or coil are exposed. It is by no means the only way to insert a zipper, but it is a basic way that I consistently use in my projects. It is also the beginning way of several zipper insertion techniques that I use.
Align the cut edge of the fabric with the edge of the zipper tape so that the right sides are facing each other (right sides together). The zipper stop and zipper slider may extend from each end for easier insertion. Place the needle to the far left position. Stitch the length of the zipper with the All-Purpose Foot leaning against the zipper coil.
Fold the fabric over to expose the zipper coil. Position the Edge-stitching, Edge Joining or Ditch Quilting Foot with the bar between the zipper coil and the fold of the fabric. Move the needle position slightly left of the fold and stitch across.
Repeat this process on the other side of the zipper.
Option: When using a decorative zipper tape, apply these instructions in reverse. In other words, begin Step 1 with the wrong sides together so that when the zipper tape is folded back the tape is exposed.
Discount ahead! Continue reading for a limited time discount on Zippers at www.Ghees.com
Extra Zipper Tips
Use decorative or specialty zippers to enhance the design of the garment or bag.
For special effects, create your own look. Choose two zippers in coordinating colors. Unzip them and swap the colors. Zippers must be of the same style, size of teeth and slider for this design idea to work.
Many times, the zipper pull is in the way of accurate stitching. To maintain a straight stitching line, stop before reaching the zipper pull, leaving the needle in the down position. Lift the presser foot, unzip the zipper a few inches and stitch past the bulky area.
It is much easier to work with zippers that are too long and trim the excess off. Always be certain the slider is included in the project before trimming the excess tape. Refer to how to “Fix a Zipper.”
Because of the bulk in many project, use a Jeans Needle to avoid breaking the needle. Be extremely careful while stitching over bulky areas. Stitch slowly.
To avoid melting the zipper coil on polyester, nylon, or plastic zippers, or scratching the iron with metal zippers, donot press the zipper chain. Use a medium to cool iron setting when pressing around the zipper area of a project.
Use the sewing machine foot that makes the task easier. The Edge Joining Foot, or Ditch Quilting Foot, a foot with a guiding bar in the center of the foot, provides perfect alignment of stitches from the edge of the zipper tape or stitching the binding.
How to Fix a Zipper
It is very easy to “fix a zipper” or add a slider to yardage. Place the slider on one side of the zipper teeth (chain) and hold with your thumb and finger. Place the other side of the zipper teeth into the slider and give it a little tug. You will feel the teeth catch in the slider. Pull the slider to close the zipper. Be sure to stitch over each end of the zipper to protect. The same instruction works with the coil type zippers.
Decorating with Zippers
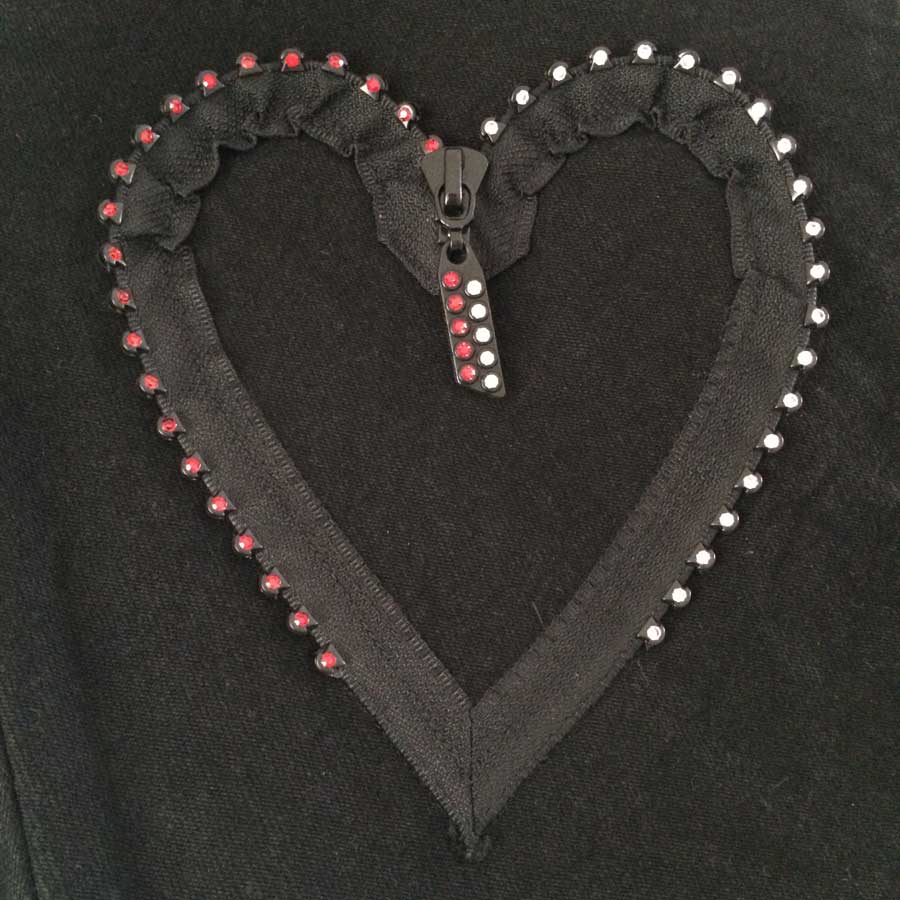
Though zippers were designed for function, they can certainly be used for decoration. This 8” rhinestone zipper was stitch on the back shoulder of a vest. Baste along each edge of the zipper tape leaving thread tails at the beginning and end. Open the zipper. Gather the thread to form the heart shape. Miter the ends of the zipper tape to match the shape of the heart. Use a small zigzag stitch to hold the zipper heart shape on the base fabric.
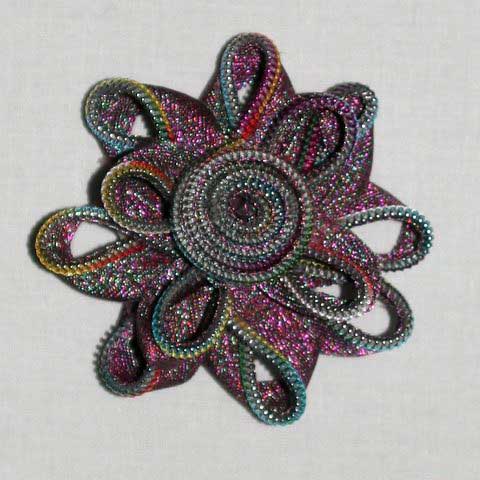
Cut zippers or zipper yardage to create fantasy flowers. Use glue or hand stitching to hold the shape. Glue is easier!
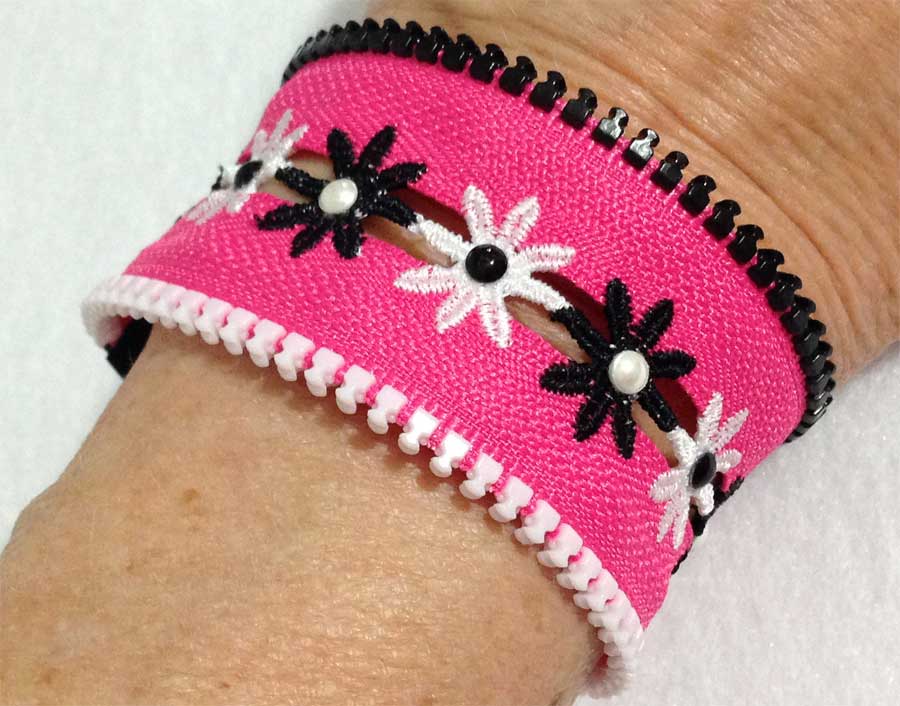
Make a bracelet with zippers or yardage. One 18” zipper will make 2 bracelets. Simply use an awl to remove the stop or cut the stop off. Pull the zipper chain apart. Overlap the tape and stitch using an open type decorative stitch to hold the tape together. Add snaps or rhinestones to embellish. Use embroidery stitches to hold the zipper tape together.
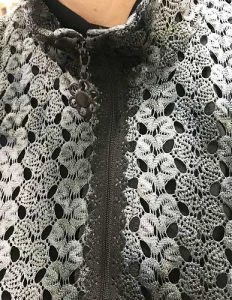
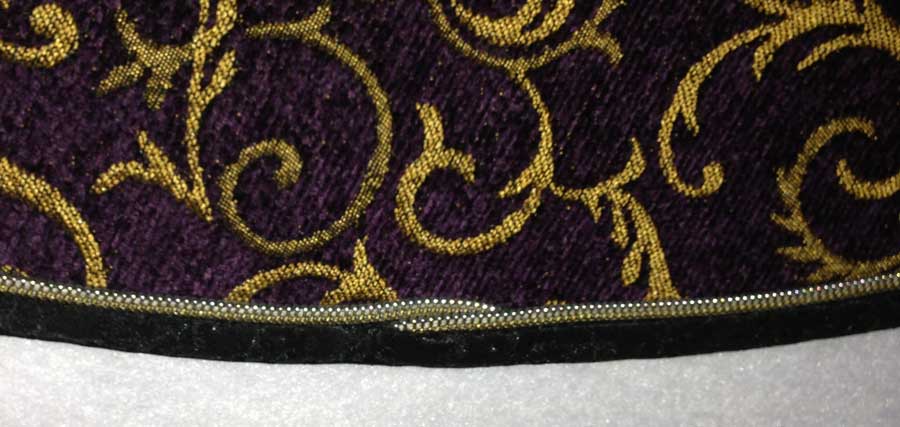
Use zippers or zipper yardage instead of corded piping. This photo shows the beginning and ending when a seam allowance is not available to hide the ends. It may be necessary to trim or clip the tape when curves are part of the project as the zipper tape does not have any give. I like to use the Piping Wizard to trim evenly and accurately. This is nylon coil zipper that looks like metal.
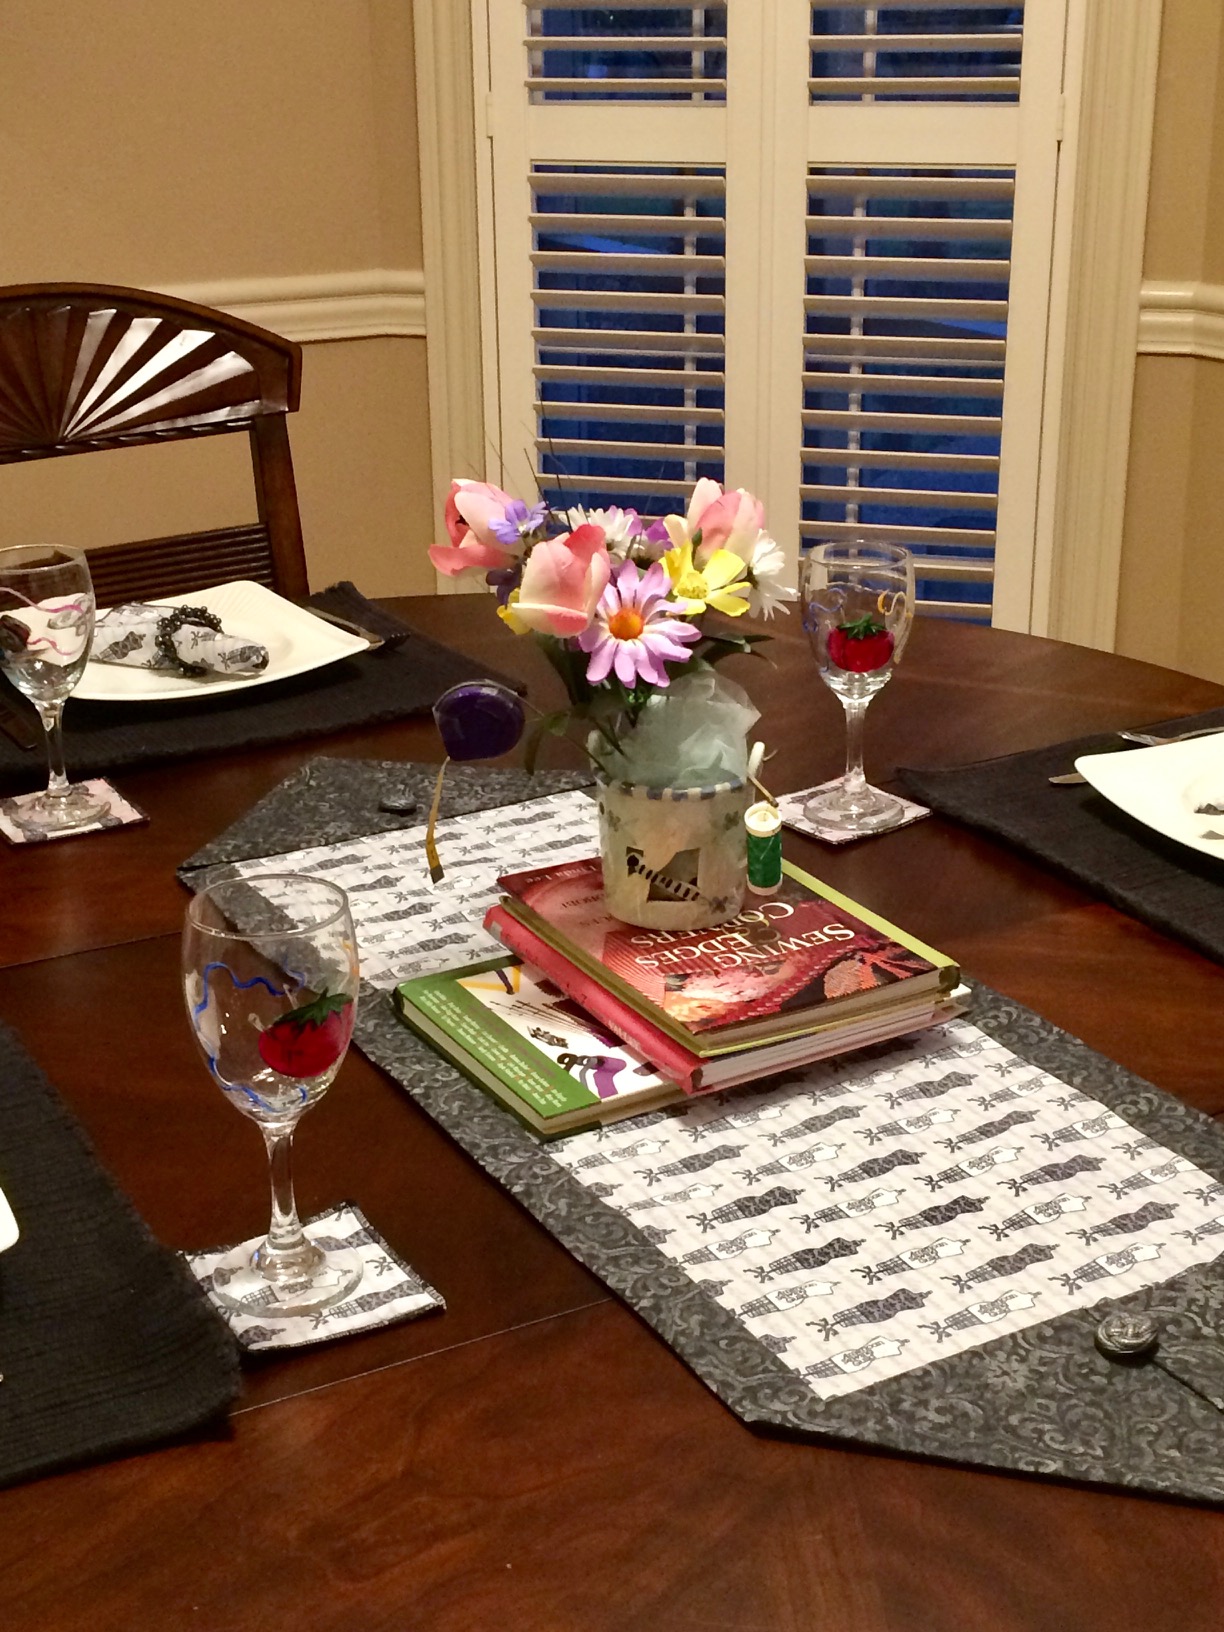
It’s always helpful to have a quick project idea in your toolkit for those times when you need a quick gift or when you’ve finished a difficult project and you just need a simple win. This ten minute table runner is the perfect gift or pick-me-up project.
Material Required
Theme Print: 10″-12″ (1/3 yard) of theme print, width of fabric (WOF).
Coordinating Fabric: 18″ (1/2 yard) of coordinating fabric for back/border (WOF).
Note: If the fabrics are different widths, cut to match the widths.
Instructions
Place right sides together. Stitch along the long edge with ½ inch seam allowance.
Repeat, stitching the seam along the other long edge.
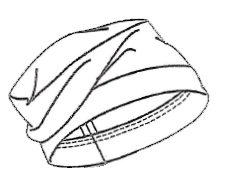
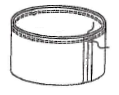
Press seams away from center fabric. (see Image #1)
Turn the right side to the outside. You now have a long tube.
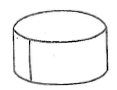
Lay flat, press so the theme print is bordered evenly on the long side by the coordinating fabric. (see Image #2)
If necessary, trim the short sides to even them up.
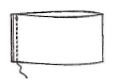
Fold in half lengthwise so the theme fabric is facing out.
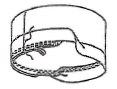
Sew a ¼” seam allowance across each short end. (see Image #3)
Press the seam open.
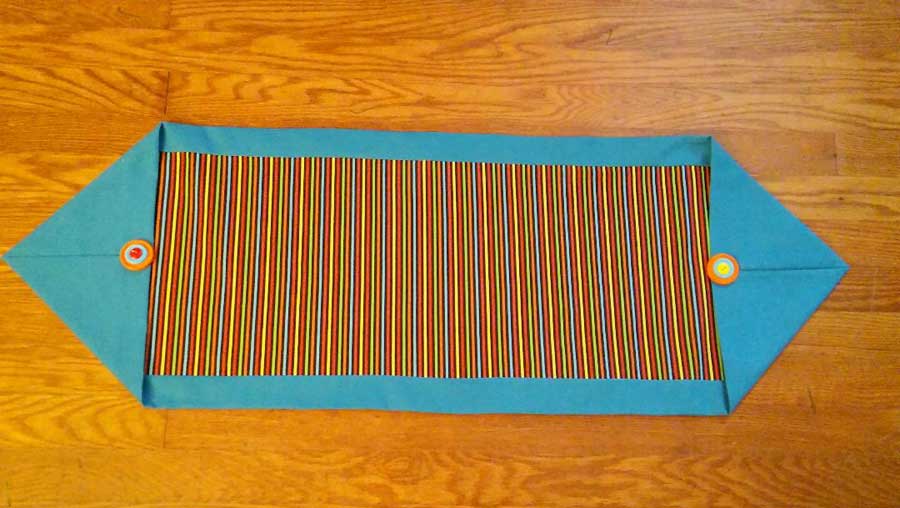
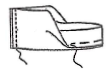
Turn the seam to the inside, forming a triangle, with coordinating fabric on the front of the triangle. (see Picture #4)
Finish with topstitch and buttons or other embellishments.
If you can’t quite visualize how these steps will work out, don’t worry! Just take one step at a time, referring to the pictures. Soon you will have created a quick new look for your table!
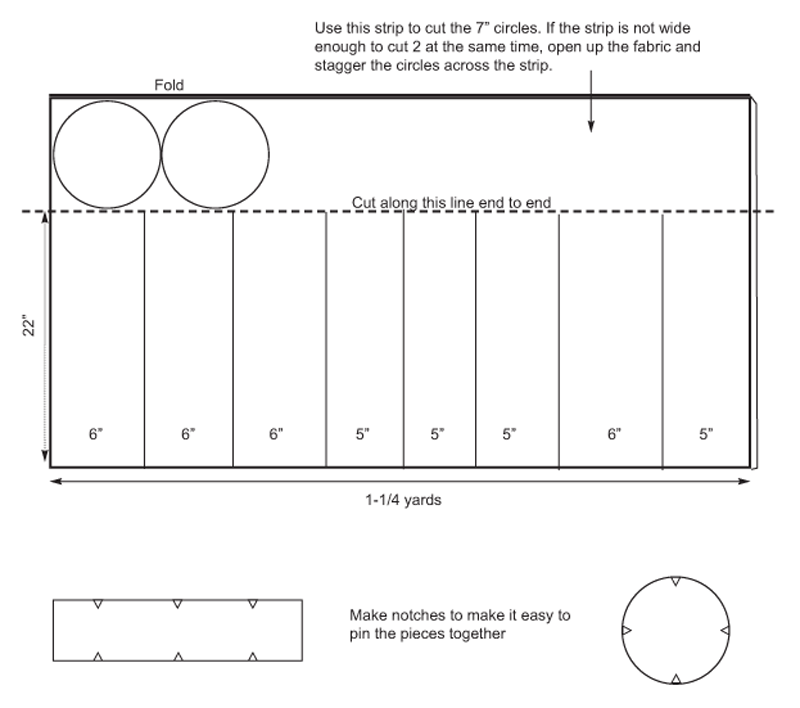
The Boston Chapter of ASG shares their passion for sewing by making chemo caps for cancer patients. A true gift of love, these hats provide comfort to patients who have lost their hair after undergoing chemotherapy or radiation therapy. Cancer knows no borders, so they are encouraging chapters and other sewing enthusiasts to make cancer caps to donate to organizations or hospitals in their local community. Here they share the pattern they use to help each of you spread your love as well.
Fabric
To make 8 caps, you will need 1- 1/4 yards of knit fabric
The knit fabric you choose will need to stretch width-wise on the hats; however, a 4 -way stretch is not required
If the fabric has a wide selvage edge of a different design or color, it should be cut off
Cut Pattern Pieces
Fold your fabric in half lengthwise so that it is 1-1/4 yards long. For each cap, you will need to cut the following 3 pieces.
Crown: One piece of fabric cut to 6″ x 22″
Band: One piece of fabric cut to 5″ x 22″
Top: One piece of fabric cut in a 7″ circle
You should be able to cut 8 sets from 1-1/4 yards of fabric.
Project Notes
All seams are 1/2″ – it helps to place a piece of tape on the sewing machine bed to mark 1/2″
Straight stitching should be used throughout until the final step of joining the band to the crown when a zig-zag stitch should be used
Since you are using knit fabric, no pressing is needed
When you pin one piece to another at the center seams, put the pin to the left of the seam so it holds the seam open
Assembly Instructions
The best way to assemble these hats is to use the factory production method:
With right sides together, fold the crown in half and stitch the center back seam.
With right sides together, fold the band in half and stitch the center back seam.
With wrong sides together, fold the band in half lengthwise.
With right sides together, pin the top (circle) to the upper edge of the crown and stitch. When you sew the crown to the top, have the top (circle) on the bottom and gently hold the midway points between the pins with your finger.
Turn the cap right side out.
With right sides together and matching seams, sew the band to the crown using a zig-zag stitch with a 2 width and 2 length and keeping a little bit of tension to help with the stretch.
~The Boston Chapter of ASG is sharing this pattern that they use and encourages chapters and other sewing enthusiasts to make cancer caps to share in their local communities.
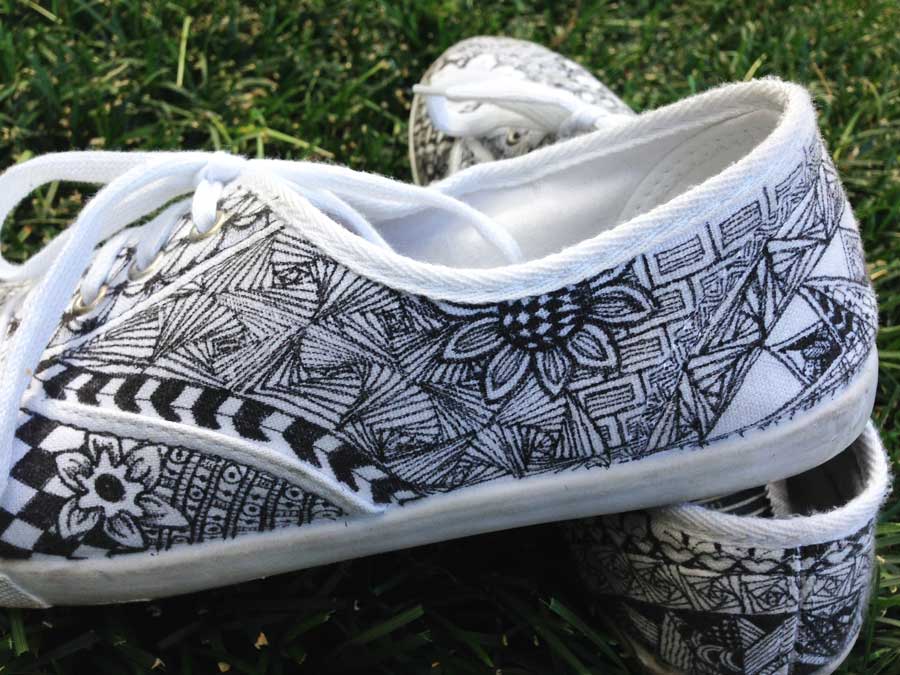
Zentangle®, is where art and craft meet meditation and careful thought.
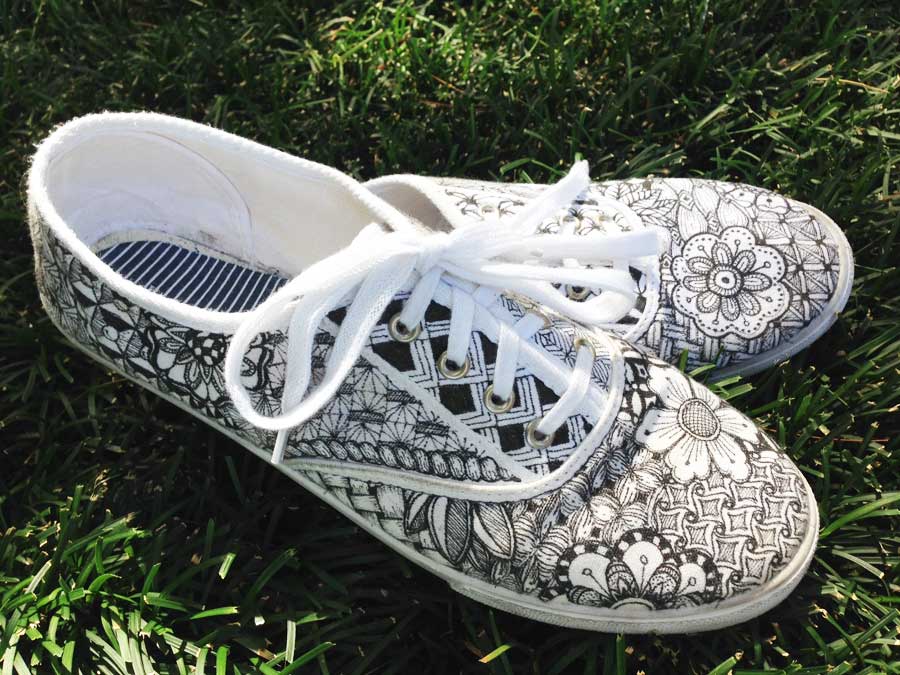
Zentangle®, founded by Rick Roberts and Maria Thomas, is a method of creating complex art from repetitive lines and easily sketched forms, all while enjoying a relaxing state of thoughtfulness. It’s a lot like the doodling we’ve all done while waiting on a phone call or listening to a less-than-engrossing lecture. The supplies are simple – just a pencil, pen and paper. But you can use anything you want… like shoes!
Although Zentangle® itself is deliberately non-representational and doesn’t take on a specific form, it has inspired a number of other works of art. When I started drawing these intriguing black-and-white patterns, I wanted to take them out of my sketchbook so others might enjoy them. In the back of my closet was a pair of inexpensive white canvas sneakers. I’d bought them with the intention of decorating them somehow, but never gotten around to it. It seemed the moment had arrived.
Supplies
To decorate my shoes, I used a black Pigma Micron pen, size 1.0, for drawing on my shoes. It’s a good all-purpose size that can draw fine lines or fill in larger spaces. It’s also permanent on fabric. Fabric pens or Sharpie markers are other possibilities.
The hardest part of the project is getting started and making that first mark on a pure white surface. My advice is to dive right in. Remind yourself that the shoes were inexpensive and if you’re really not happy with the end result, you can wear them in your garden (visiting rabbits won’t be critical). Part of the magic of this drawing technique is that you can keep adding more detail – extra lines, darker shading – until wavering lines blend right in and stray marks become part of the pattern.
Let’s Doodle!
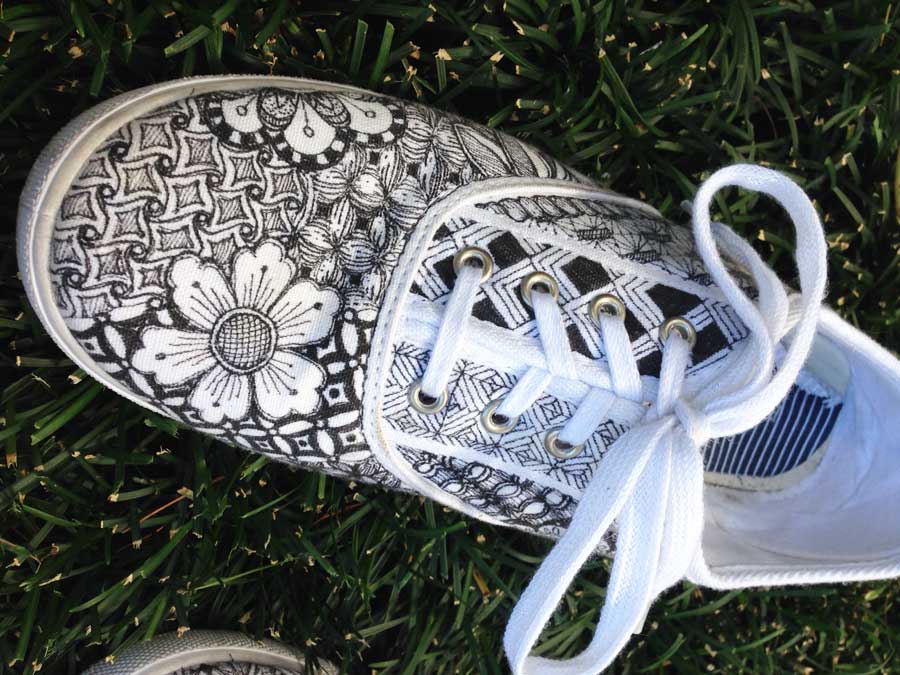
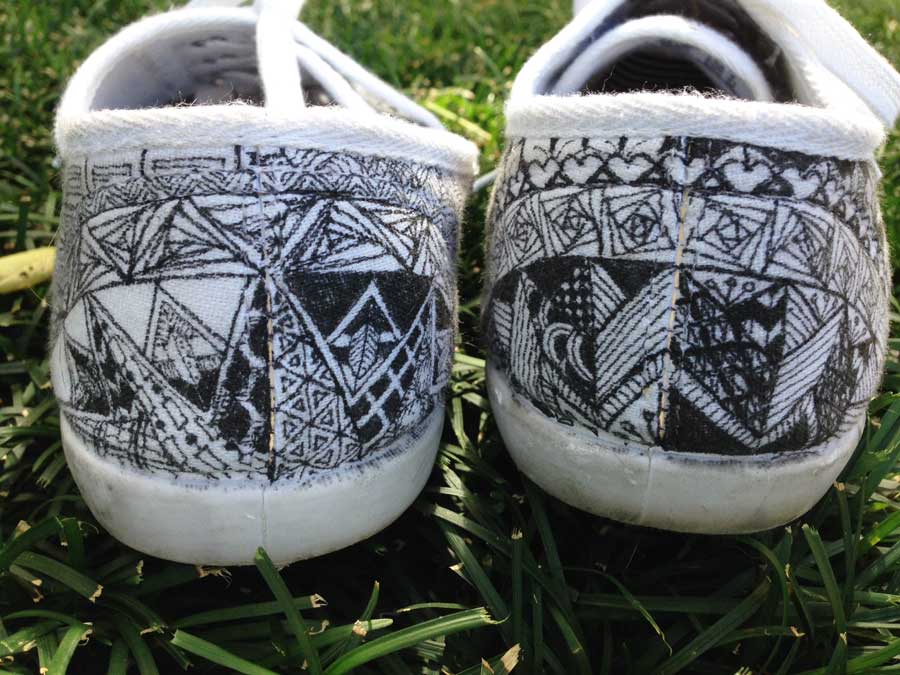
Mentally divide your shoes into sections. The shoes’ construction seams will provide some guidance. I especially like the semicircle on the heel of each shoe and the wavy seams around the shoelace holes. Draw a grid on a section, just a simple crosshatch of horizontal and vertical lines about 1/2″ apart. Now fill in the squares of the grid any way you like, creating your first area of pattern.
For variety, draw a pop-art flower on another part of the shoe. Make patterns of lines or circles on the flower petals, and fill in the background around the blossom with swirling lines or another grid-based design. Keep adding shapes and patterns, filling in areas between specific designs with more patterns. Strive for a balance of light and dark areas; placing a pattern with a lot of black next to an area of white space will make the division stand out, while two areas of balanced black-and-white shading will blend together.
It’s easy to find patterns for inspiration on the Internet or in books (be mindful of copyright laws). Architectural details, wrought iron fences, and flower in the garden also provide inspiration. As sewing enthusiasts, we have still more sources of doodle patterns to explore, like quilting motifs, patchwork patterns, and the decorative stitches on our sewing machines.
Now here’s an idea: taking doodle art to fabric and thread! Maybe my next project will be embellishing a solid-color fabric with doodle-inspired stitches. Wouldn’t that be fabulous as the flap on a handbag or as a jacket lapel?
There are Zentangle® books and pens available at local quilt stores and online. Zentangle® also offers classes by certified teachers.
This is a snippet from our full-length video on Sewing Projects, available to members. In this snippet, we cover:
How to place the thread on your serger using spool caps
How to prevent the needle from falling into the hole when replacing the needle
How to re-insert a new needle
Why there’s a hole in the brush that came with your serger and what to use it for
Sewing pearls, beads or ribbon onto your fabric with your serger
To view the full video, become an ASG member today! Membership in the American Sewing Guild gives you access to over 150 educational videos and project files, as well as a subscription to our weekly newsletter. Members take advantage of special offers, member discounts, education, meetings and member’s only pricing at the annual conference.