


Our short video on using the Bias Tape Tool will show you how to make your own bias tape, but do you know how to join your fabric to create the bias strips? This video will show you how.
~© ASG; Sheryl Belson, Plano Chapter
Our short video on using the Bias Tape Tool will show you how to make your own bias tape, but do you know how to join your fabric to create the bias strips? This video will show you how.
~© ASG; Sheryl Belson, Plano Chapter
There are basically two types of tailoring: traditional work with tedious hand stitching or fusible tailoring where you let technology do the “stitching” for you. While the former is worthy of the effort, most first-time tailoring adventures are successfully done with fusible techniques.
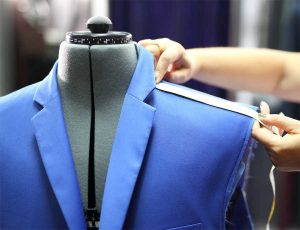 Wool or a wool blend is the best choice for a tailored garment, as it’s easily shaped with steam and good pressing techniques. Preshrink your wool selection prior to sewing—easily done by asking your dry cleaner to steam press it for you, though some wools are washable, so check the label first.
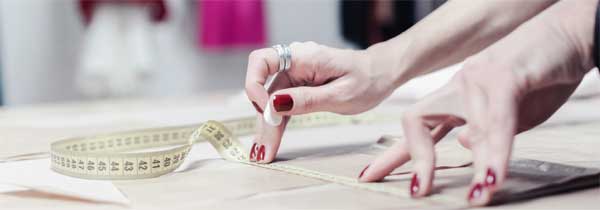
~Linda Griepentrog
Linda is the owner of G Wiz Creative Services and she does writing, editing and designing for companies in the sewing, crafting and quilting industries. In addition, she escorts fabric shopping tours to Hong Kong. She lives at the Oregon Coast with her husband Keith, and two dogs, Yohnuh and Abby. Contact her at gwizdesigns@aol.com.
We all have a stash of projects in drawers, on shelves and in containers that have been started but never quite crossed the finish line. ASG member, Hope Wright, had a stash of UFO’s and a plan and now she’s sharing her tips and hints on how an online challenge in 2011 inspired her to finish an unprecedented 926 projects. (Yes, 926!)
Here’s Hope’s story…
 Sort, Sort, Sort
I first started in 2011 during a challenge from an on-line group. Attempting to use only “from my stash,” I first gathered all the projects I had already started in to one place. I then sorted them by estimating how long it would take to finish each project. The first group were projects that would take just an hour to finish. Next came projects that could be done in an evening after work. Finally, projects I could do on a Saturday.
By using this system, I have completed 926 projects to date. I do add projects to my stash, but I try very hard to finish everything I think I can complete in an evening or on a Saturday morning. Longer projects still await!
Organize your kits, stash and tools in some way that makes sense to you, or at least gather them together so you can find them. For me, I have most of my tools and gadgets in a bookcase in my sewing room.
Try organizing your projects by type of material, where to work, time it will take to complete, color, expense, etc. Group projects that are repetitive. For example, cut out several projects in one session and make your own kits.
Get rid of anything you have no desire or need to finish. Take that group and consider if someone else may want it for their UFO stash. I’ve given several boxes of supplies to a school art program. Remember, it’s also okay to just put it in the trash!
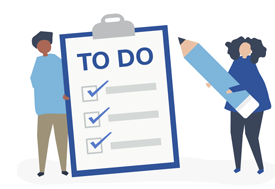 Projects to get to this coming year.
An important function for me is that I always actively work on 3 projects at any one time, with 3 to 9 more in line so I never have “down” time. Everything else remains stored away; anything more than 12 is simply too overwhelming. My active projects are categorized by where I can do them:
I work on anything with a deadline first, even if I have a lot of time. It is much better to finish something six months early than a day late. Between all my clubs and church, I do a dozen or more programs and deadline projects during a year. I put them first on my “to do” list on January 1 and indicate the deadline.
Finally, I also look at promises already made before I agree to do something more. I try to finish Christmas gifts before Thanksgiving week so I can enjoy holiday parties. Since most groups have their programs planned a year at a time, I know I will start working in December on programs for the coming year. I will seldom start anything else until they are done. Find what works for you to take those UFO’s off your radar!
~© Hope Wright, ASG Member
Adding a bit of detail to a collar can add flair and interest on a plain shirt, jacket or dress. This short video will show you how to use bias tape to embellish your next collar.
~© ASG: Thank you to Sheryl Belson, ASG Plano Chapter
 Napped fabrics are normally cut so that the nap runs down the garment, from the top down toward the lower hem. This feels softer, and the fabric tends to pill less and wear better. However, when the nap runs up, the color is richer.
Short-nap fabrics, such as corduroy and velour, can be cut with the nap running up to achieve a richer, deeper color and a more interesting texture.
Outerwear fabrics with heavy and longer surface fibers, such as fleece and camel’s hair, should be cut with the nap running down, so the pile is smooth and the garment repels moisture better.
~ Thank you to www.sewing.org for this tip (reprinted with permission)
