You are living your best quarantine life, sewing up a storm and suddenly realize you are out of… or can’t find… or never had… something you need to finish your project. No matter what it is, you have no interest in going out into COVID world to pick up a spool of thread, a rotary cutter blade or a new pair of thread snips to replace the ones you must have dropped into the trash because they are nowhere to be found.
Now what?
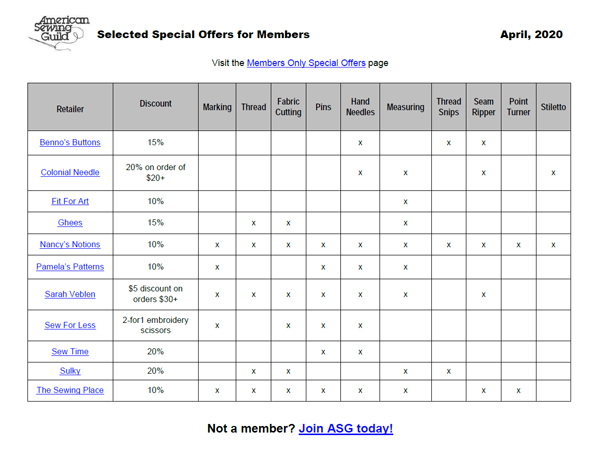
Did you realize just how many of these things you can order online with a member discount?
We combed through the entire list of Special Offers just for members on ASG.org and created this table with the companies who carry some frequently needed sewing notions for you to have at your fingertips. Be sure you visit the members only Special Offers page to get the discount code to use when you place your order. Now it’s your turn! Go replenish your supply from the safety of your own home and enjoy great discounts while you do.
~Sheryl Belson
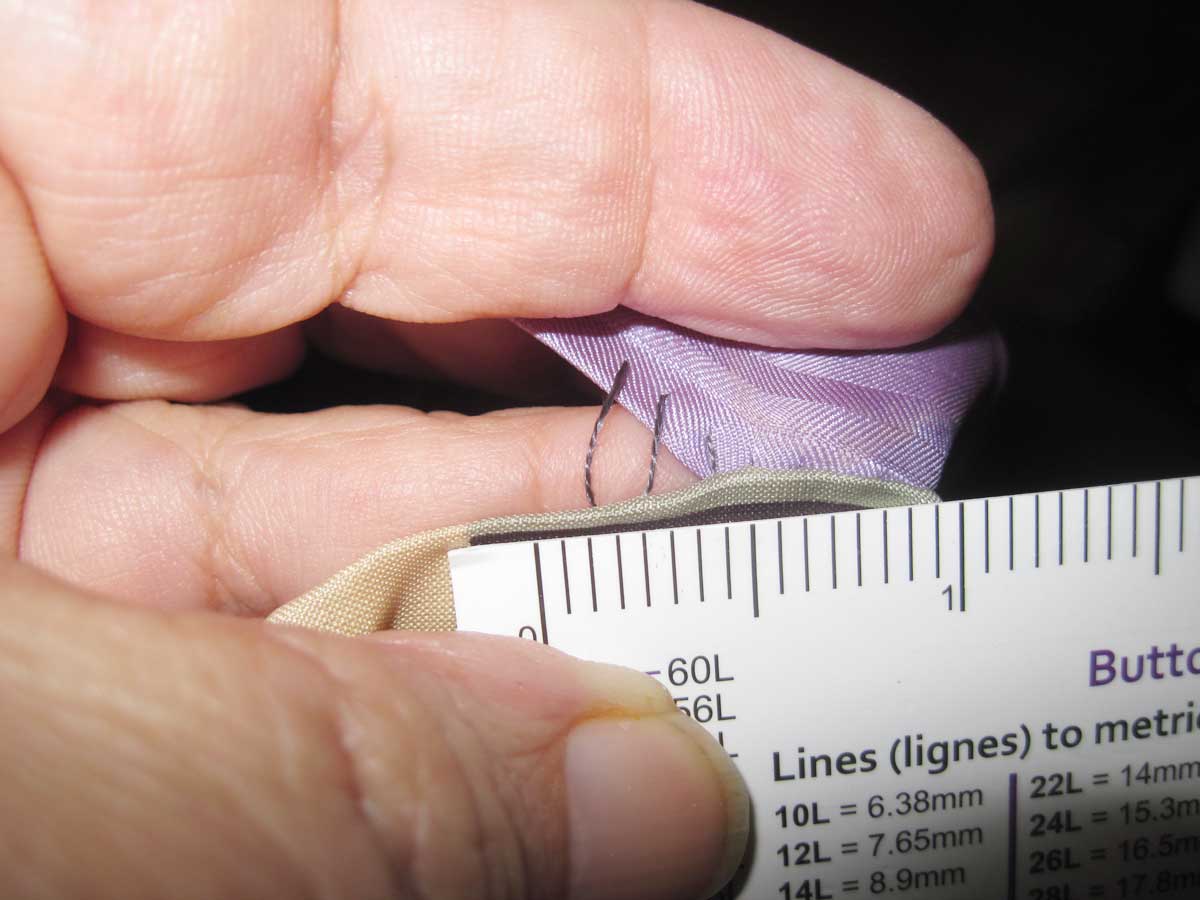
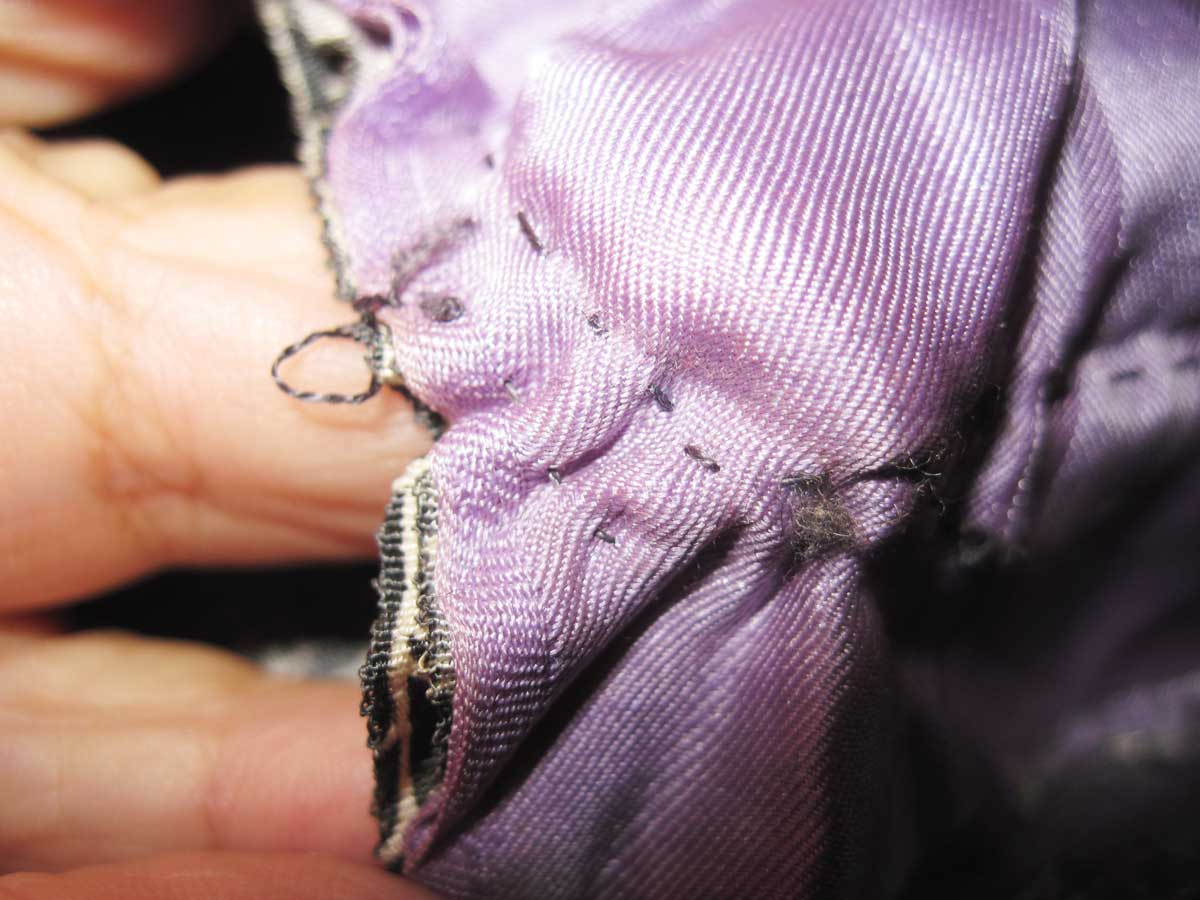
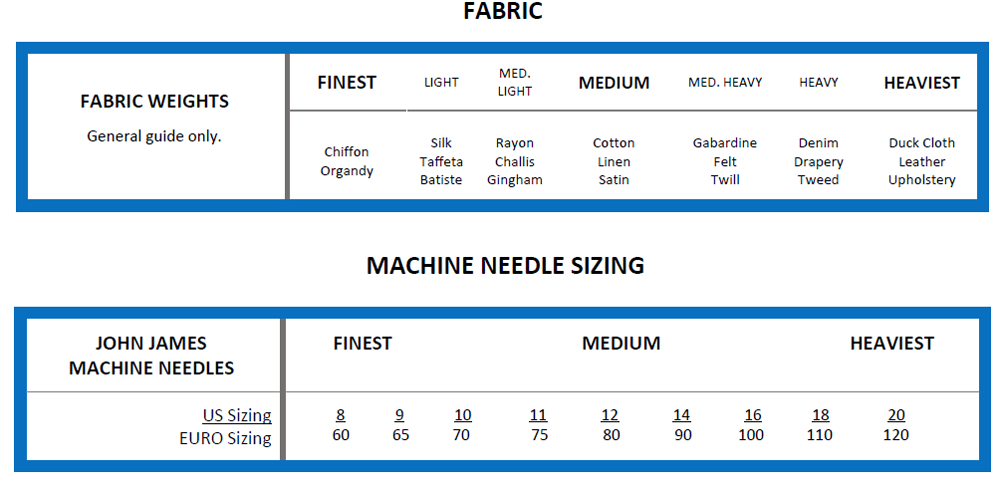
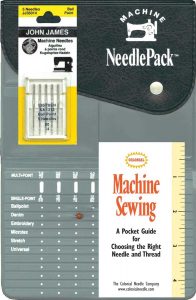
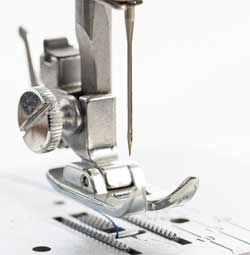 The needle you use in your sewing machine can make the difference between perfection and a disaster. Use the wrong needle, a damaged needle or a worn needle and you could end up with broken threads, holes, uneven stitches, puckers and possibly even permanently damaged fabric. To keep your seams straight and your collars curvy, there are several points to successful stitching.