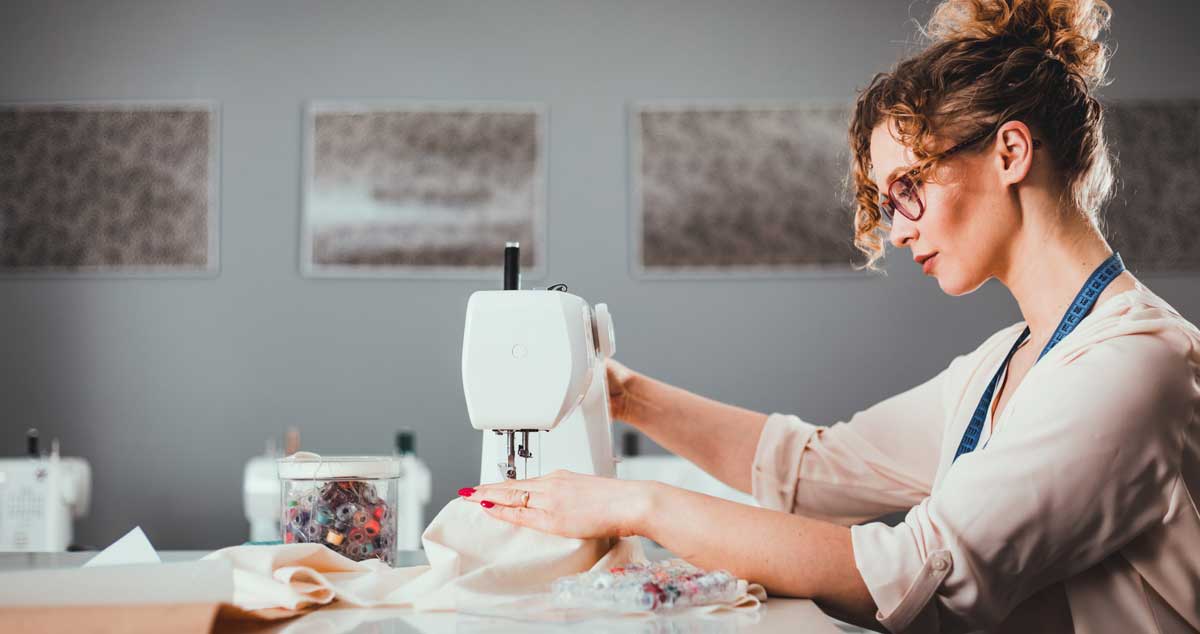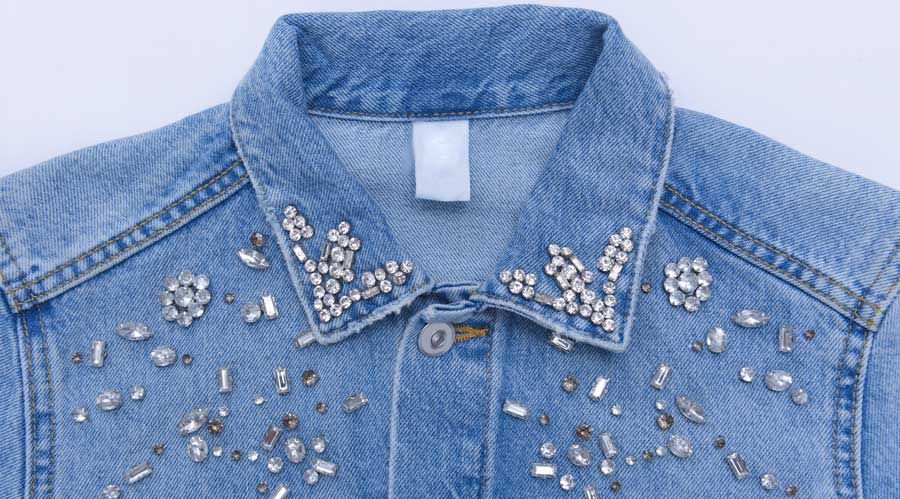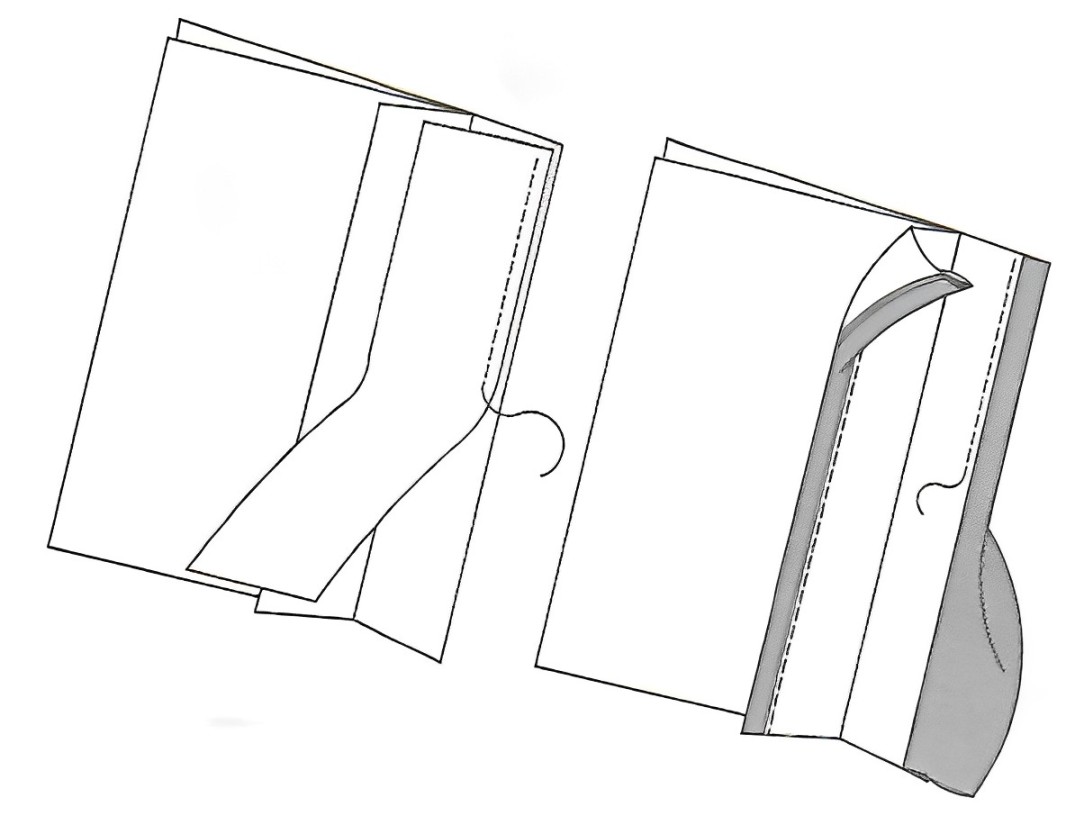
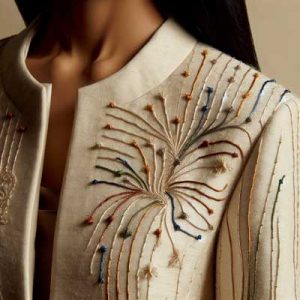
In the world of sewing, threads are the unsung heroes that hold together our creations with strength and finesse. But beyond functionality, threads also possess the power to elevate our projects from ordinary to extraordinary. Enter decorative metallic thread, the ingredient for adding flair and personality to your home sewing endeavors.
Metallic thread comes in a myriad of colors and offers endless possibilities for creativity. Whether you’re embellishing a garment, adding accents to home decor items, or simply looking to infuse your projects with a touch of elegance, these could be the ticket to achieving stunning results. Their reflective properties catch the light, creating eye-catching accents that elevate the overall aesthetic of your creations. However, they can be more prone to breakage than standard sewing threads, so opting for a high-quality brand designed specifically for machine embroidery can help ensure smooth stitching.
Another consideration when using decorative thread is the choice of stitch. While basic straight stitches and zigzags are versatile options, experimenting with specialty stitches like satin stitch, chain stitch, or feather stitch can yield stunning results. Most sewing machines today come equipped with a variety of decorative stitch options that you may not have considered using before but can offer unexpected options to allow you to unleash your creativity with ease.
When it comes to selecting colors, don’t be afraid to mix and match to create visual interest. Contrasting threads can make your stitching pop, while complementary colors can create a harmonious effect. Consider using a color wheel as a guide to help you choose combinations that work well together.
Metallic Threads
Although metallic thread appears to be made of metal, it’s actually composed of a synthetic material such as polyester. For best results:
- Use a needle made to work with metallics (try a 90/14 metallic or topstitch needle).
- Loosen your top tension a few numbers.
- Whether vertical or horizontal, position the thread spool so that it stays flat and rolls off flat without pulling against the spool.
- Use soft materials and stabilizers for fewer stitching interruptions.
- Slow down the speed of your machine.
- If doing an embroidery design, choose simple designs without heavy or dense fills and use longer stitch lengths to avoid breakage.
- If you run into issues, try using a thread lubricant.
What about my bobbin?
Choose a lighter weight thread such as a smooth polyester (not spun polyester) for your bobbin that won’t compete for tension with the metallic thread on top. Lighter bobbin thread yields to the top thread, reducing bulk in your stitching. As a result, your needle won’t encounter as much resistance and you’ll find that your stitches are much smoother.
Is it rough in your neighborhood?
Metallic threads are delicate and can easily catch on burrs or imperfections. Check all of the thread guides on your machine for rough areas where the thread may get caught.
Consider your serger
Have you thought about using metallic thread in your serger? Although it can be used in the needle, it will form an attractive decorative edge if you use it in either the upper looper with a rolled hem setting, or both upper and lower loopers with a balanced tension setting. Just remember to change the stitch length to get the desired filled look on the edge.

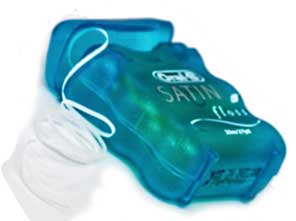 We all know that flossing is good for your dental health, but the floss itself can be helpful in your sewing room as well.
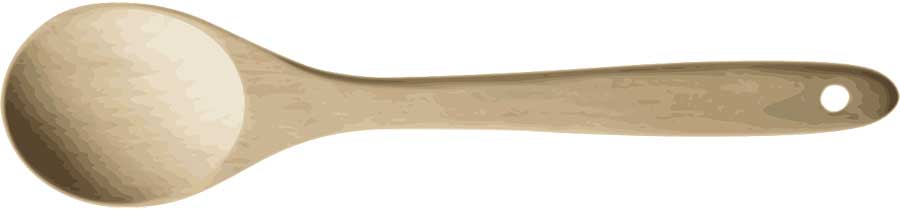
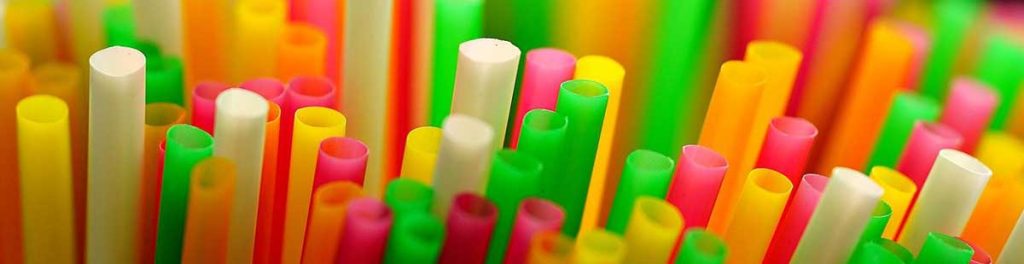
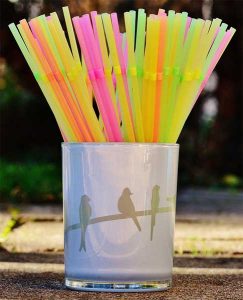 Flex straws that bend allow for even more precise placement in awkward areas.