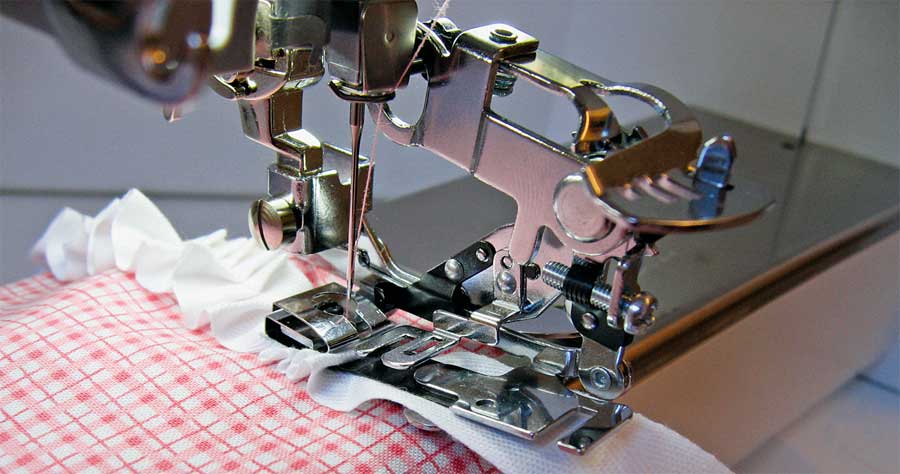
 If binding a quilt is one of your least favorite tasks, and that simple directive in the instructions that says “Miter the corners as you bind the edges” leaves you bewildered, read on.
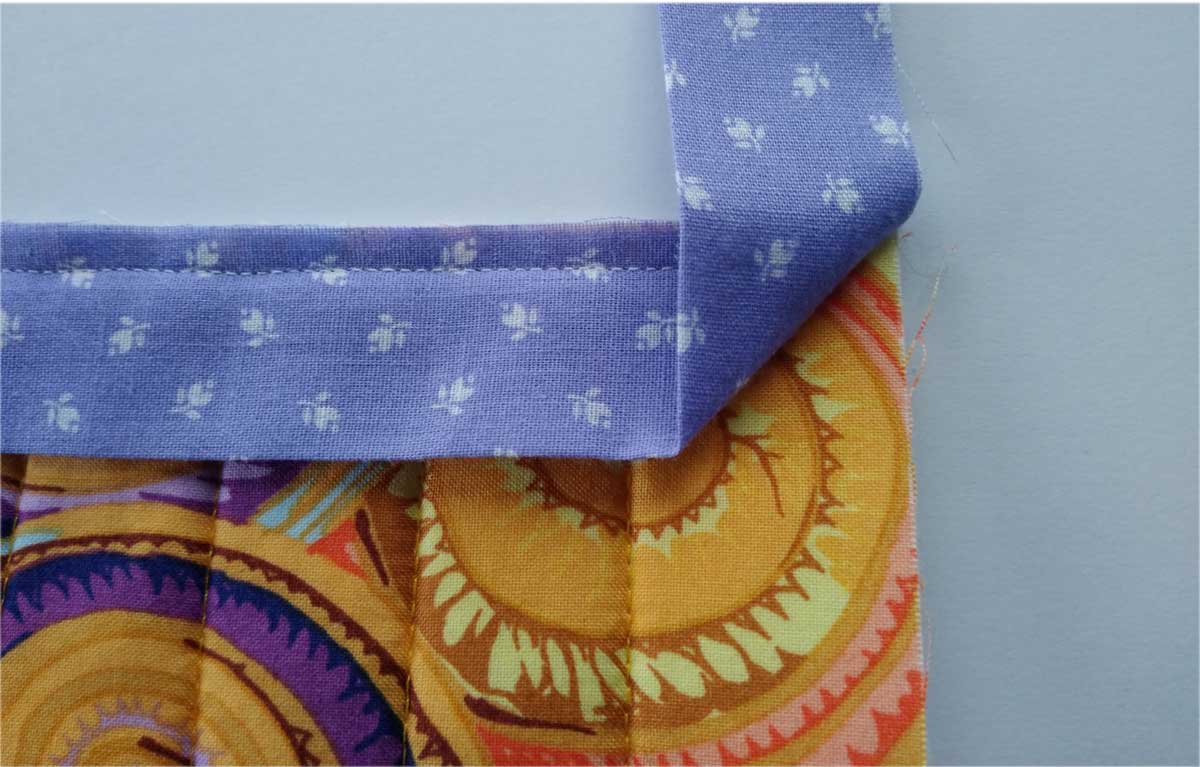
A mitered binding corner is simply a clever way to make a neat flat corner. It creates a fold at 45° to the edge. Mitered corners are less bulky than lapped corners and give a professional look to your binding.
Step by Step
To miter a corner, begin sewing the double-fold binding to one edge of the quilt, matching the cut edges of the binding to the trimmed edge of the layered quilt right side.
As you approach the corner of the quilt, stop stitching ¼” from the perpendicular edge (1).
Move the fabric just clear of the presser foot, and fold the binding back at a 45° angle to the edge you just sewed (2). At this point the unsewn binding length will be extending at right angles to the edge you just sewed.
Fold the binding again, this time matching the cut edges to the perpendicular quilt edge (the 45° fold is between the binding and the quilt) (3). There will be a fold at the corner that matches the quilt edge you just sewed the binding to.

Begin sewing again on the ¼” seam line and sew the next edge—you’ll be sewing over the fold you just made (4). When you get to the second corner, repeat the process and repeat for the remaining corners.
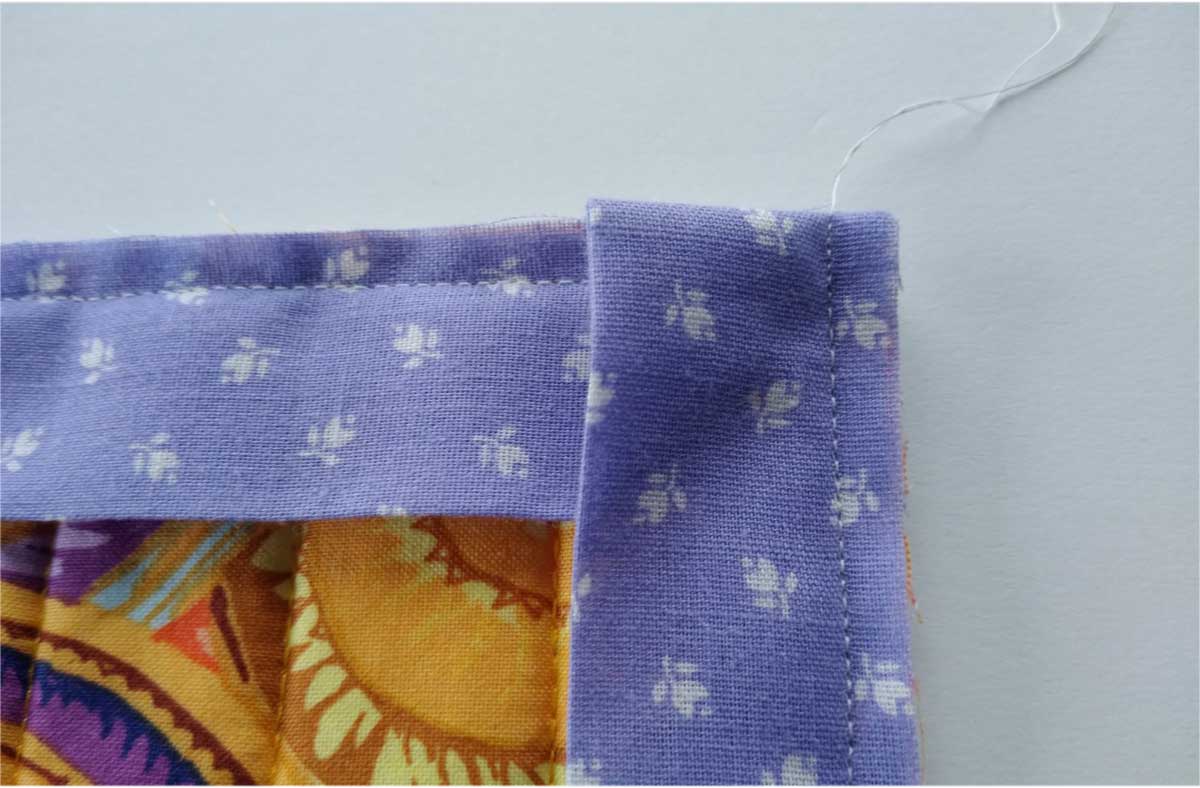
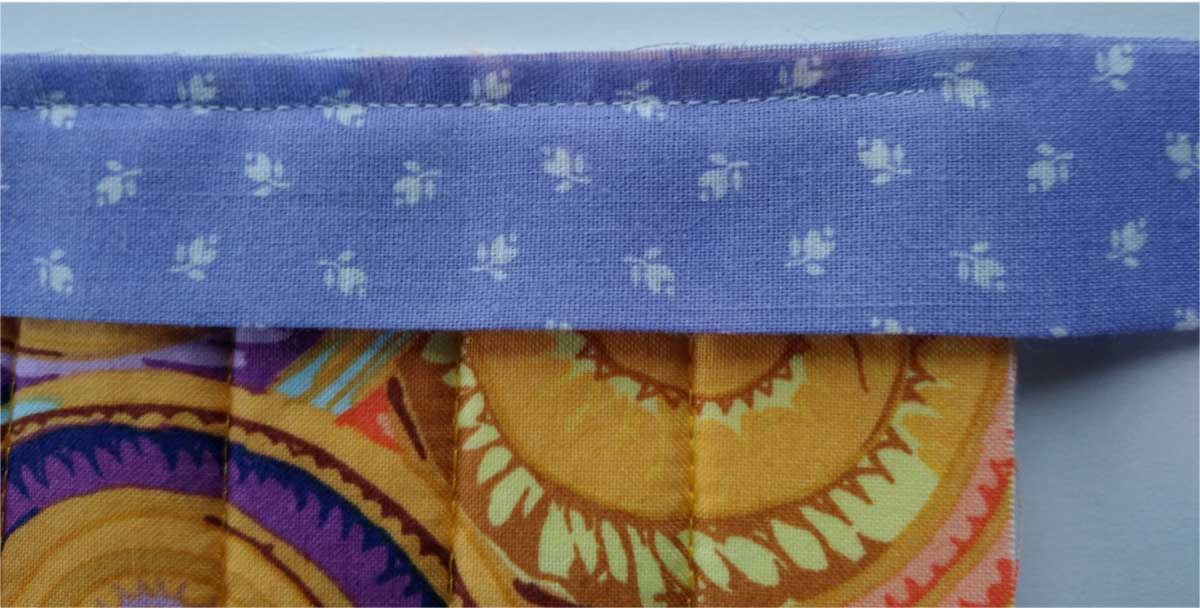
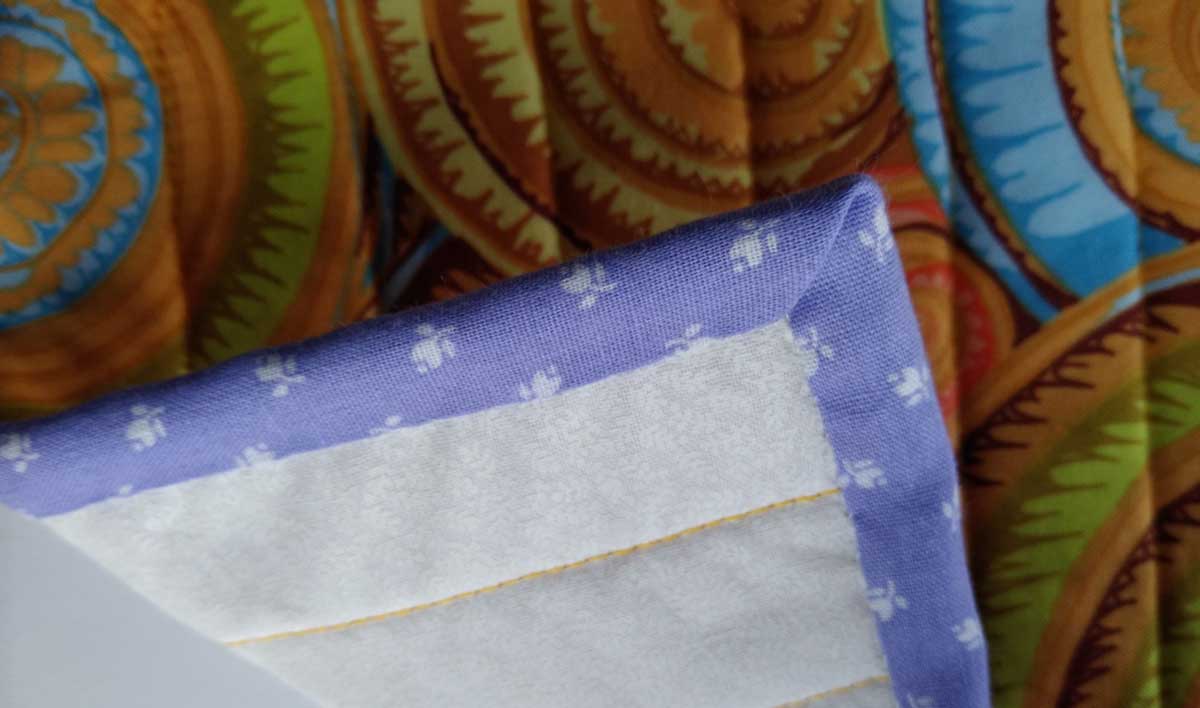
When the binding is attached on all edges, fold the binding at a 45° angle at each corner underside. Set the bulk of the fold in the opposite direction of that on the quilt front. Hand-stitch the folded binding edge in place around the quilt. The underside miter should look as good as the front side (5).
If you’re not making a quilt, this same mitering technique works to bind any edge like a collar, cuff, jacket front or pocket, as long as the corner is a 90° square.
~Linda Griepentrog
Linda is the owner of G Wiz Creative Services and she does writing, editing and designing for companies in the sewing, crafting and quilting industries. In addition, she escorts fabric shopping tours to Hong Kong. She lives at the Oregon Coast with her husband Keith, and two dogs, Yohnuh and Abby. Contact her at gwizdesigns@aol.com.