


 Last week I told you I’d share my final blog of the year with another new sewing technique I’ll be sharing with members.
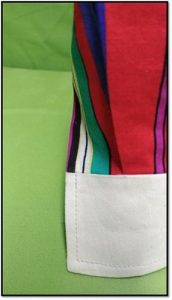
I have been frustrated all my sewing life with the way cuffs are done. The intersection between the placket and cuff are not smooth and even. This, and the collar stand, had been my sewing nemesis for many years. Sometimes patterns would come out with new techniques which would be better—like the “burrito” technique—but I still wasn’t happy with the results. Have you been happy with your results? Was the transition smooth with the way you’ve been doing them?
 It took a lot of trial and error many years ago, long before I came on board with ASG, but I came up with a method of sewing these garment areas that finally made me happy. I’ve never put either into writing until now.
I’m working on finalizing the instruction and in the beginning of 2018 ASG members will get my full instructions. I’m hoping this will be a game-changer for beginning and advanced sewers alike. I think part of our problem with sewing is not getting really pretty results which scream homemade. Why, even ready-to-wear garments don’t have a smooth transition though better quality and custom ones are much, much better but they still don’t use the technique I developed.
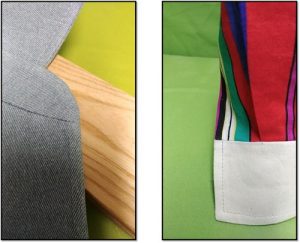
I’ve not seen the way I do a collar band/stand and cuff written anywhere. I’m hoping by putting these in writing for our members it will be my little way of changing the sewing world and the way sewing is done in these areas giving sewers better outcomes in their construction.
If you would like these instructions, please join ASG and you can get them online in our educational videos.
Here’s to a happy journey of sewing in 2018!
~Ramona


