 As we reach the one-year mark of what was to have been a two-week isolation for Covid-19, it’s hard to believe that a virus could shut down our world, cause schools, restaurants, gyms, stores, and even churches to shutter their doors. So many got sick, lost jobs, experienced feelings of isolation and depression, and even lost their lives. Some have not seen family and friends during the year. How have we been able to not simply survive these times but, in many cases, to even thrive?
My friend and fellow ASG member, Kendra, and I were discussing this topic during one of our many phone calls this past year. Kendra is a nurse in a major hospital’s Covid wing. When I asked how she was doing, she explained that she had just had a horrible day in which she had lost five patients to the virus and was feeling especially down. In that moment, she felt the best thing she can do for herself was to come home and go to her “happy place”— her sewing room. She said that when she goes into her room and starts to play with her fabric, the stress and tensions of the day seem to melt away and she is renewed to fight another day.
As I talked with other friends who have weathered this Covid-19 storm, I’ve heard over and over again how sewing and ASG have made the difference for them and gave them the strength to not just go on, but to go on with a positive attitude.
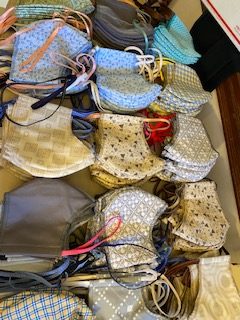
So many of us rallied in the beginning when we were asked to make masks. We were compared to Rosie the Riveter of WWII, heeding the call to service not for our own gain but to help others on the front lines. Our knowledge of sewing gave us the ammunition to wage war on the virus. This didn’t just help pass the time, it gave us purpose and a feeling of accomplishment. We were so engrossed in service, we didn’t have time to waste fretting over being isolated at home.
As mask production began to taper off, we found we had time on our hands—time for us! Luckily, most of us had enough fabric stashed away to feed our sewing habit, and we began sewing for ourselves. Just about that time, both ASG National as well as many chapters kicked in with internet neighborhood groups and classes. Without having to risk possible infection, we could stay home and tune in to some great programs on sewing, fitting, quilting, wardrobe planning, sergers, and more. All we needed was a computer or a smartphone, but even a land-line provided audio access. How amazing was that! When Director Joi Bostic introduced us to Zoom at the ASG conference in Boston in 2019, who would have thought that this new concept would (within a year) be the lifeline on which so many of us now depend? Not only did it link us to our ASG organization it also provided a means to keep in touch with extended family members that we couldn’t visit.

Speaking of families, I can’t ignore the stories I’ve heard of how our ASG family has reached out to each other during this past year. Whether it was through phone calls, emails, or Zoom, our sewing sisters and brothers have reached out to keep relationships going and check on the well-being of this national family. ASG Director, Sheryl Belson, started a Saturday morning group in Plano, TX for just that purpose. What started out as a homegrown group to just check in on Plano members has blossomed to include members from across the country and has even introduced some new members to ASG. Way to go, Sheryl!
 I’m reminded that my 2020 New Year’s resolution was to do more with my embroidery machine, so I started a small ASG embroidery group with 4 other women. We first met in January for an organization meeting, then February brought high hopes of doing special projects. By our March meeting, everything in our state was shut down for what was supposed to be just 2 weeks. In April we decided to go online and have been holding Zoom meetings ever since. We have now reached our first anniversary and I am thrilled to say our group is going strong with 50 members from chapters across the country. It has been an amazing experience to share our knowledge of sewing and inspiring projects with each other.
![]() Looking back on 2020, I have to admit it brought many challenges and disappointments but, thanks to ASG, it also came with inspiration, learning opportunities, feelings of purpose, and so many new and renewed friendships. So, thank you ASG for getting me through 2020, and I know that whatever 2021 has in store, my ASG family will be here for me as well.
Looking back on 2020, I have to admit it brought many challenges and disappointments but, thanks to ASG, it also came with inspiration, learning opportunities, feelings of purpose, and so many new and renewed friendships. So, thank you ASG for getting me through 2020, and I know that whatever 2021 has in store, my ASG family will be here for me as well.
~Rosemary Fajgier


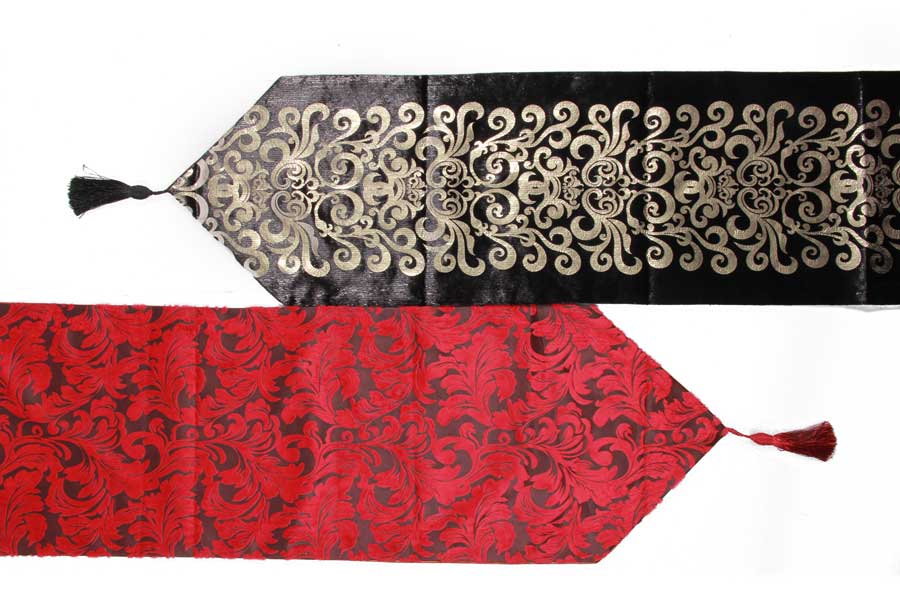
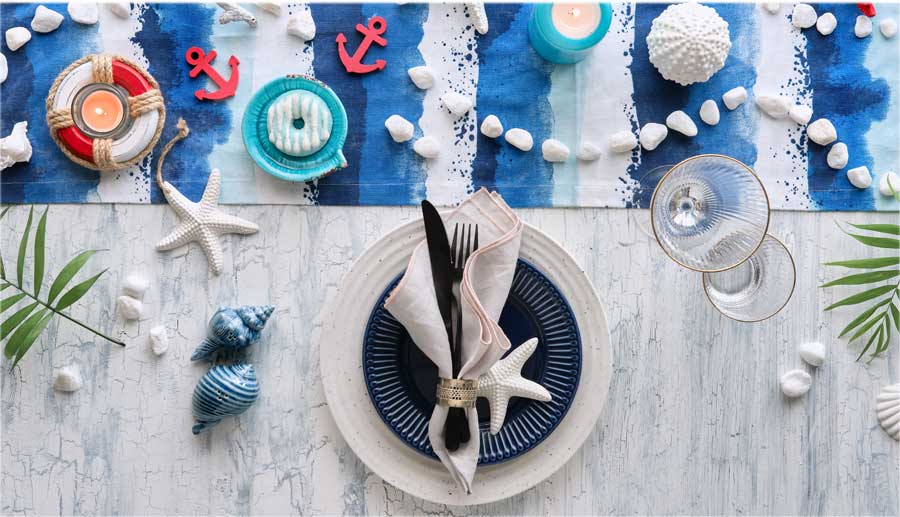
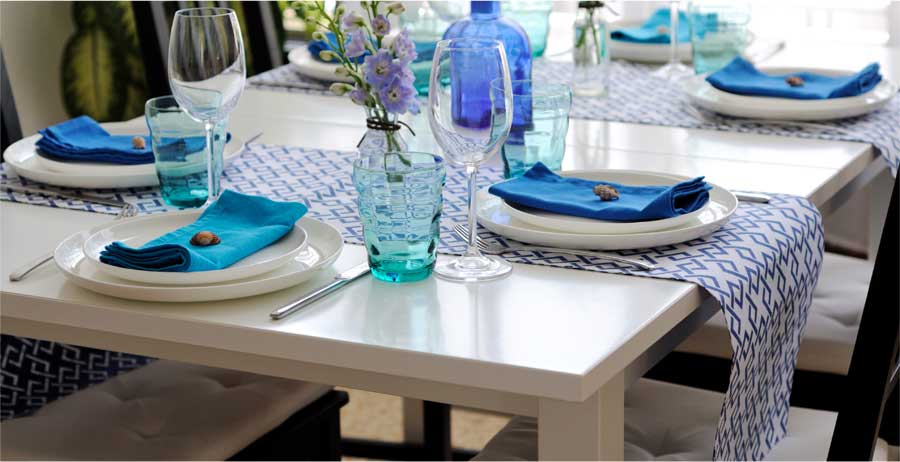
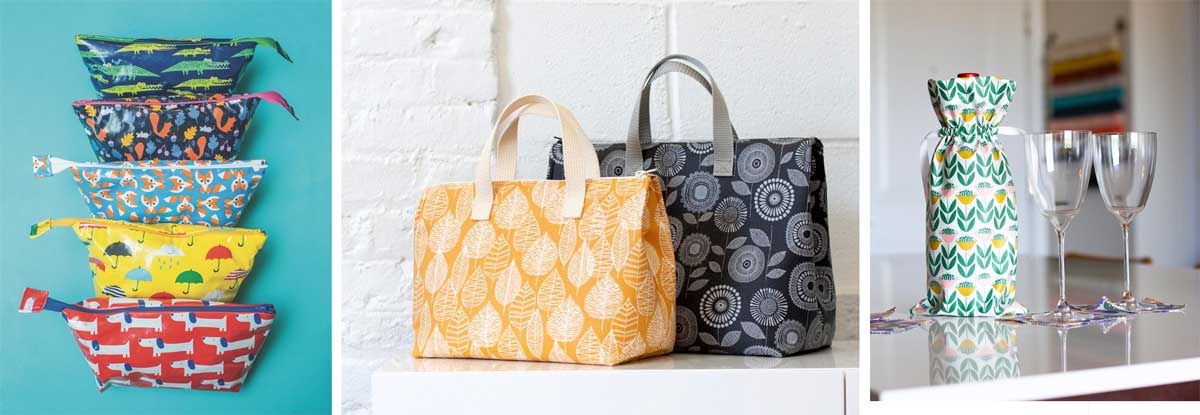
 A table runner can be used to add color and interest to any part of your home décor, showcase a display of collectibles, or it can be used simply to protect the dining table surface. You get multiple functions in one! A runner can even be used over a tablecloth to double the decorating punch.