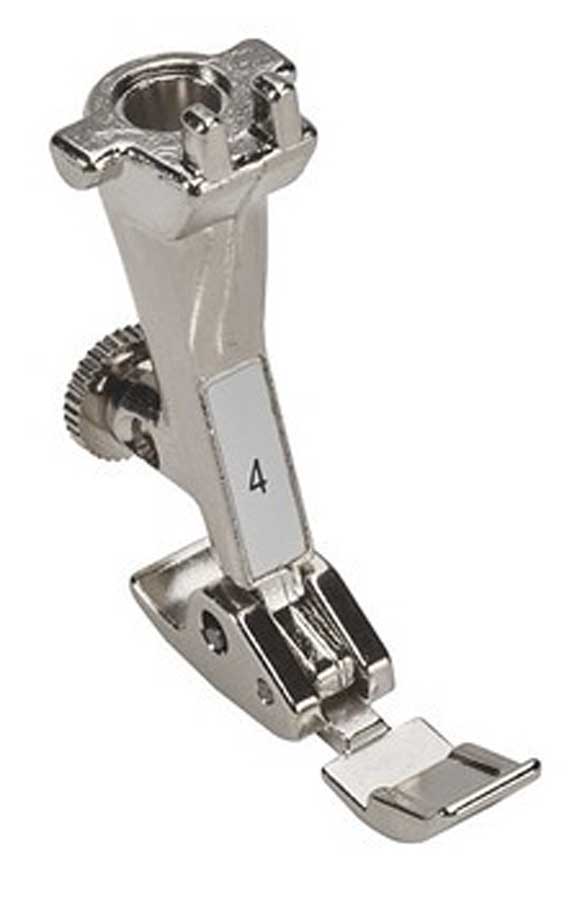
Among the collection of presser feet that might be available for your machine are some with unique configurations, designed for very specific tasks. You may need them, you may not, depending on the type of sewing you do. These specialty feet don’t usually come with your machine, but they’re ideal to put on your stocking stuffer list if you frequently do these tasks. Check with your dealer for availability or look for generic versions to fit your machine model.
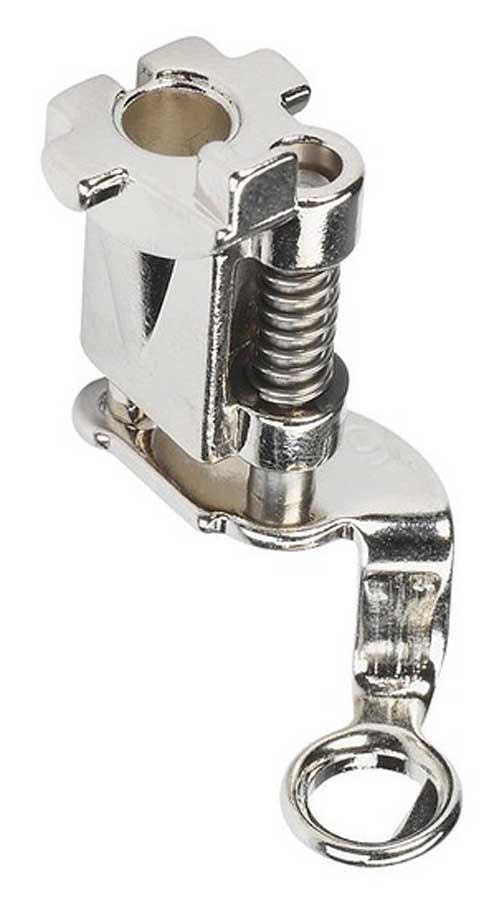
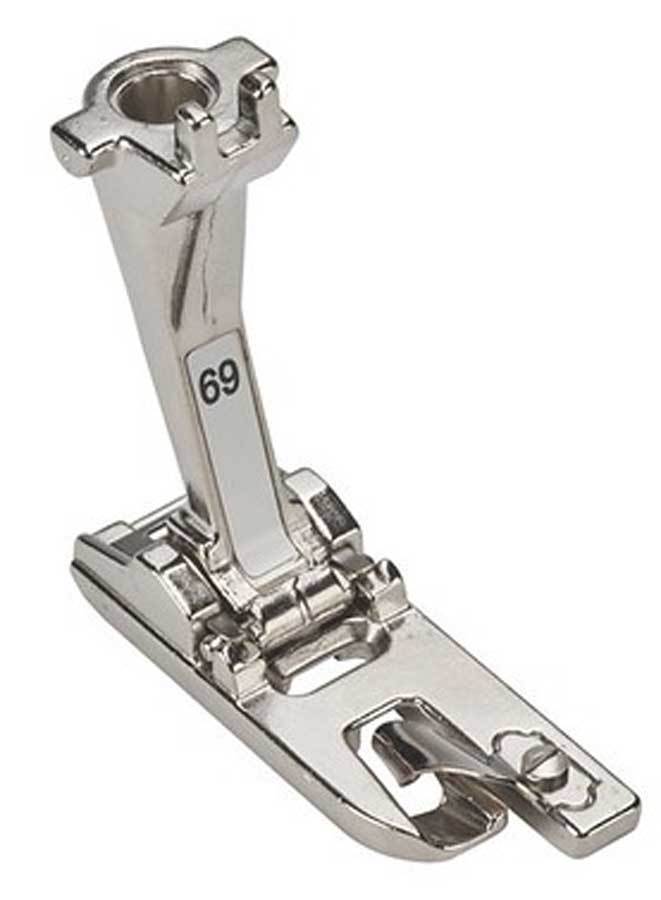
Braiding/Cording Foot
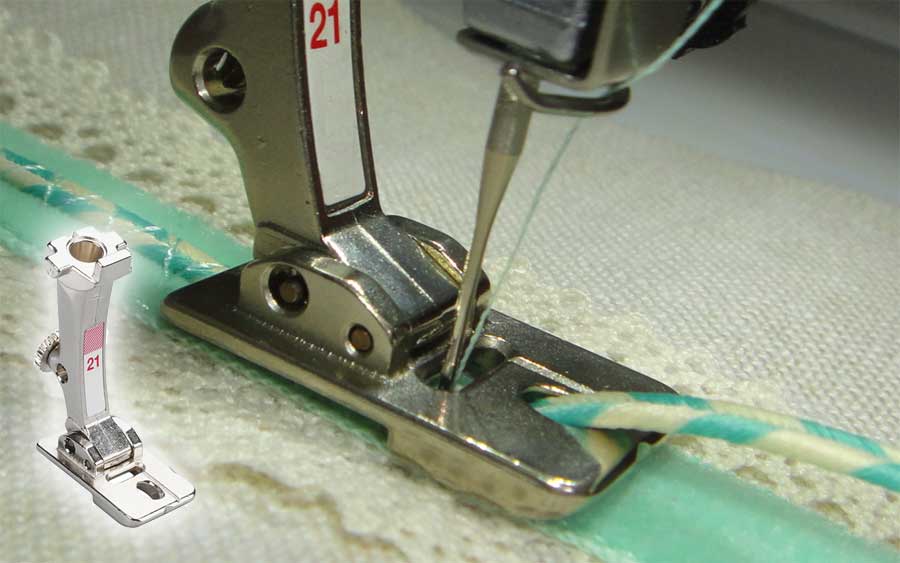
Any time you’re trying to follow a line, hold braid and stitch over it at the same time, you wish for a third hand. But, a braiding foot can help. This handy foot has a tapered hole in the front of the foot to guide your addition as you sew so you don’t need to hang onto it. The underside of the foot has space for a thin cord or ribbon to easily glide underneath without jamming. This foot is ideal for couching small trims and cords, but be sure to check the hole size to be sure your trim fits the opening. Note that some brands may call this a cording foot.
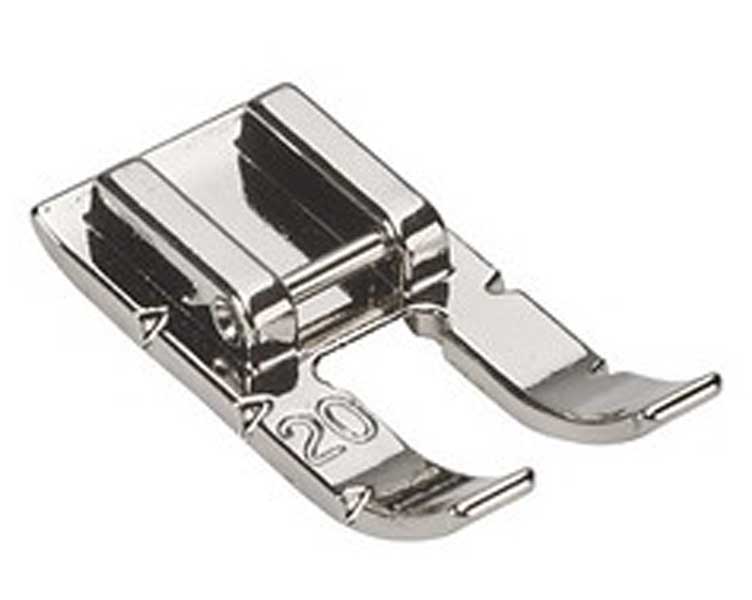
Embroidery Foot
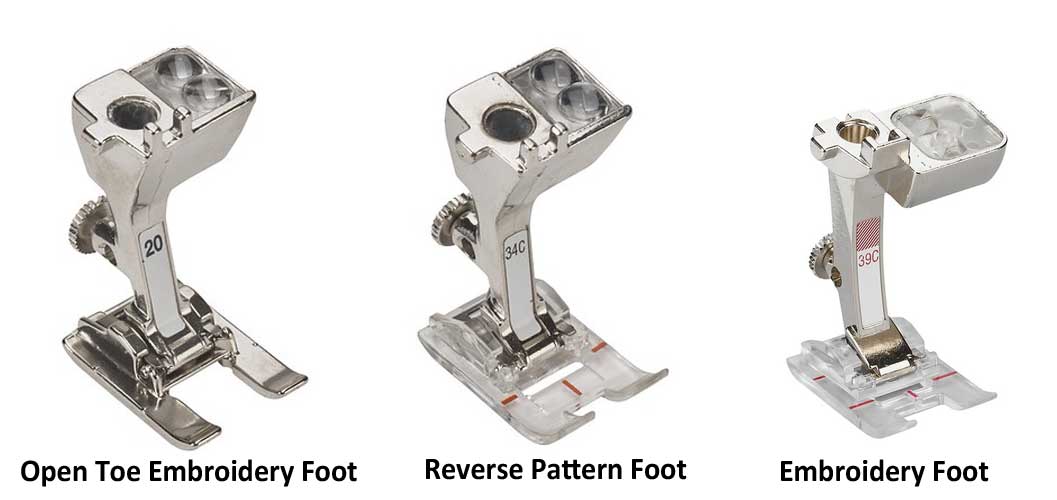
Decorative stitches on your machine are often called embroidery stitches—you might have scallops, ducks, arrows or any number of stitch patterning. As you sew those stitches you need good visibility and you need space under the presser foot for thread build-up, especially if the machine is going both forward and backward to create a dense stitch pattern. The extra bulk can stall stitching if your presser foot doesn’t have room under it for the thread build-up to glide easily over the stitches. Embroidery feet (often called satin stitch feet, decorative stitch feet or reverse pattern foot, depending on the brand) have a recessed area under the base of the foot to allow for the thread accumulation with bold stitching patterns. The foot opening is wide enough to accommodate your widest stitch width. Many embroidery feet are clear plastic for better visibility, and some have an open-toe area for the same reason. Some brands also have horizontal or vertical marking to help line up intricate stitching patterns.
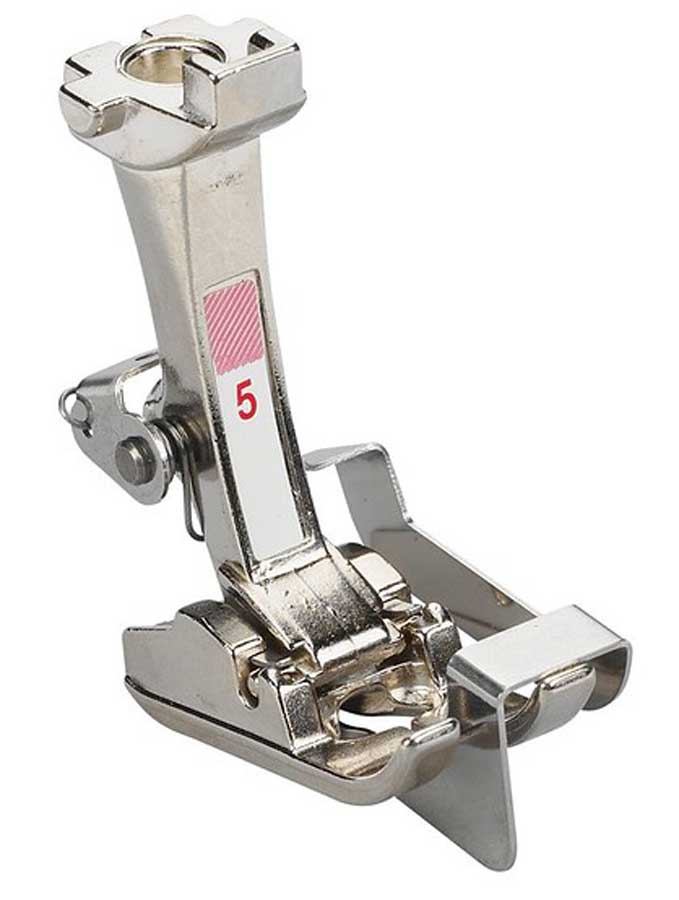
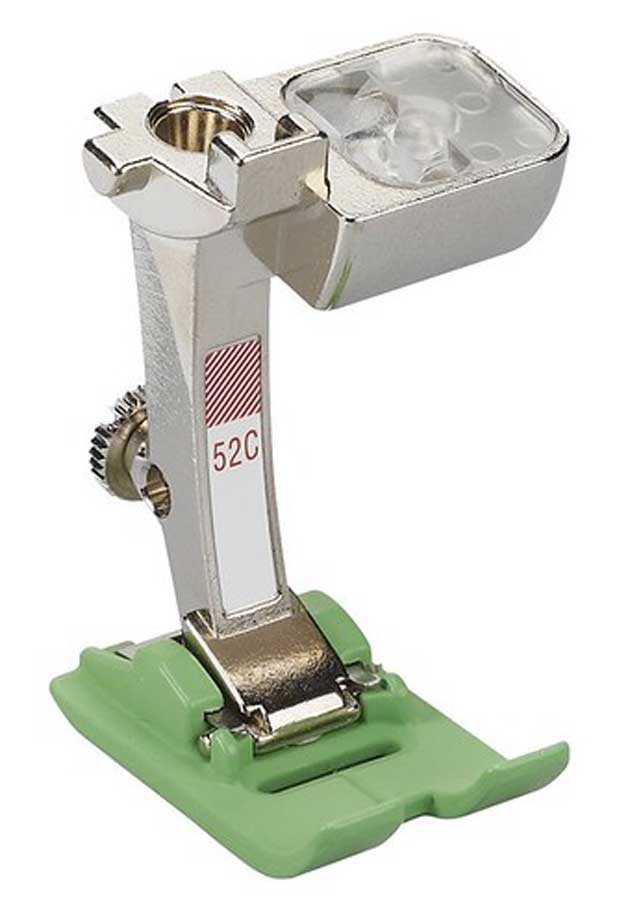
Gathering Foot
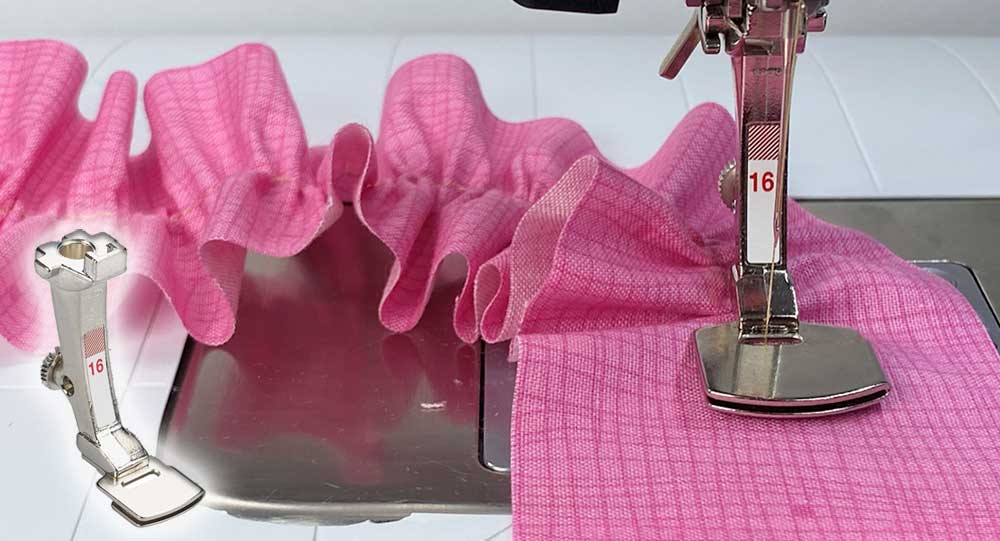
Yes, you can stitch multiple rows of long stitches and tediously pull threads to make gathers, but having a gathering foot can make the task much easier and it will gather fabric for you as you stitch, or secondarily, it will gather one piece of fabric while attaching it to a flat piece—think adding a ruffle to a band in one step. The multi-layered foot is broad and flat, with a slot between the two base layers. If you simply want to gather, feed the fabric under the foot, adjusting the amount of gathering by changing the stitch length. You can also adjust the tension to change the look of the gathers. If you want to sew a gathered layer to a flat layer, thread the fabric to be gathered under the presser foot, and the non-gathered layer into the slot. As you stitch, the lower layer will be gathered and sewn to the upper layer in one step.
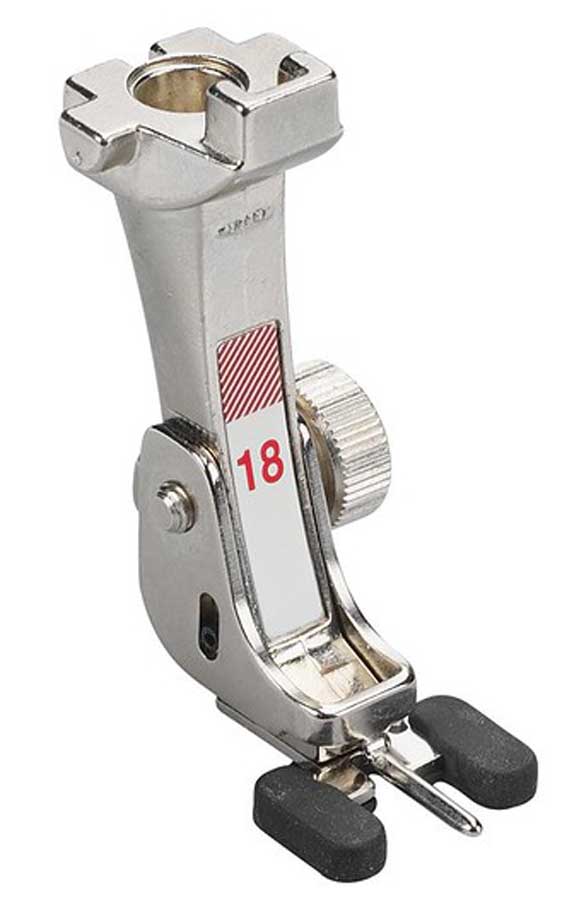
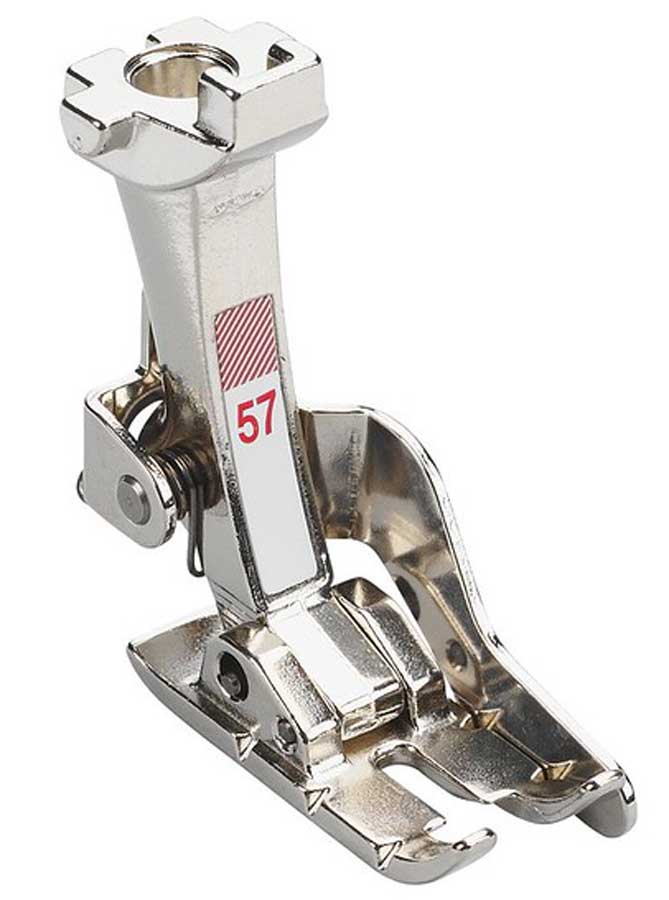
Pintuck Foot
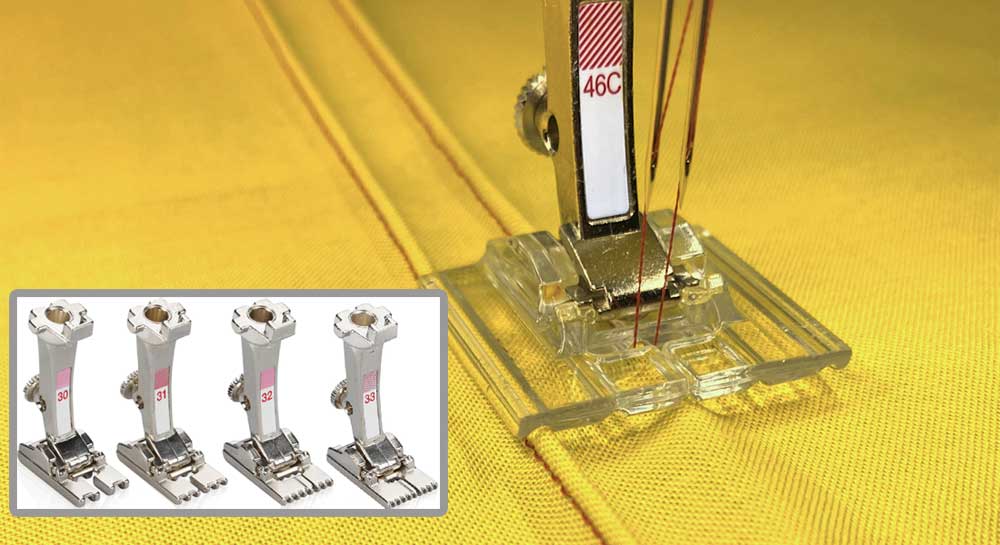
Teeny tucks, often in groups, are called pintucks and they require a specialty foot and a twin needle for creation. The secret to this embellishment lies in the fact that a single bobbin thread spans both needles, making a tiny narrow raised ridge. To make the tucks more prominent, you can add a small cord between the bobbin thread and the fabric. Pintuck feet come with varying numbers of tucking channels underneath, depending on the brand and the desired usage—usually three to nine tuck channels, so you can stitch multiple tucks evenly spaced. Use the channels to align with a previous pintuck to control spacing. Pintuck feet can be metal or clear plastic, depending on the brand.
All photos compliments of Bernina
~Linda Griepentrog is the owner of G Wiz Creative Services and she does writing, editing and designing for companies in the sewing, crafting and quilting industries. In addition, she escorts fabric shopping tours to Hong Kong. She lives at the Oregon Coast with her husband Keith, and three dogs, Yohnuh, Abby, and Lizzie. Contact her at gwizdesigns@aol.com.