Some design details can make or break the look of a handmade tote, and corners are key to a professional look.
Boxed corners add depth to an otherwise flat bag, allowing it to hold more “stuff” and maintain its shape while being carried or stored. Most boxed corners feature only an inverted T appearance with the side seam artfully intersecting a horizontal seam at the base.
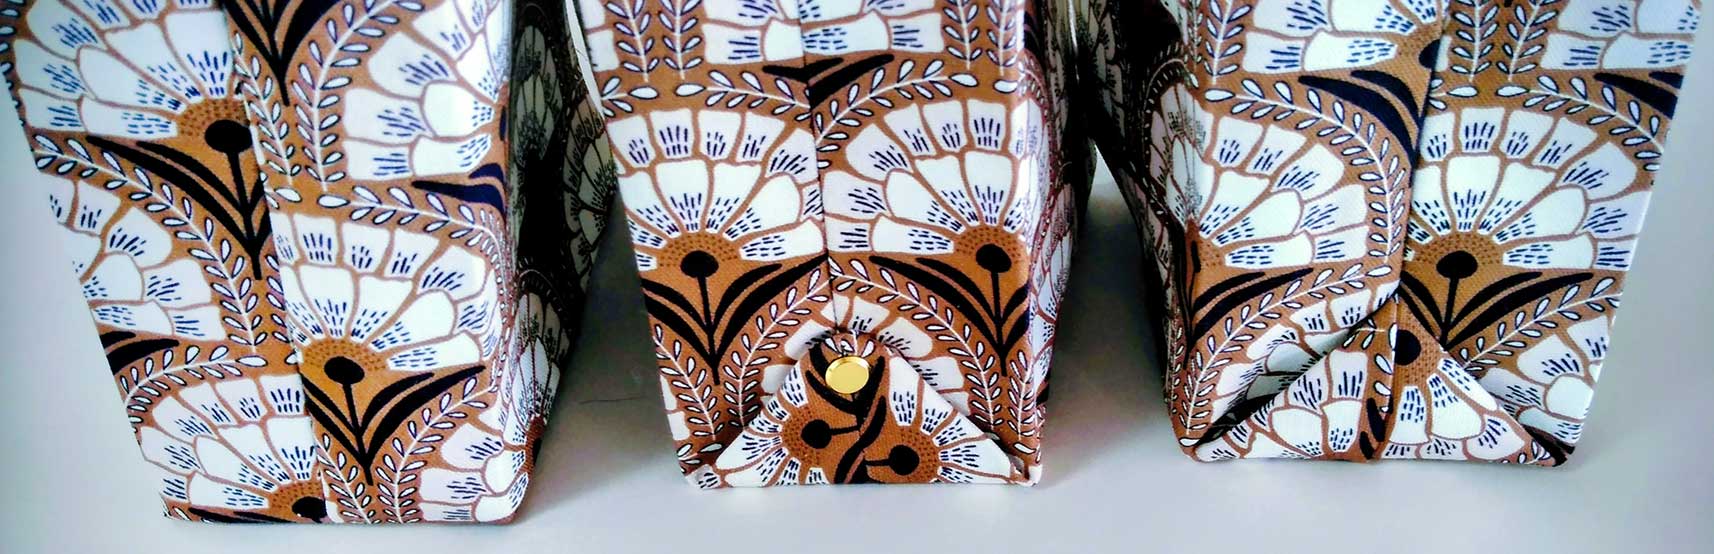
To create a traditional boxed corner:
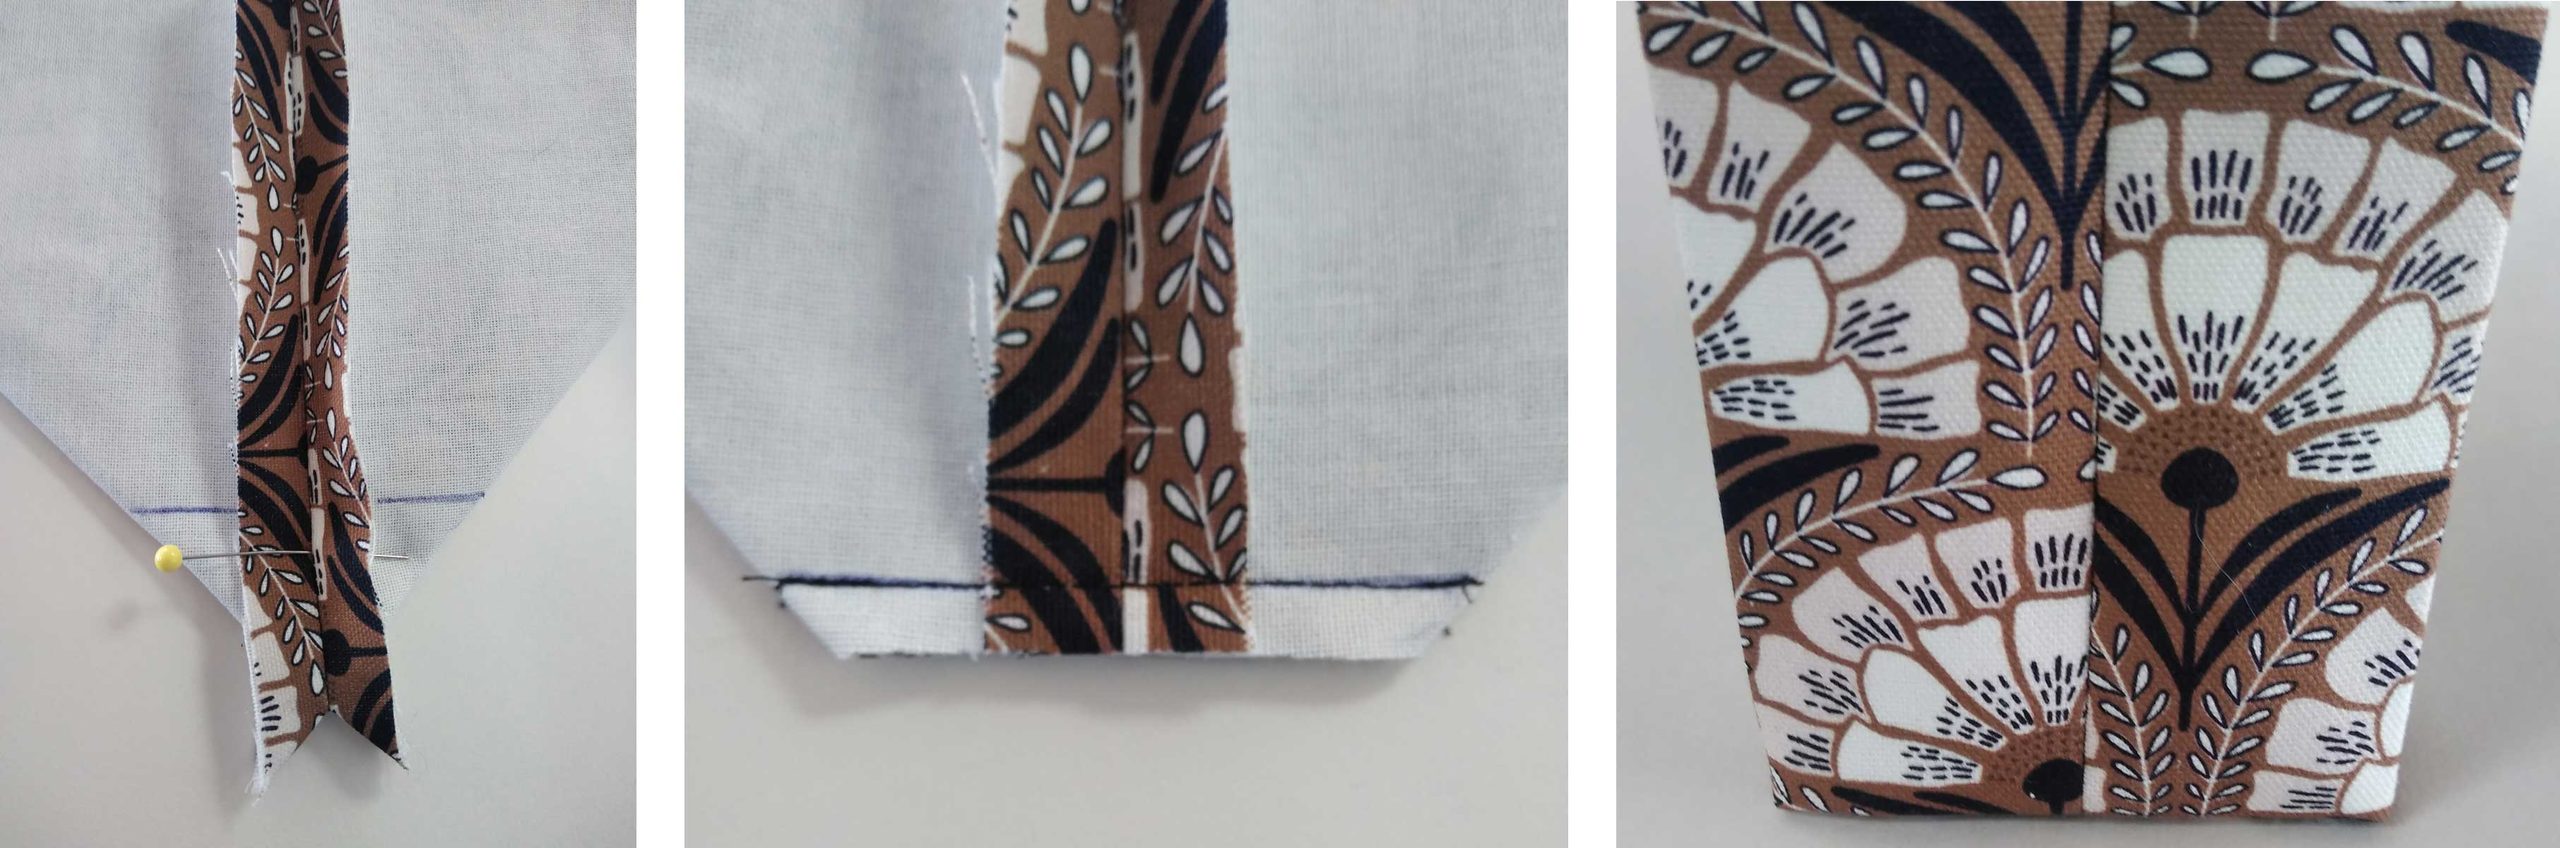
- Stitch the side and bottom seam of the tote, then fold the side seam directly on top of the bottom seam. To create a 4” deep tote base, draw a 2” line on each side of the stitched seam forming a triangle, then sew across the drawn line.
- Trim the excess fabric triangle, leaving a 1/4” seam.
- Turn the bag right side out and press.
A traditional boxed corner is functional, but why not add a bit more interest and put the corner structure on the outside of the bag? There are two ways to create visible corners.
Outside point
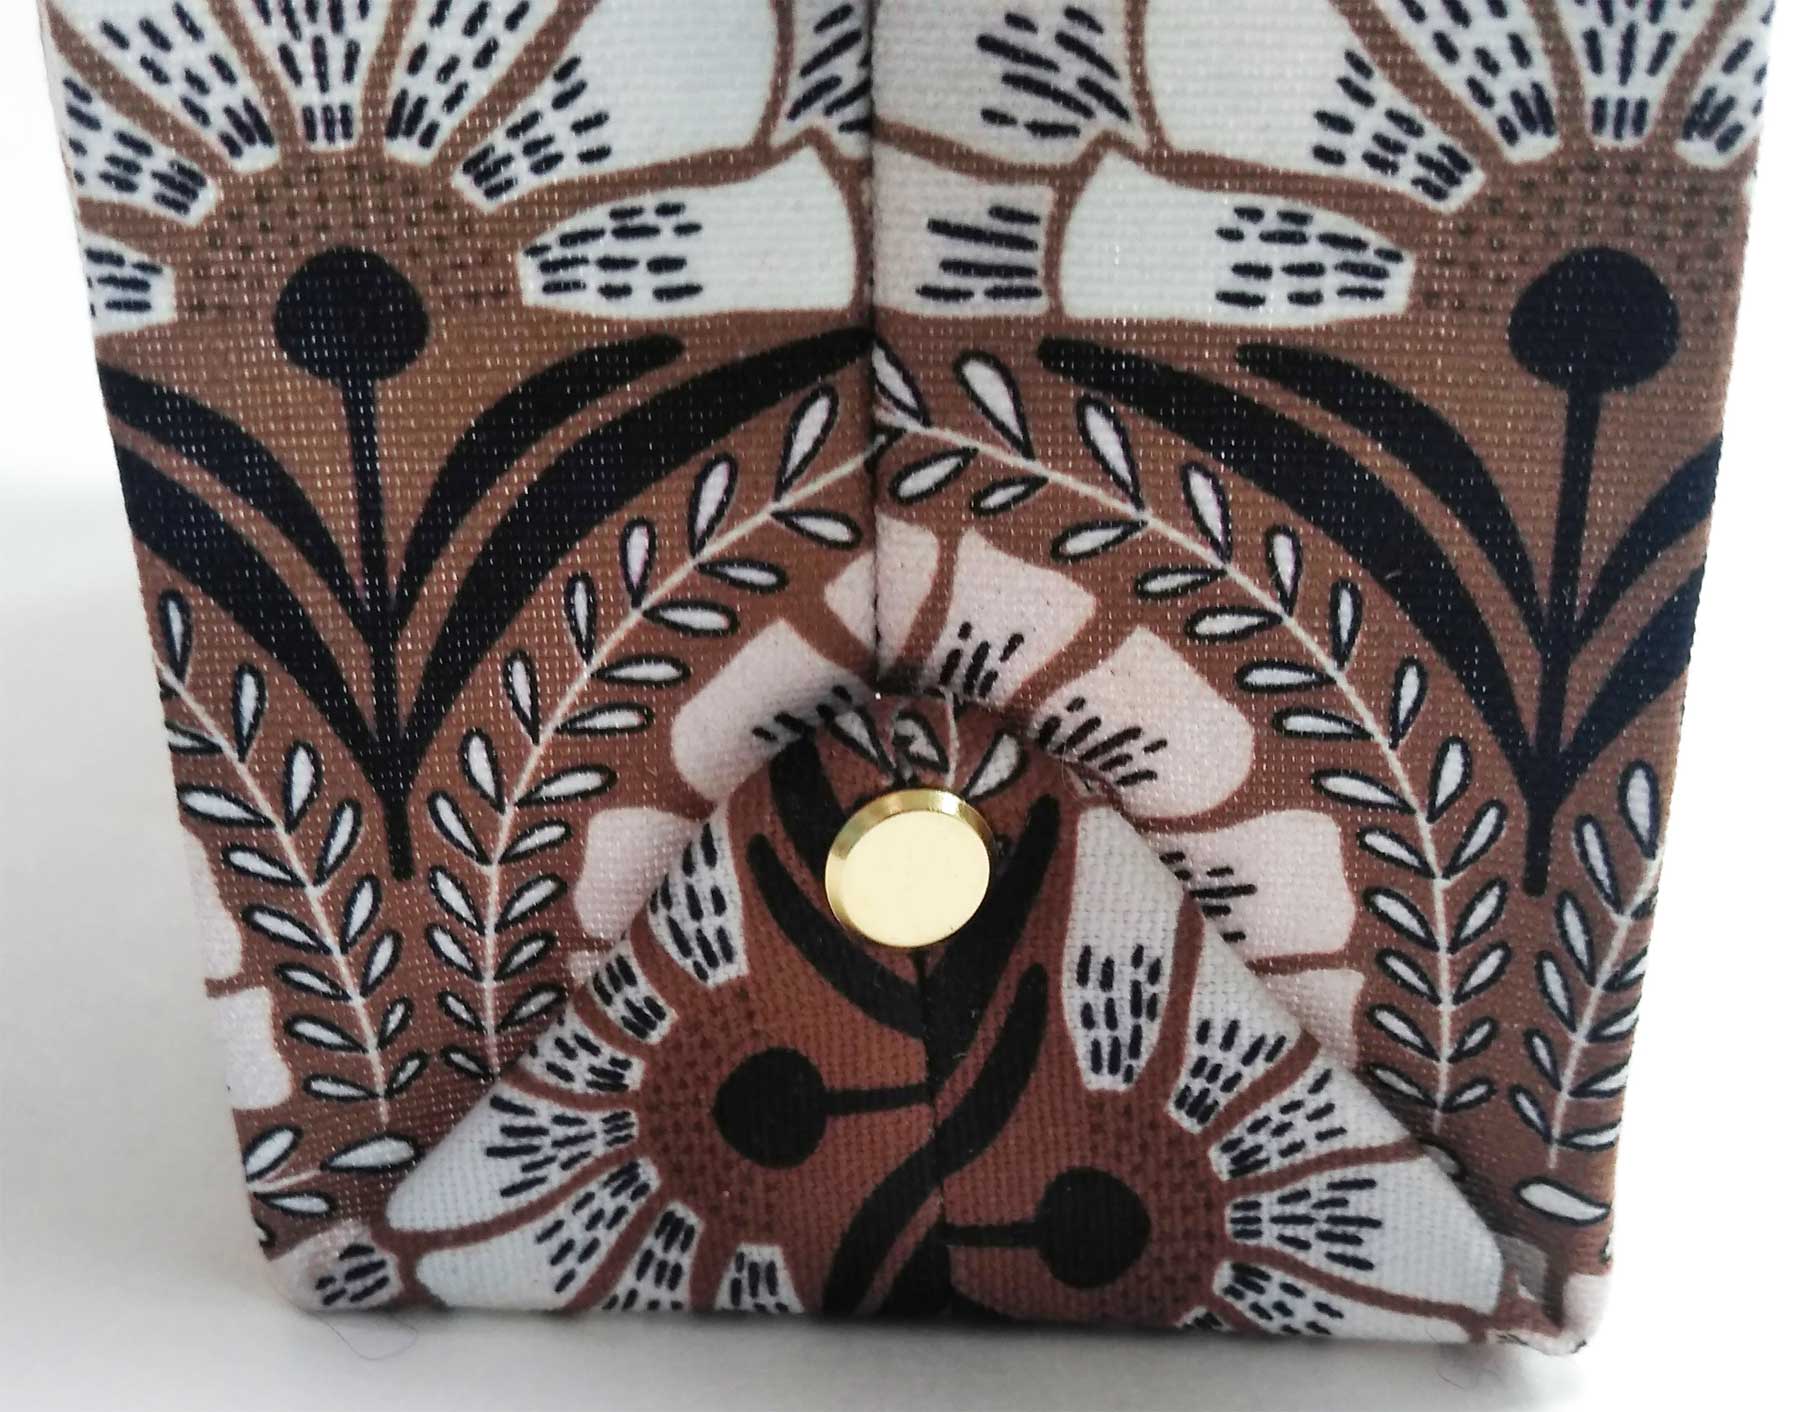
- To create an outside point, place the bag front and back right sides together and stitch the side and lower edge seams, forming a right angle. (Depending on the pattern, there may not be a lower edge seam, but a fold instead.)
- Fold the bag with wrong sides together and lay the side seam directly over the center bottom seam, forming a triangle on the outside.
- Fold the point up to meet the side seamline forming a box shape of the desired width—usually 2”-4” wide, depending on the tote size.
- Now comes the fun—anchor the point in place by sewing on a decorative button or inserting a Chicago screw near the triangle point.
What’s a Chicago screw?
A Chicago screw is a threaded barrel-and-screw fastener used when you want a secure hold. There is a male screw portion and it’s inserted into the female threaded portion. One or both ends have a screw-like head on them and the outer shaft is smooth for easy insertion through multiple fabric layers.

As an Amazon Associate, we earn from qualifying purchases.
The fasteners come in different colors, diameters and lengths. For most tote-weight fabrics, a 1/4” – 3/8” shaft is ideal.
Use an awl to punch a small hole in the multiple fabric layers before inserting the screw shaft. Add the backing portion and tighten in place.
Pleated Outside Corner
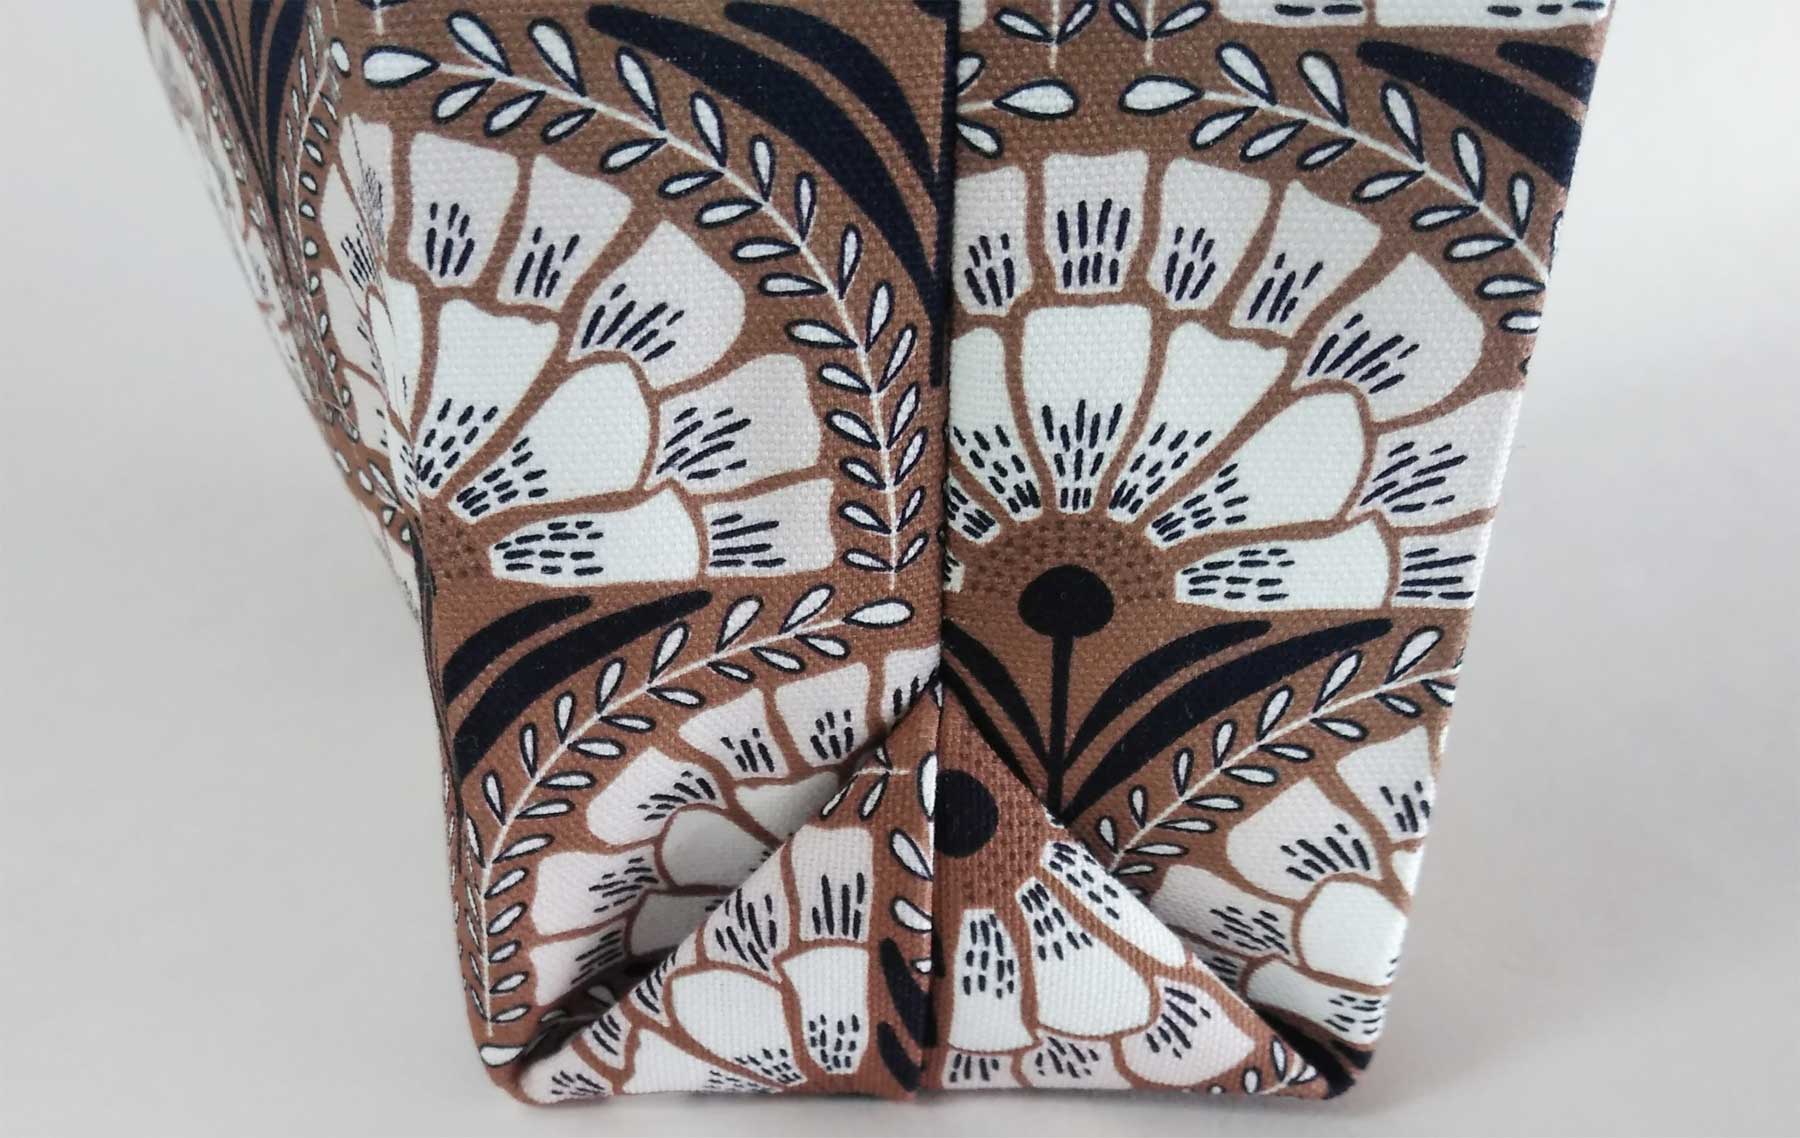
This technique creates an outside point, much like the freestanding one noted above, but this method encases the triangle point in the side seam, forming a pleat on each side.
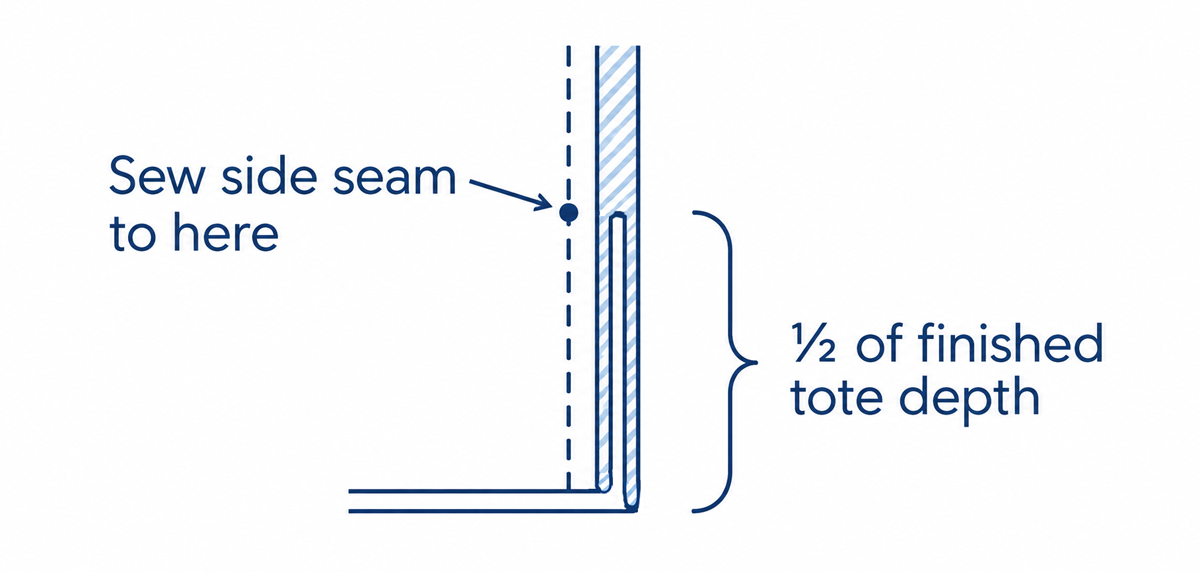
- To create this point, sew the side seam of the project stopping at the desired tote depth from the bottom seam allowance or fold. For example, if the finished tote is 4” deep, leave open approximately 4” along the bottom portion of the side seam.
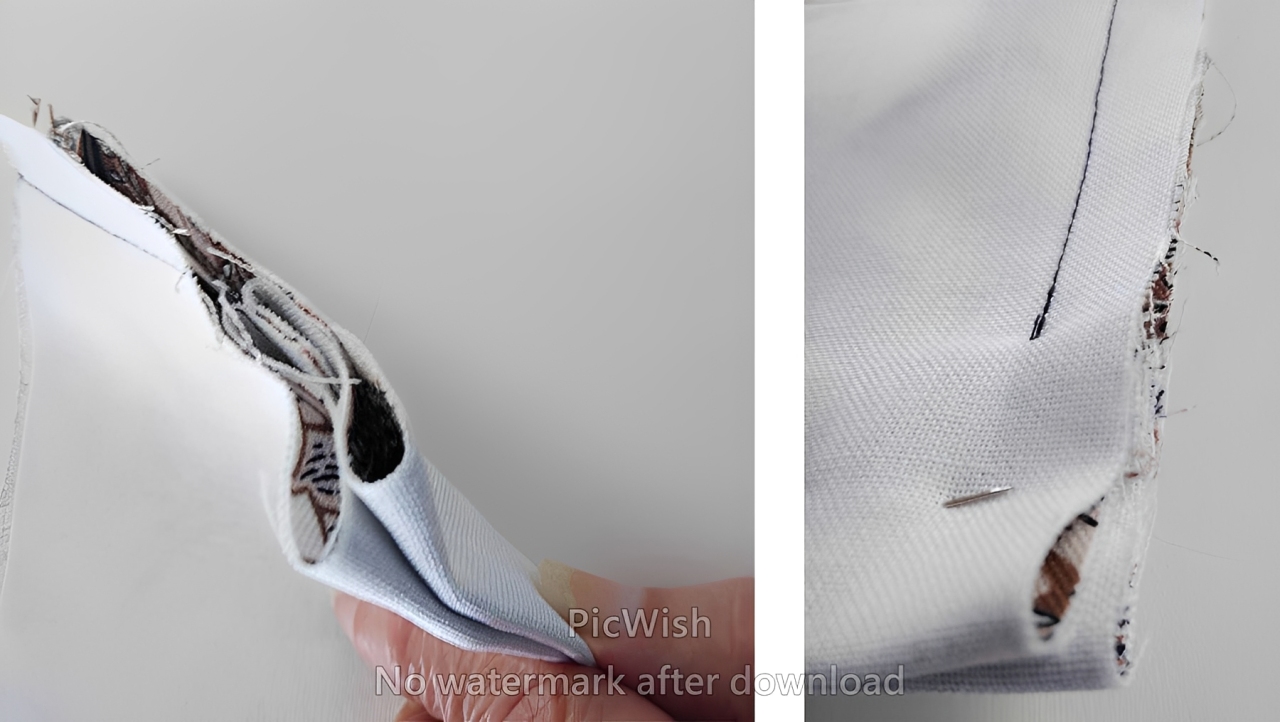
- Pinch the lower corner of the bottom and bring it to the top of the opening. Depending on your pattern, there may or may not be a seam at the lower tote edge.
- {pleated tote folding photos 1 and 2 and/or illustration}
- Align the edges of all the layers and finish sewing the side seam starting at the upper opening point.
- Turn the tote right side out, shape and press the lower corners.
~Linda Griepentrog is the owner of G Wiz Creative Services and she does writing, editing and designing for companies in the sewing, crafting and quilting industries. In addition, she escorts fabric shopping tours to Hong Kong. She lives at the Oregon Coast with her husband Keith, and three dogs, Yohnuh, Abby, and Lizzie. Contact her at gwizdesigns@aol.com.