OK, raise your hand if your bobbin storage area looks like the photo below. Just what I thought…few hands in the air, and certainly not mine! Keeping these pesky little rounds handy and neat is an ongoing chore, but thankfully, there are some notions that can come to our rescue.

How you store your bobbins is a matter of personal choice—Do you like them safely attached to their matching thread spools, or tucked away separately with other like rounds? Either way, it’s possible to keep them neat and tidy.
Before you invest in a bobbin storage item of any kind, note the size of your bobbin, as some containers are specific to a size or bobbin type.
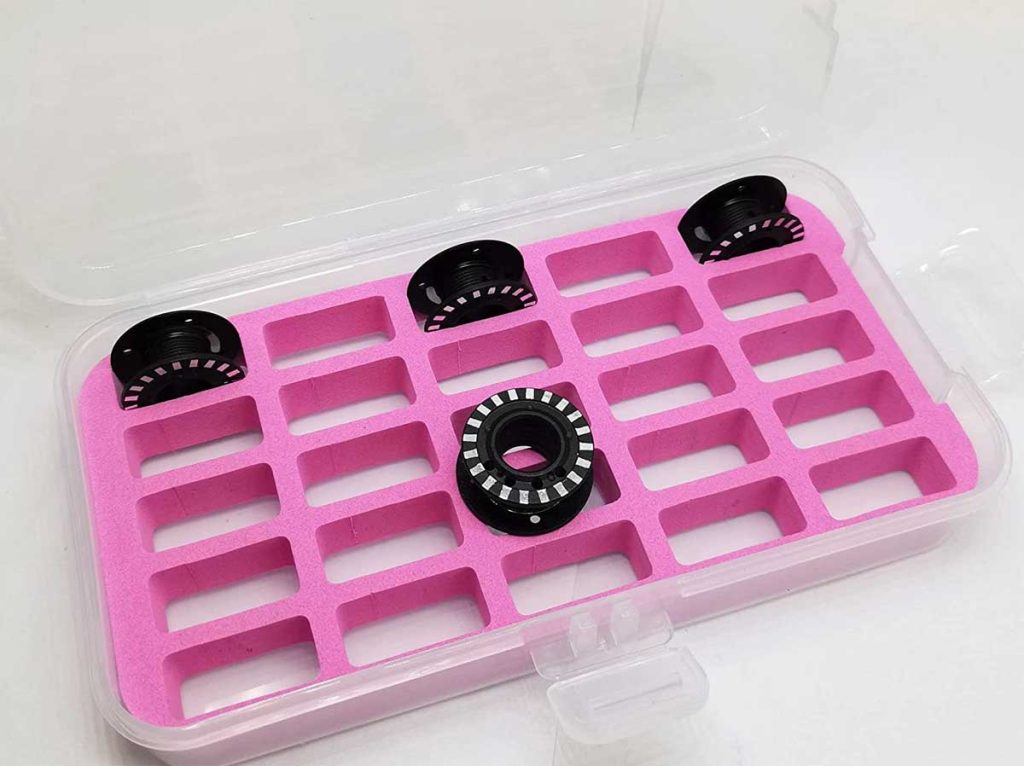
Separate Quarters
Little boxes with foam or molded inserts help to organize bobbins easily. See-through versions allow you to check out the contents without opening, and lids keep bobbins dust-free. Whether you have individual slots or long channels depends on the storage device.
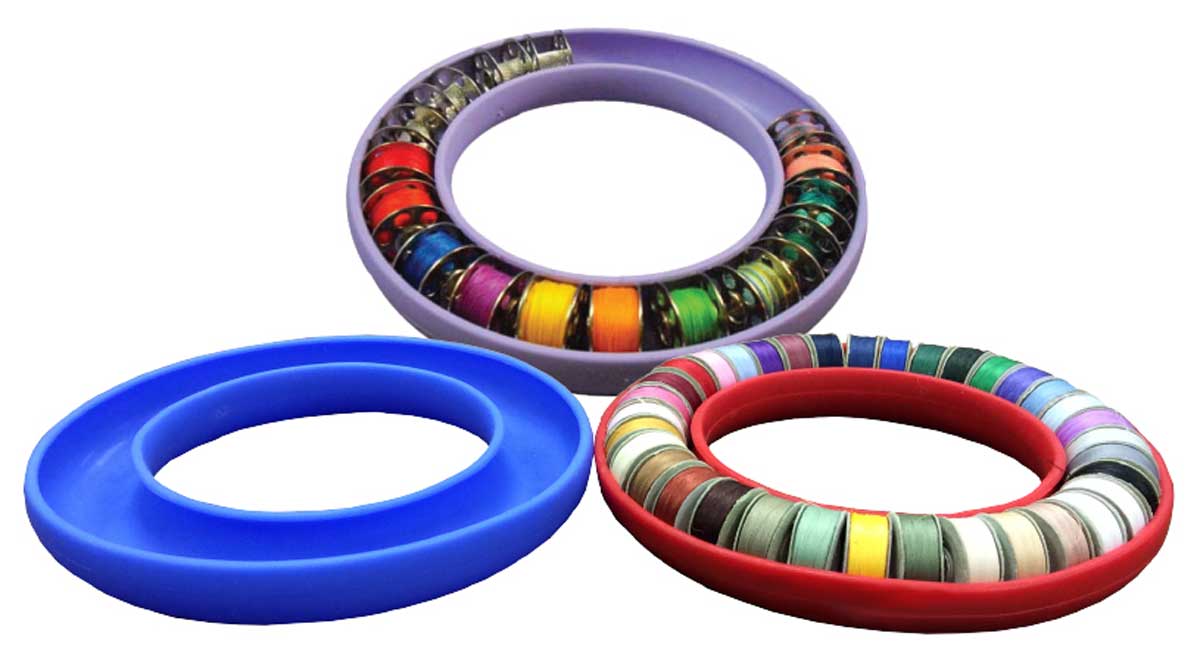
Not into rectangles? Perhaps you’d like a donut instead. These pliable plastic containers allow for aligning bobbins around an open center space. Since they come in multiple colors, you can choose one for each machine you own.
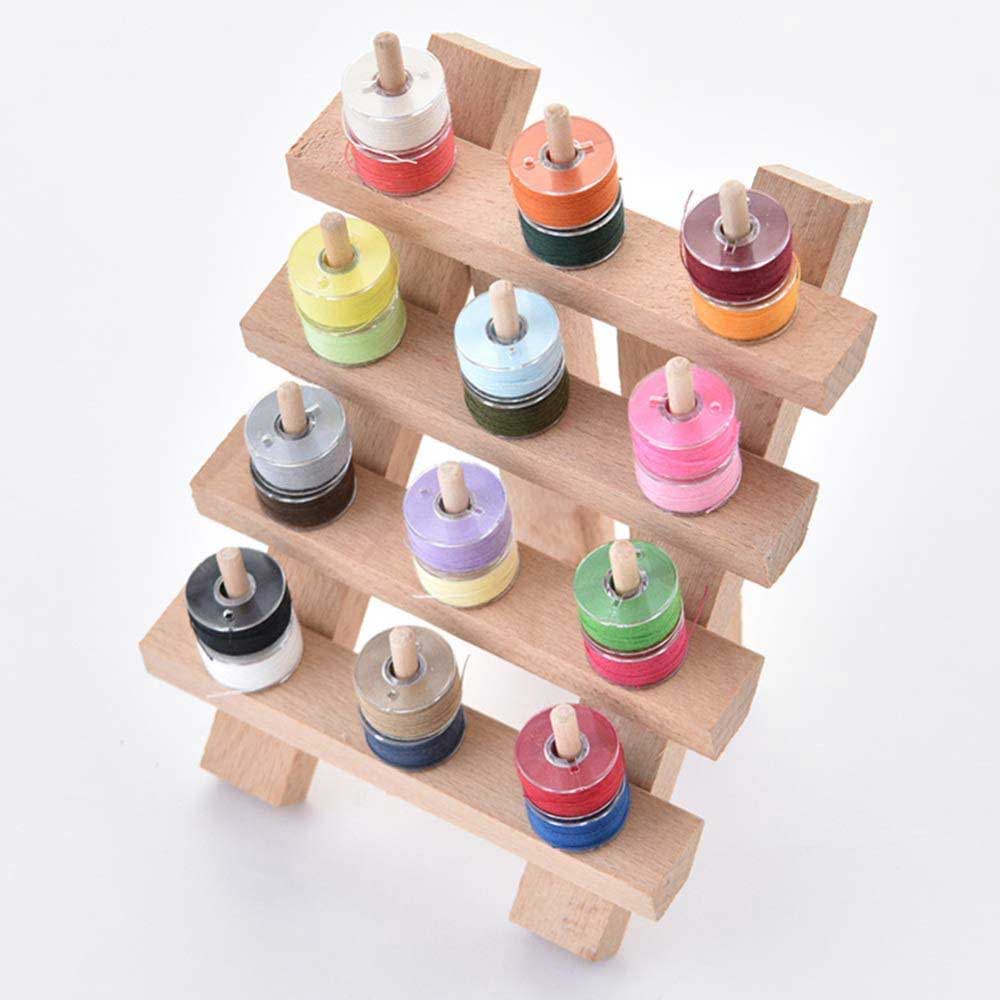
Bobbin racks have wooden pegs that you can fill with your colorful rounds. Hang them on the wall or use a tabletop model, depending on your space. Or, put in a drawer to keep bobbins dust-free.
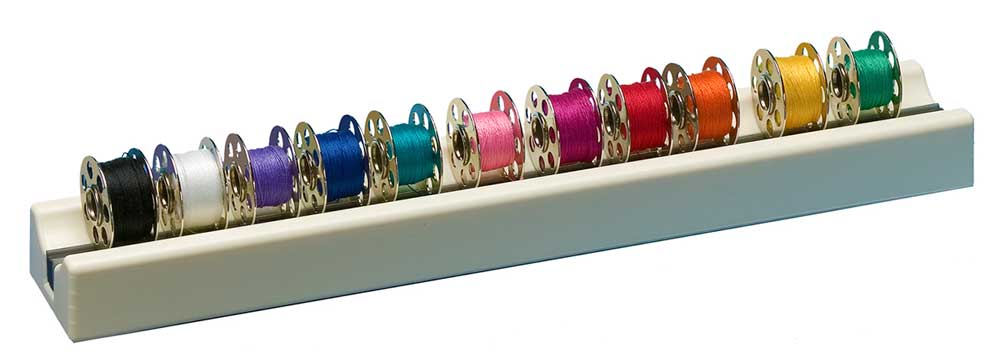
Some bobbin racks have flexible plastic snap-on holders that can be stacked.

Plastic storage tubes are yet another idea to keep bobbins organized and dust free. They’re also handy for toting to class when you just need a few for you planned projects.
If your machine has metal bobbins, there’s the option of a magnetic bobbin holder to keep them in place.
Togetherness
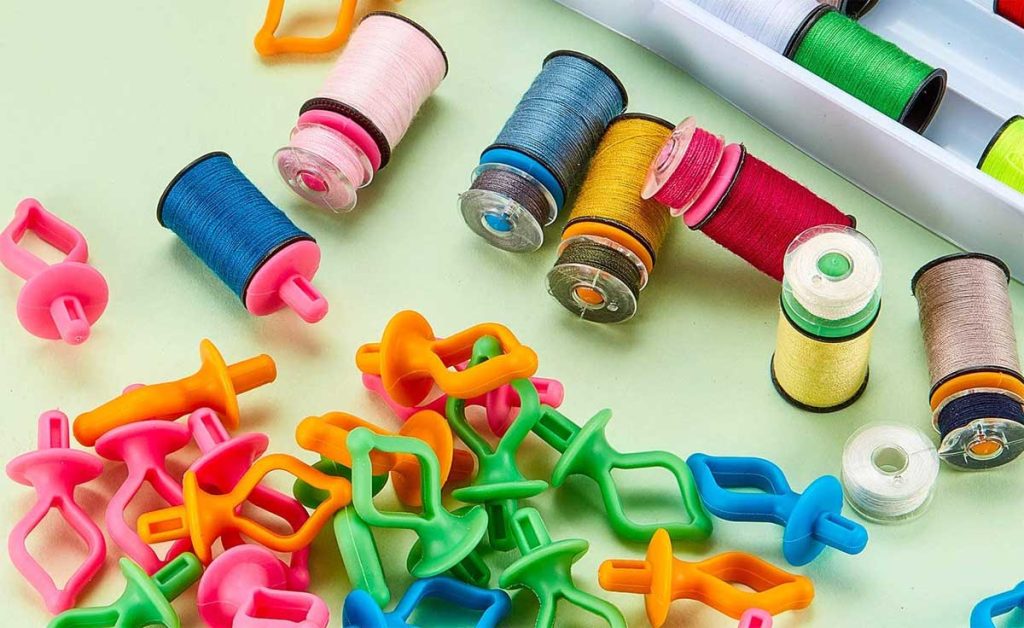
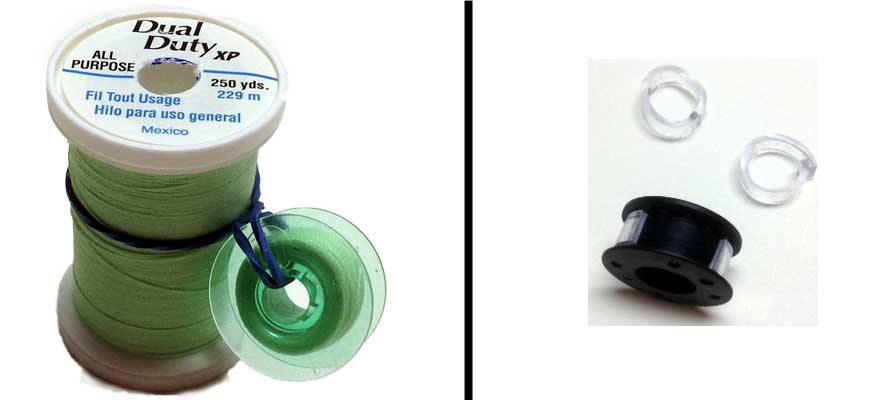
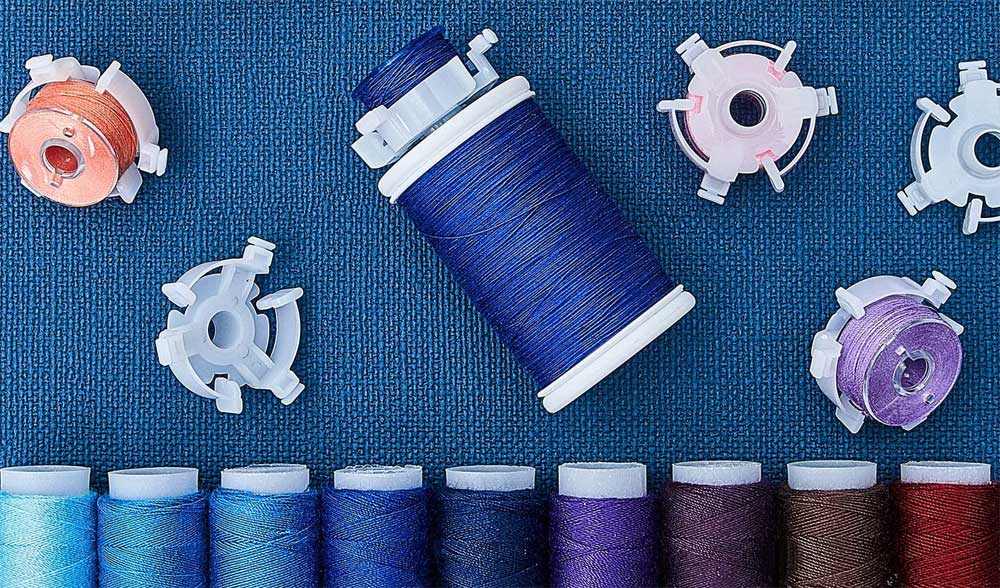
If you prefer to keep your thread spools and matching bobbins together, there are a host of options for this neatness. Some devices snap onto the top of the thread spools, while others push into the top hole in the spool.
DIY Options
If you’re sew inclined, there are many ideas for creating your own bobbin storage device.
Empty pill bottles are ideal for dust-free bobbin storage and the clear ones let you see what’s inside. Just be sure to check the size of your bobbins to be sure they fit inside.
Pick up a multi-day medicine dispenser with mini-compartments perfectly sized to fit your bobbins.
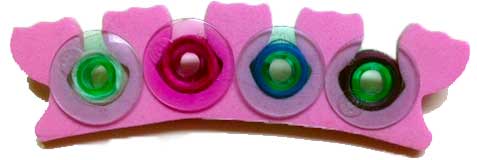
Foam toe separators are a quirky option for bobbin storage, but handy if you just need to take a few with you to a class. The foam also keeps the thread ends in place.
For storing bobbins with thread spools, simply wrap a rubber band around the spool and around the matching bobbin.
A paper clip can be inserted into the top of a thread spool and through a matching bobbin for inexpensive togetherness. A pipe cleaner can be used in the same manner.
Visit your office supply store for a large metal ring that opens—simply thread the bobbins onto the ring for organized storage.
Wrapping Up
No matter how you store your bobbins, there’s always the issue of thread ends. But taming them is easy if you just get one of small wrap clamps available. Clip it over the bobbin thread for neat-as-a-pin storage.
Or, for a DIY option, get some small clear tubing from the hardware store and slice down one side. Cut it into length that fits your bobbin thread height, then snap in place around the loose thread end. {photo}
No matter how you store them, there’s always a cat or dog willing to unroll your bobbins at the most inopportune time, it seems.
~Linda Griepentrog is the owner of G Wiz Creative Services and she does writing, editing and designing for companies in the sewing, crafting and quilting industries. In addition, she escorts fabric shopping tours to Hong Kong. She lives at the Oregon Coast with her husband Keith, and three dogs, Yohnuh, Abby, and Lizzie. Contact her at gwizdesigns@aol.com.