American Sewing Guild (ASG)

Visit our blog Visit the ASG Facebook page Visit ASG on Pinterest Visit ASG's YouTube channel Visit ASG on Instagram
  • Home
  • Join ASG
    • Join Online
    • Chapter Locations
    • Member Benefits
    • Member Brochure
    • Join by Mail
  • Education & Classes
  • Resources
    • Contests & Awards
    • Giving Back
    • Hall of Fame
    • Links
    • Travel and Tours
    • Measurement Chart
  • Shop
    • ASG Store
    • Chapter Products
    • Video Resources
  • Blog
  • About
    • About Us
    • Donate to ASG
    • ASG Sensitivity Statement
    • FAQ’s
    • Start a Chapter
  • Contact
  • Member Login
    • Login First!
    • Members Only
    • Leadership Only
    • Website FAQ’s
    • Logout
  •  

July 8, 2022

Sloper: Adding Darts to a Skirt (preview)

Secrets of Good Fit

Making your own clothing is fun, but making your own pattern makes it much more fun! Why make your own sewing patterns? For the same reason you sew — to get what you want, to be unique, to save or make money, for the fun of fit, and to get a good fit. Another good reason to learn patternmaking is to better understand and work with purchased patterns.

Skirt dart

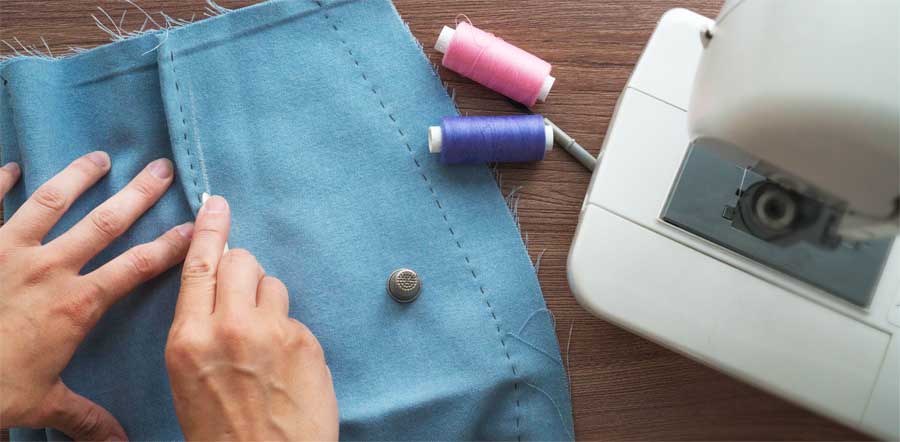
Patternmaking and fitting are closely related subjects. If you learn sloper drafting and patternmaking, you will greatly improve your fitting skills. There is no need to feel intimidated or overwhelmed though, patternmaking isn’t a complex skill. If you can sew without using a purchased pattern’s instruction sheet, you’re ready for patternmaking.

The complete version of this article is available on the ASG Members Only blog and requires member login.
CLICK HERE to read the full article. Not a member? Join online!

Tagged With: darts, skirt, sloper

July 1, 2022

Make-It: Faux-Leather Trimmed Canvas Beach Bag (preview)

Here’s a simple canvas bag to take you into summer, yet is versatile enough to use the rest of the year as well! The basic 16″ x 14″ canvas bag, trimmed with faux leather, can be customized to create a bag that perfectly suits you. Add an embroidered monogram, spell out a child’s name with colorful fabric paints, or stencil pastel sea shells on off-white canvas to personalize the bag. (A)

Faux leather trim adds a classy touch and is far easier to sew than real leather. It’s also durable, doesn’t crack easily, and is fade and stain resistant.

Read more (requires member login)

The complete version of this article is available on the ASG Members Only blog.
CLICK HERE to read the full article. Not a member? Join online!

June 24, 2022

Sewing Q&A

Welcome to this edition of sewing questions and answers:

Lightbox

Q. How do I use a light box?

A. Light boxes are handy additions to a sewing room and they can be used to trace appliqué patterns onto fusible web, trace pattern pieces for altering, draw embroidery designs onto a garment, check placement of paper piecing components and anytime you need to see through your pattern or fabric. You can also use a light box to draw right onto the fabric surface allowing you to fill in the design with paint or crayons/colored pencils designed for use on fabric.

Light box from Amazon
Light box available from Amazon. We may earn a small referral fee if you make a purchase.

If you’re purchasing a light box, be sure to get one large enough for the kind of tasks you expect to do with it and check the brightness, as some come with multiple light settings. Also, note the cord length in relation to where you plan to use it and the closest outlet.


Elastic

Q. I have trouble threading elastic through casings, as it seems to get hung up on the seam allowances and then gets stalled. How can I fix this?

A. There are a few options to fix this hang-up. The easiest way is to trim the seam allowances to 1/8” within the casing area, that eliminates the excess seam allowance fabric blocking your elastic end coming through the casing. Another way is to be sure the seam allowances are pressed open within the casing area and then stitch them down. The stitching is hidden in the finished elasticized area. A quick third way to solve this dilemma is to fuse the seam allowances open within the casing area, eliminating any chance for a collision as elastic is being threaded through. All of these options also make for a flatter casing.


Buckram

Q. A friend told me about buckram for stiffening the bottom of some bags I’m making. What is it?

Buckram available from Amazon. We may earn a small referral fee if you make a purchase.

A. Buckram is a stiff, usually cotton, fabric that’s been soaked in sizing or glue to make it incredibly rigid. This woven fabric is available in different weights, depending on the intended use. It’s available in sew-in or fusible variations, and as yardage, as well as pre-cut bands. The pre-cut bands are used in the top of curtains and drapes to support rings or grommets. Buckram is often used in millinery work and for theater costuming when shaping is needed. Fashion sewers often use buckram in the bottom of handbags and totes as it’s the stiffest fabric available for support. Simply cut the shape of your bag bottom and sew or fuse the buckram in place for stability. If buckram isn’t available, substitute heavy/stiff craft interfacing or plastic canvas for the same purpose. One note–buckram is not machine washable and really shouldn’t be hand washed either, as moisture can cause it to soften and shrink.


Interfacing

Q. I have trouble fusing interfacing, as it sometimes shows the imprint of the iron steam holes. What am I doing wrong?

A. When you fuse interfacing to fabric, it’s important that the entire surface is evenly covered with heat, pressure and sometimes moisture. Be sure to read the instructions that come with your brand of interfacing. It’s important to fuse one area at a time, then pick up the iron, move to the next section and overlap the first area. Each section requires holding the iron in place for the requisite amount of time for proper fusing.
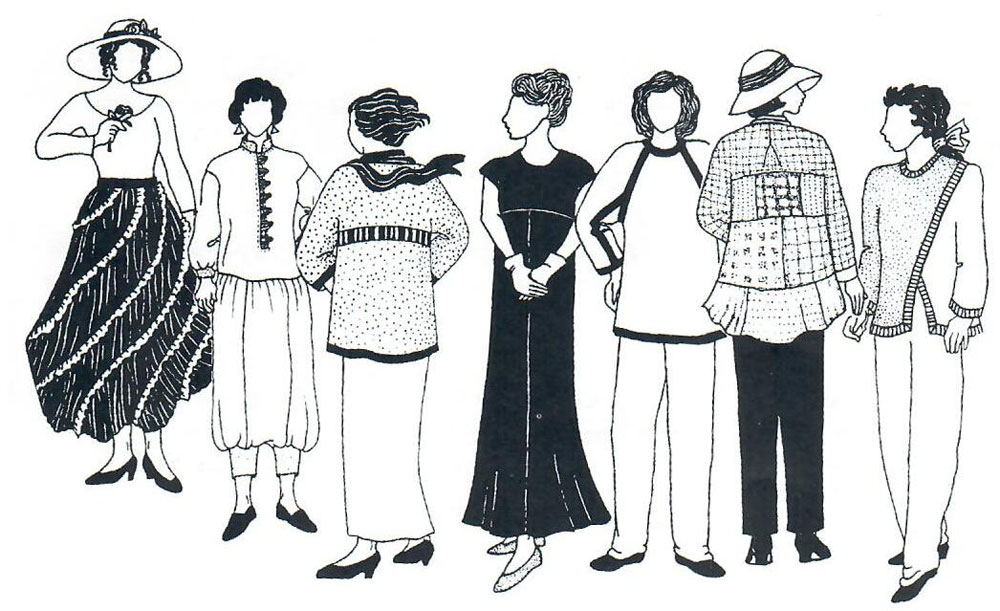
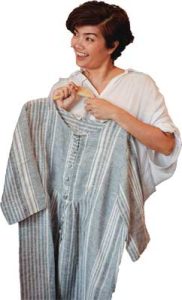
When steam hole imprints are visible on the fabric surface, the cause is often that the iron was held in one place too long without any overlap as you cover the remaining surface of the piece. Or, it could also be that the brand of interfacing you’re using requires a dry iron for fusing, not steam, and thus the imprinting can be avoided. Some interfacing directions recommend using a press cloth to protect the fabric surface as well.


~Linda Griepentrog
Linda is the owner of G Wiz Creative Services and she does writing, editing and designing for companies in the sewing, crafting and quilting industries. In addition, she escorts fabric shopping tours to Hong Kong. She lives at the Oregon Coast with her husband Keith, and two dogs, Yohnuh and Abby. Contact her at .

Did you enjoy this article?
Are you an ASG member?
This field is for validation purposes and should be left unchanged.


June 17, 2022

Soft, Easy Dressing

Although the fashion industry keeps trying to dictate what we should be wearing, our lifestyle and our style of dressing has changed over the past 2 years. Comfy, flow-y clothing has dominated our stay-at-home and work-from-home wardrobe. Now, as we venture out again, we may enjoy keeping the loose and relaxed look with clothes that are roomy in the shoulders and arms, don’t bind at the hips and tummy, and may have elastic at the waist for a little bit of breathing room.Soft, easy dressing means wearing clothing that is not fitted or tailored, but certainly not sloppy either. They are clothes that are long enough to cover our knees when we cross our legs and are made from fabric that moves when we walk. To achieve this style without looking sloppy, there are a few rules to follow:

Patterns

Select a pattern for garments that are not tailored or structured and don’t require precise cutting or measuring. Choose patterns with few pattern pieces and lots of built-in ease. Some patterns you may find have ease that can be increased or decreased according to your personal taste and the fabric you choose. The amount of ease you may find comfortable will vary with each pattern company and pattern design. To hold to the soft, easy dressing style, choose patterns designed for comfort and room.

Fabric

When shopping for fabric, focus less on fiber content and more on how the fabric feels. Remember that it’s the weight and movement of the fabric that’s important, not the fiber content. If you are shopping in person (which will be very helpful), touch the fabric. Move it through your hands and over your arms and watch how it drapes and falls. Be realistic when making your selection. If the fabric doesn’t move and bounce, then it is probably too stiff, too heavy, or too crisp for this soft, easy, relaxes style of dressing. Make sure it feels good against your skin and will give you an “ahh” moment when you put it on.

Sewing

When sewing with soft fabrics, don’t put too much tension in the stitching.  Soft fabrics need to move — if the seams are too tight, they will resist movement and you won’t get the flowing, comfortable look you are after. Finish the seams after sewing so they won’t ravel and cause the garment to wear out before its time. Basting is a help when working with soft, moving fabrics. Use twill tape where needed (such as in the shoulder seams, etc.) to prevent stretching and to help stabilize the seam.

Most soft fabrics don’t take a crease well and, therefore, the seams don’t always lay flat when pressed. To help control this, try top-stitching the seams. This also adds a little extra touch of detail to the garment. Try hemming your soft garment by machine and edge stitch for both extra control and a bit of extra weight.

Roomy, comfortable clothes do have fit and shape — they are just not a tight, tailored fit. The neck opening should not bee too large and the shoulders and sleeves should fit your body. Drop shoulders are a common design of this style; however, you don’t want the shoulder to hit you at the elbow so adjust as needed. Note that there is usually not a bust dart in this style of clothing. If you are larger than a “B” cup, consider adding bust darts to help the garment hang better. Hem length is also important with these comfortable designs. Adding length helps balance the look and design of a large, roomy garment.

Last but not least, wear shoulder pads. They don’t have to be large (we’re not revisiting “those” years)! However, they will give the garment some structure and something smooth to hang from while maintaining visual balance.


~Based upon an article from Mary Lou Rankin, Park Bench Patterns.

Did you enjoy this article?
Are you an ASG member?
This field is for validation purposes and should be left unchanged.


Tagged With: flowing garments, soft drape, style

June 10, 2022

Sewing Machines: The Need for Speed

Whether you sew slowly and diligently or you speed on with reckless abandon, your sewing machine can help with speed control. Most every machine has a speed control of some sort, but sometimes it’s overlooked.

These handy regulators look different depending on the machine brand, but the function is the same—to act as a governor for your sewing speed. Some are sliding levers with dots to indicate speed (one dot, two dots, three dots), some offer plus and minus indicators, still others offer arrowheads (one, two, three), and then there’s the clever tortoise and hare indicators. Other brands of machines offer plus and minus sign push buttons, rather than sliders, for speed indication.

“Why do I need this function when I can simply adjust the sewing speed by varying the foot pedal pressure?”

One great place to use the speed regulator is if you’re teaching someone to sew. Sometimes there’s a tendency to want to “speed” and we all know what happens then if you’re new to sewing—an opportunity for a lesson in ripping out stitches. Using the speed regulator ensures a slow, steady pace and fewer mistakes.

Going around tight curves is a place where you might want to go more slowly than when stitching long, straight seams. Along the same lines, appliqué requires a slower pace for accuracy and good edge coverage. Sewing very heavy thick fabric is often more successful with a slower speed.

Sewing decorative stitches is another place you may want to utilize the stitch speed regulator, so that you’re sewing at a consistent speed for the best appearance. On some machines if you vary the speed as you’re sewing, the stitch appearance may be slightly different.

The speed regulator works with the embroidery function on some machines, but not others. It’s a handy way to slow down the stitching when using metallic or other novelty threads that tend to require more diligence. The slower speed is also great for the intricacies of lace making and structural embroidery.

And then there’s free-motion stitching…stippling and embroidery work. Free-motion stitching often tends to “get away from you” and you can work yourself into a seemingly insurmountable corner if you’re going too fast. That said, some free-motion stitchers prefer to go at the maximum speed, so it simply depends on your comfort (and skill) level.

The stitch speed regulator is just another way, in conjunction with the foot control, you can control your stitching speed if you’re sew inclined. Some machines also allow you to control speed by adjusting the rpm/stitches per minute setting.

Finally, did you know that many machines also have a control to set the bobbin winding speed? If you go full-throttle when winding a bobbin, some threads can stretch and adversely affect your seam sewing tension. One place to slow the winding speed is when you’re filling a bobbin with novelty thread for bobbinwork—slow and steady wins the race in this instance. Winding metallic threads onto the bobbin also requires a slower pace to avoid breakage. So, check your instruction manual to see if your brand has a way to adjust the bobbin-winding speed.


I debated about sharing this anecdote but decided to go for it, as I’m sure some of you can relate…

I recently had my sewing machine serviced and when I got it back, it seemed to sew slower than I’d remembered. I dismissed the thought, but as I kept sewing for a few days, I’d resolved that I might need to call the dealer where I had it serviced. Time got away from me, and I took the machine to a sewing retreat. When I was lamenting that the machine seemed to be sewing slower than I’d remembered, one astute table mate (thank you, Andi) said calmly, “Have you tried moving the slider bar?” “What slider bar?” said I.

Apparently, the service person had put the speed slider level in the middle of the available speed range, which is why the machine was sewing slower. Who knew? A very embarrassing truth be told, I’ve sewn for many decades and never used the speed adjustment on any machine I’ve had. I’m a pedal-to-the-metal type of girl and if I need to sew slower, I just lighten the pressure on the foot pedal. Lesson learned: Read the instruction manual!

As an aside, I polled several sewing friends and most have never used this machine feature either.   ~Linda


~Linda Griepentrog
Linda is the owner of G Wiz Creative Services and she does writing, editing and designing for companies in the sewing, crafting and quilting industries. In addition, she escorts fabric shopping tours to Hong Kong. She lives at the Oregon Coast with her husband Keith, and two dogs, Yohnuh and Abby. Contact her at .

Did you enjoy this article?
Are you an ASG member?
This field is for validation purposes and should be left unchanged.

Tagged With: sewing machines, sewing speed, speed regulator

  • « Previous Page
  • 1
  • …
  • 29
  • 30
  • 31
  • 32
  • 33
  • …
  • 82
  • Next Page »

Become a Member

Join the only national organization dedicated to Advancing Sewing as an Art and Life Skill.

Join Now button

Blog Article Categories

  • ASG Conference
  • Chapter Stories
  • Embroidery
  • Fitting
  • Learn to Sew
  • National Sewing Month
  • Products, Books, & Patterns
  • Projects
  • Quilting
  • Sewing
  • Sewing Techniques
  • Sewing Tips
  • Sewing Tours
  • Videos
  • Disclaimer
  • Privacy Policy

American Sewing Guild
National Headquarters
9660 Hillcroft, Suite 230
Houston TX 77096
713-729-3000 | 713-721-9230 Fax
www.ASG.org

ASG wordcloud - education, conference, discounts, videos, special offers, tours and more

Copyright © 1998–2025 · American Sewing Guild · All Rights Reserved