This article is Part 2 of the Fabric Sources: Minerals series and is the final article in our Fabric Sources series.
Plants (part 1) | Plants (part 2)
Living Things: Silk | Living Things: Wool | Other Living Things
Minerals: Acrylics, Polyester, & Nylon (part 1) | Minerals: Spandex and Rayon (part 2)
Spandex (Lycra)
Spandex, a.k.a. Lycra (DuPont’s brand name for spandex), is a synthetic fiber known for its exceptional elasticity. Like nylon, it was invented at DuPont, but much later than nylon in 1958.
Fun Fact: The generic name SPANDEX is an anagram of the word EXPANDS!
Dupont conducted market research to find out what women wanted from textiles and guess what fabric women wanted to see changed the most …. GIRDLE FABRIC! This is no surprise since most girdles were made of rubber at the time, which sounds oh so comfortable. Dupont decided to come to the rescue with a product that was still effective at capturing women’s “fluff” while being more comfortable than rubber.
 By the mid-1970s, even with all of DuPont’s provisions for girdle comfort, girdles began to lose popularity and sales began to drop. DuPont had to pivot and reimagined Lycra as the answer to activewear, tapping into the growing aerobic fitness movement. By the mid-1980s activewear began to expand its presence in the fashion world beyond the gym and out into the streets so much that DuPont struggled to meet the demand. Fast-forwarding to today, you find Lycra, or its off-brand generic spandex, everywhere.
How is it processed?
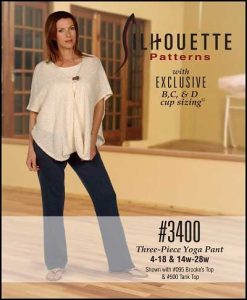
Spandex fibers can be produced using various methods, though all use the same basic chemistry. The method called solution dry spinning is used to produce over 94.5% of the world’s spandex fibers. In dry spinning, solvents are used to dissolve the polymer. The solvent evaporates after the solution leaves a spinneret (extrusion holes). This is followed by stretching, applying the finish, and winding the fibers on spindles to make it ready to be woven or knitted along with other fibers into fabric. Spandex is always combined with other fibers, retaining their basic qualities while giving them stretch.
Watch this 4½-minute video to learn a little bit more about this fabric and how it is used in the fashion industry.
Pros
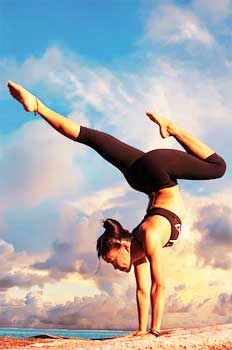
A prime benefit of spandex is its significant strength and elasticity, which protects garments from rips and splits. Other benefits include great recovery (its ability to return to the original shape after stretching) and quick drying time.
Cons
Spandex is not breathable, is slippery, sensitive to heat, and with its ability to hug the body, can reveal every bump and curve, including those we prefer to hide. However, each of these “cons” can be seen as a “pro” depending on the application.

Environmental Impact
Most clothes containing spandex end up as non-recyclable waste once they have been worn out. Fabric blends containing spandex are very difficult to recycle. Like the other petroleum-based fabrics we have discussed, spandex can take up to 200 years to decompose.
Regenerated Cellulose
Regenerated cellulose is a class of materials manufactured by chemically converting natural cellulose (natural material like wood and other agricultural products) to a derivative, typically forming either a fiber (rayon) or a film (cellophane). The most common type of rayon is viscose rayon (also called simple viscose). Rayon and its derivatives are viscose, acetate, triacetate, modal, Tencel, and Lyocell.
Rayon
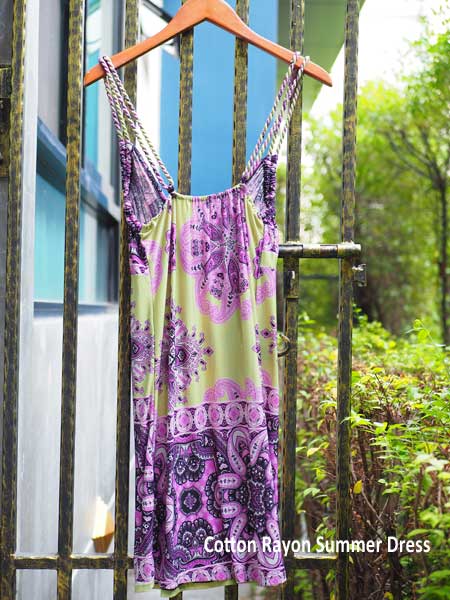 Rayon is a versatile fiber and is widely claimed to have the same comfort properties as natural fibers. Although the drape and slipperiness of rayon textiles are often more like nylon, it can imitate the feel and texture of silk, wool, cotton, and linen.
How is it processed?
The raw material for viscose is primarily wood pulp. The pulp is treated with caustic soda, pressed between rollers to remove excess liquid, then cured/ripened. Next, it is filtered, degassed, and extruded into fibers through spinnerets, just like the other synthetic fabrics we have discussed in this article. Those fibers are then spun, stretched, and washed to prepare them for the step of weaving or knitting them into fabric.
For a great overview of rayon and how it is made, watch this 8-minute video.
Pros
Rayon fibers are easily dyed in a wide range of colors. Rayon fabrics are soft, smooth, cool, comfortable, and highly absorbent, but they do not always insulate body heat, making them ideal for use in hot and humid climates.
Cons
The elastic recovery, durability, and appearance retention of regular viscose rayons are low, especially when wet. For this reason, dry cleaning is usually preferred. However, HWM rayon (a.k.a. Modal) has been specially treated to have virtually the same properties as regular rayon, plus high wet strength. HWM rayons can be machine washed and tumble dried and perform much like cotton.
Environmental Impact
Rayon is more sustainable than petroleum synthetic fibers like polyester and nylon but is not as sustainable as organic cotton and hemp. For one thing, the chemicals used in the production of rayon are quite toxic. On a positive note, pure rayon decomposes in only a few weeks, faster than cotton which takes about 5 months. Tencel, one of the rayon derivatives, is slower to decompose than rayon, roughly 3 months, but still far faster than either cotton or other synthetic fabrics.
And that’s a wrap!
This has been quite a journey! We explored 23 different fabric types originating from plants, living things, and “minerals.” We looked at the usual suspects, and at several that were very unusual. We saw the benefits and drawbacks of each one as well as the impact each fabric brings to the environment and/or the animal kingdom. And yet we only scratched the surface of all that could be covered in the wide world of fabric.
We hope you have enjoyed this journey and learned a thing or two along the way.
~Sheryl Belson
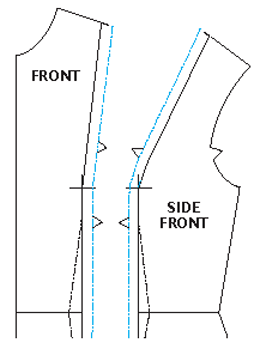
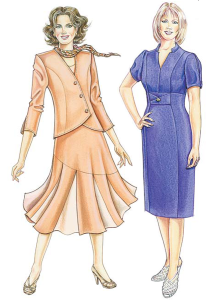 If good fit is important to you, especially when sewing with woven fabrics, you already know the significance of a properly placed and well-fitting bust dart. Darts shape that two-dimensional fabric to fit around your three-dimensional body. Even for the less-endowed figure, when darts are the correct size and pointed to the correct location, they can add shape and flatter your frame.