American Sewing Guild (ASG)

Visit our blog Visit the ASG Facebook page Visit ASG on Pinterest Visit ASG's YouTube channel Visit ASG on Instagram
  • Home
  • Join ASG
    • Join Online
    • Chapter Locations
    • Member Benefits
    • Member Brochure
    • Join by Mail
  • Education & Classes
  • Resources
    • Contests & Awards
    • Giving Back
    • Hall of Fame
    • Links
    • Travel and Tours
    • Measurement Chart
  • Shop
    • ASG Store
    • Chapter Products
    • Video Resources
  • Blog
  • About
    • About Us
    • Donate to ASG
    • ASG Sensitivity Statement
    • FAQ’s
    • Start a Chapter
  • Contact
  • Member Login
    • Login First!
    • Members Only
    • Leadership Only
    • Website FAQ’s
    • Logout
  •  

May 14, 2021

Paperless Sewing: Projectors in the Sewing Room

Banks do it…utilities do it…credit card companies do it, and now you can do it in your sewing room as well! What is it? Going paperless.

Papers in the air

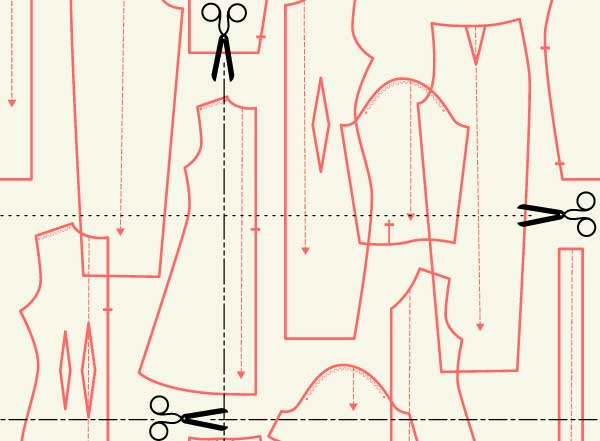
With more and more sewing patterns available online in PDF format, you can have instant gratification without a trip to the local fabric store to get the latest offering. But, maybe the tedium of printing out all the pages, aligning guide marks, and taping the multitude of pieces together into a cumbersome giant paper offering isn’t one you relish. And of course, then you have to figure out how to refold all the pieces for storing for future use.

But, there is another way—projection sewing! Instead of printing, taping, etc., you simply project the pattern pieces directly onto your fabric and cut. The digital pattern file is stored in your computer for reuse anytime you want it.

What do you need?

Projector

Projector imageFirst you need a projector mounted over your cutting surface. The projector can be ceiling mounted or it can be attached to a tripod, photo boom or some other kind of photo stand so that the projected image faces your cutting surface.

When you’re looking for a projector, check the image resolution, as the higher the resolution, the sharper the image will appear on your fabric. Check that it offers a remote, so you don’t have to climb up to the ceiling to make adjustments, like focusing. Also make sure that the projector can be operated in a vertical orientation as not all are designed to vent correctly in that position. Note the lumen output, as this determines the brightness. If your sewing room is brightly lit, look for a higher lumen setting.

Another important setting to check when purchasing a projector is the “throw”. This is the distance from the projector lens (not the ceiling) to your cutting surface to determine the clarity of the image. A short-throw projector is suitable for 3-8 feet, which encompasses most sewing situations.

When installing the projector, or placing it in a temporary holder, it’s imperative that the lens is level as well as the cutting table below it, to avoid distortion.

Connection

Because the PDF pattern file is in your computer, tablet or phone, you need to have a way to get it to the projector. Some projectors are wireless, others require a cable connection, others require alternate means of interfacing, so check that information before purchasing to ensure compatibility.

Pattern

Any PDF pattern can work for projecting, but there are companies that make pattern files specifically designed for projection. These offer the pattern pieces in their final layout, with grainlines all going in the same direction, ready for cutting. There may be multiple pages to the pattern file, depending on what the project is and the size. If your fabric is directional, double-check that the tops of all pieces are going in the same direction, otherwise you’ll need to adjust before projecting.

Pattern graphic

Getting Ready

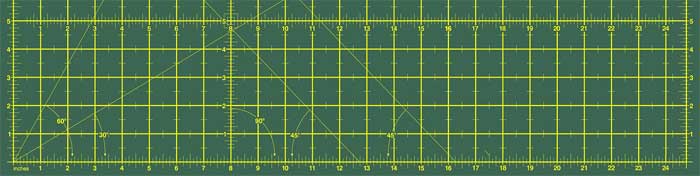
Before you project the pattern pieces onto your fabric, it’s imperative to calibrate the projector so that the patterns show up at the proper size. Some projectors offer a calibration guide that you can project and synch with your gridded cutting mat to ensure the sizing, but those guides are also available online and with some PDF patterns. Usually there’s a 1” and 2” square to align with the mat grid, and some have keystones in the corners to ensure that there’s no distortion along the outer edges of the image. Once this process is complete, note the projector’s zoom setting needed for future pattern work.

Partial image of cutting mat

You need to be proficient with Adobe Acrobat Reader (or other PDF app/program) to be able to rotate pattern pieces that may need to be changed for the layout, and to hide any layers of the pattern for all the sizes that you’re not using. If you’re projecting onto dark fabric, you may want to change colors (under Acrobat’s Accessibility options) so that the pattern lines show as white or a bright color on the fabric.

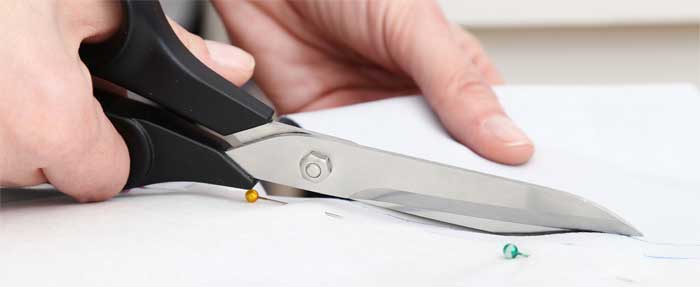
When any of those changes are complete, it’s time to hide the calibration grid, lay out your fabric and project the pattern. Align the fold with any projected fold line and be sure the edges of your fabric are squared to the cutting mat lines. If your fabric is slippery, you might want to use pattern weights to hold it in place during cutting. Then, simply cut out all the pieces along the projected lines. If there’s more than one page of pattern pieces, you’ll need to reposition the fabric for the subsequent layouts.

The big question—What about alterations?

Many of us don’t fit perfectly into a single pattern size, but you can still use projector sewing. If you have complex alterations for fit, such as shoulder or armhole changes, it’s best to project your pattern pieces onto large sheets (or a roll) of paper, cut out the pieces and make the necessary changes manually.

But, if you simply need to toggle between two sizes, it’s easy. For example, if you need a size 14 on the top and a 16 on the bottom, leave both size layers visible for projection and gradually taper between the sizes.

If you need to lengthen or shorten the pattern interior (like waistline length), that can be done while cutting. Using a removable marker, mark the designated lengthen/shorten line projected on the image just outside the cut line. As you’re cutting the pattern out, stop when you get to that line and slide the fabric in the direction needed so that the image is the requisite amount away from the cutting line end.

It’s just as easy to add length to the bottom of a pattern piece as well, just be sure to leave enough space on the fabric beyond the initial projected line, then slide the fabric to allow for the image placement at the requisite addition. Slide the fabric the opposite direction to shorten at the hemline.

For more information:

  • Simple Life Pattern Company
  • Little Ragamuffin
  • Projectors for Sewing Facebook Group
  • Projector Central – search this site for projector information or to use the Find a Projector search function to search for a projector to meet your needs.
  • Check YouTube for numerous videos on paperless sewing topics, calibration and projector settings

~Linda Griepentrog
Linda is the owner of G Wiz Creative Services and she does writing, editing and designing for companies in the sewing, crafting and quilting industries. In addition, she escorts fabric shopping tours to Hong Kong. She lives at the Oregon Coast with her husband Keith, and two dogs, Yohnuh and Abby.

Did you enjoy this article?
Are you an ASG member?
This field is for validation purposes and should be left unchanged.

Tagged With: paperless sewing, patterns, projection

May 7, 2021

The Unplanned Birth of a Sewing Business

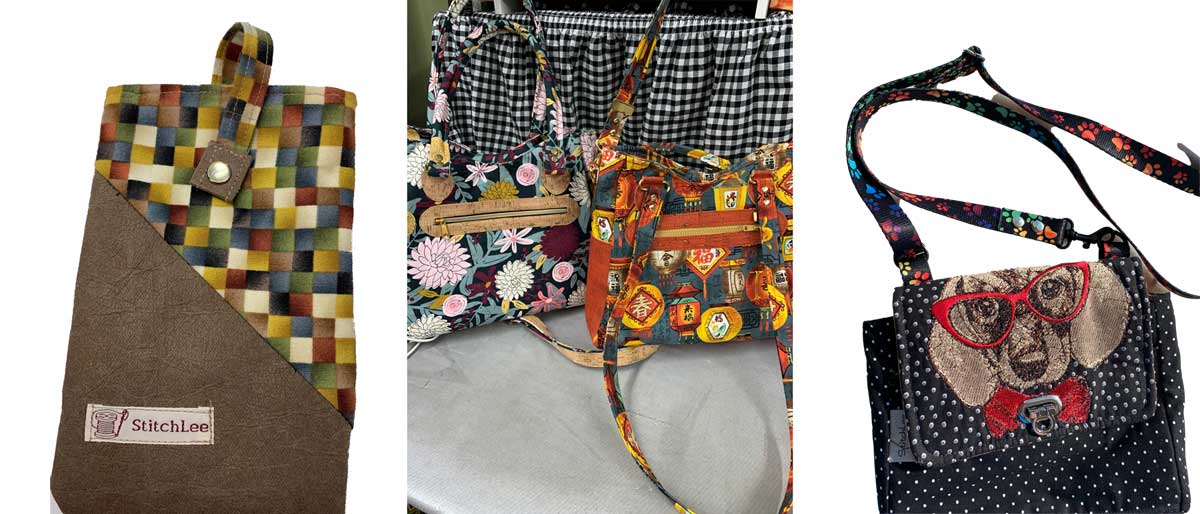
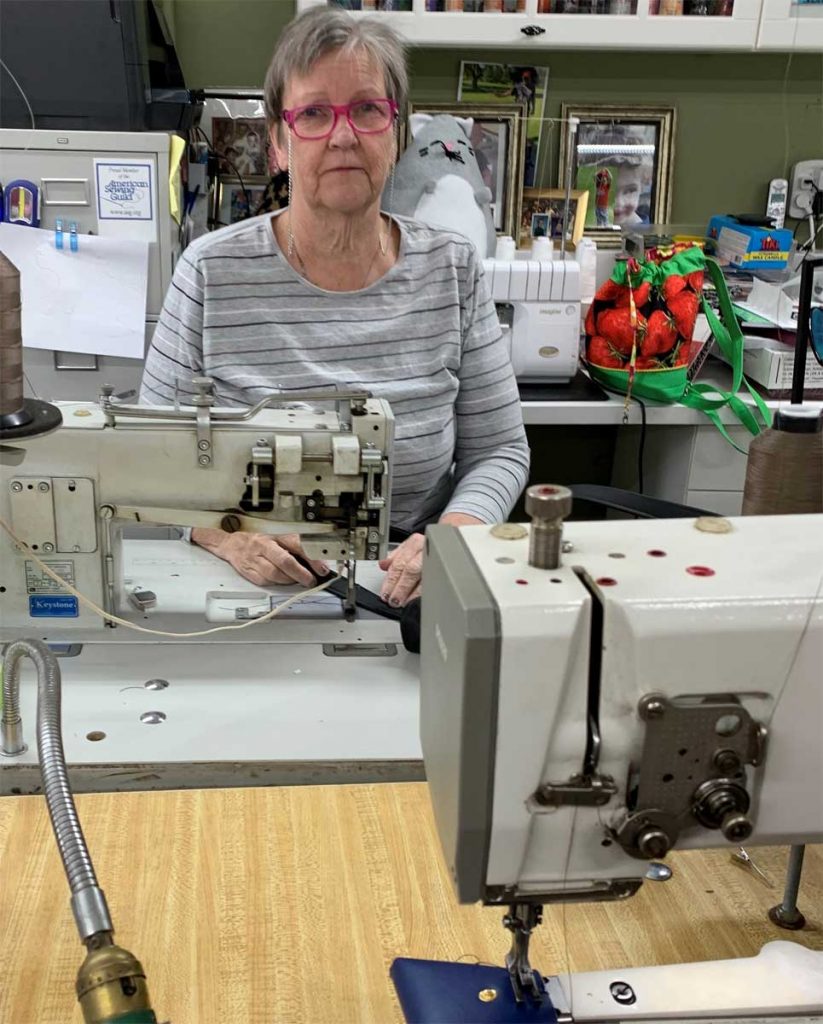
Nancy Lee, an ASG member from the Princeton, NJ Chapter never thought she would retire from teaching and become a business owner doing what she loves—sewing. To be honest, she never really planned on becoming a teacher either, but both lucrative careers came about in the same way:  someone suggested it, and off she went.

Back to the Beginning

The seeds for her first career started when she was a young mom driving a school bus for the Trenton, NJ school district. One day, some of the teachers suggested that she join them inside the building as a teacher. While still driving a school bus, she went back to school herself and was soon majoring in English, then began teaching Science and Social Studies, eventually becoming the school librarian at Trenton High. After 17 years, she left her teaching position to be home with her husband, Dave, who had recently retired due to health issues after 47 years in the auto upholstery business for antique cars and street rods. And when he retired, she was gifted all his inventory of leathers and other supplies.

Nancy's fabric stash

I Want THAT Bag!

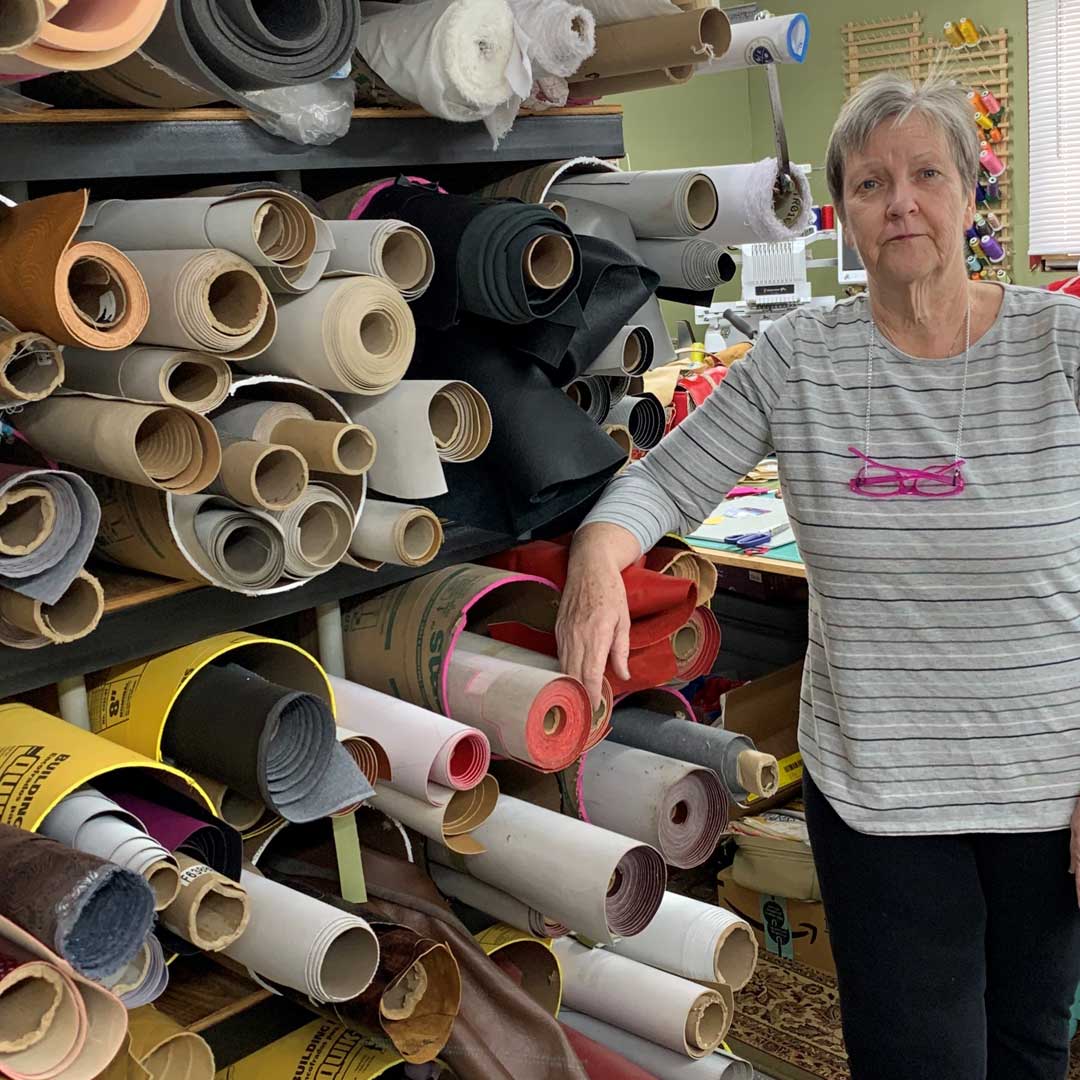
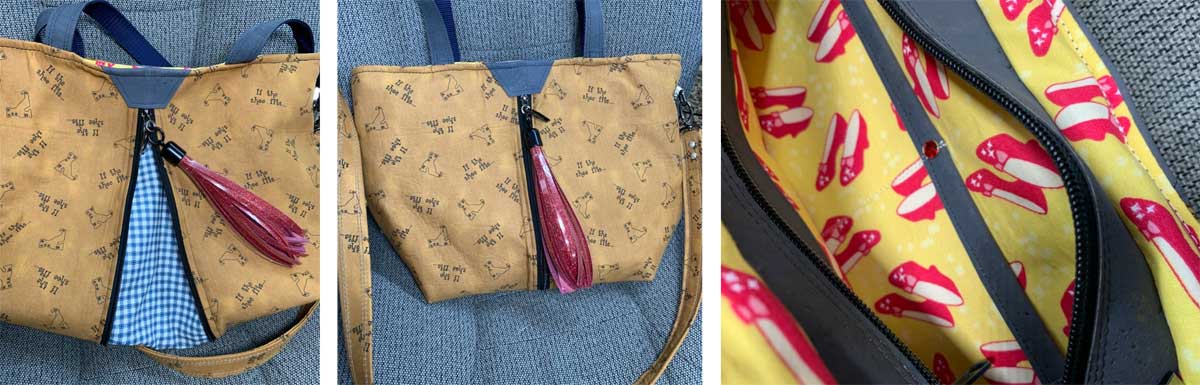
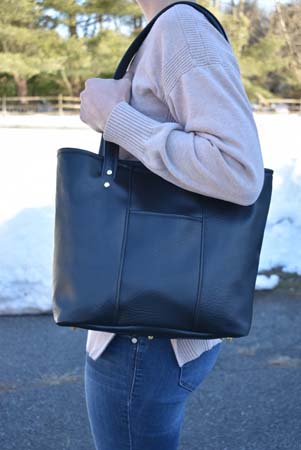
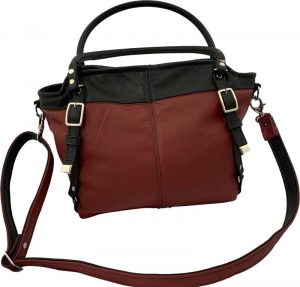
Like any truly dedicated sew’r, Nancy couldn’t let go of this newfound supply of fabric, so she started creating leather bags and wallets. While traveling in Virginia and carrying her own creations of a matching overnight tote and purse, she was stopped by a woman who not only admired her work, but offered to buy the bags. Nancy agreed that upon returning home she would make a set for the woman, but that wasn’t what the woman had in mind. She wanted THAT set. And, as the saying goes, she made Nancy “an offer she couldn’t refuse.” Nancy found herself heading home with her stuff in plastic bags while the woman went on her way with her new matching tote and purse. StitchLee now had a direction and a targeted audience—men and women who know what they want and are willing to pay for it.

Nancy found that her quality work on high-quality leathers and other fabrics was soon in demand due to sheer word of mouth, and it was spreading. She now has clients across the country from California to Massachusetts, and just recently added Hawaii as her latest location. Although she does have a website (StitchLee.com), she says that very few sales come from the site and she depends on satisfied customers who love to share their items with friends and then pass on her business information. The business continues to grow when a gifted item from a customer brings in a new client.

Making It Unique

Nancy says that her customers want items that are uniquely theirs, things that are personalized to their interests, and she enjoys making these one-of-a-kind items. Take for instance her Wizard of Oz purse with multiple elements that tie it to the theme. The exterior of the purse is a soft tan stamped with the words “if the shoe fits.” When unzipped, the vertical zipper reveals the check from Dorothy’s dress and allows the bag to expand to an even larger size. The inside of the purse is lined with the ruby slippers fabric with the slip pocket highlighted with a tiny ruby. It’s these touches of whimsy and detail that distinguish her work from store-bought items.

Wizard of Oz bag
Wizard of Oz bag is made of cloth and cork.

On the Move

Nancy’s business has grown to such an extent that her husband gave up his garage and converted it into her sewing studio. His support has been important throughout the launching of her business. To create her leather purses, backpacks, etc, Nancy uses a special sewing machine that works well on this thicker fabric. Her Dukop/Adler, pictured here, is her machine of choice when working with leathers. Again her husband came through and retrieved the machine when she found it for sale used. It is over 30 years old and she calls it her “workhorse.”

Nancy with her machines
Nancy is surrounded by her Dukop-Adler flatbed, the cylinder arm Pfaff, and her serger.

More Than Just Bags

In addition to bags, Nancy also creates “memory” items for grieving families made from the clothing of their deceased loved ones. Pictured here are some of those items: pillows, stuffed animals, neckties, bow ties, and assorted bags. But it’s not all business for Nancy. While she says she will charge a bride for a purse made from Grandma’s antique wedding dress, she says she would never charge a sick child for one of her stuffed animals or dolls. Like most ASG members, Nancy continues to devote much of her time to charity projects. Shortly before the pandemic, she led a chapter charity day in which members created seat belt pads to cushion around the ports that are needed for chemo patients. This is an ongoing mission for her, one that creates the cushions which she donates to the patients at the hospital where her husband receives his treatments.

ASG members sewing charitable projects
Princeton, NJ ASG chapter members created seat belt pads to cushion around chemo ports

Whether hobby, charity work, or business, sewing continues to be Nancy’s passion in her retirement. What a great way to remain active, make a difference, and bring in an income all by doing what you love!


~Rosemary Fajgier

Did you enjoy this article?
Are you an ASG member?
This field is for validation purposes and should be left unchanged.

Tagged With: custom designed bags, custom leather bags, handbags, sewing business

April 30, 2021

Exposed Zippers

Most frequently we as sewers take pains to try and dutifully hide our zippers under flaps, flies, or laps but fashion has recently said it’s OK to see the zipper. In fact, it’s become a prominent stand-out, in-your-face detail both front and back. But how do you put a zipper on the outside and make it look cool? Read on for details.

Images courtesy of Bernina

Exposed zippers can be tone on tone to match the garment, or a bold contrast for emphasis. Look for zippers with wider than normal tape widths for added punch, and don’t forget that some zipper companies offer decorative zipper tapes like polka dots, stripes, camouflage, animal prints and other patterns. And for evening, there’s always a gold and silver tape. Zipper teeth can also be holographic and contrasting metal for notoriety.

If you want a longer than normal zipper, consider purchasing zipper by the yard, trim to length and add your own fun pull. If you’re putting an exposed zipper all the way up the back of a dress from the hem to neckline, remember you’ll be sitting on it at some point, so best to avoid those with large sport-like teeth.

Back/Front Installation

Before you insert an exposed zipper, it’s a good idea to reinforce the opening area with narrow strips of fusible interfacing applied to the seam allowance on the right side (yes, the right side) of the zipper opening area. This helps prevent any stretching (especially on knits) or rippling.

Image courtesy of Bernina
  • If there is a center seam, sew it up to the zipper opening lower edge and press it open. Leave the area open where the zipper will be applied. If there’s no seam, sew a line of stitching ½” from each side of the center marking where the zipper will be applied. At the lower opening, clip diagonally into the seam allowances, but not beyond.
  • Press the opening seam allowances to the garment outside and the lower triangular point as well.
  • Place narrow water-soluble basting tape on the underside of the zipper tape edges and finger-press the zipper into place over the opening. If any seam allowances poke out from under the zipper tape, trim so that all edges are hidden under the finished tape edges. On the underside, the folded back edges should clear the actual zipper teeth. Turn under the lower ends of the zipper tape and pin in place over the triangle.
  • Using a zipper foot, sew along the outer edges of the zipper tape on both sides, and across the bottom. Stitch again closer to the teeth if needed, catching the folded edges on the underside. Either or both stitching lines can be done with a straight or zigzag stitch, and with matching or contrasting thread. {photo: exposed zipper with zigzag stitching (crop off extra pulls); credit line: Photo courtesy of Bernina}. If you’re using a gold or silver zipper tape, choose either matching metallic thread, or invisible thread for no-show stitching.
  • Once the zipper is applied, finish off the upper neckline edge according to the pattern instructions, applying a binding or facing.

Separated Exposure

Photo courtesy of Bernina

Occasionally you may choose to use a separating zipper as a closure, but with the entire zipper tape on the garment outside.

In this instance it’s best to follow the pattern instructions, but the upper garment edge is totally finished prior to the zipper application, so the tape is lapped over the finished edge before stitching. The opposite half of the zipper is applied to the other half of the garment in alignment for closing. On both sides of the zipper, turn under any unfinished tape ends before stitching.

Creative Idea

What doubles the fun of an exposed zipper? Use decorative stitches to sew along the zipper tape edges.

Image courtesy of Coats & Clark

All photos used with permission.


~Linda Griepentrog
Linda is the owner of G Wiz Creative Services and she does writing, editing and designing for companies in the sewing, crafting and quilting industries. In addition, she escorts fabric shopping tours to Hong Kong. She lives at the Oregon Coast with her husband Keith, and two dogs, Yohnuh and Abby. Contact her at .

Did you enjoy this article?
Are you an ASG member?
This field is for validation purposes and should be left unchanged.

Tagged With: garment sewing, zippers

April 29, 2021

National Zipper Day: Zipper Pansy Pin

Make this sweet pansy pin using designer zippers from Ghee’s! It’s easy to construct and is a perfect embellishment for any season. Feature one or several on a lapel, handbag or headband or decorate a hat, belt, or shoes. You can even make other unique jewelry like a necklace or bracelet.

Materials

  • 2 decorative zippers from Ghee’s. Zippers should be at least 14″ long and in contrasting colors  (2 zippers will yield 2 pansy pins)
  • 2 circles, each 1½”-wide, of backing such as buckram, felt, or heavy interfacing
  • 2 pin backs
  • Bugle beads, small crystals or seed beads for flower centers
  • Needle and matching thread or sewing machine
  • Fabri-Tac™ glue

ASG members receive a 15% discount on their entire purchase at Ghee’s. You can find the code on the Special Offers page in the Members Only area of ASG.org.

Directions

  1. Cut bottom stop from both zippers, then separate the zippers and set the zipper pull aside for another use.
  2. Using one side of each zipper, make a gathering stitch along the length of the zipper tape ¼” from tape edge with needle and thread or by sewing machine. Repeat with all the zipper
    tapes.
  3. To make larger petals, pull gathering stitches up loosely on one tape. Coil into 3 large petals. Arrange large petals on outer edge of backing circle. Glue in place. For center petals, pull
    gathering stitches tightly and arrange coils to fit into center of large petals, hiding tape end. Trim off zipper tape if you have too many center petal coils. Glue onto center of larger petals. Repeat for second pansy pin.
  4. Remove any gathering stitches that show. Glue or sew bugle beads and small crystals or seed beads to the center of the pansy.
  5. Sew or glue pin back to pansy backing.

Download these instructions as a pdf file from Ghee’s


~Linda McGehee, Ghee’s

Did you enjoy this article?
Are you an ASG member?
This field is for validation purposes and should be left unchanged.

Tagged With: National Zipper Day, zippers

April 23, 2021

Buttonhole Basics

Buttonholes may be one of the most feared sewing techniques—after all, it’s one of the last things you do and any slip-ups could ruin the entire project. But, alas, there’s no need to have trepidation. Let’s answer some common buttonhole making questions.

Why does my machine have multiple types of buttonholes?

Buttonholes fall into two categories—straight and keyhole.

Straight buttonholes can have either straight ends made with a bartack, or they can have one or both ends rounded. Symmetrical straight buttonholes can be placed vertically or horizontally.

Image courtesy of Bernina (used with permision)

Keyhole buttonholes have a round opening at one end and they’re used primarily on tailored garments that use shank buttons, so that the shank has a place to rest when the garment is buttoned. Keyhole buttonholes are always placed horizontally.

On either style, your machine may offer differing widths between the parallel side stitching rows to accommodate differing fabric weights.

The type of buttonhole you select for a project should be based on the fabric and use. Those with tighter stitching are best for areas of high stress, while those with less dense stitching are more suited to lightweight fabrics and areas of light use. The ends are a matter of personal preference and style.

Some machines also offer specialty buttonholes, like eyelets, straight stitch or heirloom styles, or those specific to leather or vinyl.

How do I stitch a buttonhole?

The answer depends on your machine, so consult your owner’s manual for specific instructions. Some machines make buttonholes automatically, many offering a sensor foot to determine the size for you based on the button. Others offer pre-programmed sizes, or the ability to stitch an initial buttonhole and keep that in memory so that all others will be exactly the same. Still other machines require that you make a buttonhole manually.

In general, the machine stitches one side of the buttonhole, sews the end, sews the second side, then finishes with the second end, and may lock the stitches. Details of your machine’s process will be in your owner’s manual, along with options if you have them.

Do I need to interface the area where buttonholes will go?

Yes, always reinforce the area where buttonholes are stitched with a stable (non-stretch) interfacing. The interfacing not only helps with stitch quality, but it helps the buttonhole keep its shape during use. This is especially important on knits.

 How big should I make my buttonholes?

The buttonhole opening size (not the total stitched length) is determined by the diameter of the button, plus the thickness. If you’ve chosen a button in the size recommended on the pattern, you may be able to follow the markings printed on the tissue. Otherwise, measure the button to determine the opening size. For flat buttons, generally it’s the diameter plus 1/8”; for domed or round buttons, use the thickest portion for measuring.

View of multiple types of buttonholes

Do I need to make a sample buttonhole before working on my project?

Absolutely! Always make a sample from the same fabric and interfacing used in the project. Mark the determined length on the right side and follow the machine instructions for stitching. Slash the buttonhole and try the button through it. It should fit comfortably without strain, but not too loosely that it will come unbuttoned during wearing. Check the stitch tension and center spacing as well.

 How’s the safest way to cut the buttonholes?

Buttonholes are pre-set with a designated space between the side stitching bars. Depending on your fabric thickness and texture, that spacing may need adjustment so you can cut without damaging the stitching. The test buttonhole will help determine that.

The best way to open a buttonhole is with a buttonhole cutter. It’s a sharp, chisel-type blade that accurately and cleanly pierces the opening. It’s used with a wooden block underneath to protect a table surface as you cut.

Photo courtesy of Bernina (Used with permission)

If you don’t have a buttonhole cutting tool, place a straight pin across both ends of the buttonhole and use either small sharp scissors or a seam ripper to pierce the center of the opening, then cut carefully moving toward each end. Do not cut the adjacent stitching.


~Linda Griepentrog
Linda is the owner of G Wiz Creative Services and she does writing, editing and designing for companies in the sewing, crafting and quilting industries. In addition, she escorts fabric shopping tours to Hong Kong. She lives at the Oregon Coast with her husband Keith, and two dogs, Yohnuh and Abby. Contact her at .

Did you enjoy this article?
Are you an ASG member?
This field is for validation purposes and should be left unchanged.

Tagged With: bartack, buttonhole, keyhole buttonhole

  • « Previous Page
  • 1
  • …
  • 45
  • 46
  • 47
  • 48
  • 49
  • …
  • 82
  • Next Page »

Become a Member

Join the only national organization dedicated to Advancing Sewing as an Art and Life Skill.

Join Now button

Blog Article Categories

  • ASG Conference
  • Chapter Stories
  • Embroidery
  • Fitting
  • Learn to Sew
  • National Sewing Month
  • Products, Books, & Patterns
  • Projects
  • Quilting
  • Sewing
  • Sewing Techniques
  • Sewing Tips
  • Sewing Tours
  • Videos
  • Disclaimer
  • Privacy Policy

American Sewing Guild
National Headquarters
9660 Hillcroft, Suite 230
Houston TX 77096
713-729-3000 | 713-721-9230 Fax
www.ASG.org

ASG wordcloud - education, conference, discounts, videos, special offers, tours and more

Copyright © 1998–2025 · American Sewing Guild · All Rights Reserved