


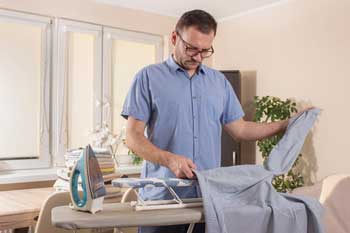
Ho hum! You may never give much thought to your ironing board—it works fine for pressing and that’s all you need…or so you thought. There are lots of options for this important sewing room tool.
Depending on the amount of space you have, the ironing board can be freestanding, fold down from a wall cabinet, slide out from a drawer, hang over a door or sit on a tabletop.
Im-pressing Profiles
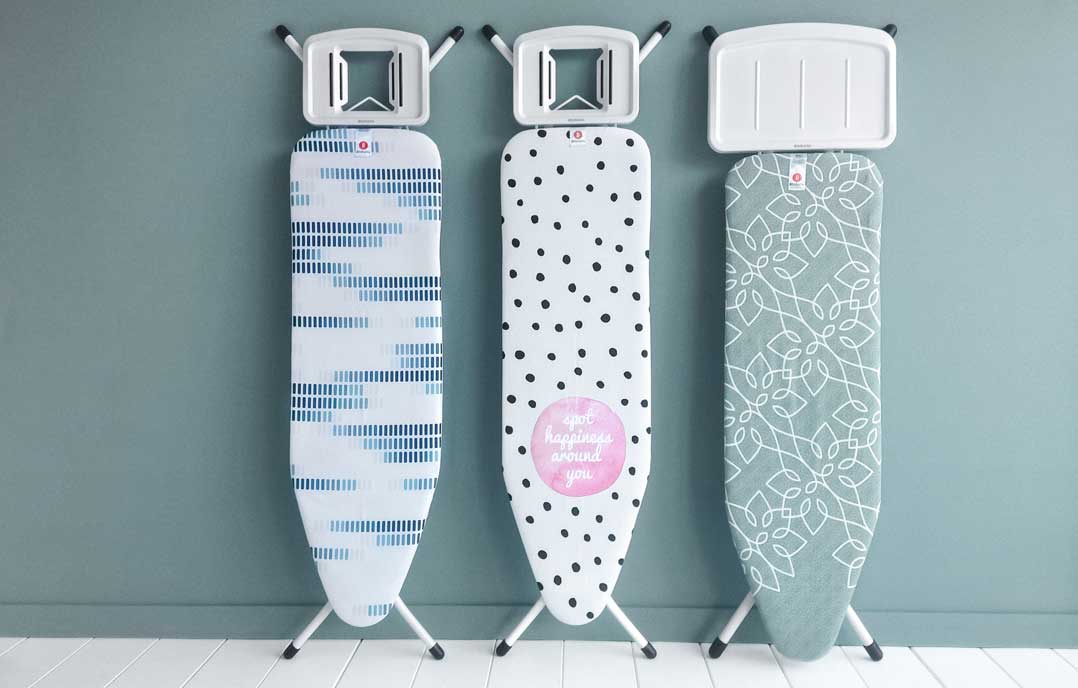
Boards are available in a variety of shapes and sizes. Most standard floor models are 14”-18” wide and 48”-54” long. Almost all brands offer one wide end and one tapered end to make ironing clothes easier, but when the board is located in your sewing room, check for some other features as well.
If you’re a quilter, there are larger wooden surfaces that fit over a standard board to extend it in both directions so there’s more support for a large quilt top.
Most ironing boards offer adjustable heights so they can be used sitting or standing, and by users of differing heights. The board can also be locked into table-top height so you can use it as an additional work table surface if needed.
Surface Solutions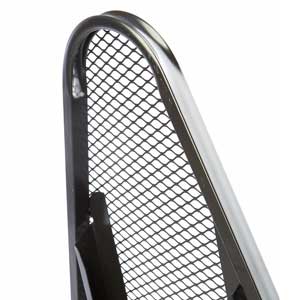
The top surface of an ironing board should be permeable so steam and moisture can pass through without damaging the pressing surface. Most board tops are metal mesh covered with a pad and a cotton cover to allow moisture pass-through.
Support Systems
Ironing boards come with a variety of leg styles—from loops and T-shapes to three or four legs—so be sure to double check for stability if you’re purchasing one in person. Accidental tipping can be dangerous to both you and your iron.

- Some boards offer wheels for easy transport, but check that they lock in place for use if you opt for this feature.
- If you need a place to store pressing tools, spray bottles or more fabric, some boards have a shelf underneath them for extra space.
- And, don’t forget a slide-out or clip-on iron rest so that you can use the entire board surface for pressing. Cord clips are also available to keep the cord safely off to the side of the board.
Covering Up
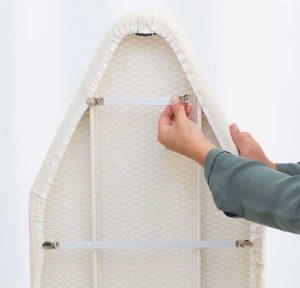
If your ironing board comes with a standard metallic cover and thin foam pad, consider replacing them with natural fiber options. Cotton or wool padding allows for steam absorption and it should be thick enough so as not to see the imprint of a metal mesh board top on your project.
Look for a cotton cover that’s removable and washable. Some designed specifically for quilters and sewers offer printed grid lines, bias lines or common appliqué shapes on them.
Whatever cover you choose should fit tautly on the board to avoid wrinkles. Look for one with a drawstring, elastic or use stretchy clamps to keep it in place.
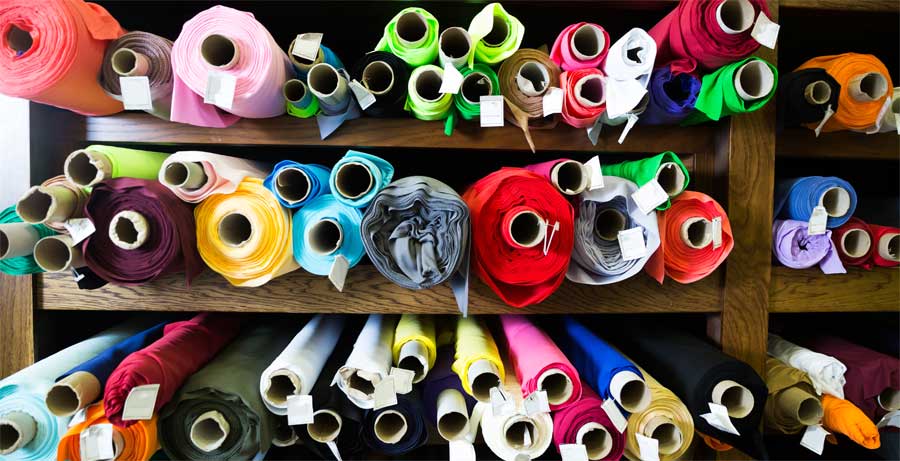
For even more fun, make your own ironing board cover from colorful cotton prints. Use the original as a guide for sizing and shape and add a casing around the edge. Thread elastic or a drawstring through the casing and pull it tautly over the board.
~Linda Griepentrog
Linda is the owner of G Wiz Creative Services and she does writing, editing and designing for companies in the sewing, crafting and quilting industries. In addition, she escorts fabric shopping tours to Hong Kong. She lives at the Oregon Coast with her husband Keith, and two dogs, Yohnuh and Abby. Contact her at gwizdesigns@aol.com.

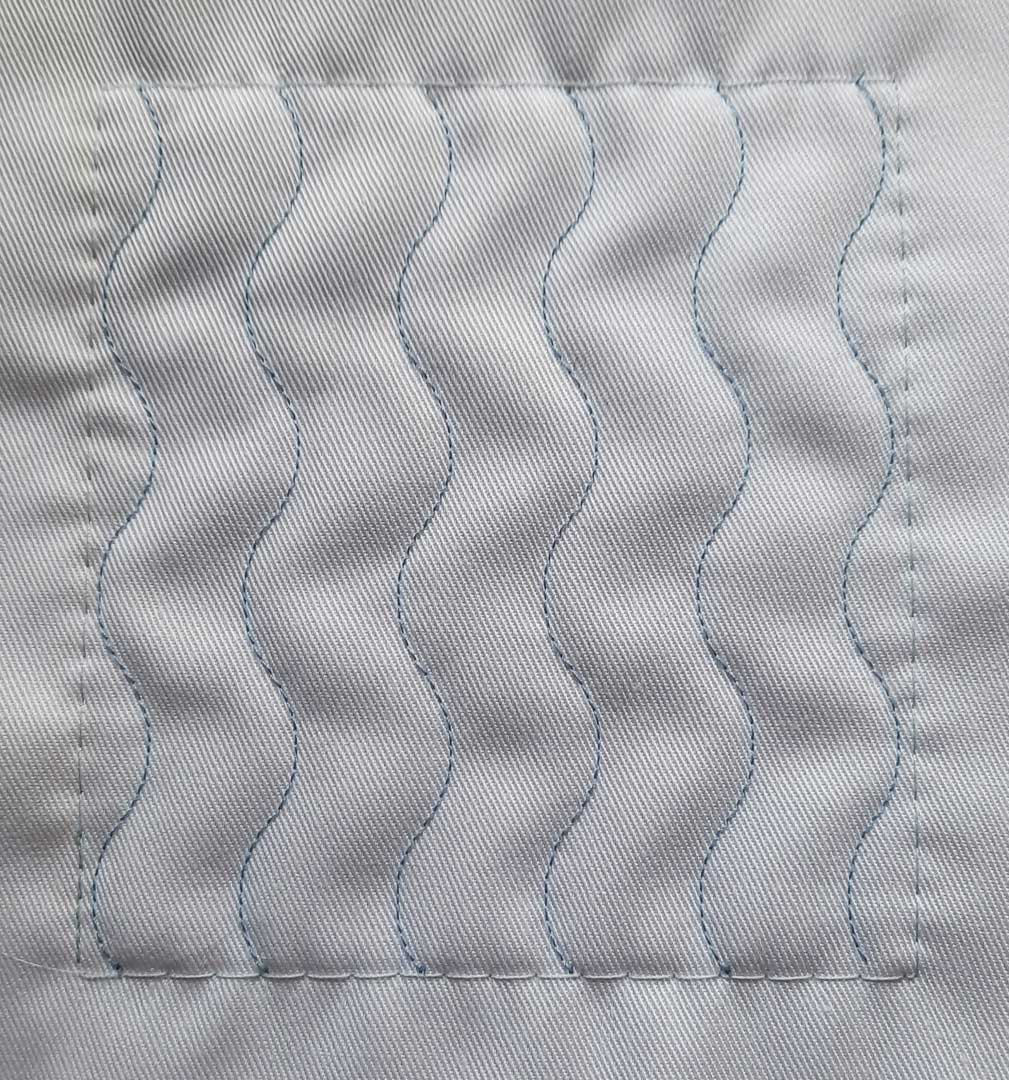
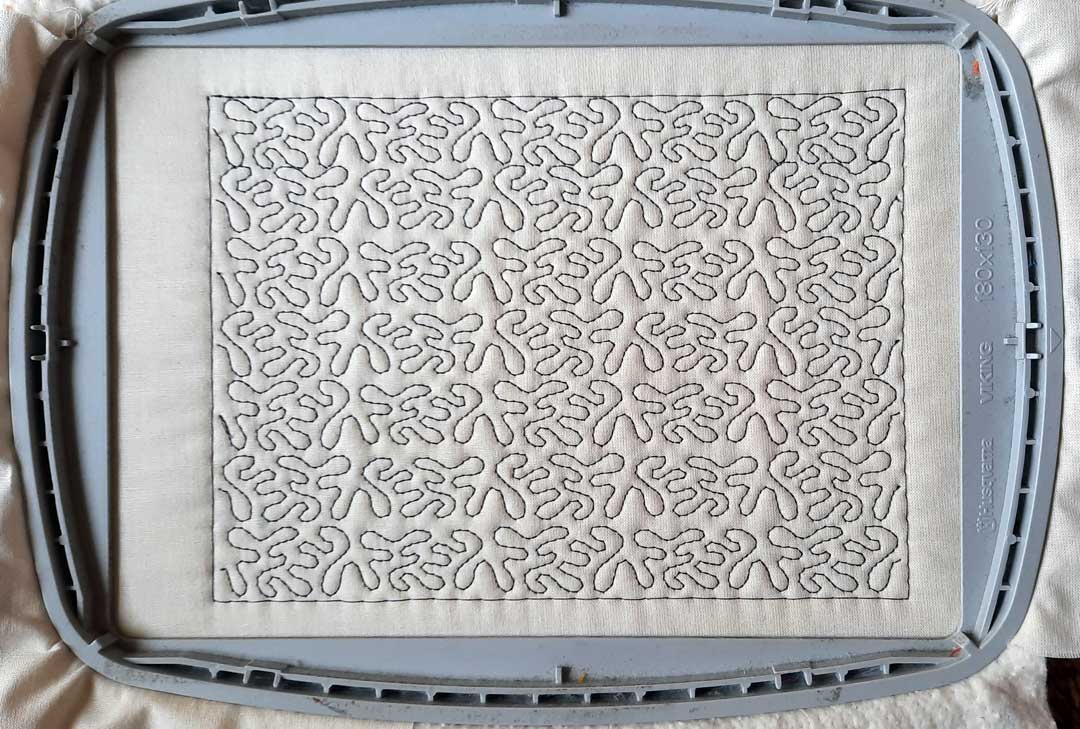
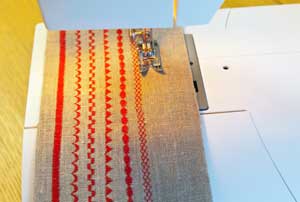 Have you ever tried to use the decorative stitches on your sewing machine and some of them bunched up or didn’t stitch evenly, or you ended up with crooked rows? The really wide stitches can be especially tricky to keep centered where you want them. The best option for a quality result is to bring them into the hoop. The result of using embroidery mode will be perfectly balanced columns of stitches, and you’ll be even happier with the ease of stitching and the precision-aligned results.
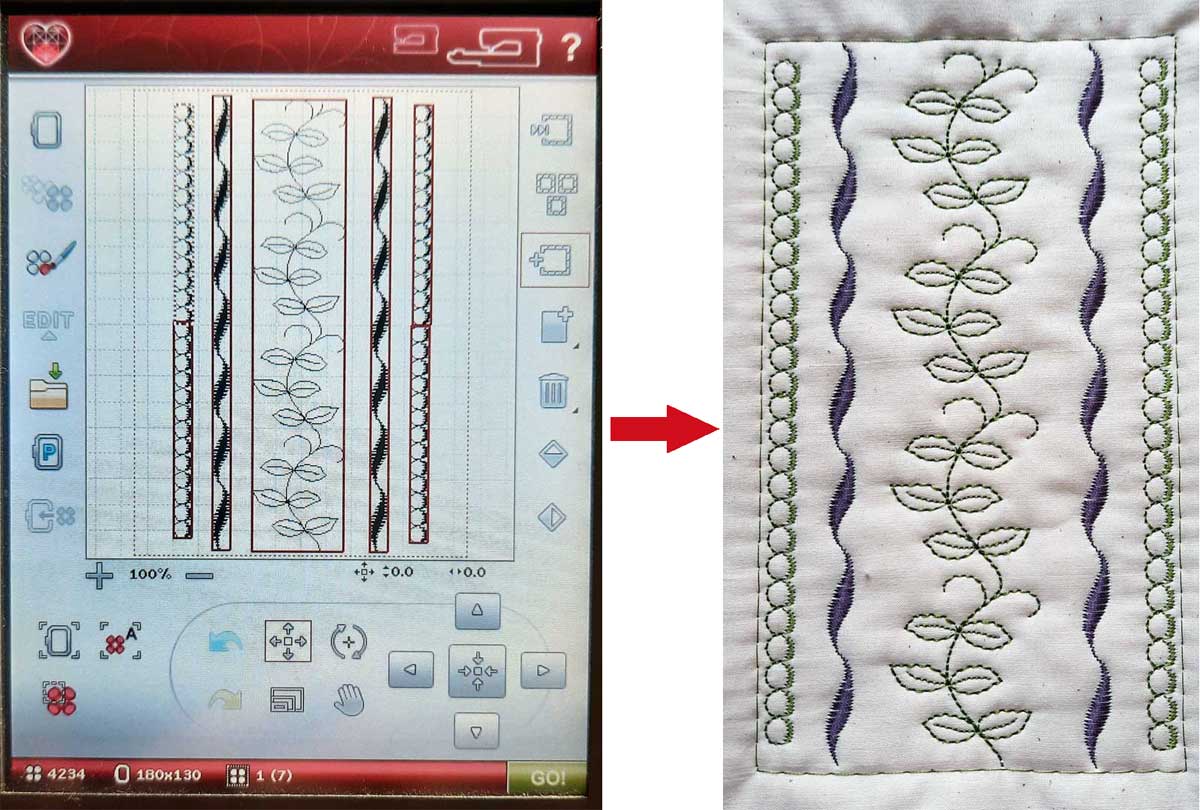

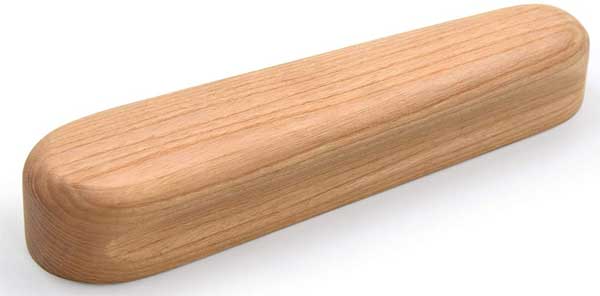
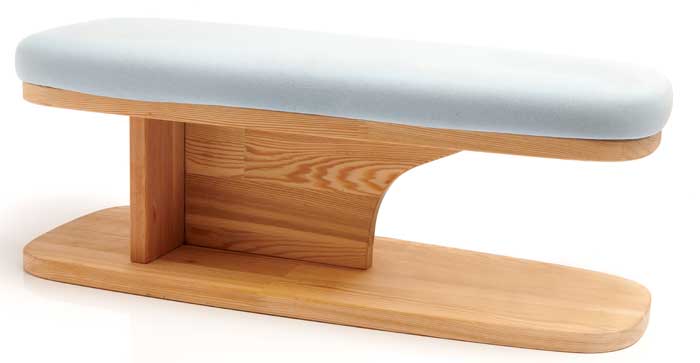
 Sleeve board sizes vary depending on the manufacturer, and the size of the pressing surface obviously affects what can fit over it. But all sleeve boards have at least one end tapered so that it’s narrower than the opposite end attached to the base.