This article is part of a two-part Quilting Basics series. Part one is available here.
Quilting
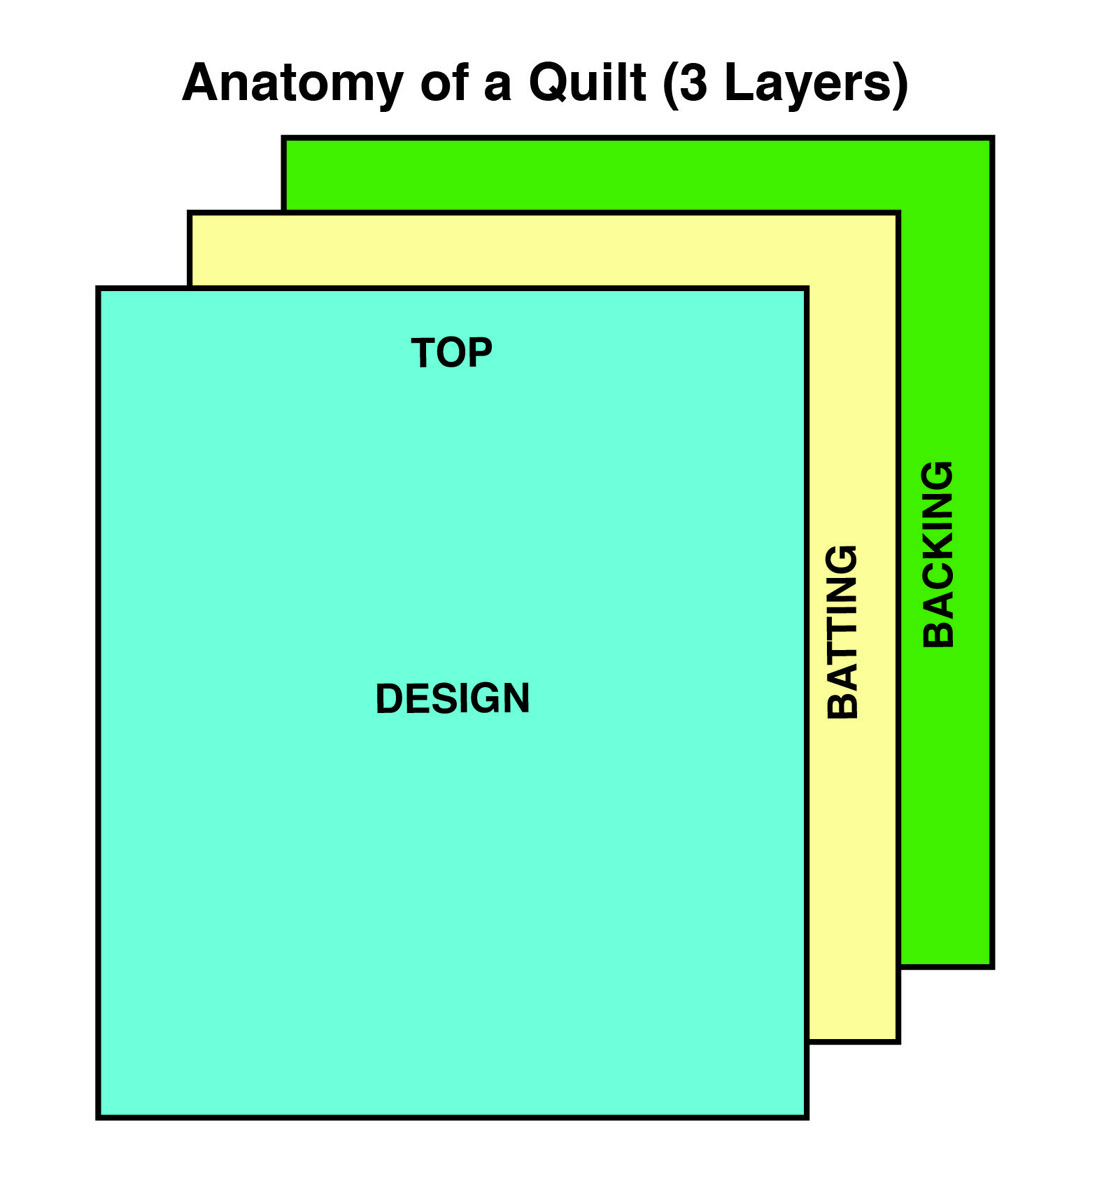
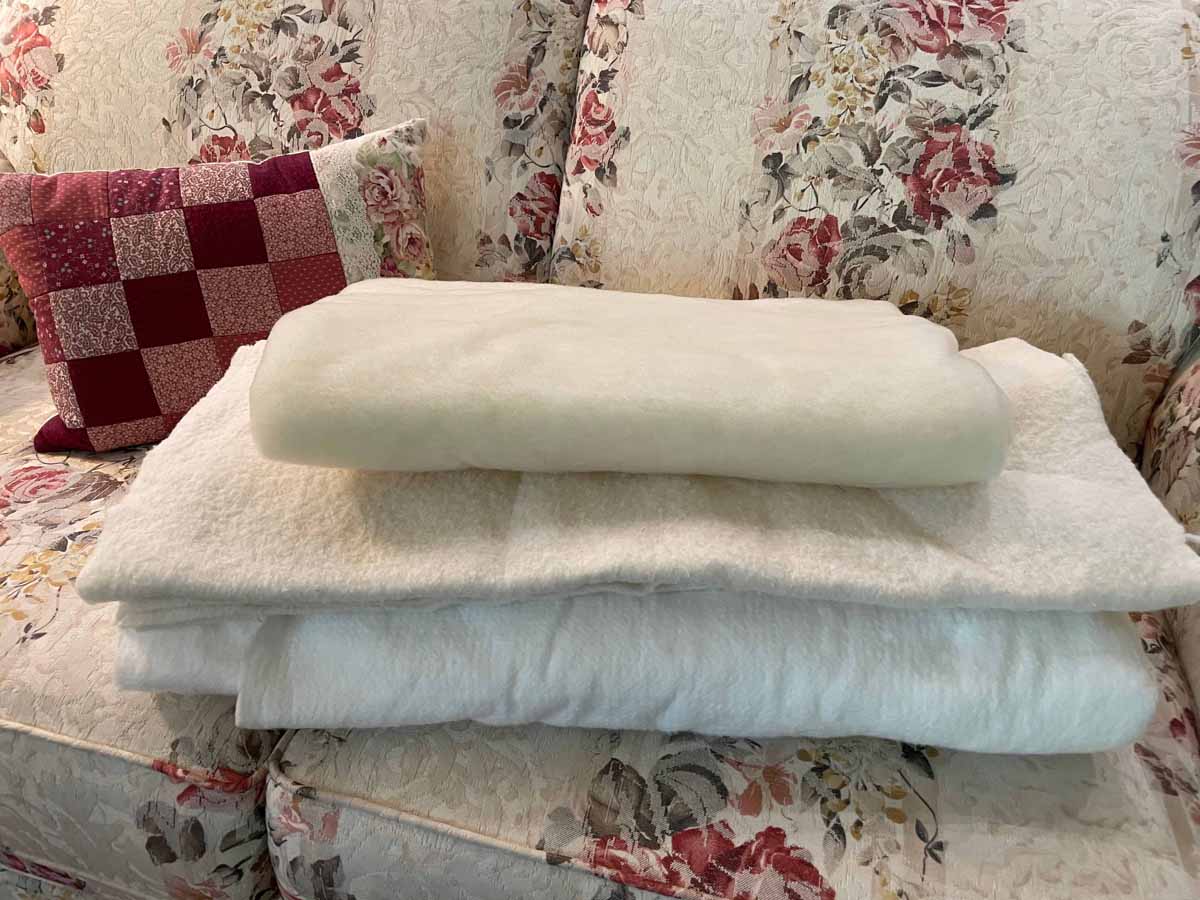
Quilting is the stitching that holds the quilt top, batting, and backing together.
The quilting (stitching) of the three layers of fabric can be done simply by tying the three layers together with yarn or heavy thread. Most quilts are quilted utilizing one of these common methods of:
Free Motion Quilting
This is usually performed utilizing a domestic sewing machine (the kind that you use to sew the top). This is where the quilt sandwich (quilt top, batting, and backing) is moved “under” the sewing machine needle. To learn a few of the basics of Free Motion quilting, watch this short video by Leah Day.
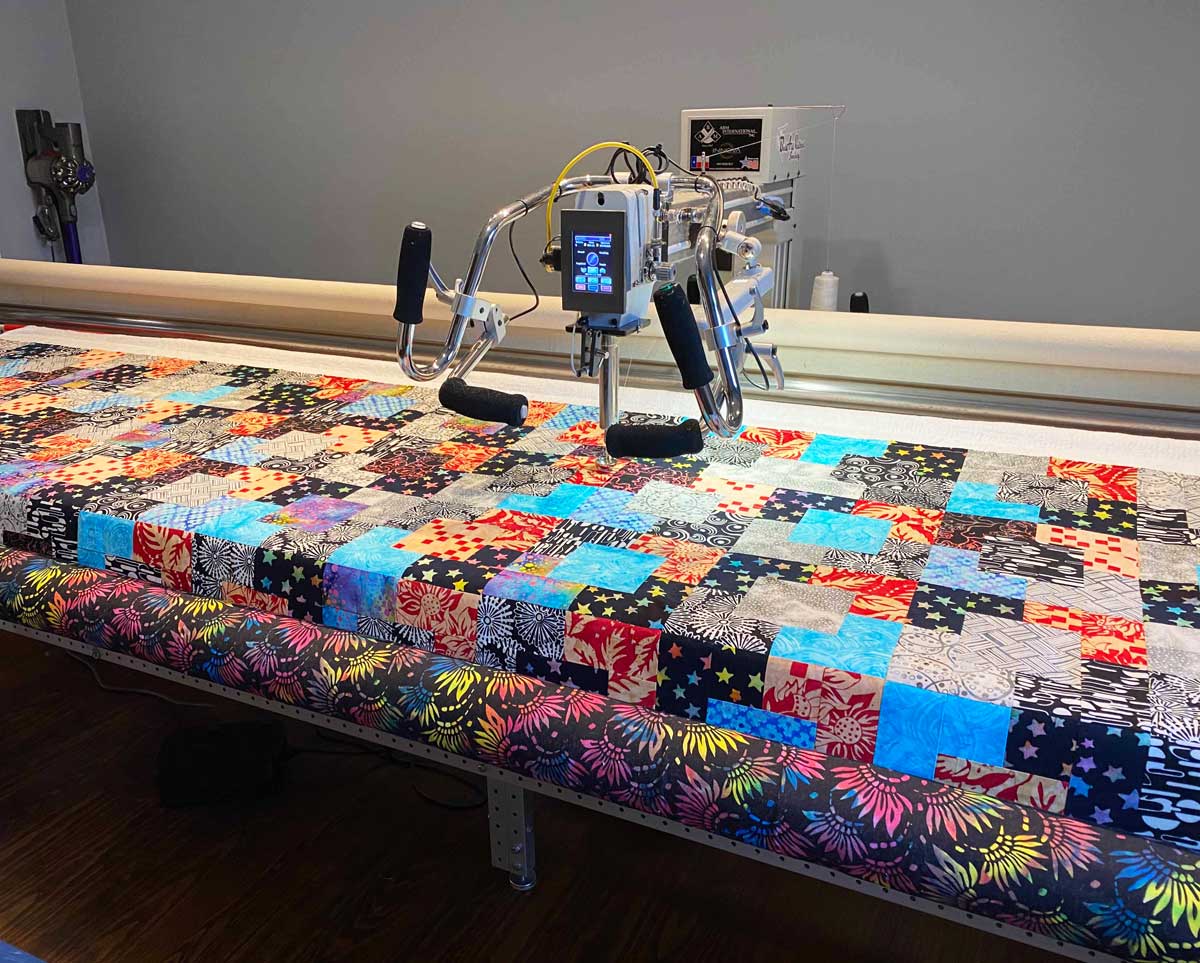
Long Arm Quilting
Another method of quilting is using a “sit down” Long Arm machine. These machines have a large arm opening and large table surrounding the sewing machine head that allows for the ease of moving the quilt around. these are specialized quilting machines designed specifically for the quilting process. Long Arm Quilting machines have a large frame where the quilt layers are attached to rollers. The sewing machine head is driven “over” the quilt sandwich. These machines can be driven manually by the quilter or be fitted with a computer that drives the sewing machine head.
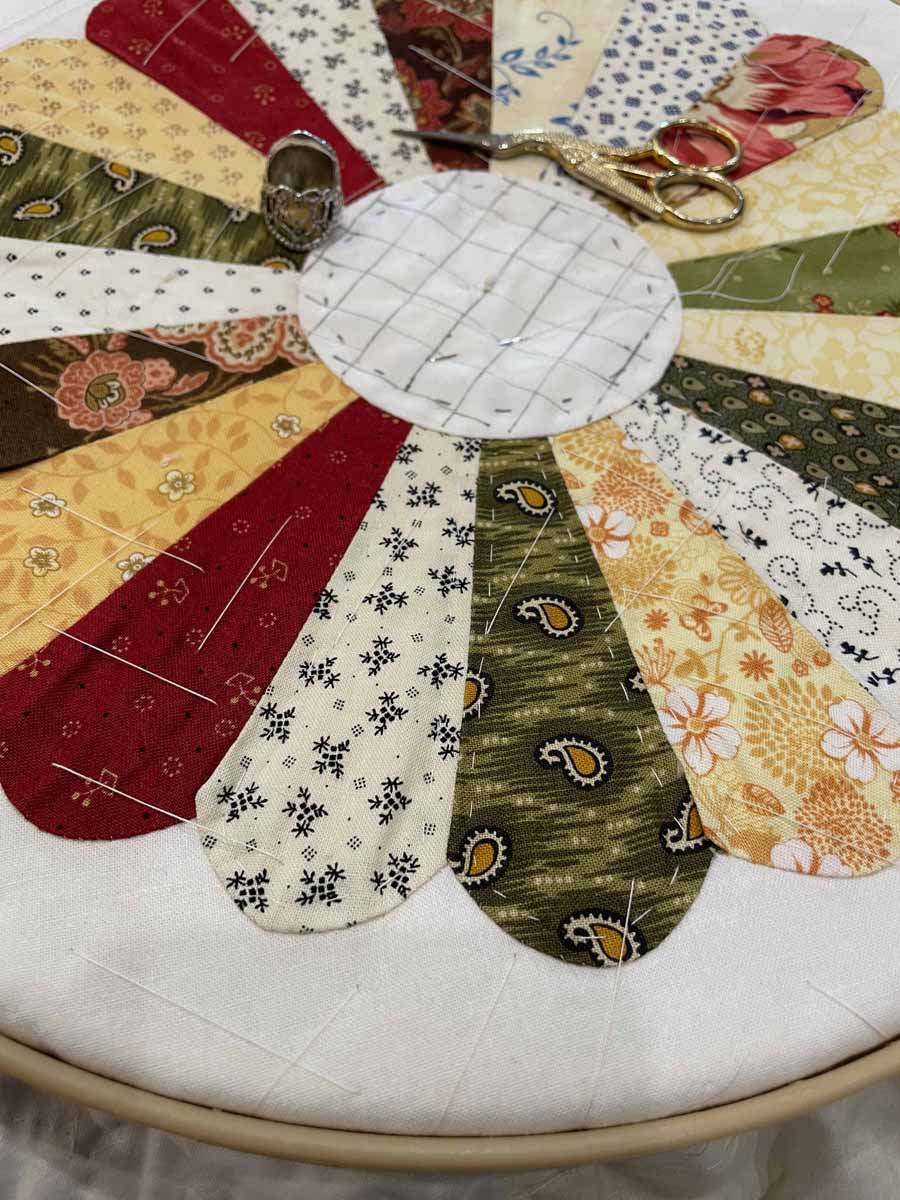
Hand Quilting
Hand quilting is the oldest method of quilting and is still done today. The quilter assembles the quilt “sandwich” and then will baste or pin the three layers together loosely to hold it in place. The quilting pattern is then marked with a removable marker. The quilter places the sandwich loosely in a frame or hoop and a very short quilting needle called a “between” is used to stitch the quilting pattern.
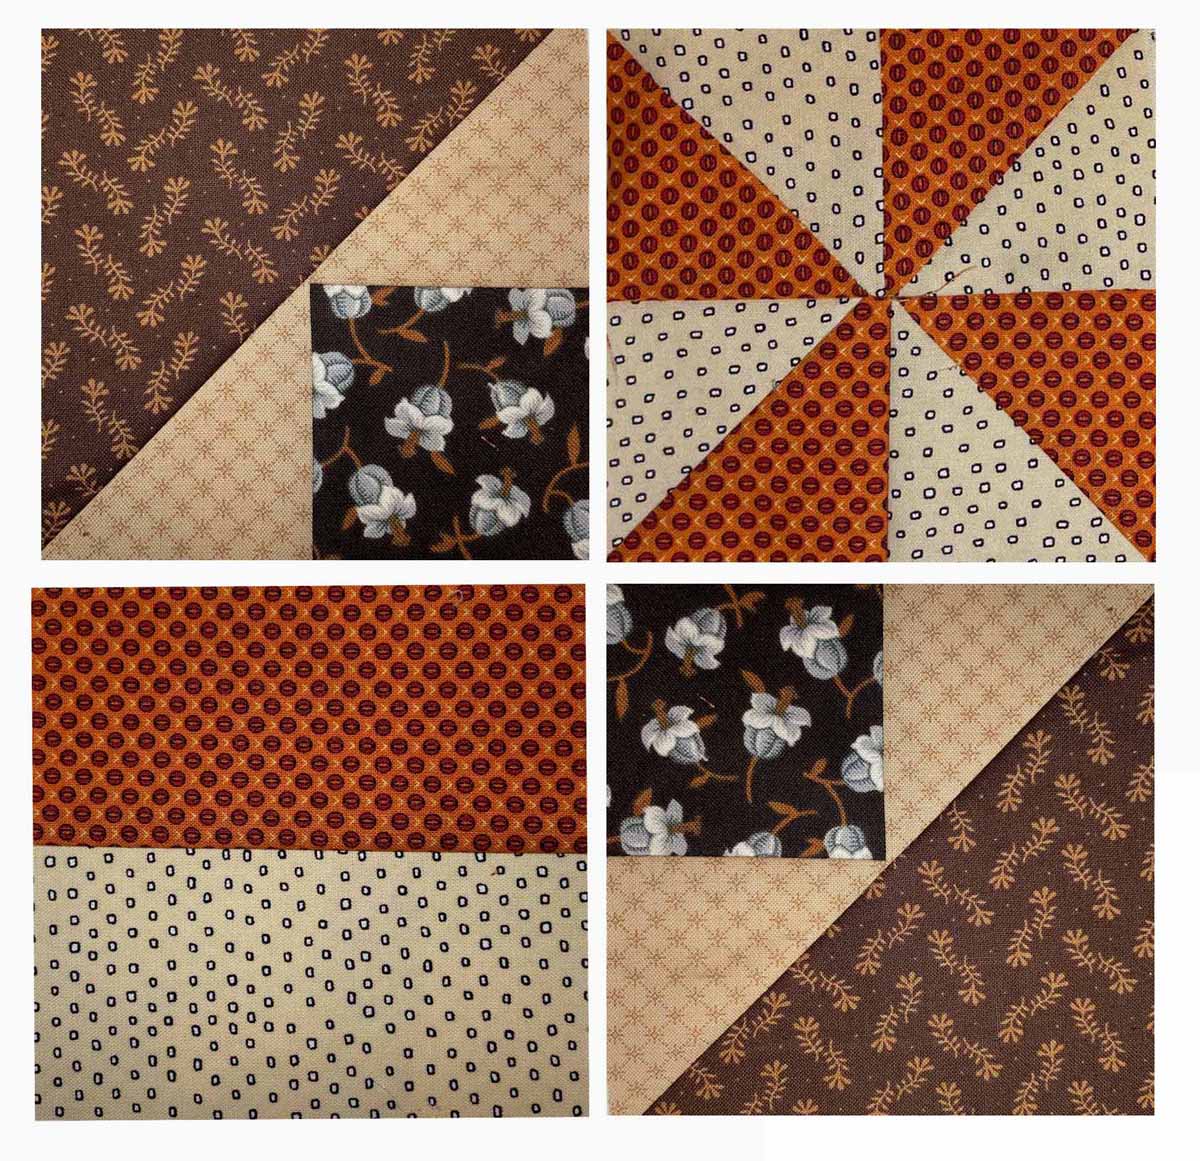
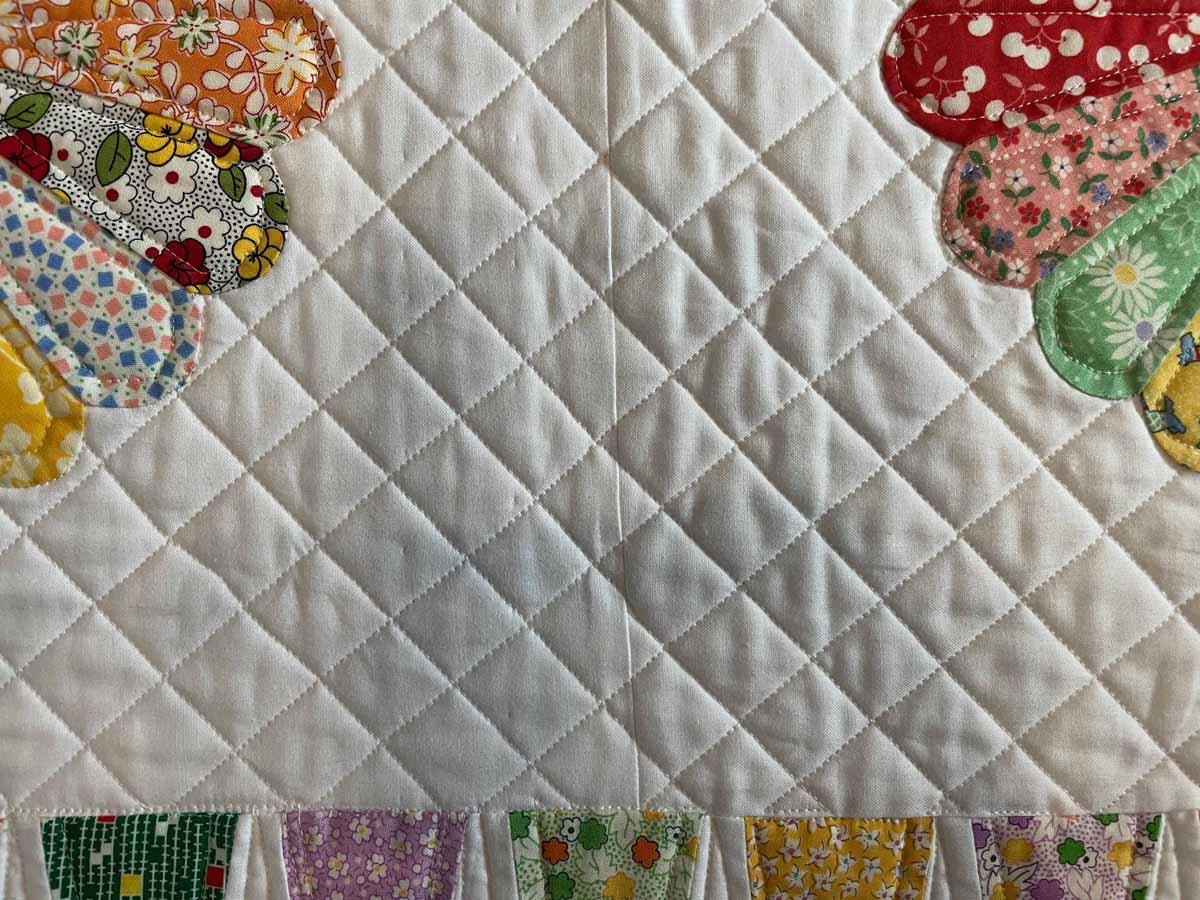
Quilting Patterns
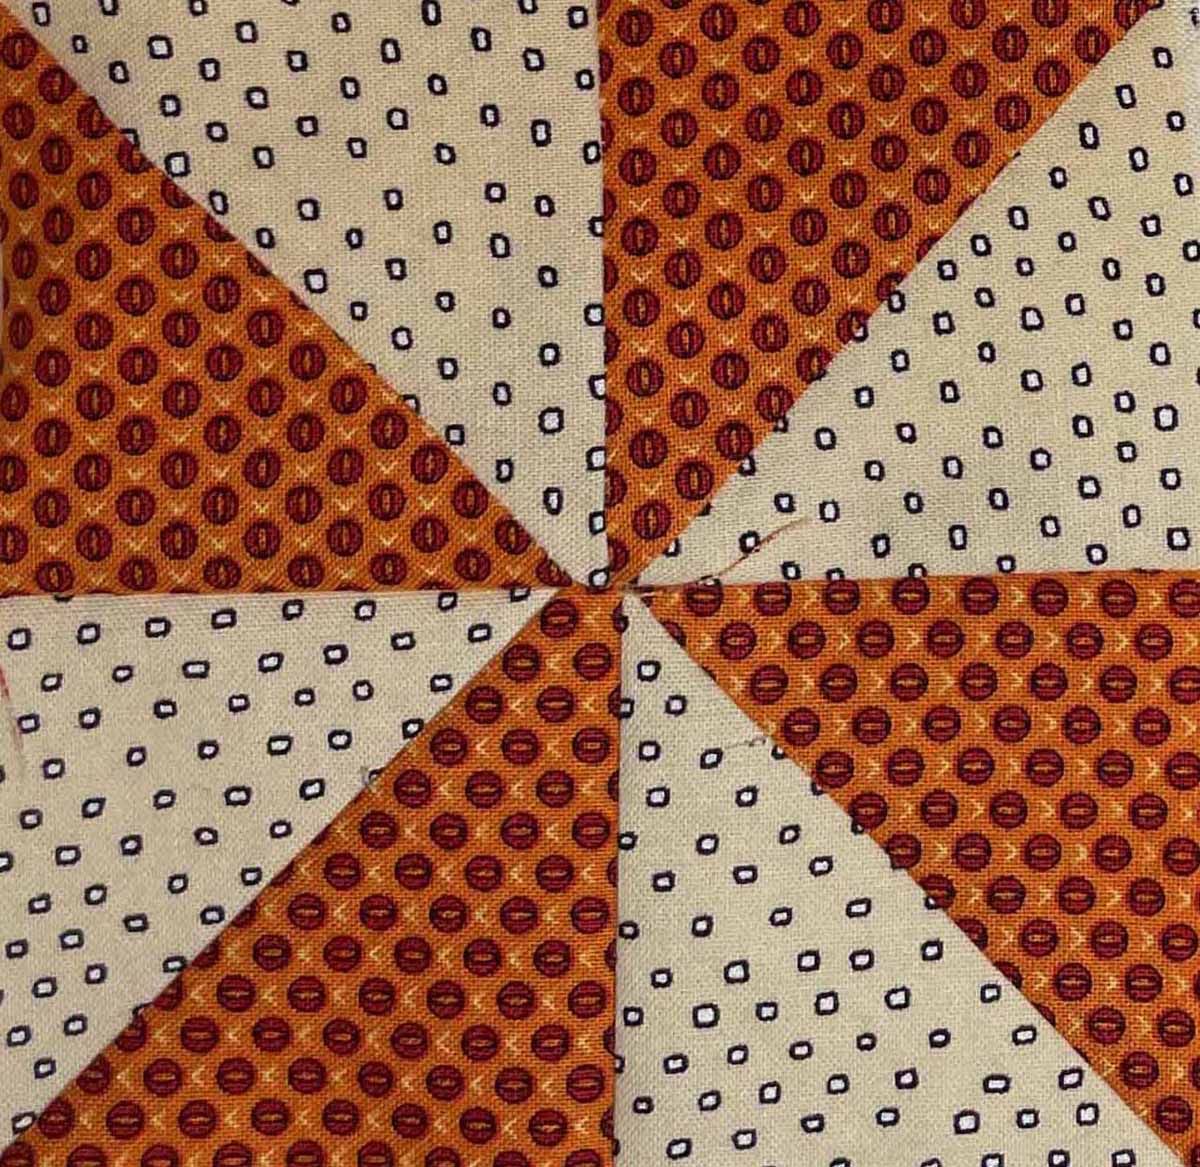
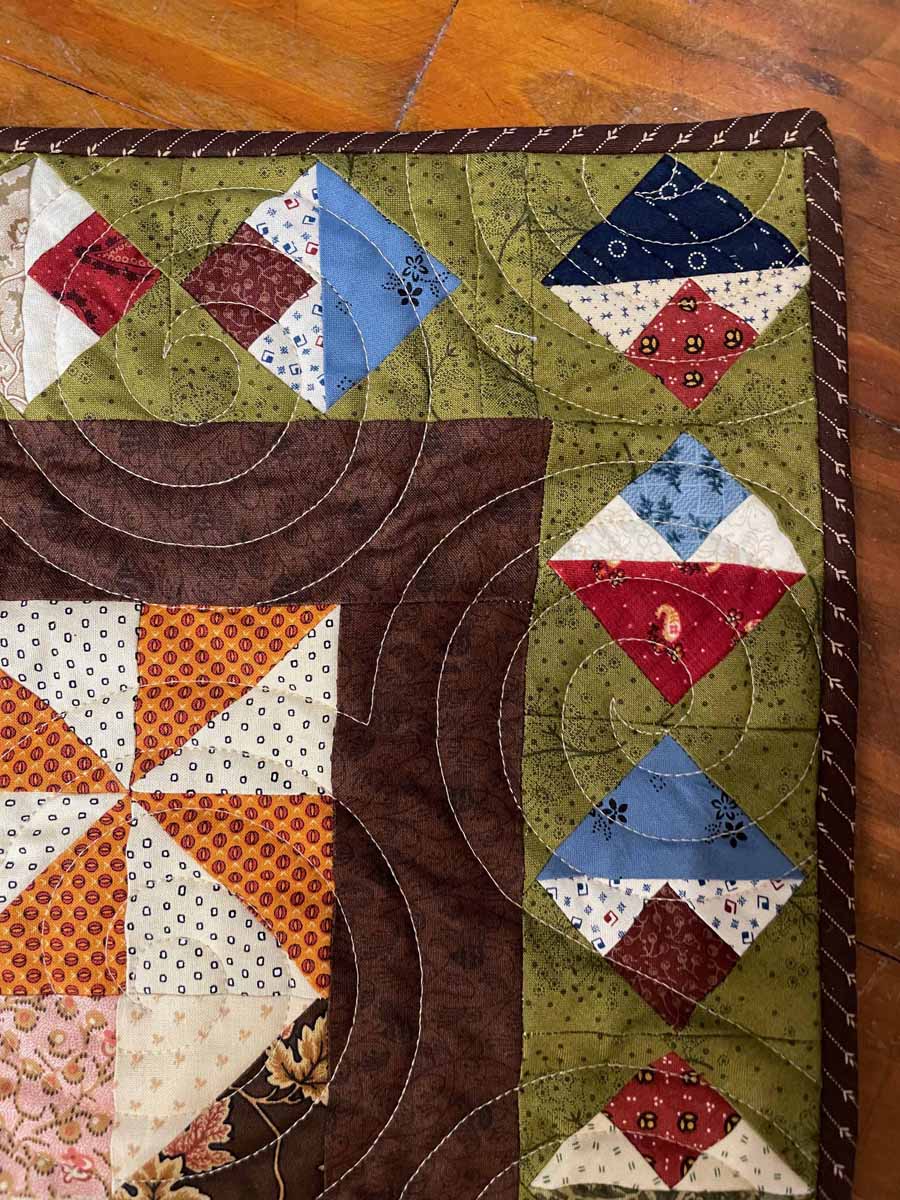
Quilting patterns can be very simple, such as just straight lines, or can be very fancy and intricate.
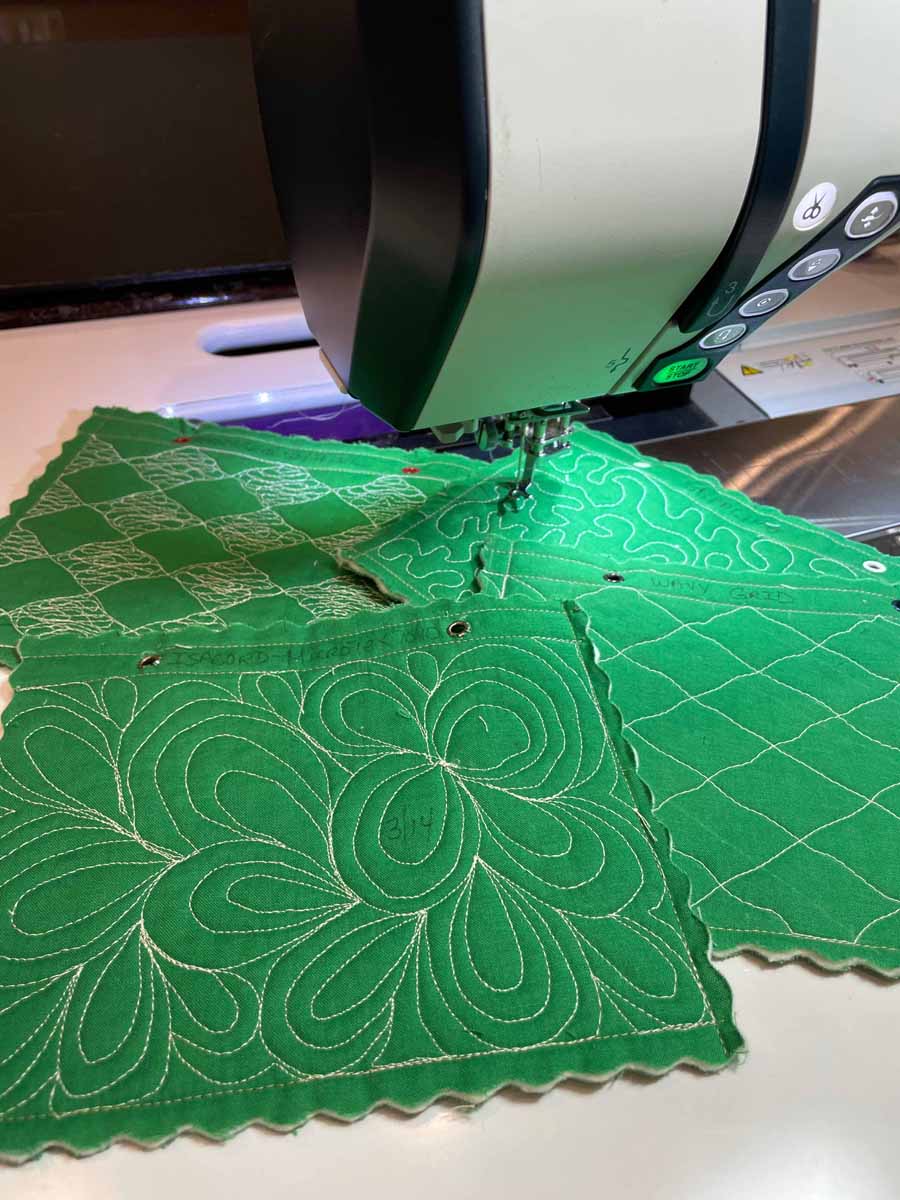
Simple Grid Quilting Example
Custom Intricate Quilting Example

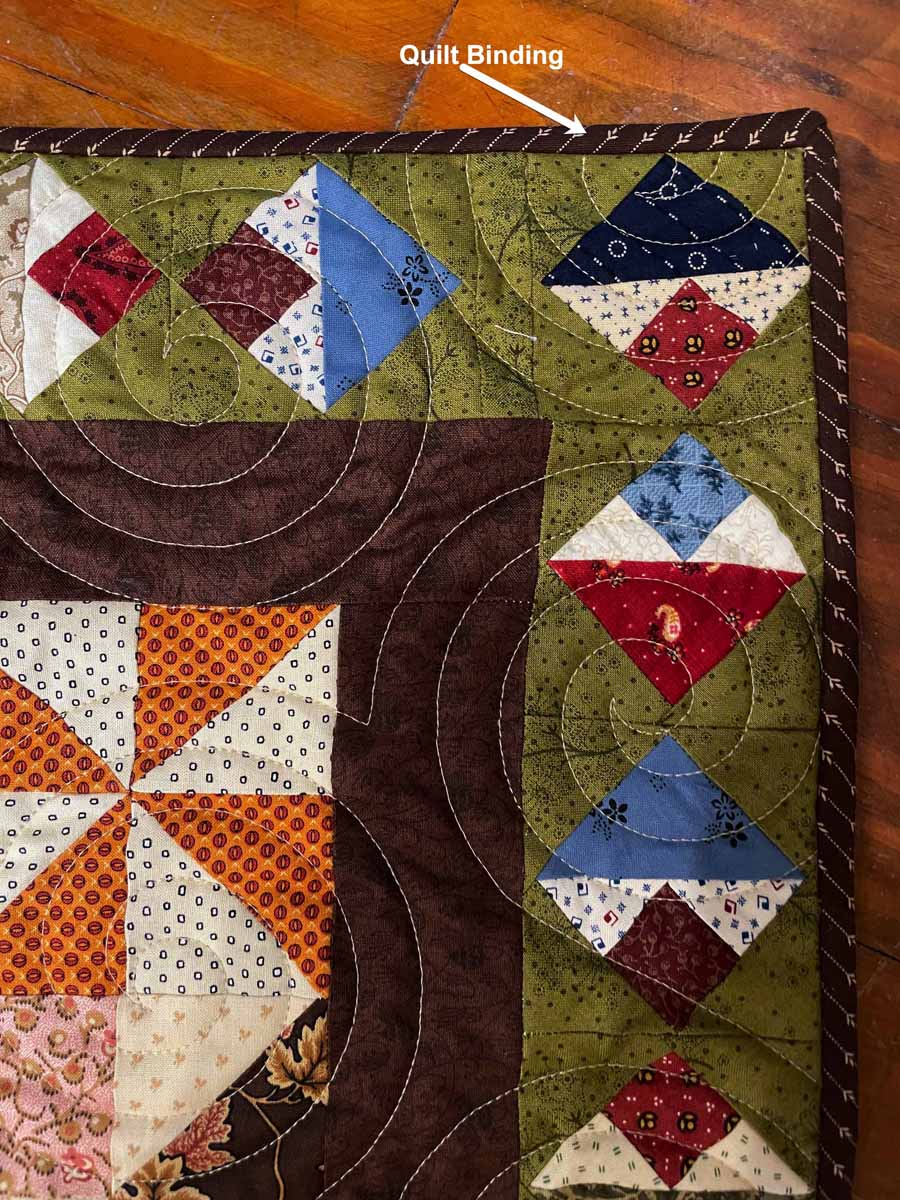
Binding
Binding is strips of fabric that wrap from the front to back of the quilt, finishing the raw edges.
Once the three layers of a quilt are quilted, the quilt is then trimmed to remove any excess batting and backing fabric. That leaves “raw edges” that need to be covered to finish the quilt.
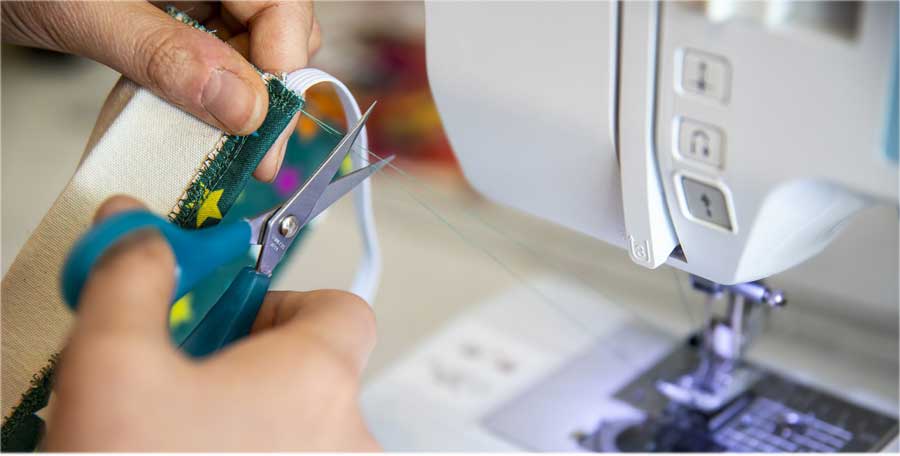
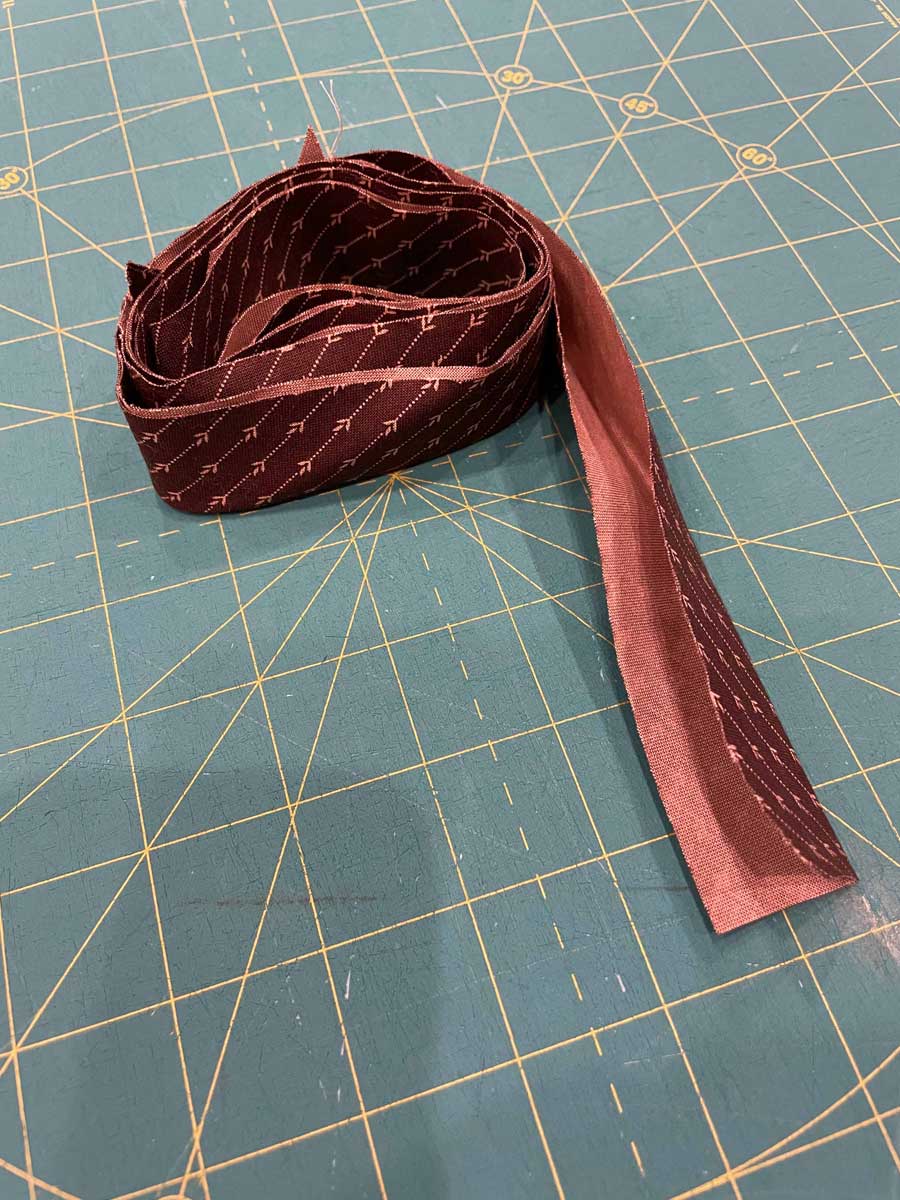
To create the binding, strips of fabric are sewn together to be one long piece of fabric. The most common widths of binding strips are 2 ¼” and 2 ½”.
After being sewn together, the strips are pressed in half creating a “double fold.” The double folded fabric is then sewn to the front of the quilt and wrapped around to the back of the quilt.
There are many different methods of making and attaching binding. To learn more on how to Make Quilt Binding and How to Bind and Finish a Quilt here a couple of videos from Sew Very Easy:
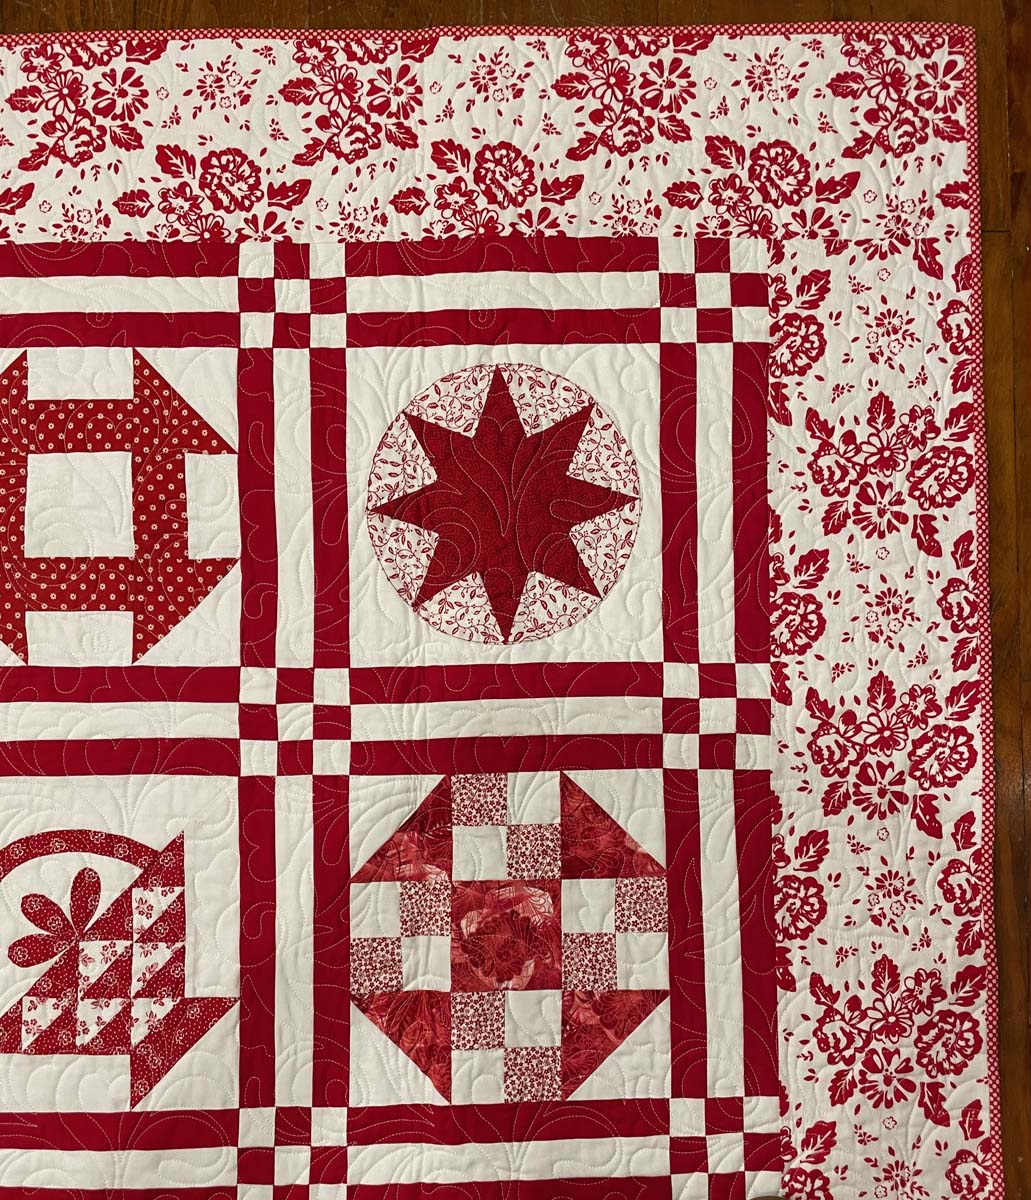
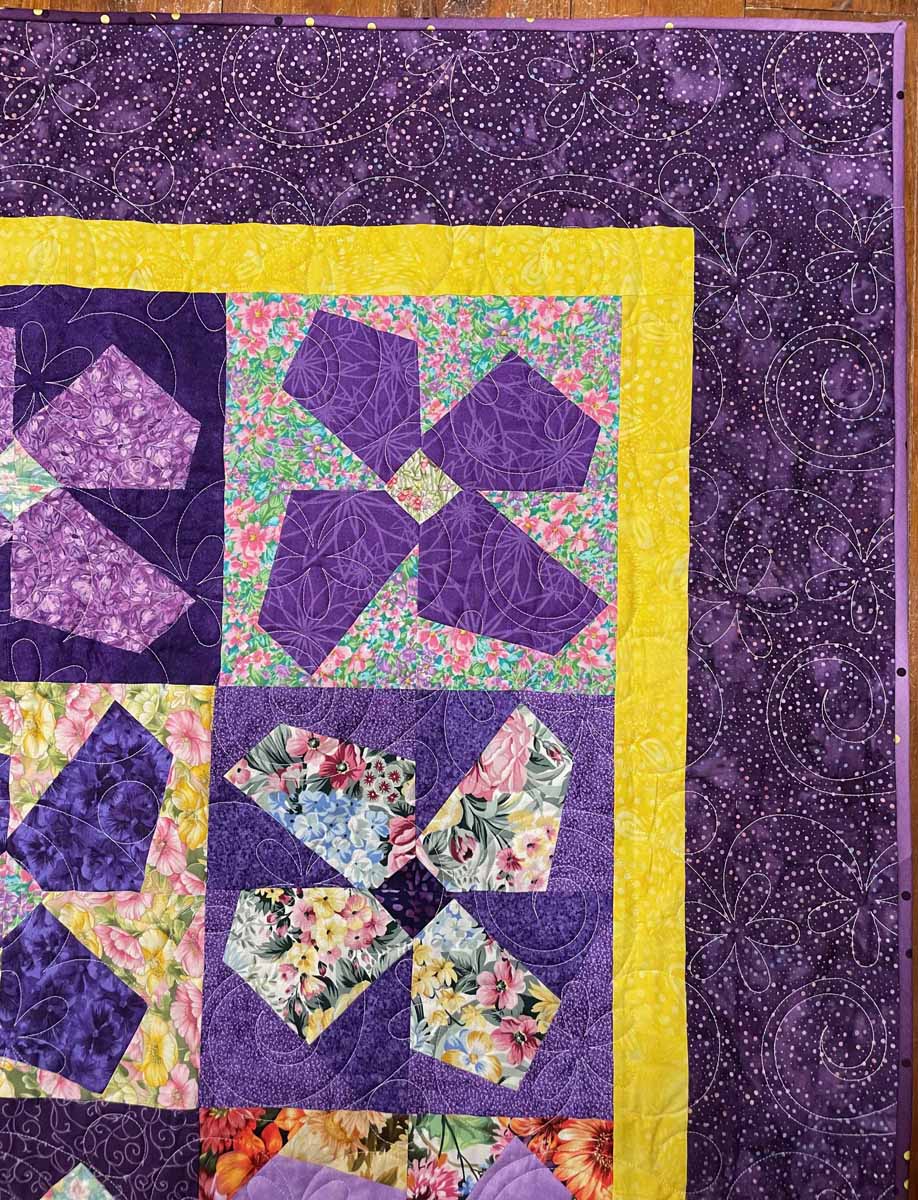
Border
The border is strips of fabric that surround the center of the quilt top.
Borders are used to “frame” a quilt much like one would frame a picture. The border around the center of the quilt may be a single piece of fabric or may be made of up of pieced pieces of a fabrics (blocks). Some quilts may have multiple borders to provide more interest. Not all quilts will have borders, and that decision is left up to the discretion of the quilt maker.
Quilts by Diana Quinn, Marietta. GA
Sashing
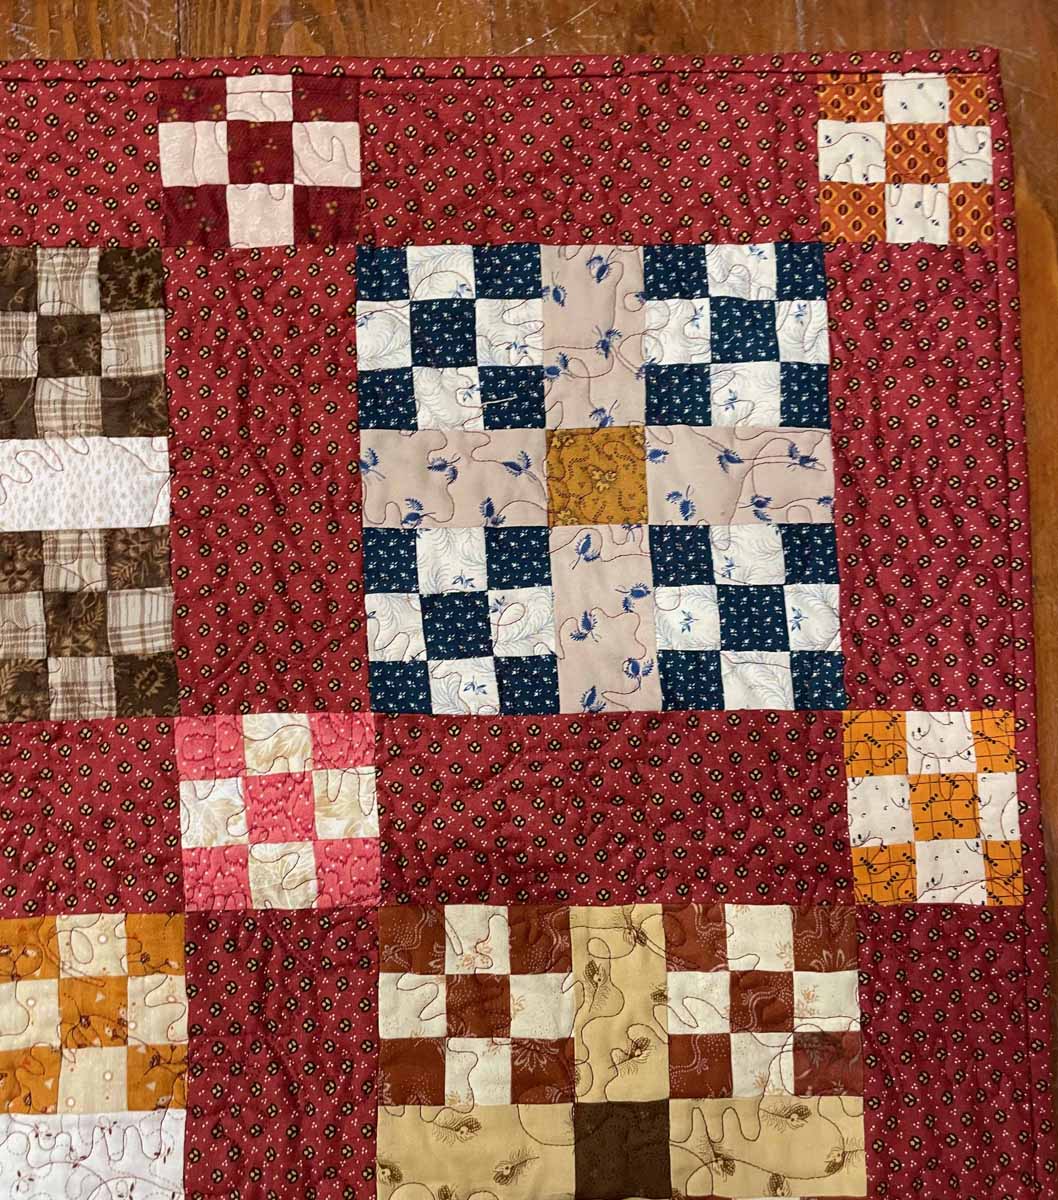
Sashing is the strips of fabric between the quilt blocks.
Sometimes quilt blocks are stand alone and are not connected to adjacent blocks in the quilt. To give each block its own space strips of fabric are sewn in between the blocks and this is known as sashing. In the sashing example below, it should be noted that the square blocks (dark red) in between the sashing strips are known as “Corner Stones.” Corner Stones are used to keep the blocks aligned.

Quilting is such an artistic expression of the art and skill of sewing and there is much to say and learn about the topic. Hopefully, this discussion of a few of the fundamentals has piqued your interest in quilting. To begin learning, reach out to your local ASG Chapter to meet members who quilt or look up local quilts shops in your area and start taking classes!
~Diana Quinn, ASG Atlanta Chapter