 When fusible products first arrived into the home sewing marketplace, they were stiff and frequently made the fabric bubble or wrinkle due to adhesion issues. Today, these new and improved heat-activated adhesive products are a boon to our sewing tasks. Let’s take a look at some of what you’ll find to expedite your sewing adventures.
Fuze News
Woven, non-woven and knit interfacings in myriad weights and colors eliminate tedious basting of sew-in varieties. They add stability to collars and cuffs, buttonholes and placket openings, as well as to entire garment sections. Fusible interfacing can also be pre-cut into strips with built-in fold lines, like for a waistband or placket application.
Appliqué
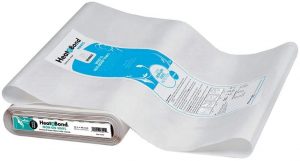
For appliquérs, check out the variety of fusible webs. Note that some are very open mesh for a lighter fuse, while others are an extruded film for a more secure hold. Look for them with or without any paper backing—on one or two sides. Fusible webs are available by the yard, in pre-cut sheets or in narrow tape sizes for hemming, applying trim, etc. Some webs are repositionable, adding permanency only when they are heat activated; other web products can be inkjet printed with pattern shapes.

Machine Embroidery
For machine embroiderers, there are numerous types of fusible stabilizers—some permanent, some temporary.
Quilting
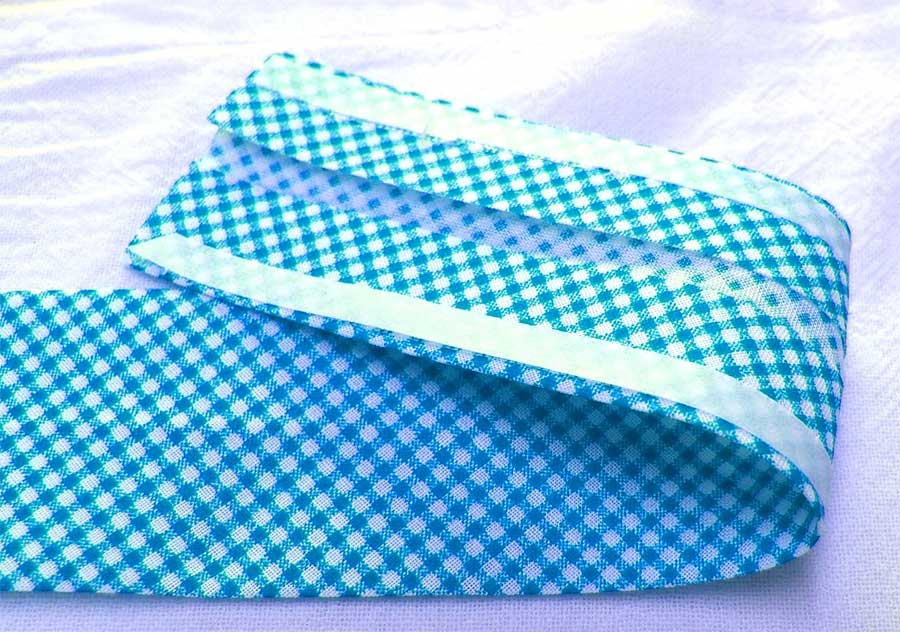 For quilters, there’s fusible fleece, a needle-punched product, and several types of fusible battings, both single and double-sided, depending on their use. Narrow fusible web tape is ideal for adhering binding to the quilt—just position it along each edge, peel the protective paper and fuse in place for a secure hold while stitching.
Piecing
For piecing batting, look for fusible tapes designed to span the joining seamlessly.
Purses & Totes
For purse and tote aficionados, look for fusible heavy craft interfacings and fusible foams (single- or double-sided). They hold tight to keep bags in good shape.
Tailoring
If you’re a tailoring guru, there’s fusible stay tapes designed to keep shoulders and roll lines sturdy. They’re available in straight and bias grains, depending on the use. These tapes are also great for maintaining shoulder shaping in knit T-shirts, and keeping ripple-less hem shaping. For shaping jacket and coat sections, look for fusible hair canvas.
Other Fusibles and Uses
- Need to add a little protection to your project? Look for clear fusible vinyl in either matte or shiny finishes.
- Have trouble making even piping? Look no further than Wrap ‘n Fuse Piping. Its core is surrounded by fusible web, so all you have to do is add fabric—no stitching required.
- There are a host of fusible ribbons and trims, as well as fusible thread. The latter is used when just a hint of fusible is needed, like for a hem edge or holding a pants crease in place.
- For a secure closure, you can use fusible hook-and-loop tape—no sewing required.
- If you need to convert a non-fusible product into a fusible, look for spray fusibles—heat-activate after spraying for a permanent adhesive. Or check out powdered fusibles—just sprinkle over the surface, then heat to fuse.
Save your pattern!
If you have a pattern that you love and make repeatedly, fuse lightweight interfacing to the tissue pieces to keep them from tearing during repeated use.
Rules of the Game
- Always read the instructions for your fusible product, as temperatures vary for adhesion. Some products require the use of moisture for secure fusing, while others demand dry heat. Some also require a press cloth.
- It’s a good idea to pre-wash your project fabric, as finishes can sometimes play havoc with fusible adhesives.
- Always test-fuse to your project fabric before committing to a product’s use. Let the swatch cool and see how you like the feel of the combined layers—is it too stiff, or too soft; does it drape like you want?
- Keep iron cleaner nearby and cover your ironing surface, as it never fails that there’s some errant fusible adhesive finding its way off the intended course.
- When fusing, apply firm pressure and lift the iron to the next location, slightly overlapping the first position—don’t slide it, as you can create wrinkles. Allow the fused piece to cool before moving it.
~Linda Griepentrog
Linda is the owner of G Wiz Creative Services and she does writing, editing and designing for companies in the sewing, crafting and quilting industries. In addition, she escorts fabric shopping tours to Hong Kong. She lives at the Oregon Coast with her husband Keith, and two dogs, Yohnuh and Abby. Contact her at gwizdesigns@aol.com.