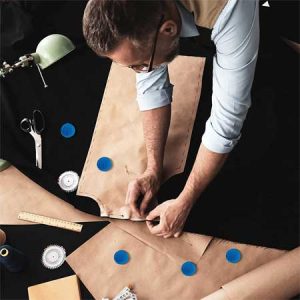
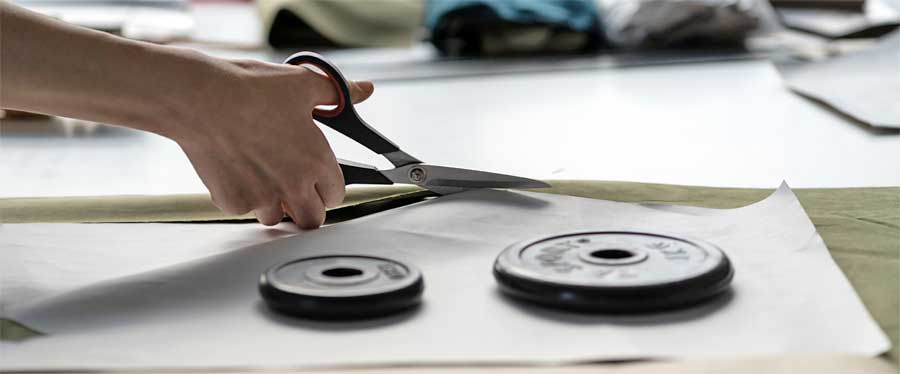
We all know that sewing enthusiasts need certain tools to function—a sewing machine, scissors, thread, pins, etc.—but there are some other tools of the trade that might just be nice to have. Are they a necessity? No. Are they a convenience? Absolutely. Let’s take a look at some of those handy-to-have specialty items.
This page contains Amazon affiliate links. If you shop from these links, we may earn a small commission on your purchase (at no additional cost to you).
Needleboard
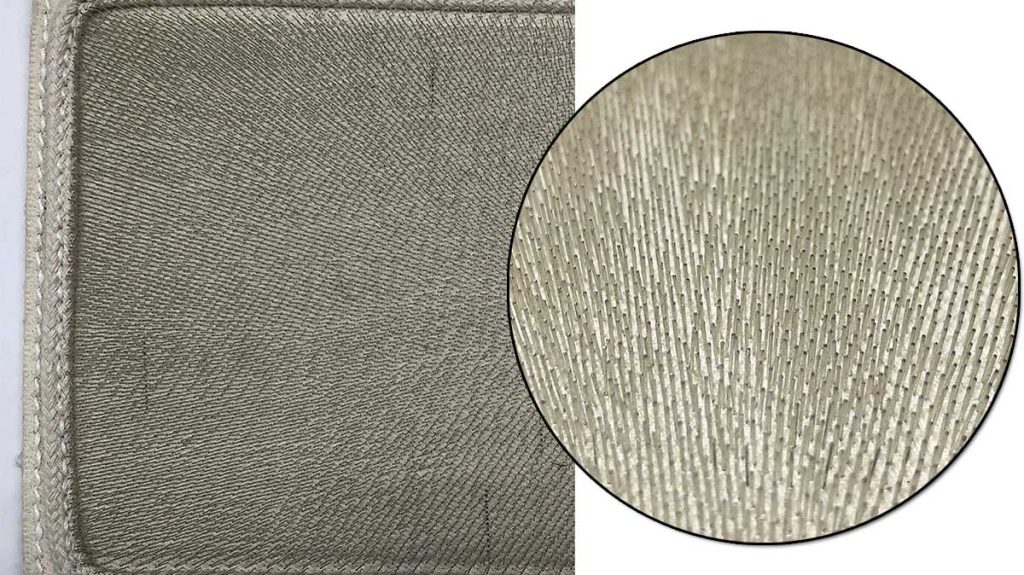
If you work with velvet, velveteen, corduroy or plushes, you know how difficult it is to press without crushing the pile or imprinting the holes of the steam iron onto the fabric. The surface of a needleboard, as its name suggests, is covered with short metal pins that fit between the pile strands of a plush fabric for pressing. It keeps the fabric backing elevated without crushing the surface pile. To use, simply place the fabric face down onto the protrusions, then lightly press.
With a somewhat hefty price tag, a needleboard is a luxury, but if you work with these pile fabrics frequently, it’s something you may truly deem a necessity as the pressing results speak volumes.
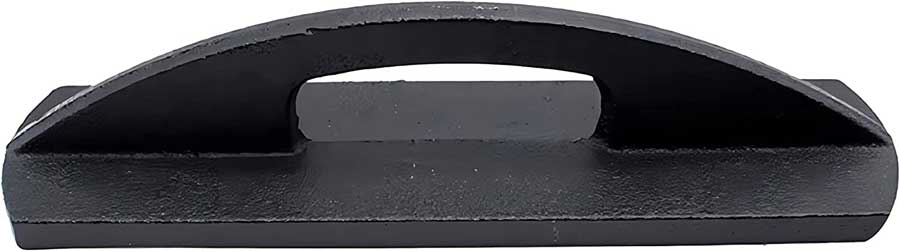
Seam Roller
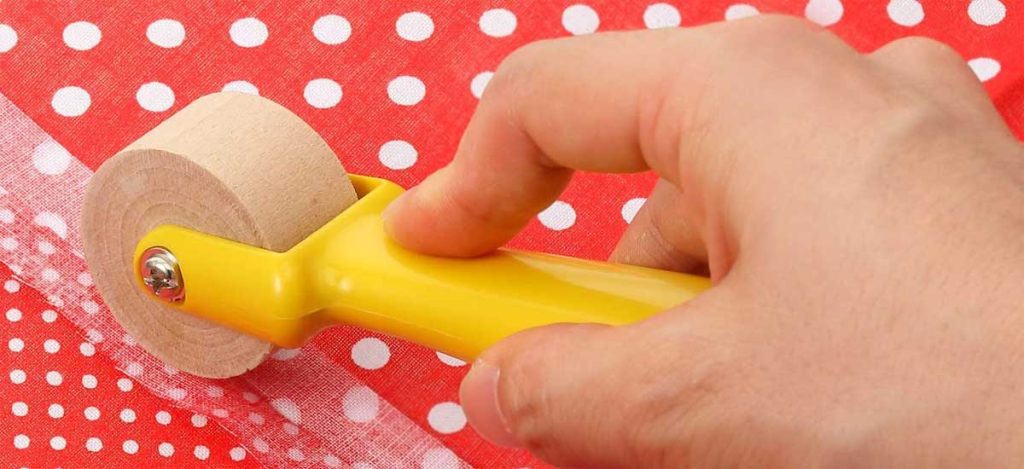
We’ve all been taught to press seams as we sew, so whether you’re pressing open a quilt block seam or setting a facing seam, this handy seam roller lets you do that at your sewing machine without a trip to the ironing board. Just hold the seam in the direction you need it, then roll over it using a moderate amount of pressure, depending on the fabric. It’s handy to reach small areas where it’s difficult to get an iron, and it keeps your fingers out of the way. In addition, the seam roller can be used to make creases at fold lines and edges. If you’re a scrapbooker or card maker, it works well on paper too.
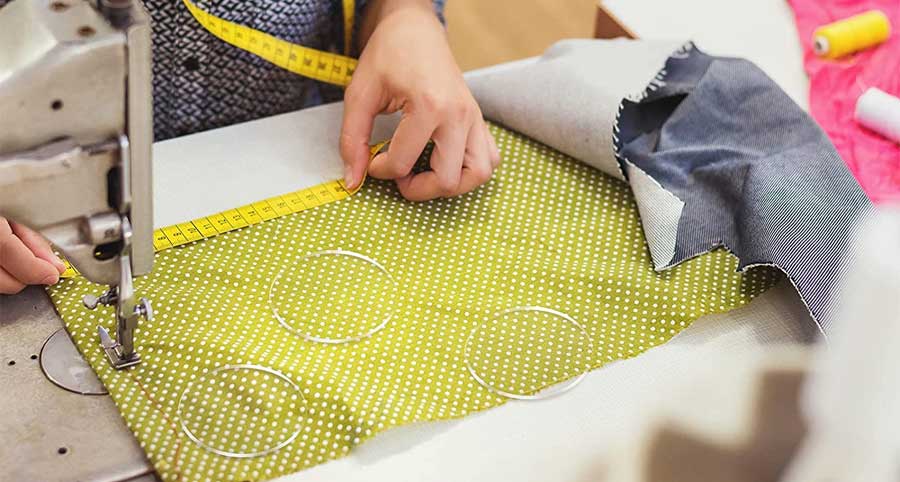
Sticky Tape
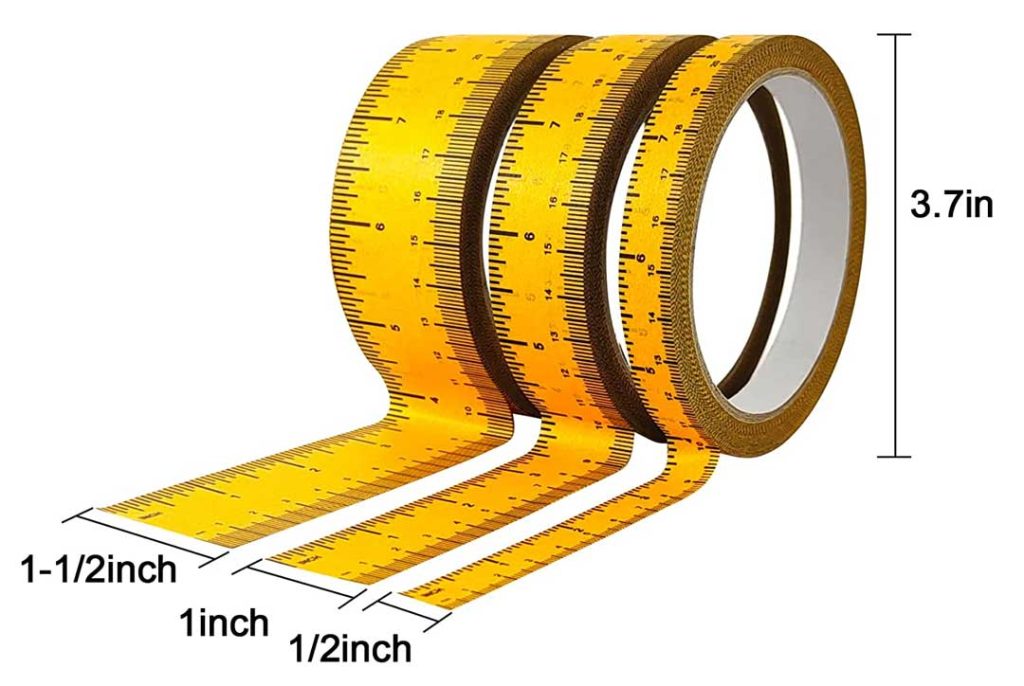
There are times when having a measuring tape with a sticky backing comes in handy and there are multiple types available. Look for ½”, 1” and 1 ½” widths, and differing calibrations. Sticky masking tape comes with incremental markings of 1/16” up to 1/8”, and some brands come with metric markings as well. The tape can adhere not only to your cutting table or sewing machine base plate, but to your garment or other sewing project to help mark seam allowances, pleat spacing, buttonhole lengths, quilting or topstitching lines, etc. It won’t damage the surface on most fabrics and leaves no residue.
Buttonhole Knife
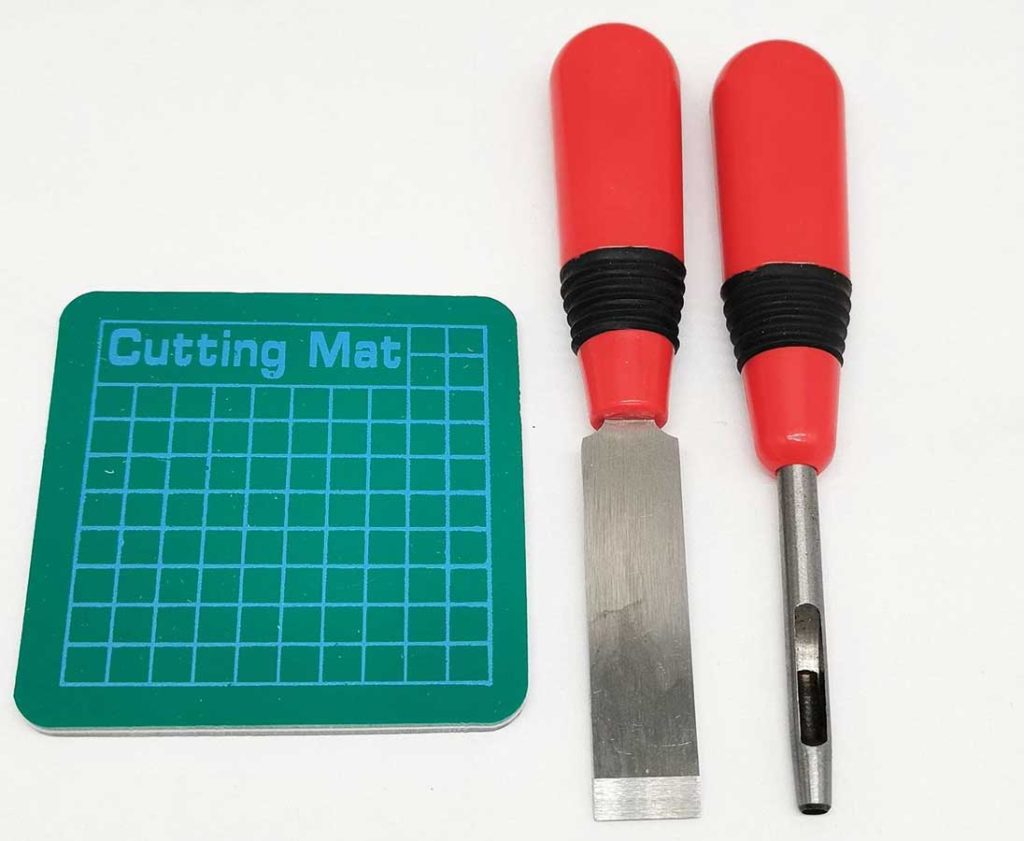
There’s nothing scarier than having your garment all finished and it’s time to cut open the buttonholes. One slip and you’re facing some creative solutions to repair and disguise potential errors. A buttonhole knife helps with that trepidation. Coming with a tiny cutting mat or a wooden cutting block to protect your table surface, the cutter has a sharp knife edge to slice open buttonholes without severing the stitches. It can be used straight on or at an angle, depending on the size of the buttonhole. For keyhole buttonholes, some cutters also come with a separate punch to open the circular end. Just press down on the tool for a smooth cut. If the buttonhole is longer than the blade width, move it along the length after the initial cut.
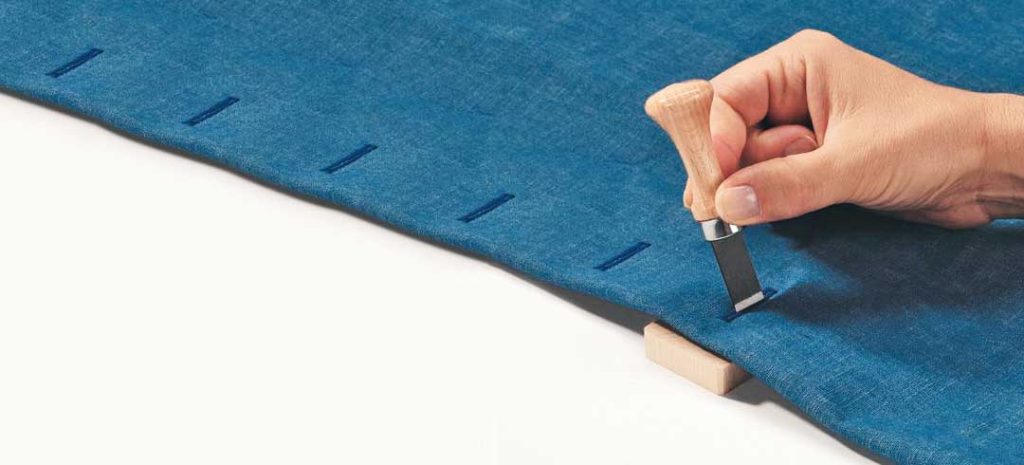
Stiletto
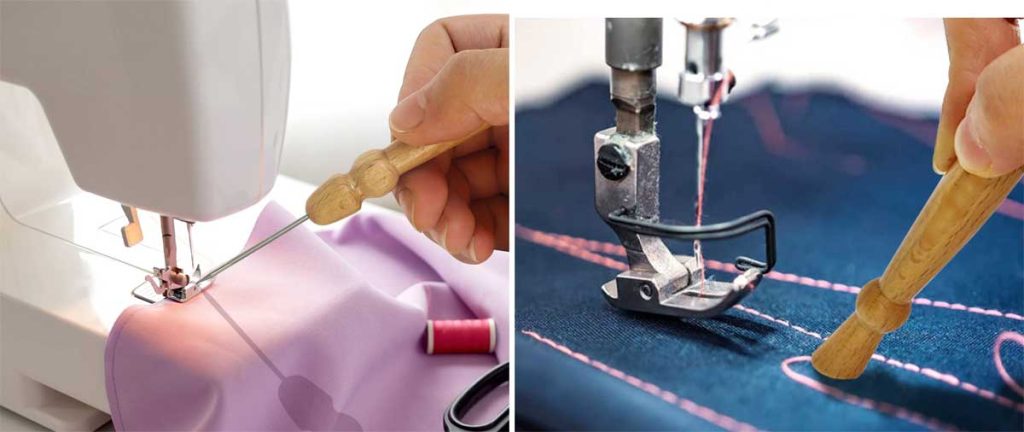
If you have ever wished for a third hand, the stiletto is your answer. This sharp little tool is handy for guiding fabric under the presser foot and aligning edges as you sew. It fits very close to the presser foot—closer than your fingers. If you’re crossing over seams, it can hold them open as you pass, or push them in a single direction if preferred. When sewing bulky fabric like wool suiting and coating, the stiletto can help push them flatter as you approach the presser foot. Tedious needle-turn appliqué is easier with a stiletto, as you can easily fold under the fabric’s raw edge with the point. Sharp-pointed stilettos can also be used to punch holes for eyelets or grommets. Most stilettos are metal, but others are plastic or bamboo and some brands of stilettos have a blunter point than others, but function in a similar way (except for punching holes). Don’t have one? Use the longer point of your seam ripper for the same functions, or hunt up a super-sharp porcupine quill!
~Linda Griepentrog is the owner of G Wiz Creative Services and she does writing, editing and designing for companies in the sewing, crafting and quilting industries. In addition, she escorts fabric shopping tours to Hong Kong. She lives at the Oregon Coast with her husband Keith, and three dogs, Yohnuh, Abby, and Lizzie. Contact her at gwizdesigns@aol.com.
 Everyone knows that a lined skirt will look new longer, wrinkle less, hold its shape better, and be more comfortable to wear. But since it takes quite a bit longer to sew a lined skirt, it’s easy to succumb to temptation and simply make one sans the lining.