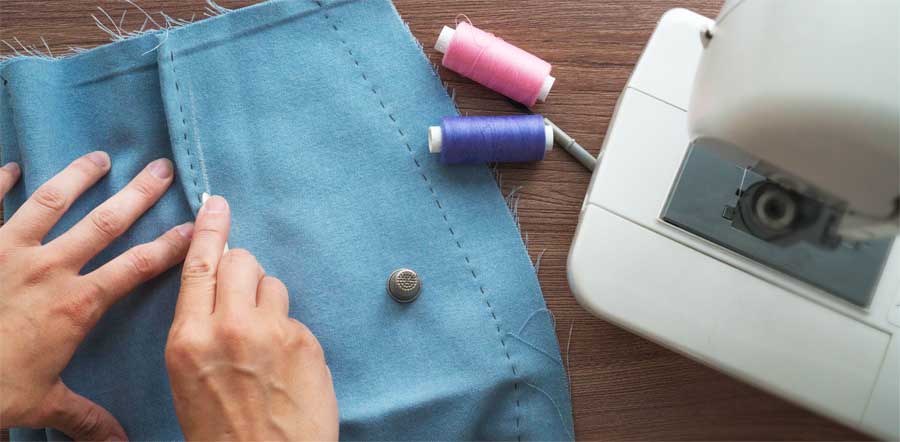
The tracing wheel may be a sewing notion you were first introduced to when you began sewing, as it’s a handy way to transfer construction markings from the pattern to the fabric. Whether it’s patch pocket locations, a zipper opening, buttonholes, darts or pleats, using a tracing wheel is a quick way to get accurate markings for sewing.
Tool Styles
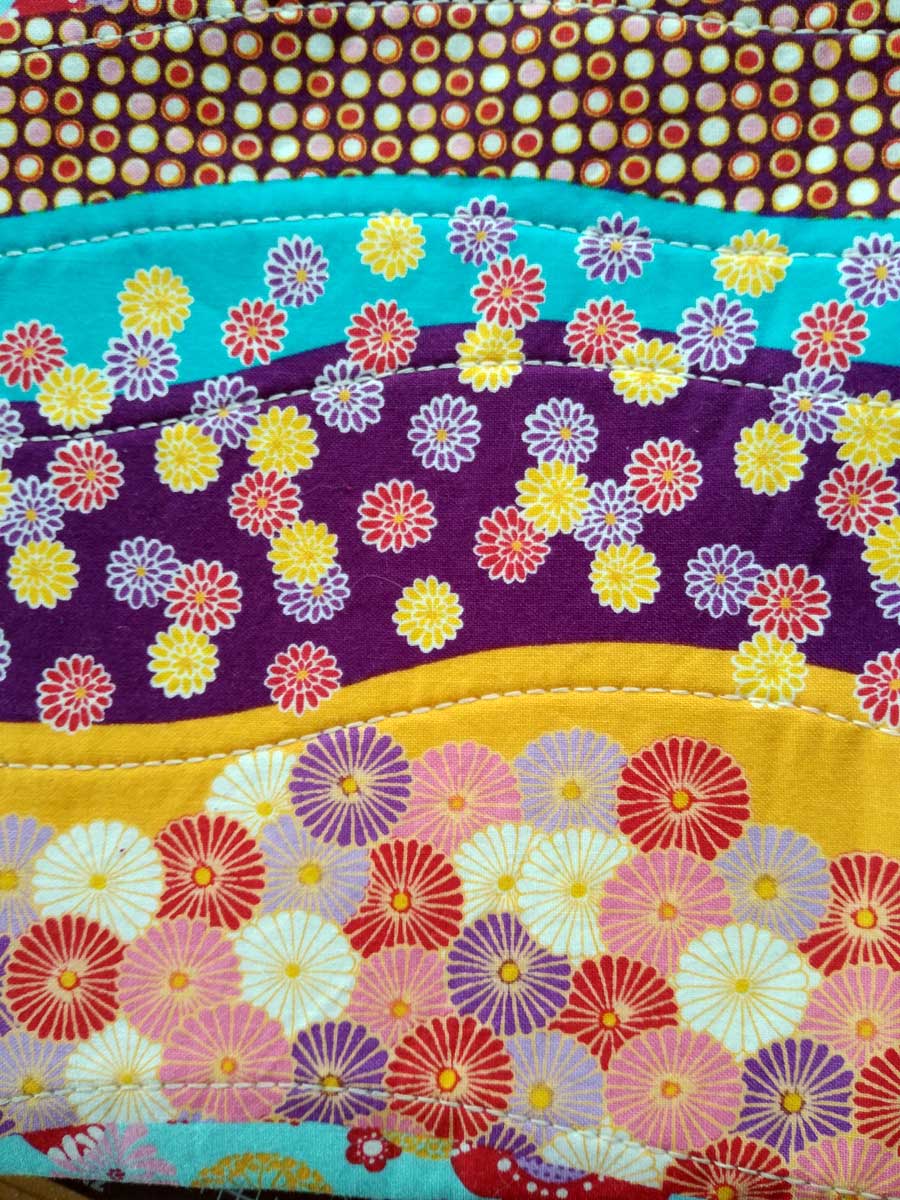
Tracing wheels come in several different styles, depending on their use. All should be used on a hard, flat surface for best marking visibility.
Double Wheels
If you’re working with a pattern that doesn’t include seam allowances, you will need to add them before cutting your fabric. An adjustable double wheel uses two heads and you can select the spacing between them, depending on the desired seam allowance, from ¼” to 1 ¼”. The heads snap into a handle and remain parallel to each other for accurate marking outside the original pattern outline to add fabric for seams.
In addition to being able to add seams, a double wheel allows you to mark the original pattern outline, so you have a marked line to follow for sewing. This is especially helpful for beginners, and for any garments that may require some fitting adjustments.
A double tracing wheel can also be used to enlarge or decrease a pattern size, by adjusting an even amount in the needed areas.
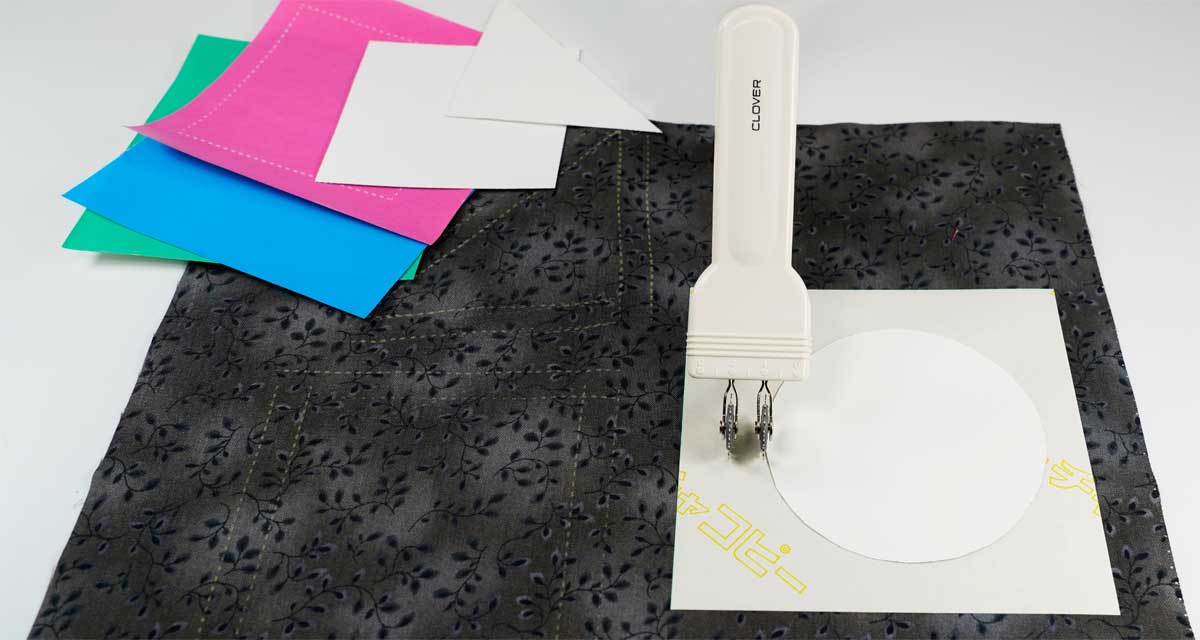
This type of tool is versatile, as you can also use it with just one head if you prefer.
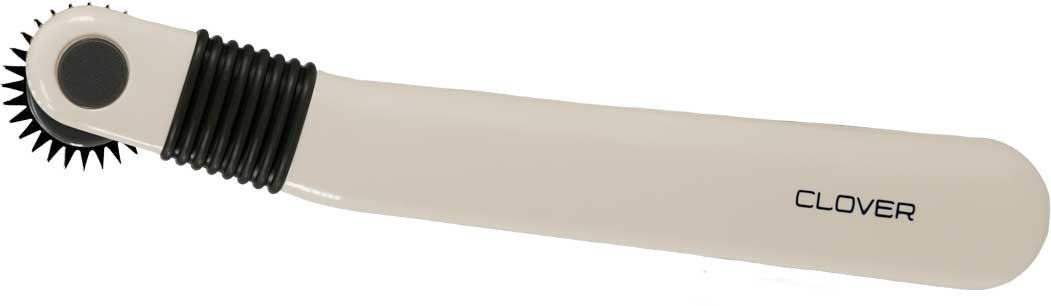
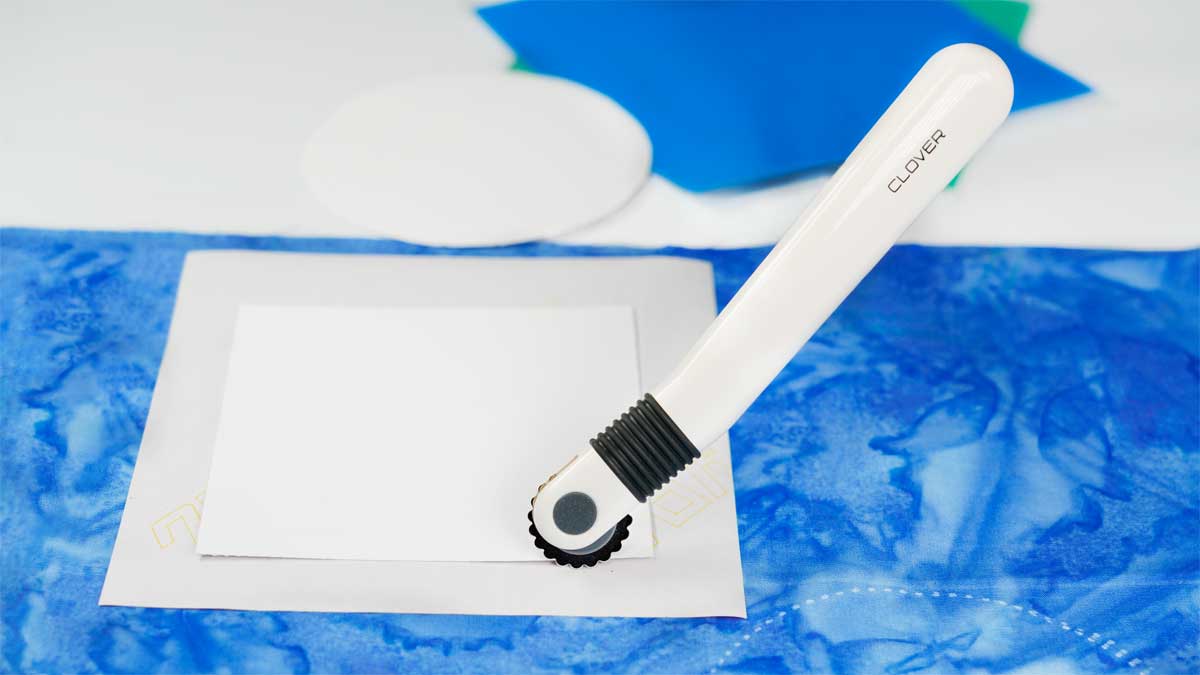
Smooth Wheels
Looking like a tiny pizza cutter, only not sharp, a smooth tracing wheel makes a continuous, unbroken marked line. On fabrics that are impressionable (i.e. the marked line shows without using marking paper), the smooth wheel can be used to trace the pattern outline for cutting without pinning. This is especially handy for things like leather or vinyl, where pin marks are permanent. Just wheel around the pattern outline and cut on the impression line.

Serrated Wheels
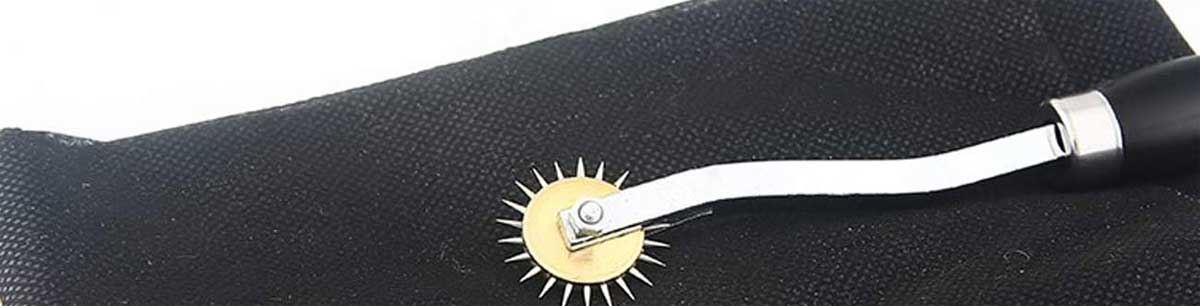
If you don’t need a continuous line, but a dotted or dashed one will do, the serrated wheel with its tiny spiked head points, will make that happen. Because there are spaces between the points, the marked lines come out the same way.
Blunt-point Wheels
On more fragile and lightweight fabrics, a serrated wheel may cause some surface damage, so switch instead to the blunt-point wheel. The small scallops are gentler on delicate fabrics, but produce an equally visible line as their spikey counterparts.
Needle-point/Spiked Wheels
Made with long spikes, these wheels are best used not for marking, but for tracing patterns onto tag board or crisp paper. Simply trace the original pattern outline to create a more permanent pattern, handy for reusing multiple times. It can also be used to perforate leather for easier stitching. If you use this wheel on fabric, most will become damaged from the small holes it creates.
Using a Tracing Wheel
Tracing wheels are most often used with some type of tracing or transfer paper. The paper is available in multiple colors, and today, most tracing paper markings wash out. If you plan to use the tracing paper on the fabric right side, be sure it’s designated as “wax-free.”
Caution: Some tracing paper markings become permanent once they are pressed as they’re heat-set into the fabric, so be sure to test products first on your fabric before use.
To transfer markings to a project that’s cut double (with fabric wrong sides together), place the tracing paper between the layers so that color is exposed to both layers. Trace the markings with the designated tracing wheel, remove the paper, and the markings will show on the wrong side of both layers.
If you cut with the fabric right sides together, encase both layers in the tracing paper with the colored side against the fabric wrong sides, and then trace the markings.
If you cut a single-layer pattern, place the colored paper under the layer with the color against the fabric wrong side, then mark.
~Linda Griepentrog Linda is the owner of G Wiz Creative Services and she does writing, editing and designing for companies in the sewing, crafting and quilting industries. In addition, she escorts fabric shopping tours to Hong Kong. She lives at the Oregon Coast with her husband Keith, and three dogs, Yohnuh, Abby, and Lizzie. Contact her at gwizdesigns@aol.com.
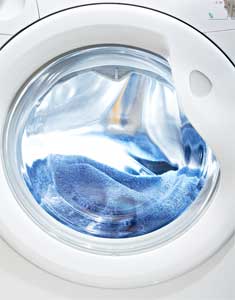 To preshrink, use the same method that you plan to use to launder your finished item. For example, if you’ll be washing and drying a garment by machine, preshrink by machine. If you’re unsure of the best care for the fabric, check the bolt for laundering information (this is a handy. Alternatively, some fabrics also have care symbols on the selvage edge that show care information. Note that there are also some fabrics that have been pre-shrunk or may not be in danger of shrinking. For example, many wools and silks are “needle-ready” and need nothing more than a touch up with an iron before you layout and cut the pattern pieces. With these fabrics, keep in mind that you will need to eventually clean most items regardless. Another item to note is that new fabric is treated with a finishing process to give it that lovely shine and polish. While it does make the fabric easier to work with for cutting and sewing, the finish will disappear after the first cleaning whether you do it as a pre-shrink or if you wait until it’s time for the item to be laundered.