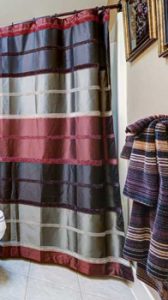
 Nothing’s more fun than sprucing up your home and as sewers, a little refresh is easy to do. So, why not start in the bathroom with a fun fabric shower curtain!
- Choose a bold print, fabulous stripe or even a luscious solid cotton or polyester fabric.
- Decorator weights work well and often come with coordinates for window treatments.
- A standard size shower curtain will take 5 yards of either 45” or 54” fabric; if you opt for a wider fabric (like 108” or 110”) then you’ll need only 2 ½ yards.
- Remember that you may need extra fabric if you have a print that requires matching.
A standard shower curtain is 72” square, so be sure to measure your tub/shower before you buy fabric and adjust as needed.
Preparation
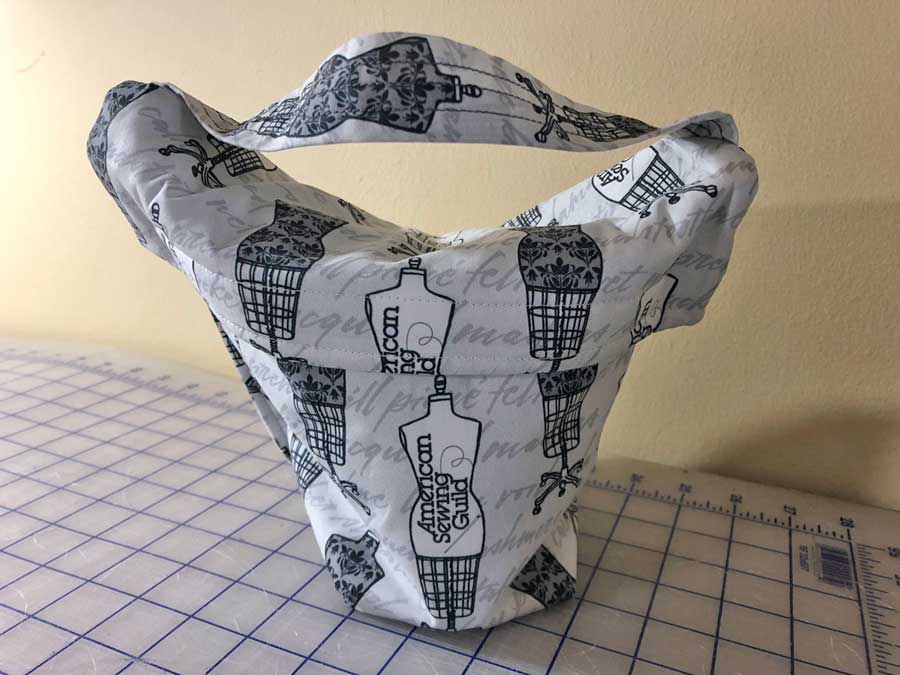
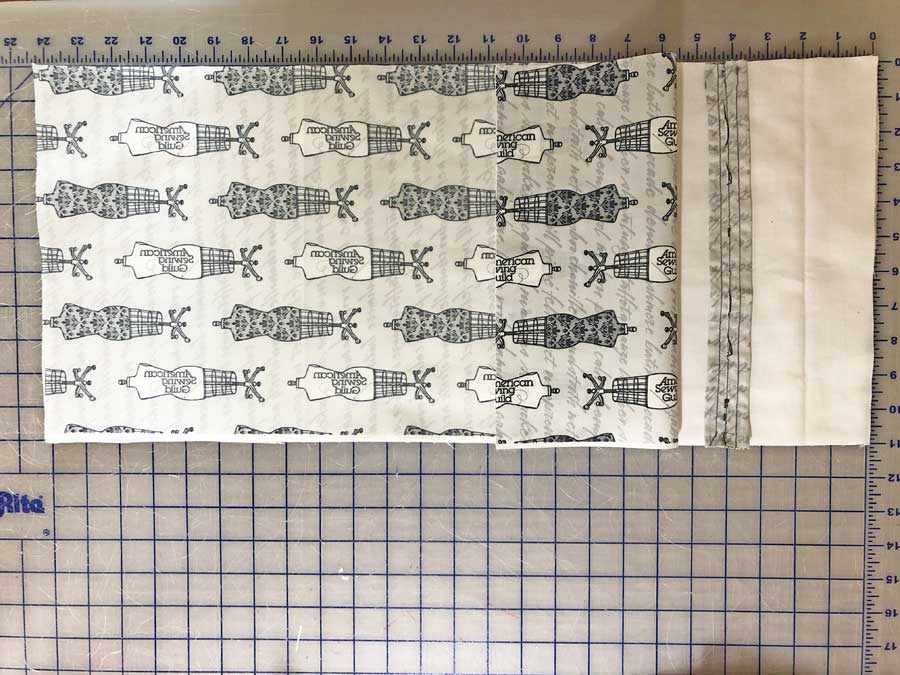
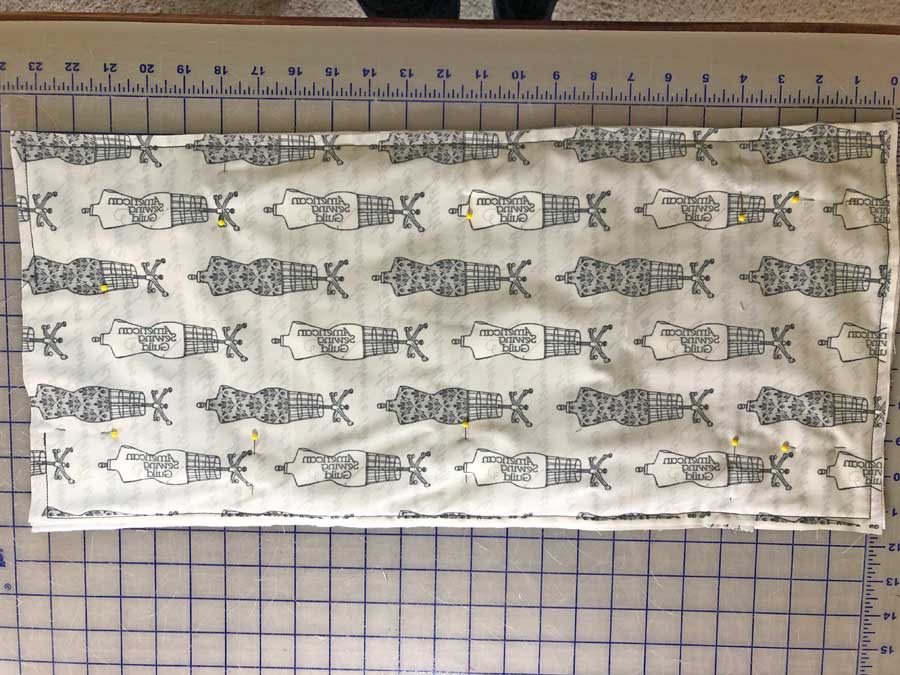
From 45” or 54” wide fabric, cut two panels 88” long, trim the selvages and seam the lengths together. Press the seam open. Trim the seamed piece to 80” wide. Use the extra fabric to trim towels or make a fabric basket for the bathroom.
Making the Curtain
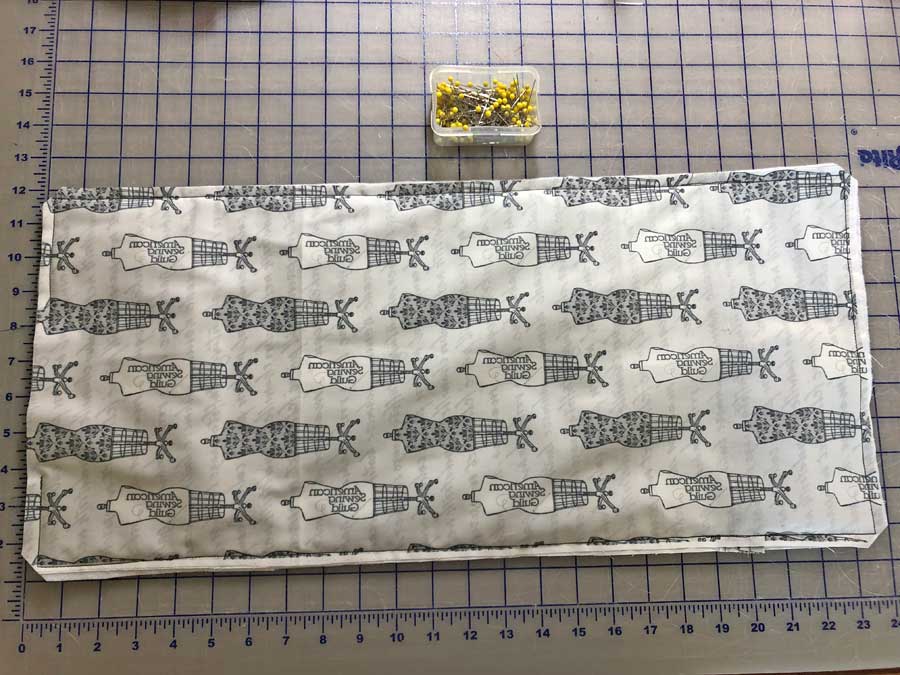
Press a double 2” hem on each side of the curtain and stitch in place close to inner fold.
Press up a double 4” hem along the bottom of the curtain and stitch in place close to the upper fold. To make the shower curtain hang smoothly, include a plastic covered weight in each corner of the hem, or if your tub is metal, a plastic covered magnet for a sure hold.
To make the top hem, fuse a 4” strip of medium-weight interfacing to the wrong side of the upper edge, abutting the seams as needed for the entire width. This provides support for the buttonholes or grommet openings. Press a double 4” hem at the top and stitch close to the lower fold.
Top Treatment
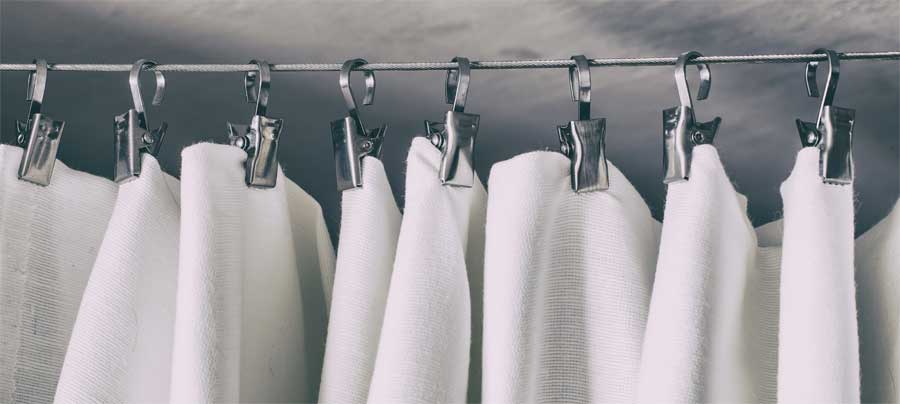
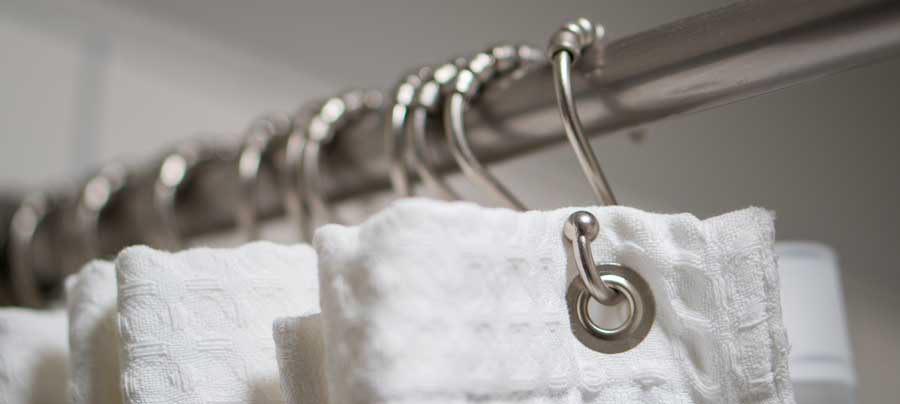
Shower curtains can have one of many options at the top, but a 72” curtain should have 12 openings for attachments of some sort, either metal or plastic hooks or rings. The openings can be stitched buttonholes, or metal or plastic grommets—either large or small–so choose your desired feature. You can even choose spring clips and avoid creating holes altogether.
If you opt for buttonholes, you can hang the vinyl liner on the same rod using the hook/loop set. If you opt for large grommets, then you’ll need a separate rod for the vinyl liner.
For buttonholes, evenly mark 12 hole placements 1” from the finished upper edge. Stitch a 1” long buttonhole at each mark. For quick and easy marking, lay your vinyl shower curtain liner on the wrong side of the fabric curtain and mark through the liner openings so they’ll align. Carefully cut open the buttonholes after stitching.
If you’re using either small or large grommets, follow the manufacturer’s instructions for insertion.
Decorating idea
As easy as it is to make a shower curtain, stitch some for different seasons and holidays to change up your décor. Or if company is coming, try a different theme they can relate to. Personally, we have friends who love everything Disney, and a Mickey print shower curtain brings a smile to their faces when they visit.
~Linda Griepentrog
Linda is the owner of G Wiz Creative Services and she does writing, editing and designing for companies in the sewing, crafting and quilting industries. In addition, she escorts fabric shopping tours to Hong Kong. She lives at the Oregon Coast with her husband Keith, and two dogs, Yohnuh and Abby. Contact her at gwizdesigns@aol.com.

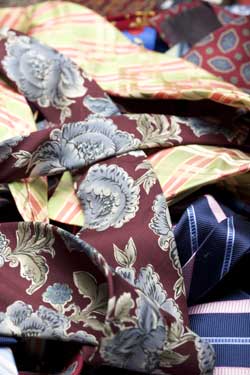
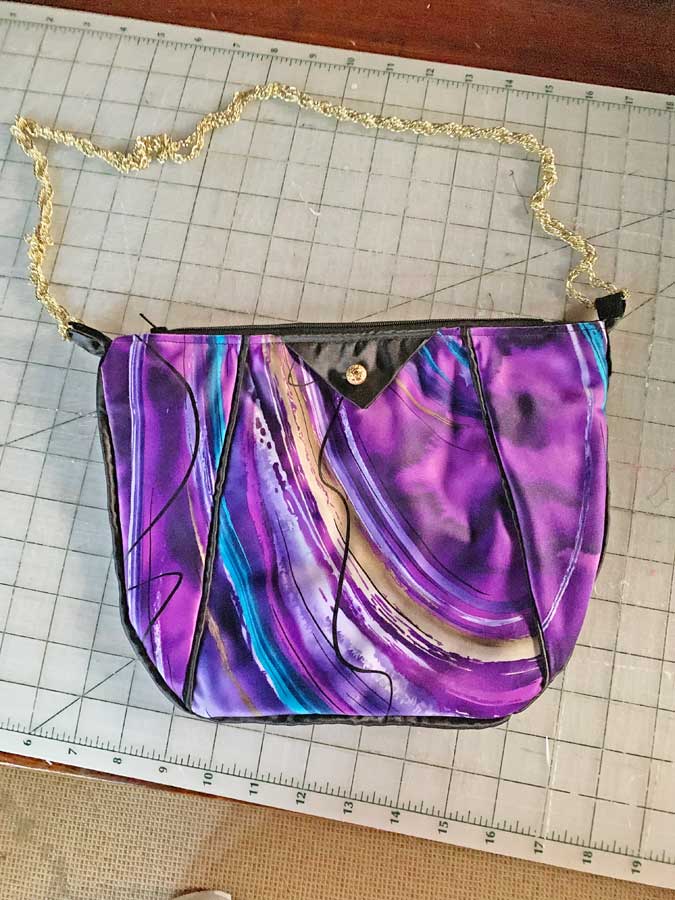
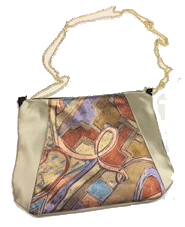 Since I love making purses, I decided to go in that direction. The deconstructed tie yielded a piece of fabric that was 7 ½ inches at its widest point. I took two foundation pieces of fabric and laid the wide points of the ties centered on the foundation. Then I played with the remaining pieces and tried to match the swirls of color on either side of the main sections. Luckily the ties were close enough to being identical that I was able to get both the front and back to look similar. But how could I attach the pieces and make them look attractive and not just patched?