 Do you have scraps of faux fur leftover from other projects? Or maybe you have other fur items you’d like to repurpose into something else? Try making just 2 pompoms, and you may become “pompom crazy!” A major symptom: embellishing everything in sight with puffy little faux fur pompoms.
At a glance, tracing circles on fur scraps may appear to be a child’s craft…and it very well could be. On the other hand, high-fashion furriers use pompoms as zipper pulls, whimsical embellishments, to finish the ends of a scarf, and so much more.
Let’s get started!
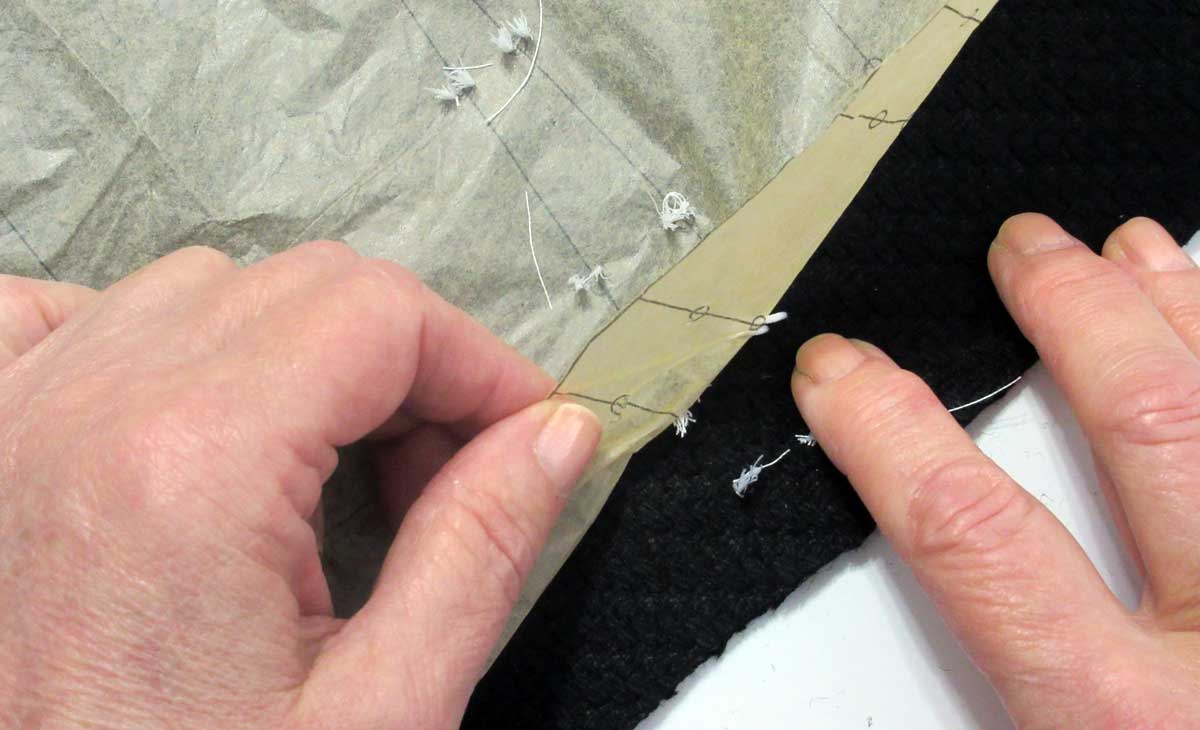
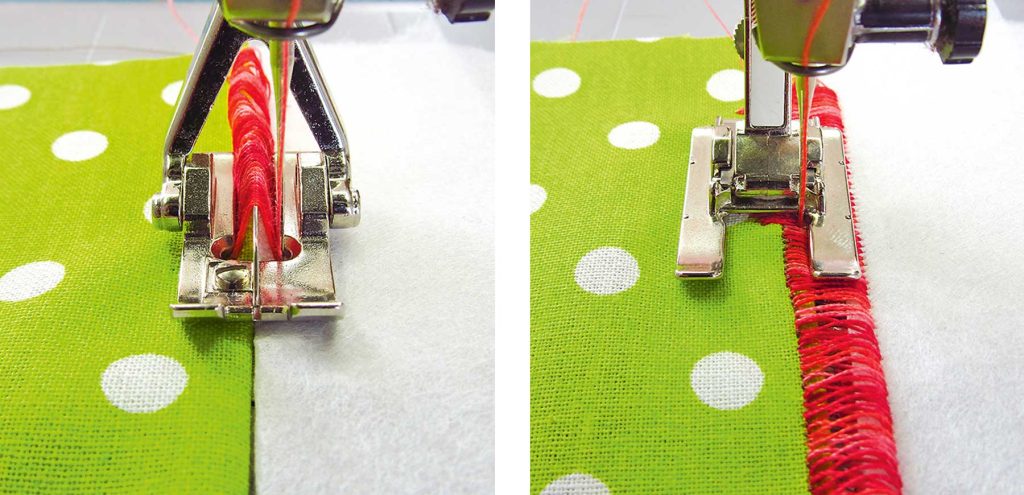
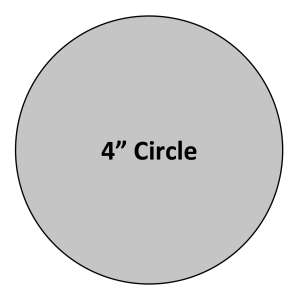
- Trace the pattern on the fur backing, or simply trace a 4″ round lid, cup, etc. on to the back of the fur piece (Figure 1).
- With a snipping motion—and cutting through the backing only—cut out the circle.
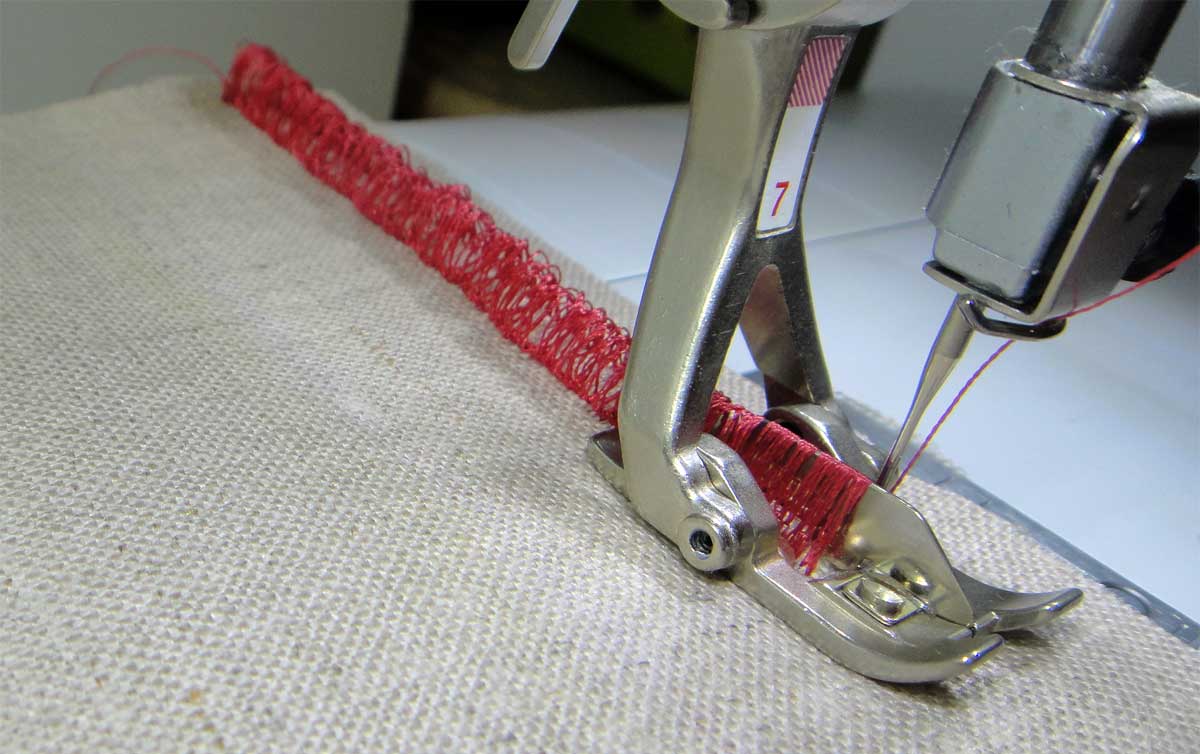
- Set your machine stitch for a long, wide zigzag stitch (4W,4L).
- You’ll need 13 inches of strong cord such as twine, yarn, or a double strand of ordinary sewing thread.
Because fur is so forgiving, thread color matching is unnecessary so use whatever color of thread is currently in your machine.
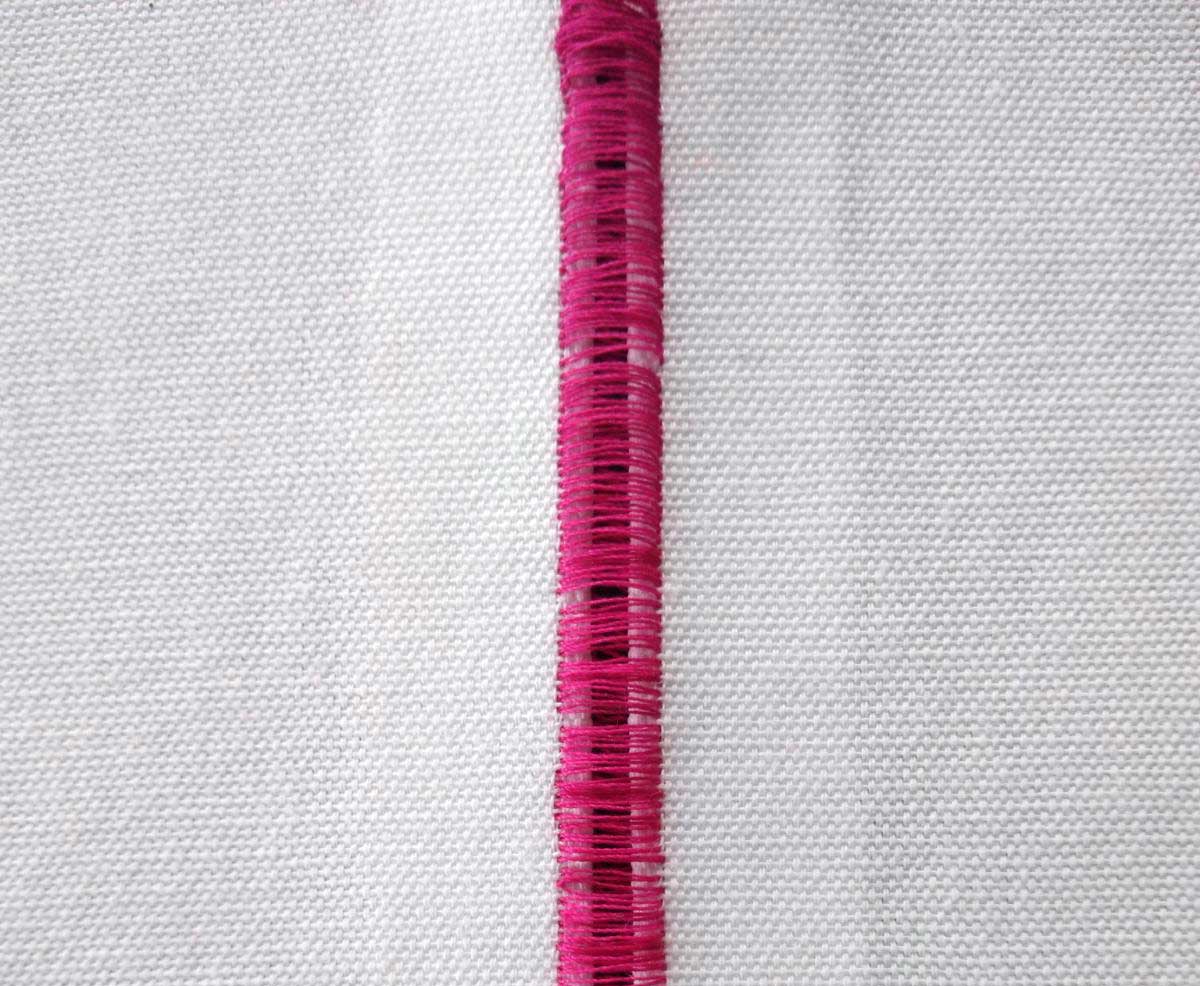
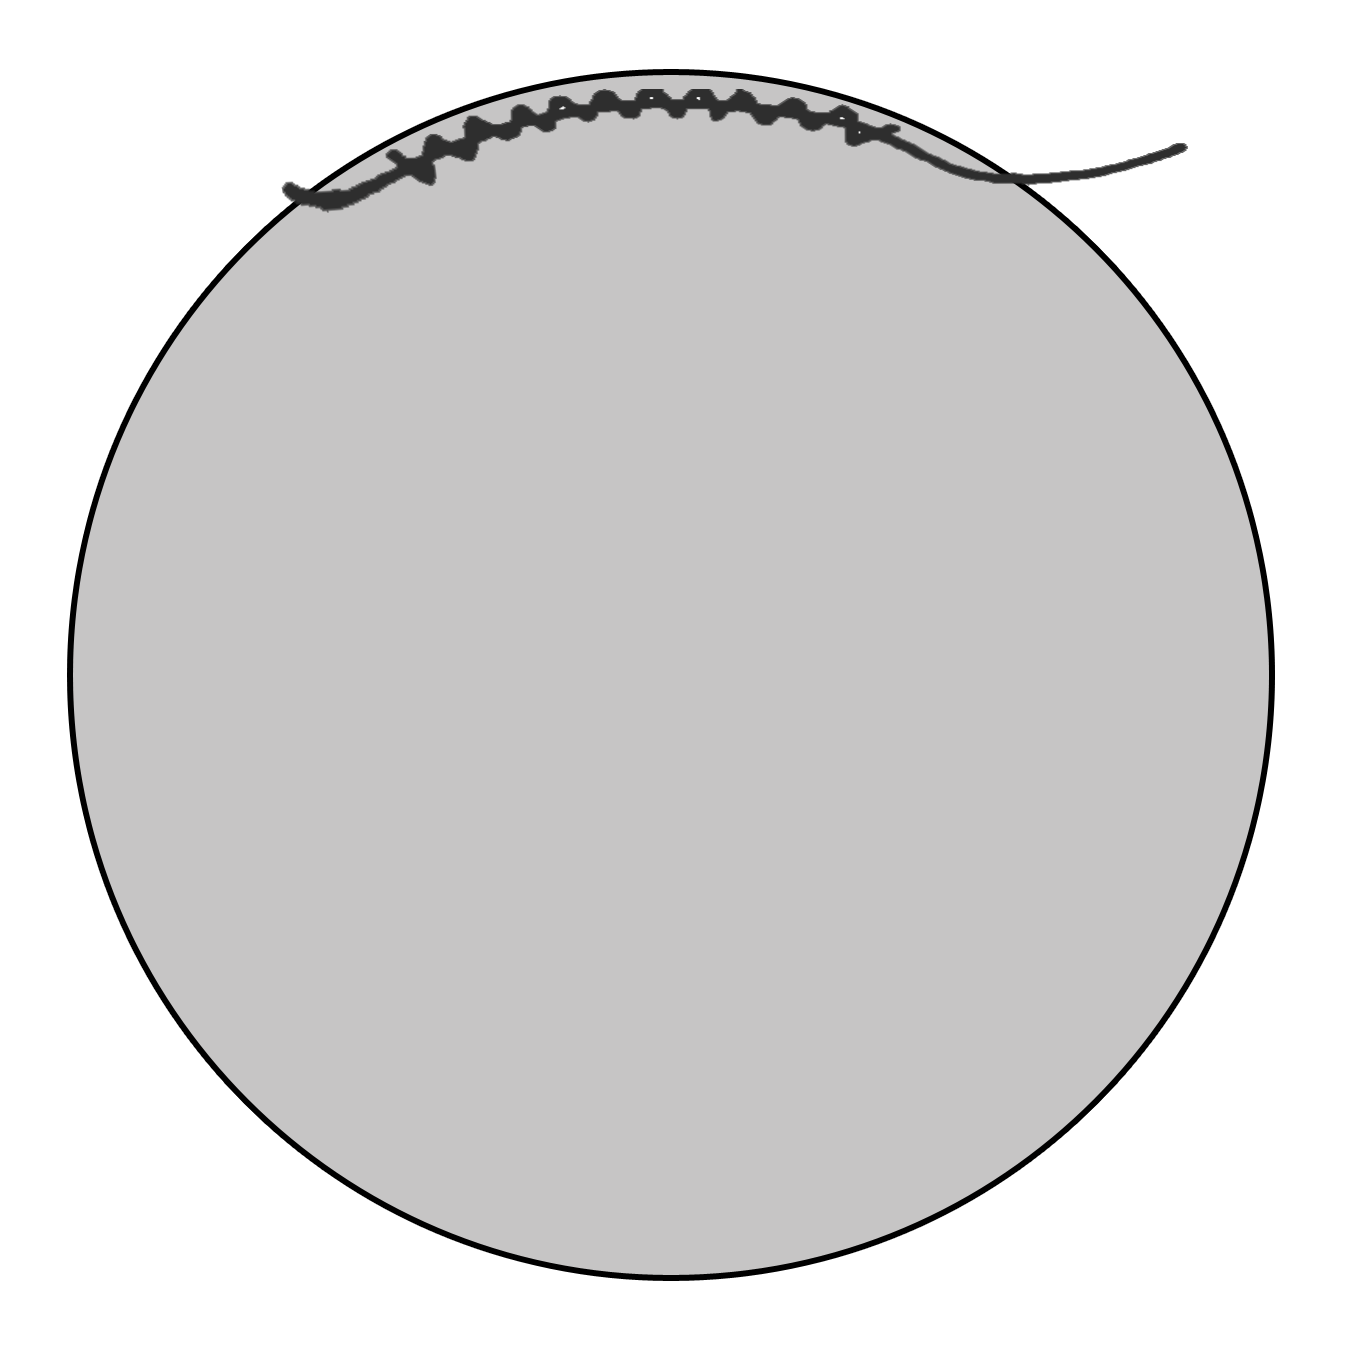
- Using the zig-zag setting, stitch close to the edge with the backing side up and the cord, twine or doubled sewing thread centered under the zigzag stitching (Figure 2).
- Sew completely around the circle, back-tacking at start and finish.
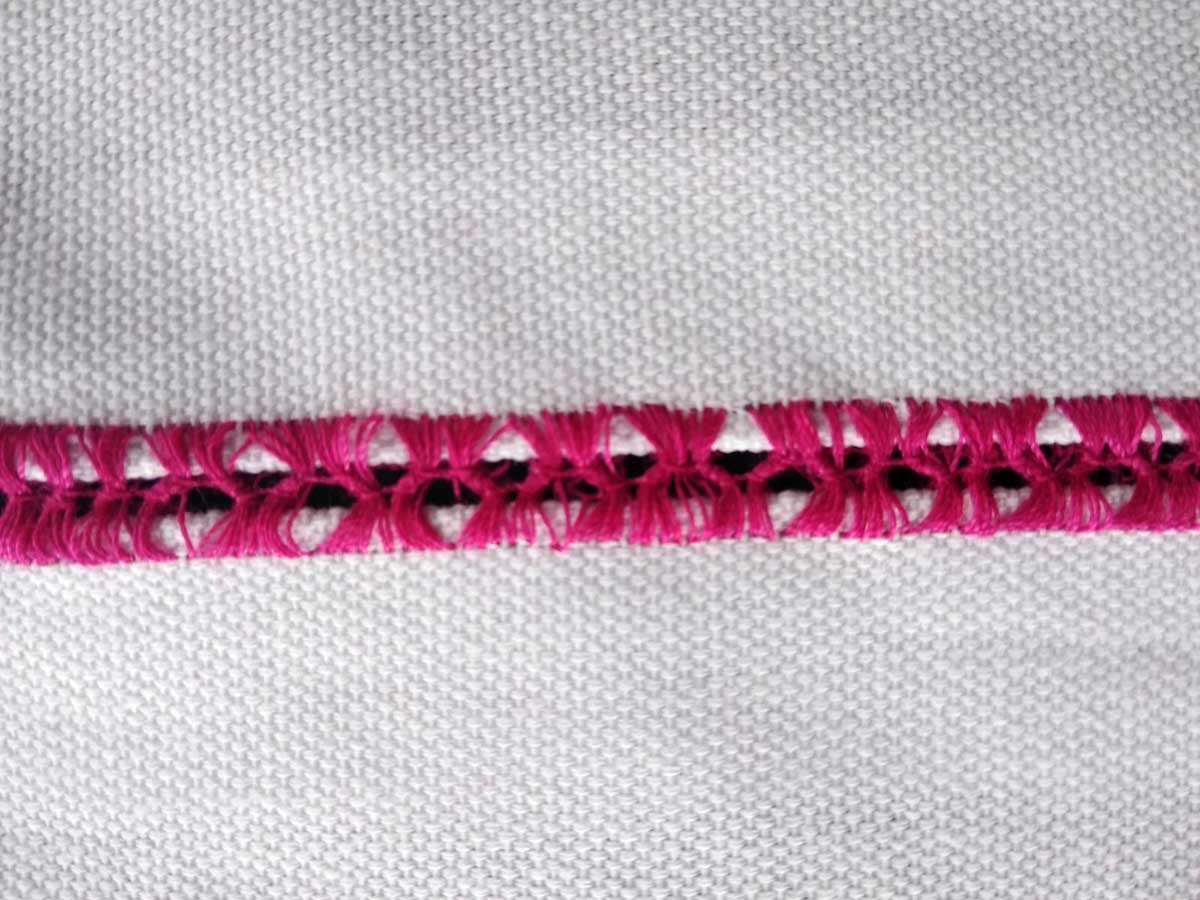
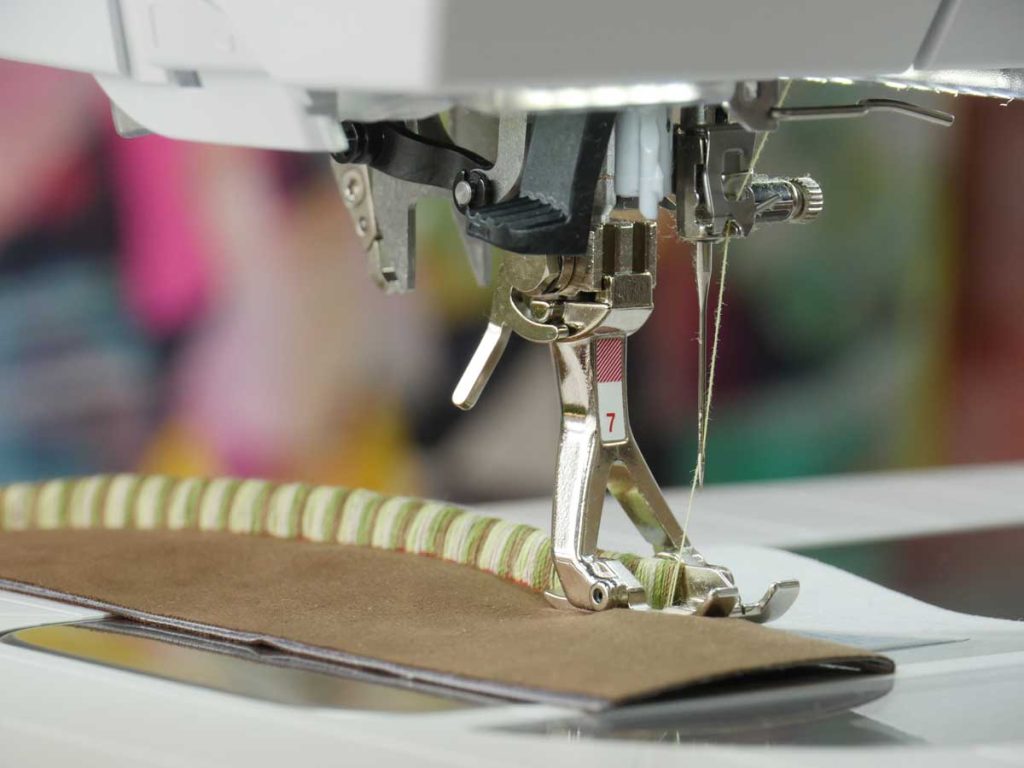
- Grasp cord ends and pull up gathers (Figure 3).

As if by magic, a puffy ball forms. Tie off the cord, leaving ends long enough for securing the pompom to whatever you embellish.
If your pom-pom needs some pouf, stuff lightly with cotton balls.
 For a Zipper Pull
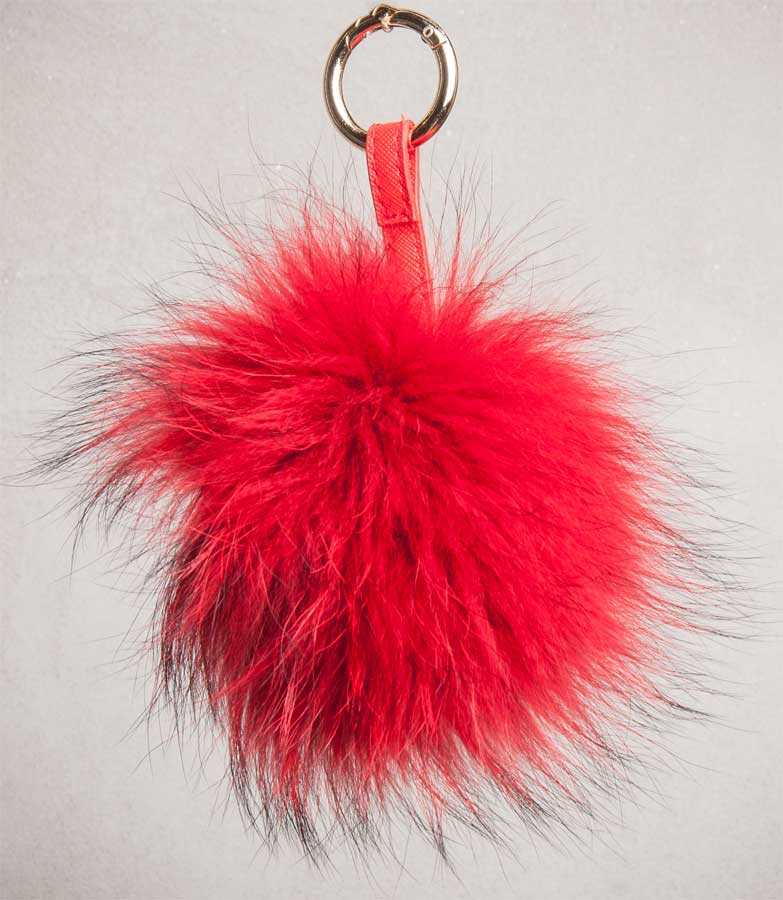
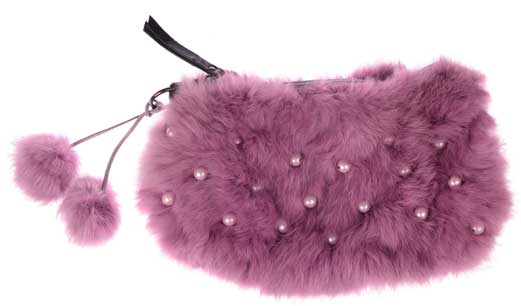
- Tie a pompom to a zipper pull. just as furriers do on S5.000 jacket.
For a Hair Tie
- Secure a pompom to an elastic hair band for a pony tail with panache.
For a Velvet/Fur Tie
- A length of black velvet cord and two pom-poms. one black. one white, equals a hair tie with star quality.
For a Neck Accessory
- For a fabulous holiday look, wear the above velvet! fur tie at the neck of a silk shirt.
For Everything
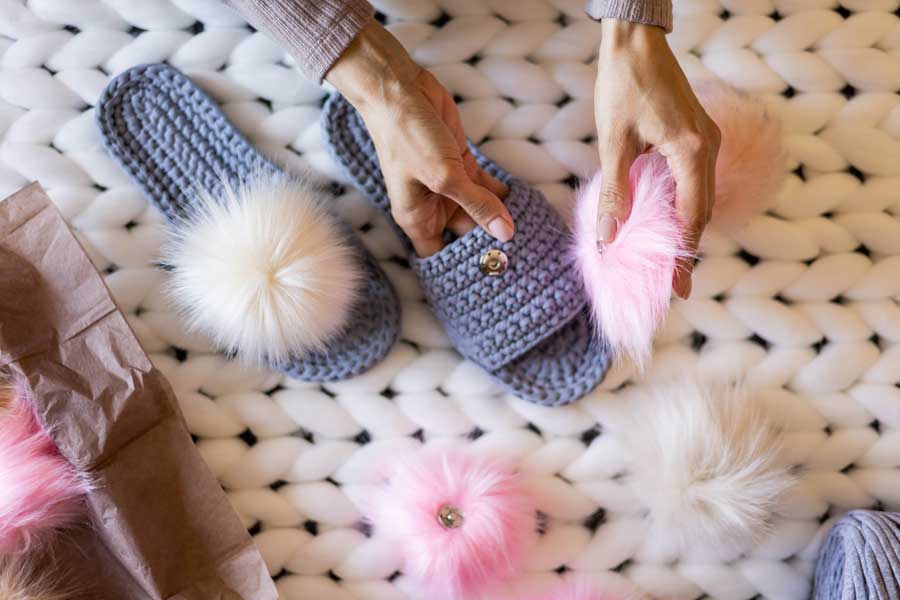
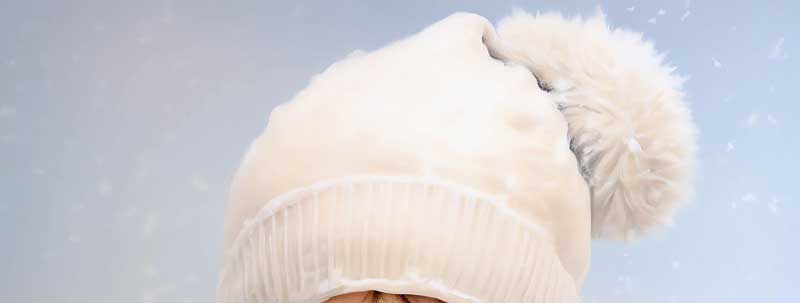
- Add fur pompom to everything: a knit cap, scarf ends, shoe tops, draw cord ends, shoe ties, or slippers.
- Sprinkle a faux fur jacket or wearer with fur pompoms.
- Use as buttons.
- To change the size of the pompom, just change the size of the circle.
~Based on an article by Donna Salyers, Fabulous Furs