


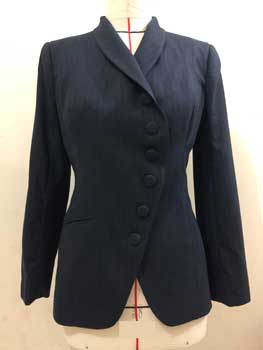
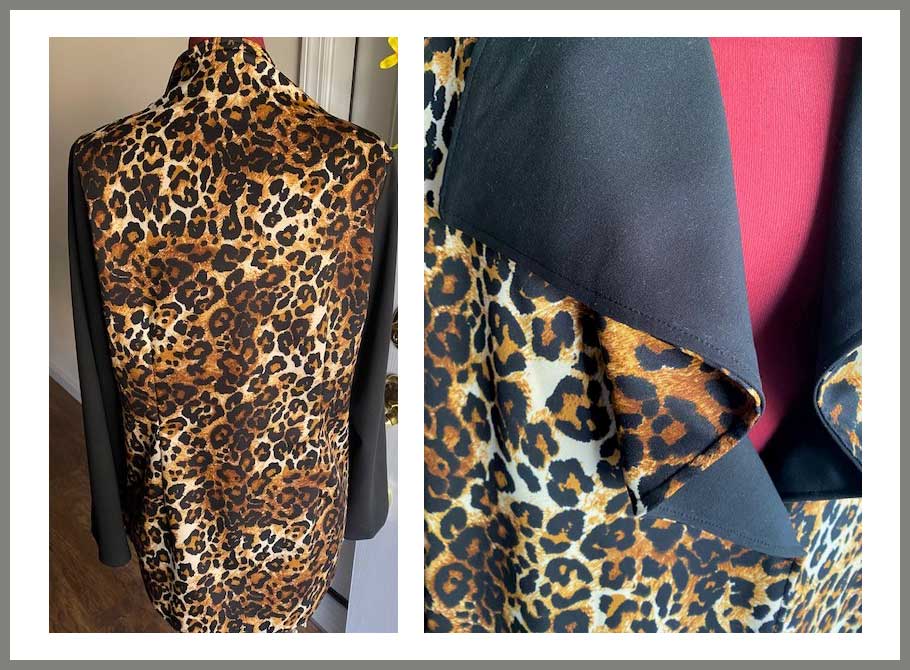
 Not all tailored garments are lined so that the interior seams are covered. Some are unlined, either because of the construction or style—think lightweight wool jacket or loosely woven wool wrap coat for spring.
Without a full lining to cover the interior seams, they’re subject to abrasion and potential fraying, depending on the fabric weave. This can affect longevity and certainly the appearance of the garment. One solution is a Hong Kong seam finish.
This finish can also be used on fully lined garments, just to neaten and keep seam allowances from potentially fraying under the lining. And it’s ideal for sportier garments too, like denim.
What is a Hong Kong finish?
It’s like a bound seam, with individual seam allowance edges encased with lightweight fabric, like silk or other lining material to hide the raw edges. A bound seam uses a double layer of fabric to encase the edges, but a Hong Kong finish uses a single layer. The lightweight fabric can match the garment or contrast for a bit of fun, and can be solid or print.
The technique works on straight and curved seams. Because there’s a single fabric layer covering the fabric edge, cutting the finishing strips on the bias prevents fraying and allows for curved shaping.
The Hong Kong finish is ideal not only for seam allowances, but also for encasing facing edges and hems. Use this technique on seams that are already sewn and on completed facings before attaching them to the garment.
Creating a Hong Kong Finish
- Cut (and seam together, if needed) 1”-1 ½” wide bias strips of lightweight fabric for the total length needed for all seam edges to be finished. If the fabric needs a little more body, gently press it with some spray starch or starch alternative, but be careful not to stretch the bias as it will narrow.
- With right sides together, place the strip along the single garment seam allowance or edge, matching the raw edges. Sew with a scant ¼” seam. (image 2 of 3 above)
- Press the seam allowances toward the bias strip.
- Wrap the seam allowance edge snugly with the strip and pin in place. (image 3 of 3 above)
- To finish, stitch in the ditch of the seam, catching the fold-over strip portion on the underside in the stitching.
- If needed, trim the fold-over portion of the strip evenly next to the stitching.
- Repeat for all seam allowances that need finishing.
~Linda Griepentrog
Linda is the owner of G Wiz Creative Services and she does writing, editing and designing for companies in the sewing, crafting and quilting industries. In addition, she escorts fabric shopping tours to Hong Kong. She lives at the Oregon Coast with her husband Keith, and two dogs, Yohnuh and Abby. Contact her at .


 Then, this morning I awoke with the old tv commercial from Dunkin’ Donuts bouncing through my thoughts. Do you remember the one where the baker rose every morning with the mantra, “Time to make the donuts. Time to make the donuts?”
 Another thought also crossed my mind. I have been so focused on making masks to donate to an organization with which I am affiliated, I hadn’t even made any for my family. So now I was on a mission. Masks for the grandkids, kids, hubby, in-laws and maybe even me.
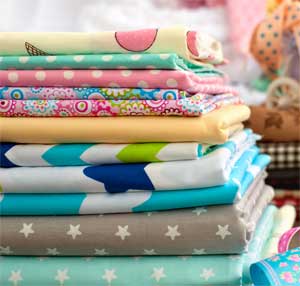
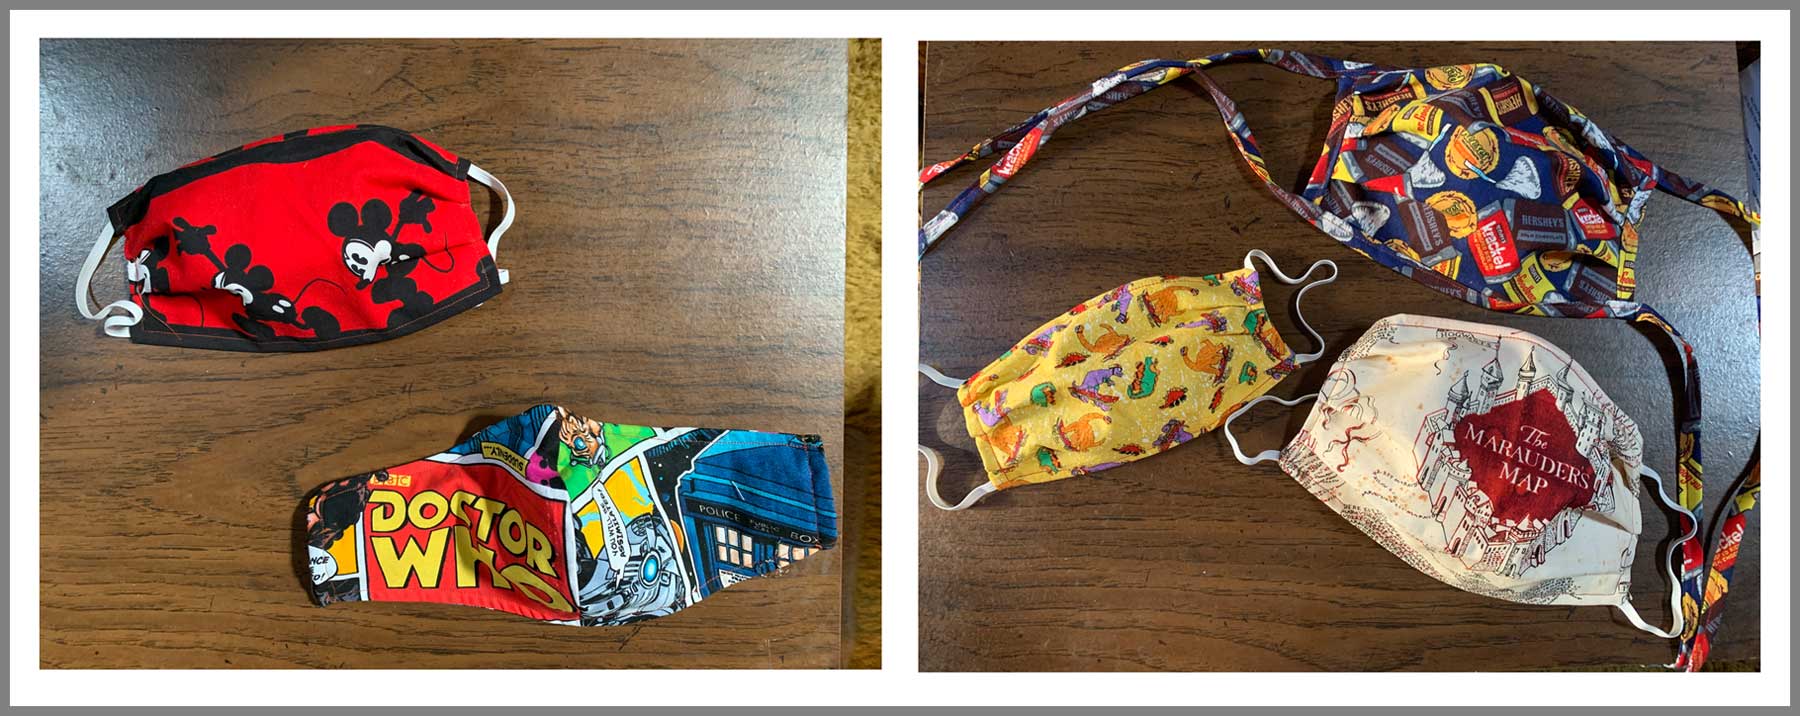
 I spent the rest of my day “playing” with my fabric stash. It was fun — really fun remembering all the things I had made with the original purchases and it brought variety to what had been a boring mass production effort. And the results were very special, very unique masks that matched everyone’s personalities. With fashion statements like these, perhaps masks will be viewed as a fashion accessory instead of a health necessity. Can you see it now, designer masks that everyone will soon be wearing? Or perhaps the next challenge in your chapter fashion show? Maybe it will even be the first challenge on next season’s Project Runway.