 It’s always helpful to have a quick project idea in your toolkit for those times when you need a quick gift or when you’ve finished a difficult project and you just need a simple win. This ten minute table runner is the perfect gift or pick-me-up project.
Material Required
- Theme Print: 10″-12″ (1/3 yard) of theme print, width of fabric (WOF).
- Coordinating Fabric: 18″ (1/2 yard) of coordinating fabric for back/border (WOF).
Note: If the fabrics are different widths, cut to match the widths.
Instructions
- Place right sides together. Stitch along the long edge with ½ inch seam allowance.
- Repeat, stitching the seam along the other long edge.
- Press seams away from center fabric. (see Image #1)
- Turn the right side to the outside. You now have a long tube.
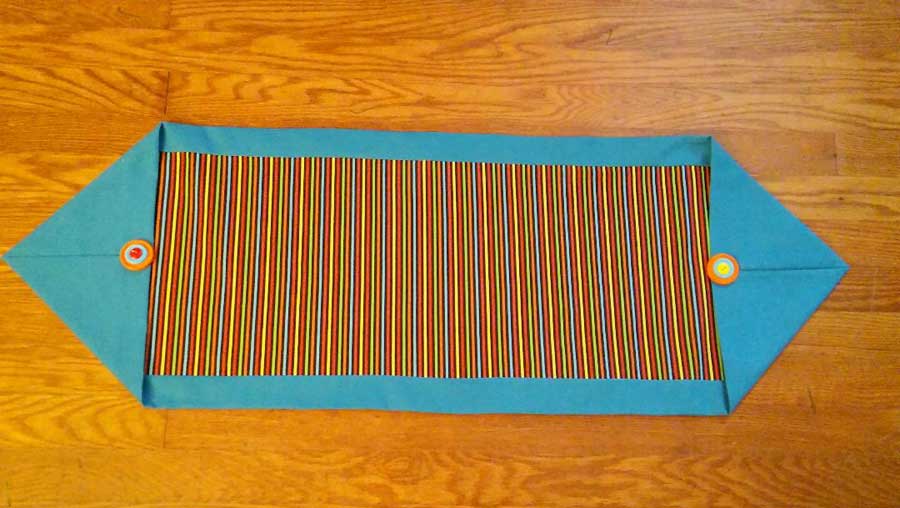
- Lay flat, press so the theme print is bordered evenly on the long side by the coordinating fabric. (see Image #2)
- If necessary, trim the short sides to even them up.
- Fold in half lengthwise so the theme fabric is facing out.
- Sew a ¼” seam allowance across each short end. (see Image #3)
- Press the seam open.
- Turn the seam to the inside, forming a triangle, with coordinating fabric on the front of the triangle. (see Picture #4)
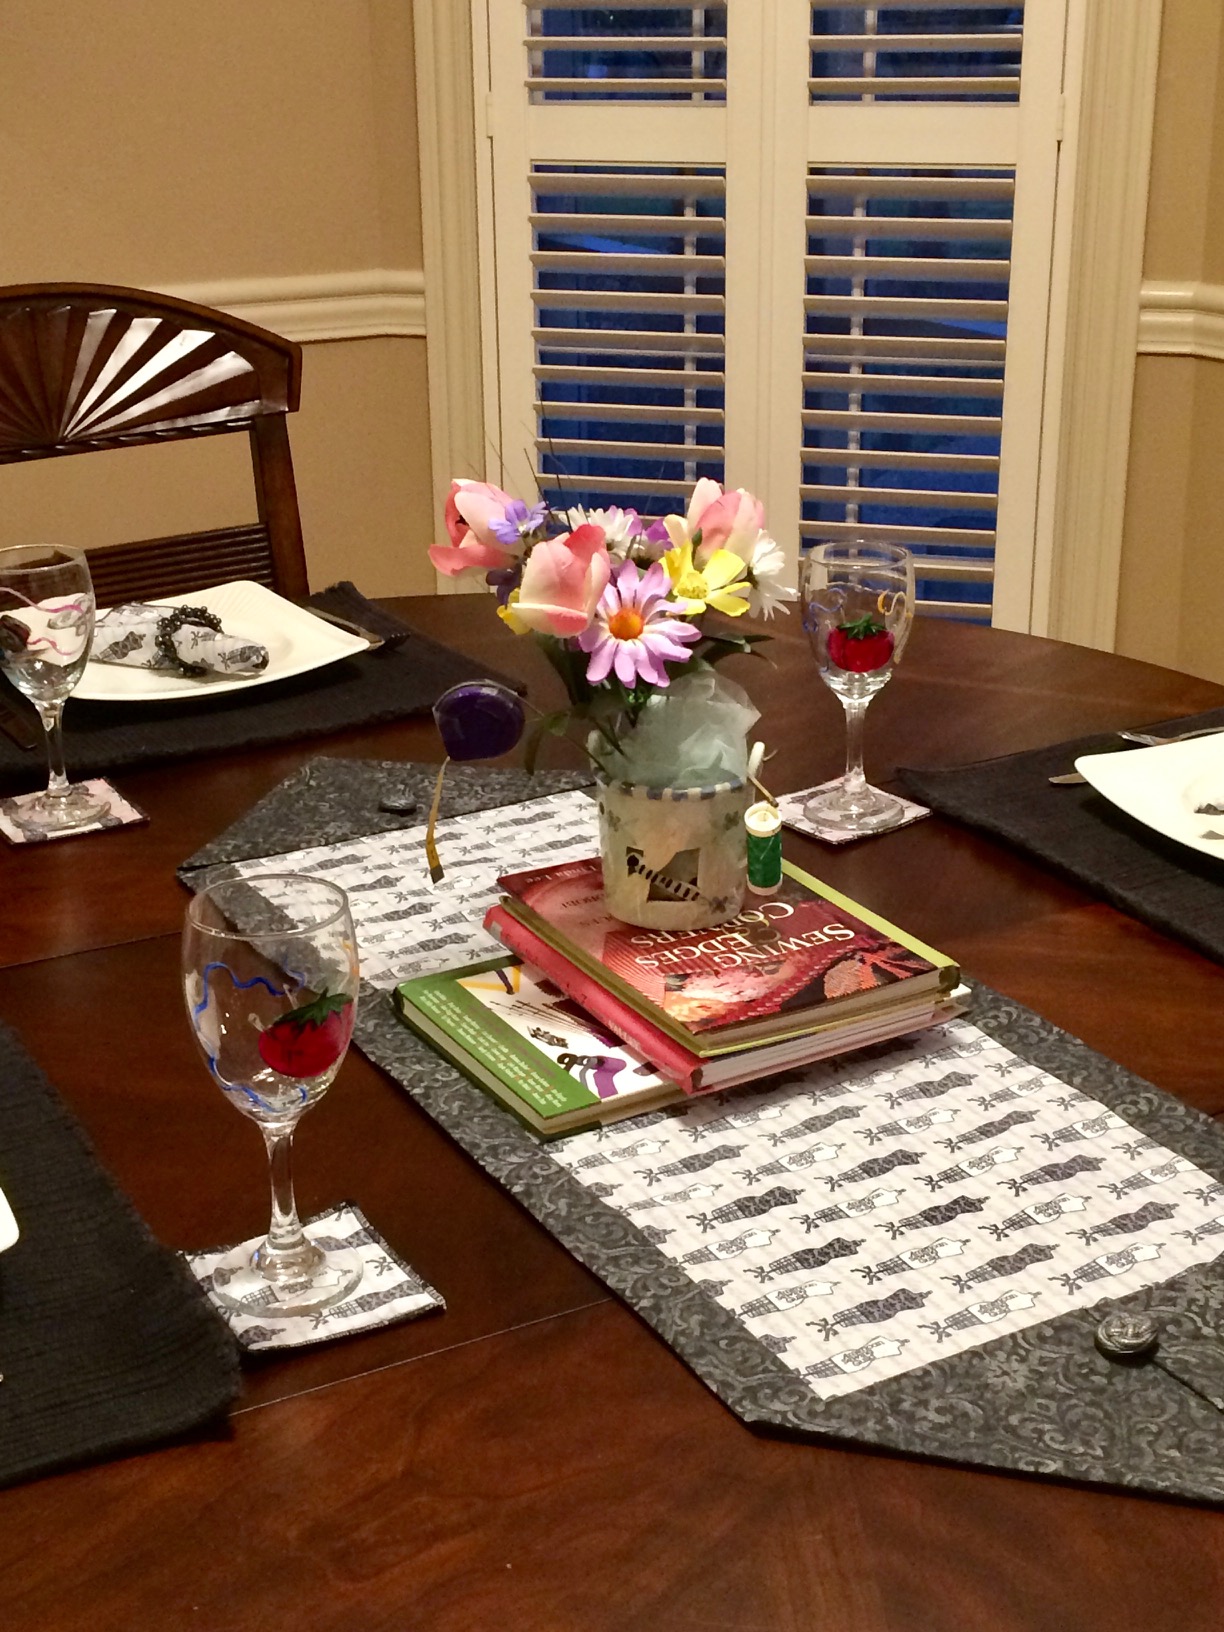
- Finish with topstitch and buttons or other embellishments.
If you can’t quite visualize how these steps will work out, don’t worry! Just take one step at a time, referring to the pictures. Soon you will have created a quick new look for your table!
~ Akron Chapter