Sewing enthusiasts can often be seen wearing testaments to our hobby—sewing-themed T-shirts and sweatshirts and carrying themed totes—just letting the world know of our passion. But in addition to wearables, some go further by embellishing their vehicles—with window stickers, bumper stickers, and even vanity license plates.
Vanity plates are always fun to figure out, especially if you only have a minute or two when you’re stopped behind someone at a traffic light. It’s an “aha” moment when you figure it out before the light changes and you speed off, as it’s sometimes hard to decipher those plates at 60mph. Ask me how I know…
If you’re thinking about getting a personalized license plate, be sure to check with your state department of motor vehicles for the rules before you begin to rack your brain for a phrase that’s allowable, fits the parameters, and most importantly, isn’t already taken. State rules vary considerably and you may be limited to six, seven or, if you’re lucky, eight letters and/or spaces to get your message across. Some states allow punctuation to be included, others don’t, and some allow special symbols like hearts to be part of the tag.
Check With Your State
Each state has certain words and phrases that are disallowed, as they can connote other meanings, refer to body parts, sex, drugs, or are known as swear words. States try to keep up on the latest slang so as not to let offensive combos onto the metal. So be sure to check that list first so you’re not disappointed when you come up with something you think is wonderful that might be misconstrued. If your favorite phrase is already taken, consider if there’s a way you can modify it to come up with a new variation. For example, if ISEW is already in use, consider adding a number or other letters or punctuation to make it new—like ISEW2 or I SEW IT; SEW FUN can become SEW FUN2 or SEW FUN!.

Also check your state regs for the use of numbers within the phrase, as often digits can take the place of whole words or be combined with letters to help fit words within the number of letters allowed. For example, GR8 takes the place of GREAT, but it’s still pronounced the same as if all the letters were used. The number two can denote to, two or too in a chosen phrase. Single letters can also rise to the occasion to sub for words—think of U, B, C, O and Y, subbing for you, be, see or sea, oh, and why, respectively.
So, what kind of sewing specialty license plate do you want? Here are a few ideas, and by no means a complete list, depending on the number of letters and spaces allowed in your state:
Idea Bank
♥♥SEW♥♥
♥2SEW
I ALTER
BOBBINS
CRAFTER
DUDESEW
FABRIC
FABRIC2
I B ASG
I MEND
I QUILT
I SEW
IBSEWN
IM ASG
IMSEWGR8
INSPIRE
ISEW4U
ITSSEWU
LIV2SEW
LUV2SEW
MAKER
MANSEW
MESEW
OH DARN
OH I SEW
PIECER
QUILT NUT
QUILTER
SCRAPPY
SEW BATTY
SEW BUSY
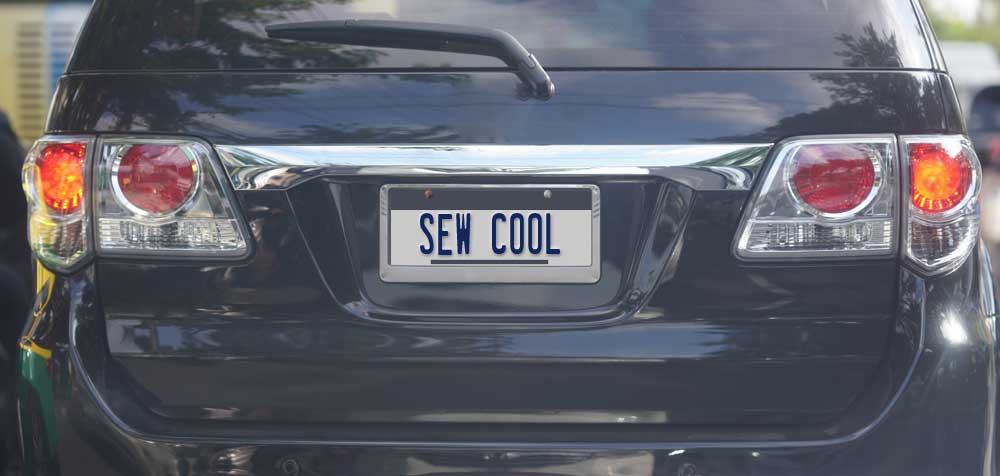
SEW COOL
SEW COZY
SEW EZ
SEW FUN
SEW HOT
SEW IT
SEW MAN
SEW NUT
SEW RITE
SEW SASS
SEW SMRT
SEW WHAT
SEW’N’GO
SEW’N’GRL
SEWBZY
SEWCOOL
SEWCR8V
SEWDIVA
SEWDOI
SEWER
SEWGR8
SEWGR8
SEWHAUTE
SEWING
SEWIST
SEWITUP
SEWLUV
SEWN ♥
SEWNUP
SEWRETRO
STASHER
STITCHER
USEW2?
USEWGRL
WHOSEWS
Y I SEW
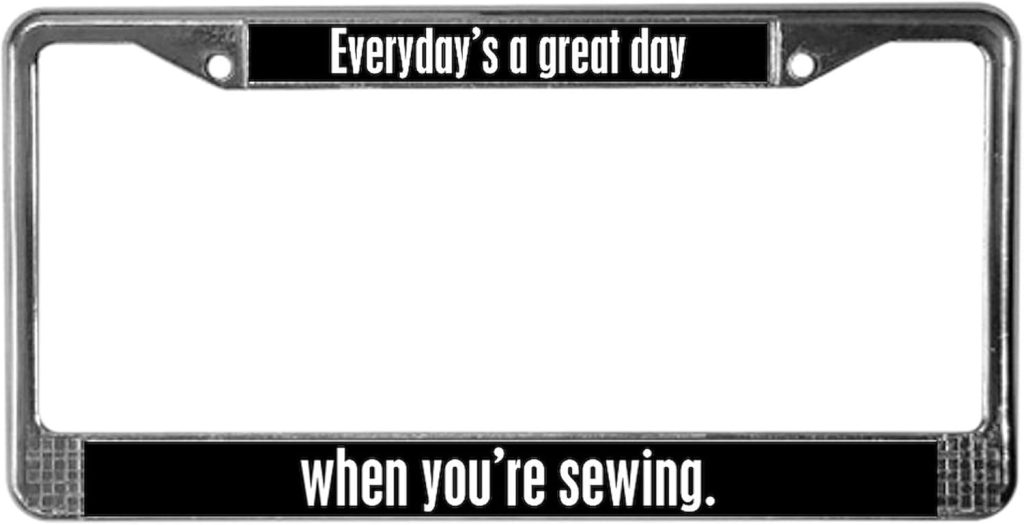
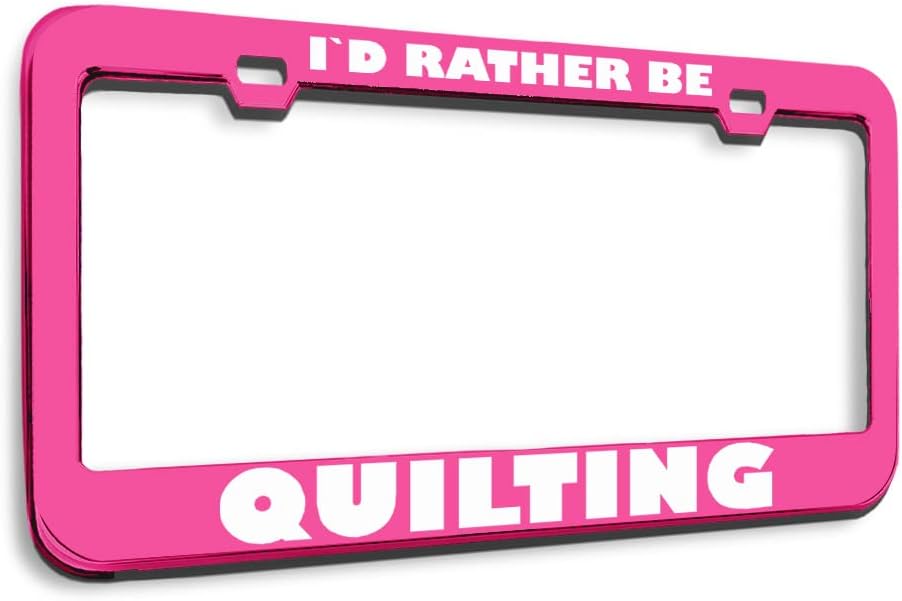
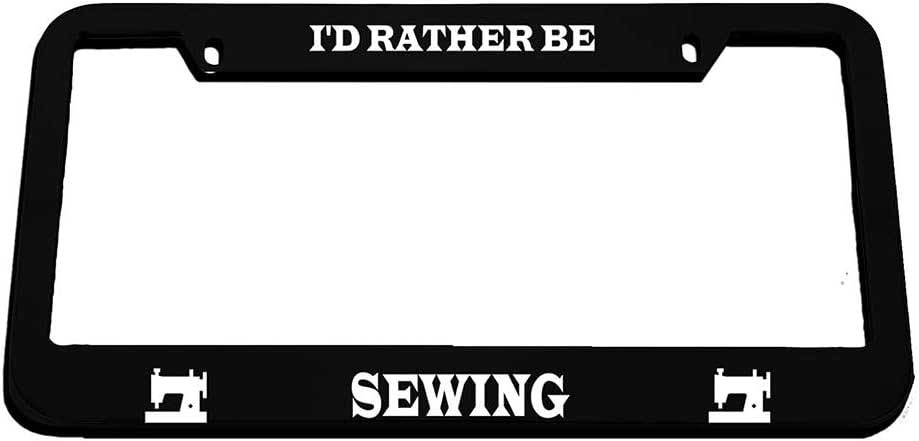
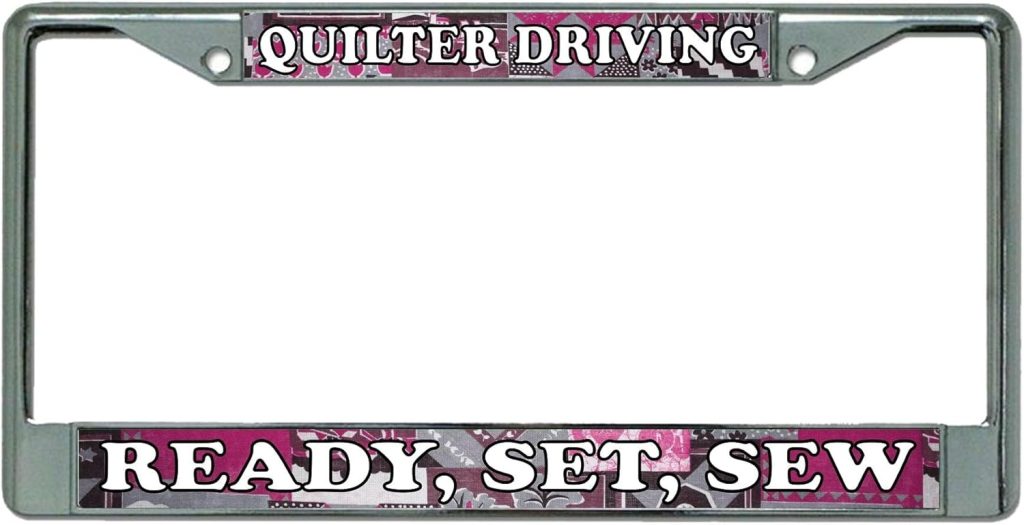
Frame-ups
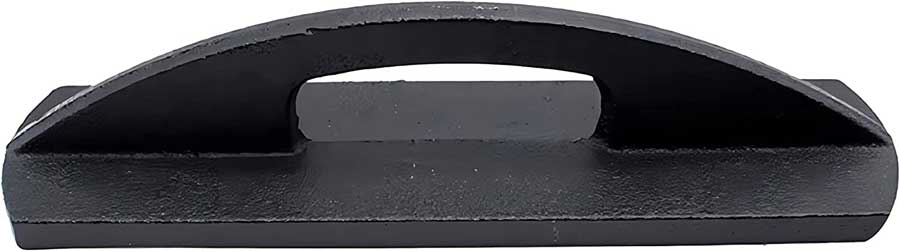
If paying a premium for a vanity plate isn’t in your budget, consider a sewing-themed license plate frame. Check with your state for any regulations regarding frame size and coverage before purchasing.
These plate frames are available on Amazon. Click each image to view. Note that we may receive a small commission if you make a purchase.

Whether you get a whimsical vanity plate or a more low-key messaging frame, it’s always fun to tell the world you sew and you’re proud of it!
~Linda Griepentrog is the owner of G Wiz Creative Services and she does writing, editing and designing for companies in the sewing, crafting and quilting industries. In addition, she escorts fabric shopping tours to Hong Kong. She lives at the Oregon Coast with her husband Keith, and three dogs, Yohnuh, Abby, and Lizzie. Contact her at .
 Everyone knows that a lined skirt will look new longer, wrinkle less, hold its shape better, and be more comfortable to wear. But since it takes quite a bit longer to sew a lined skirt, it’s easy to succumb to temptation and simply make one sans the lining.