Petersham ribbon, also known as Petersham grosgrain, Petersham facing, or simply Petersham, is a versatile and pliable type of ribbon known for its ability to shape around curves and maintain a smooth appearance.
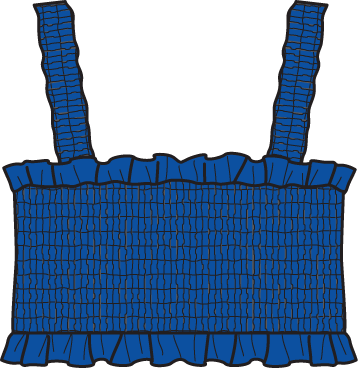
Petersham is often used in millinery to create hat bands or hat trimmings, especially for wide-brimmed hats because it provides structure and allows the ribbon to curve along the shape of the hat seamlessly. It’s also used in garment construction, particularly in waistbands, belt loops, and as a stabilizing ribbon in corsets and bodices. Its flexibility and ability to take shape make it an excellent choice for these purposes. Petersham ribbon is equally popular in various crafting projects, including embellishing accessories, gift wrapping, and creating decorative elements in home decor.
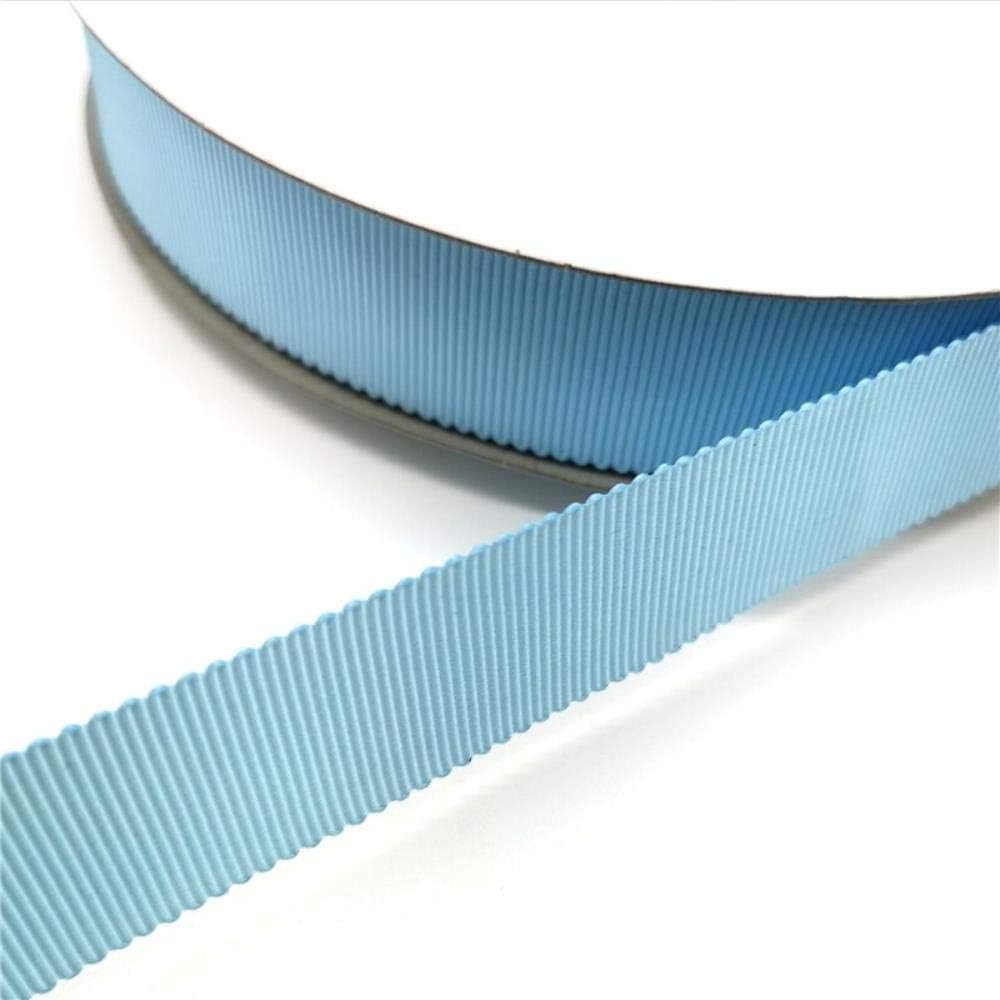
Known for its unique characteristics and versatility, Petersham ribbon is thick, stiff, and flexible and is typically made from cotton, viscose, a cotton/rayon or acetate blend, or even from acetate or 100% rayon. Some variations may even use silk. It has a slightly ribbed texture and a flexible, pliable nature, which makes it popular for creating decorative accents and embellishments. The ribbed texture is achieved through a weaving technique that creates horizontal ribs across the ribbon’s surface.
Where did the name come from? It depends on who you ask! One version is that Petersham was named after the 18th century English lord Viscount Petersham who invented an overcoat and breeches made of a special heavy woollen cloth with a round nap surface. The second version is that the original Petersham was manufactured by a company called Panda in the town of Petersham.
Petersham is often compared to grosgrain ribbon due to their similar appearance, but they have distinct differences:
- Petersham has a scalloped edge. Grosgrain has a straight edge.
- Petersham is usually softer and more pliable, making it easier to work with when shaping it around curves.
- Petersham has a crisp feel and can become stiffer when exposed to moisture or heat.
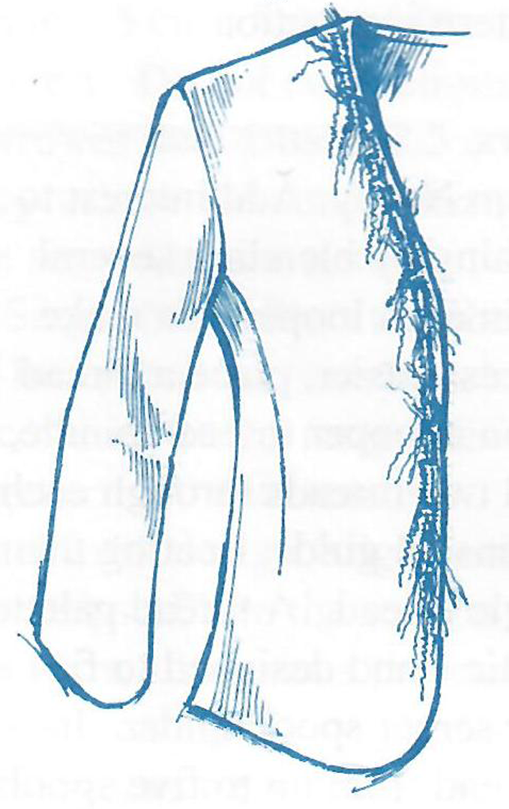
One of the additional features of Petersham is its ability to shape and mold around curves and corners without puckering or gathering. It is woven so that once steamed, it will take on and support the curve of the piece it’s being applied to. This property makes it ideal for hatbands, belts, and other applications where the ribbon needs to maintain a smooth and even appearance when wrapped around irregular shapes. When used for hatbands, Petersham ribbon helps create a structured, tailored look.
Another notable characteristic of Petersham ribbon is its soft, draping quality. It has a more fluid and supple feel compared to standard grosgrain ribbon, which tends to be stiffer. This flexibility allows for a greater range of uses, including garment trims, bows, sashes, and waistbands. It can also be used for crafts like gift wrapping, hair accessories, and DIY projects.
Petersham ribbon comes in a variety of widths, colors, and patterns, offering endless possibilities for creative expression. It can be found in solid colors, as well as prints, stripes, and other designs. The edges of Petersham ribbon are usually cut with a hot knife or treated to prevent fraying.
Tips for working with Petersham
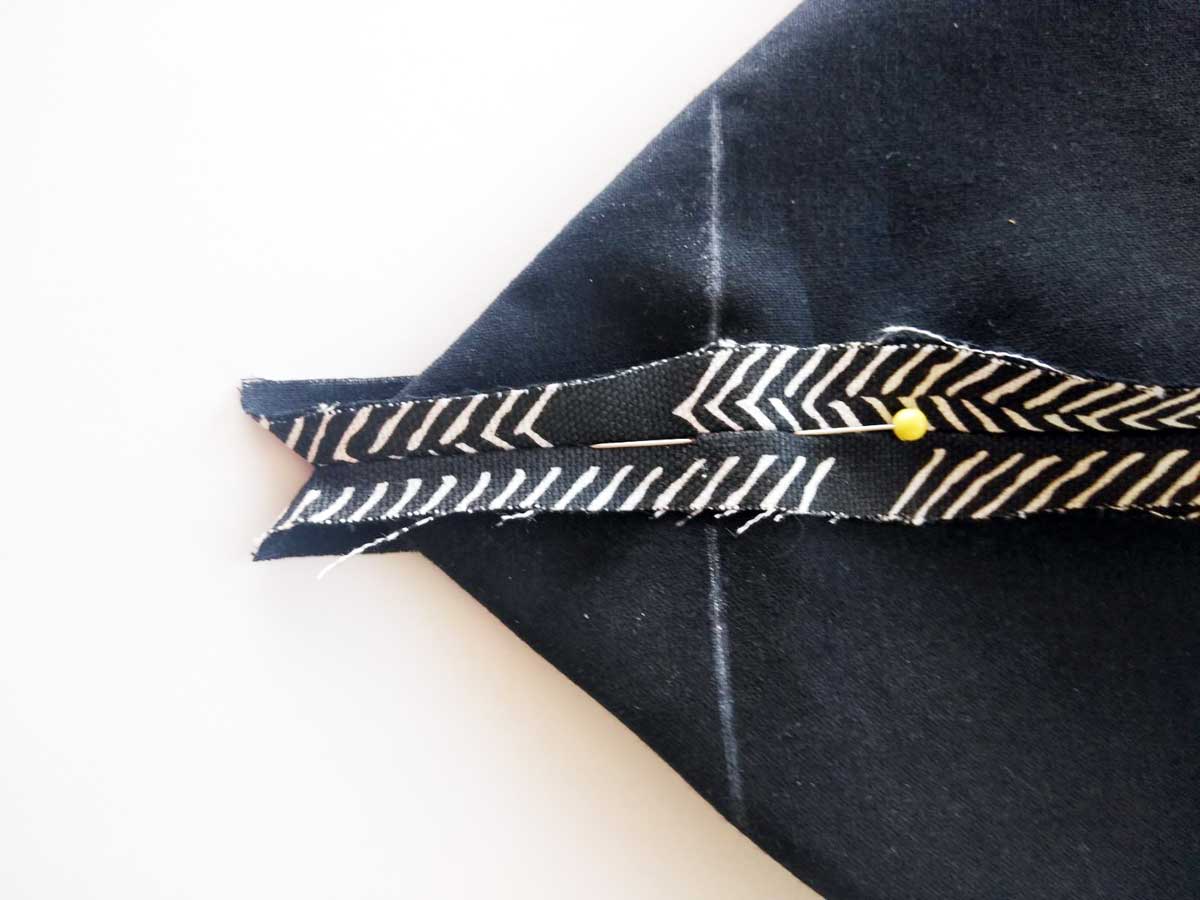
- Cutting: Petersham ribbon has a scalloped edge and an identical front and back, so you don’t have to worry about which side is facing up when cutting. Use sharp fabric scissors to cut the ribbon to your desired length. Remember to cut on the diagonal to avoid fraying.
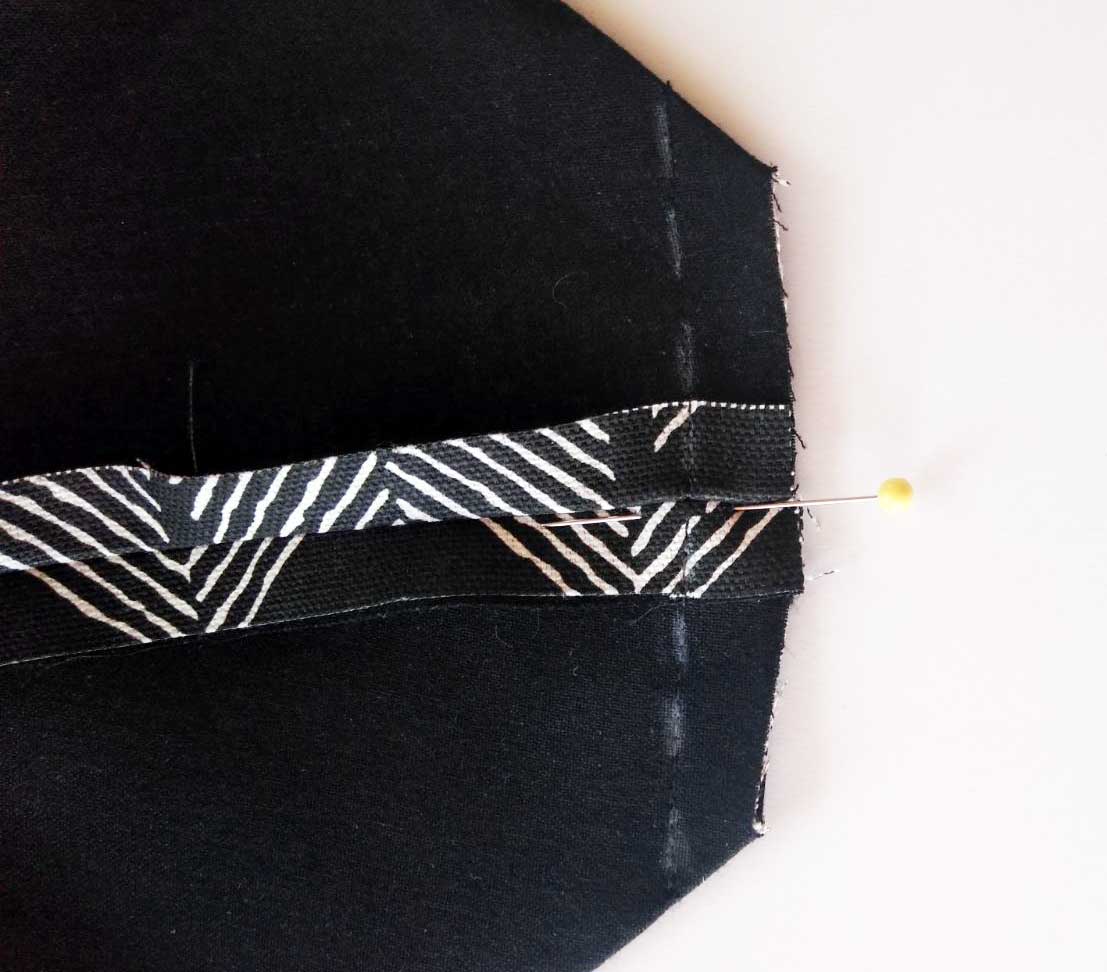
- Shaping: The key feature of Petersham ribbon is its flexibility and ability to take shape. To shape the ribbon around curves or bends, use steam from an iron or a steamer. Hold the ribbon over the steam for a few seconds, and while it’s still warm and pliable, gently shape it to the desired curve. You can use pins to hold the shape in place until it cools and retains the shape.
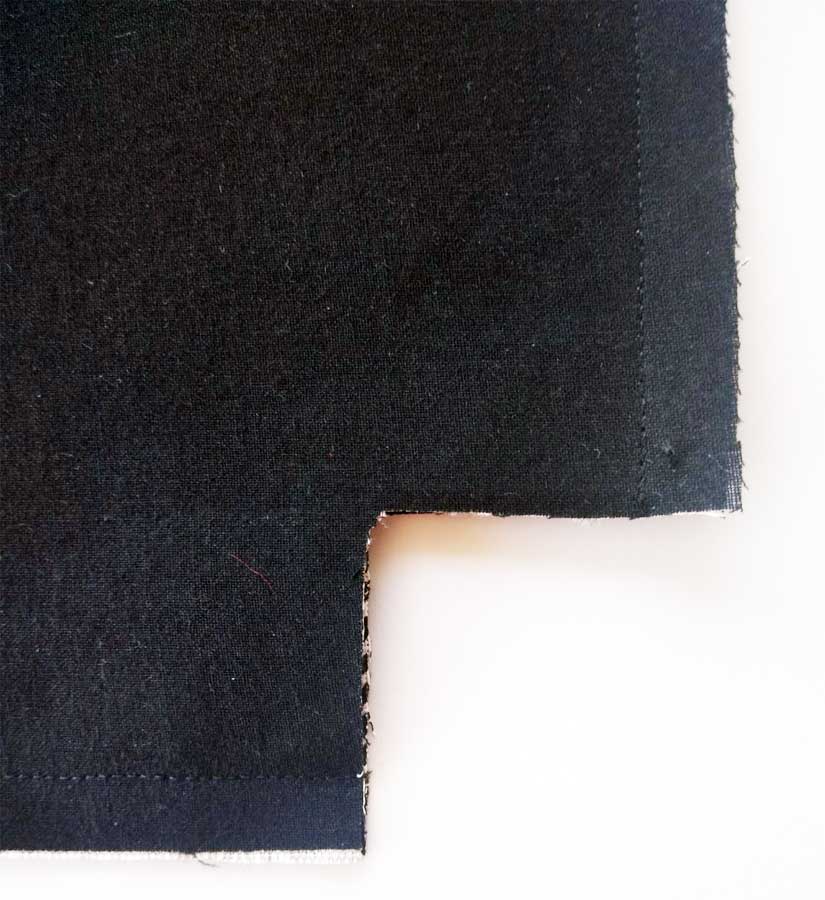
- Attaching: Petersham ribbon is typically sewn onto fabric or hats. When sewing, it’s best to use a needle and thread that matches the color of the ribbon. Since Petersham ribbon is slightly thicker than regular ribbon, you might need a larger needle, or a needle designed for heavy fabrics. Sew along the edge of the ribbon, using small and discreet stitches.
- Hat Bands: To use Petersham ribbon as a hat band, measure the circumference of the hat’s crown and cut the ribbon accordingly, leaving some extra length for overlap. Shape the ribbon to match the curve of the hat’s crown using steam. Sew the ends together to form a loop, and then sew the loop onto the inside of the hat’s crown.
- Waistbands and Garment Trims: Petersham ribbon can be used as a waistband in skirts or trousers. Measure your waist and cut the ribbon to the desired length. Shape the ribbon to fit your waist using steam, and then sew it in place. You can also use Petersham ribbon as decorative trims on garments, especially around the neckline or sleeve edges.
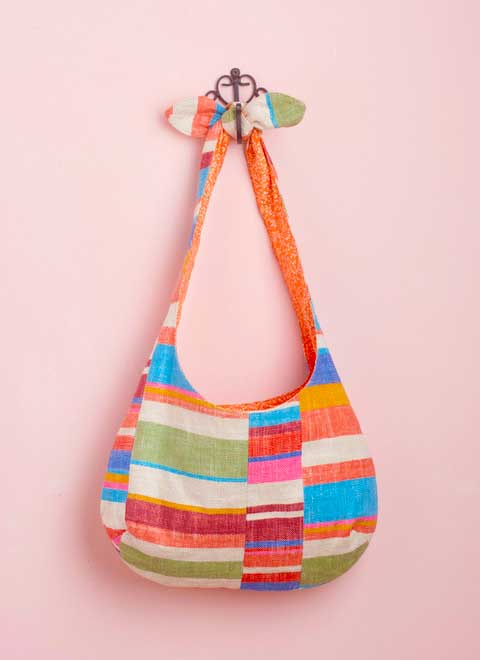
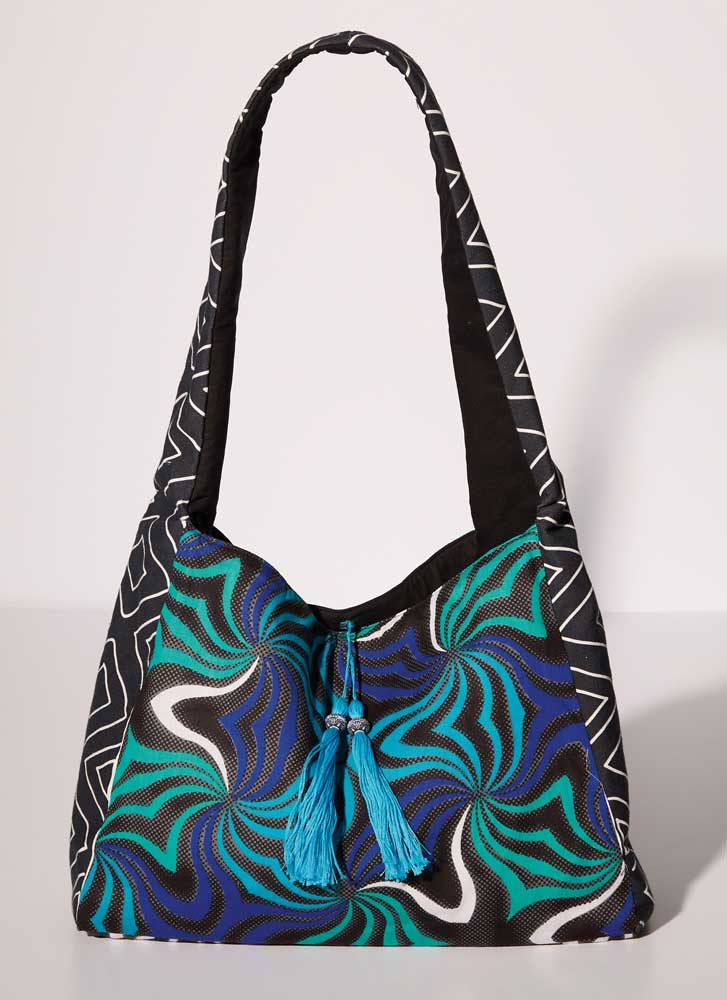
- Crafts and Embellishments: For craft projects, you can use Petersham ribbon to embellish accessories like headbands, bags, or shoes. It can also be used in home decor projects to add a decorative touch to pillows, lampshades, and more.
Remember that practice makes perfect, so don’t be discouraged if it takes a few tries to get the shaping and sewing just right. Once you become comfortable with working with Petersham ribbon, you’ll find it to be a versatile and elegant addition to your creations.