 It’s never too early to start thinking about fun little holiday giftables for your sewing BFFs. They don’t have to cost a lot, but the sentiment of “thinking of you” is what’s important. So check out some fun things we hope our sewing besties might think about sending our way!
Sewing & Vintage Thimble Necklace
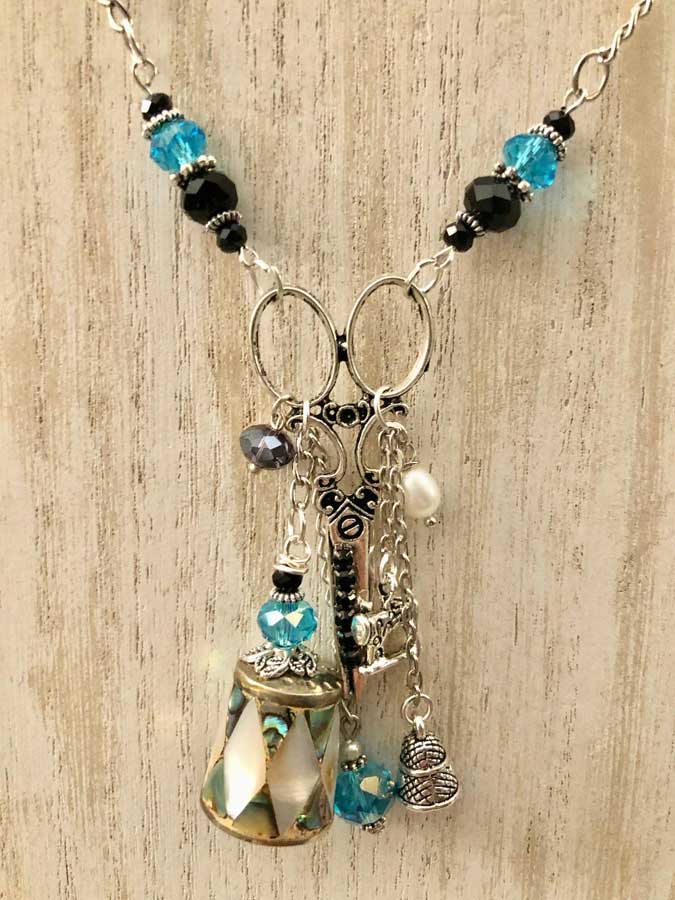 Letting the world know you love sewing is easy with these beautiful on-of-a-kind jewelry pieces. Some come with scissors, some with thimbles and all with heirloom looking sewing notions on beautiful chains for dressing up or just wearing to your favorite ASG group meetings. Most components are repurposed, from thimbles, beads and buttons to jewelry findings, bits of fabric and even chandelier parts and skeleton keys. In addition, the company will create custom pieces from your own components—a great way to showcase your vintage sewing items or special family items. Sizes and metal finishes vary, but I bet you can’t settle for just one. www.blingmyneedles.net, prices vary
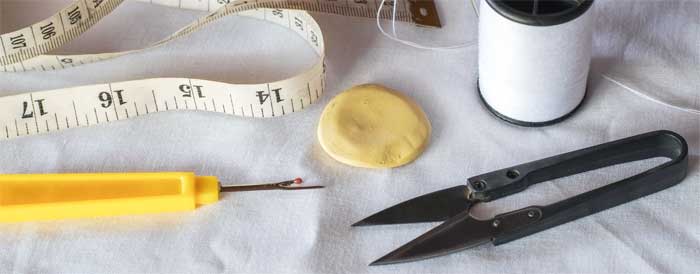
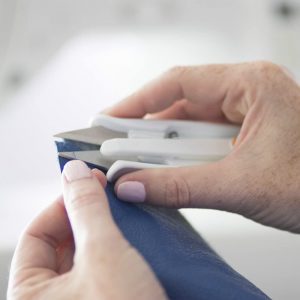
BladeSaver Thread Cutter
This colorful plastic holder turns used rotary cutter blades in a practical thread cutter for sewing. Whether you’re a quilt bock chain piecer or sewing multiples of a charity project, this handy cutter sits next to your machine and separates pieces in no time. Available in multiple colors. www.purplehobbies.com, $18
Threads of Life
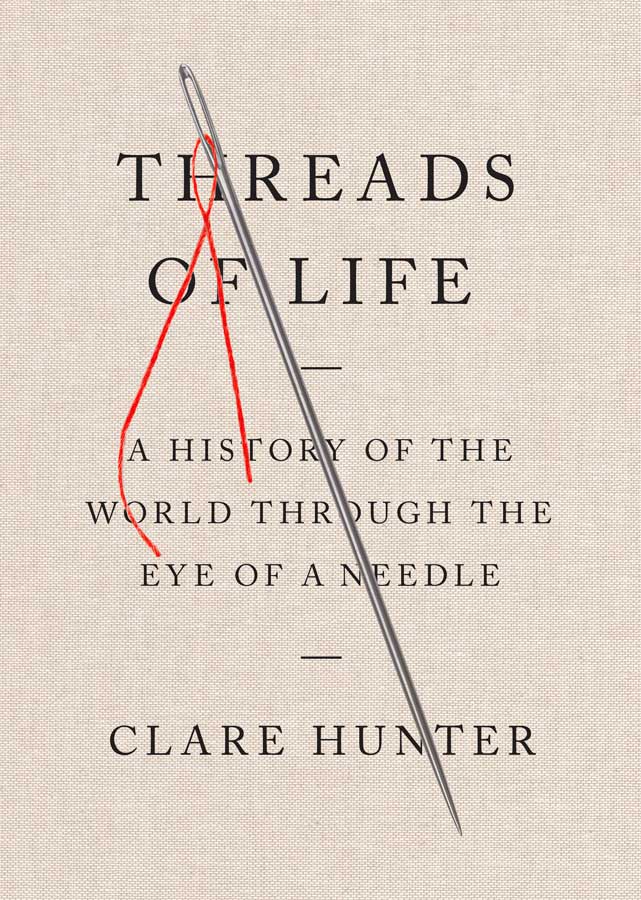 Learn about the importance of sewing and needlework in our world history. From the famed Bayeux Tapestry to the traveling AIDS quilts, sewing and stitchery have been prominent means of expression for both men and women for centuries. Snuggle up for some great reading about our favorite pastime. Available in both hardcover and paperback; 320 pages. www.abramspress.com, $26/$17
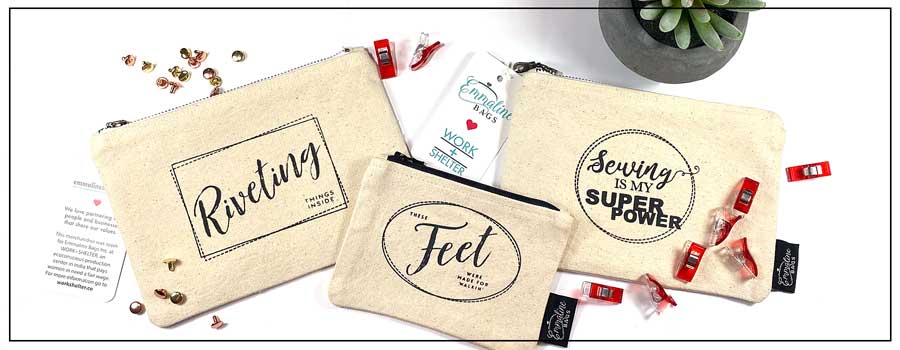
Clever Zippered Pouches
You can never have enough zippered pouches, especially if you travel with your sewing friends, as they’re an easy way to keep things corralled. These cute 3 ¾” x 5 ½” and 7 ½” x 5 ½” lined zippered pouches are made of 100% organic cotton with three clever quips—Riveting Things Inside, Sewing is my Superpower and These Feet are Made for Walkin’. They’re ideal for storing presser feet, small sewing tools, spring clips and even basic cosmetics. These bags have a humanitarian side as well as they’re made at WORK+SHELTER in India, which pays a sustainable wage to the women who make them. www.emmalinebags.com, $12.99
Sweet Thoughts
Sewers and food always seem like a match made in heaven, so why not have a little fun with it? Gift these cute cookie stamps and set a fun theme for your next sewing get-together. The grouping included three food-grade silicone stamps, an acrylic handle and a yummy cookie recipe. The stamps say “Sew Happy,” “Material Girl” and “Sassy Stitcher.” www.sayitwithapplique.com, $12.95
True Confessions
 OK, admit it…you and your friends are addicted to fabric, so why not proudly tell the world about it with this fun handcrafted sterling silver charm? Add the 13/16” pendant to a chain, cord or a charm bracelet. If you have other “issues,” there’s probably a necklace for that as well, or the company can do customized pendants to meet your needs. www.jessicas-gifts.com, $18
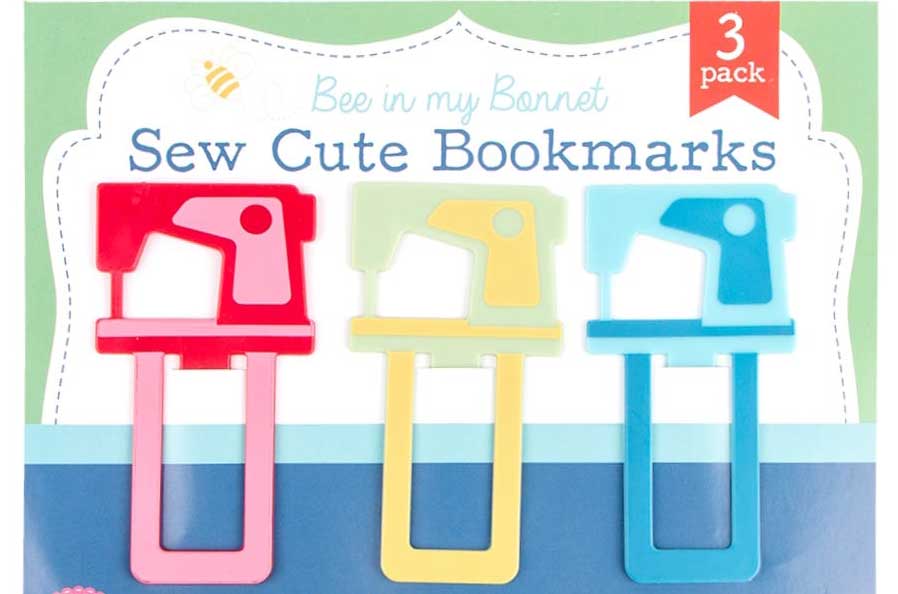
On your Mark…
Whether you’re marking your favorite spot in a new book, or highlighting where you are in the pattern directions, this set of three die-cut vintage sewing machine Sew Cute Bookmarks is handy as can be. The machines are made of plastic and measure 1 ¾” x 3 ¼” each. They’ll tuck right into anyone’s holiday stocking! www.itssewemma.com, $9.98
Card Tricks
If you’re looking for a sewing or quilting themed card for your sewing BFF, look no further than this site. The cleverly quipped 4 ¼” x 5 ½” offerings are blank inside so you can personalize them. One favorite (food related, of course) is “All you need today is a little bit of chocolate and a whole lot of fabric!” www.katicupacke.com, $4.99
~Linda Griepentrog
Linda is the owner of G Wiz Creative Services and she does writing, editing and designing for companies in the sewing, crafting and quilting industries. In addition, she escorts fabric shopping tours to Hong Kong. She lives at the Oregon Coast with her husband Keith, and two dogs, Yohnuh and Abby. Contact her at gwizdesigns@aol.com.
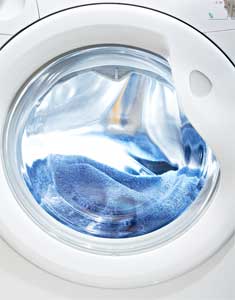 No doubt about it, denim shrinks, so pre-wash and dry it at least once. Wash it alone or with similar colors to prevent dye transfer.
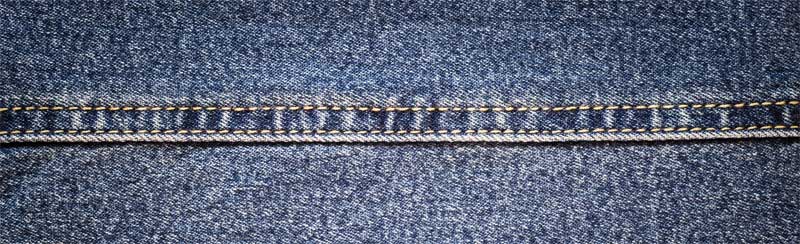
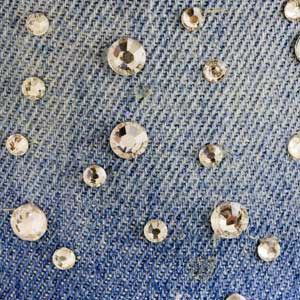 Rhinestones and nail heads make perfect embellishments to add bling to your favorite blues. Look for the easy iron-on version for quick application.