 Q. Item Created
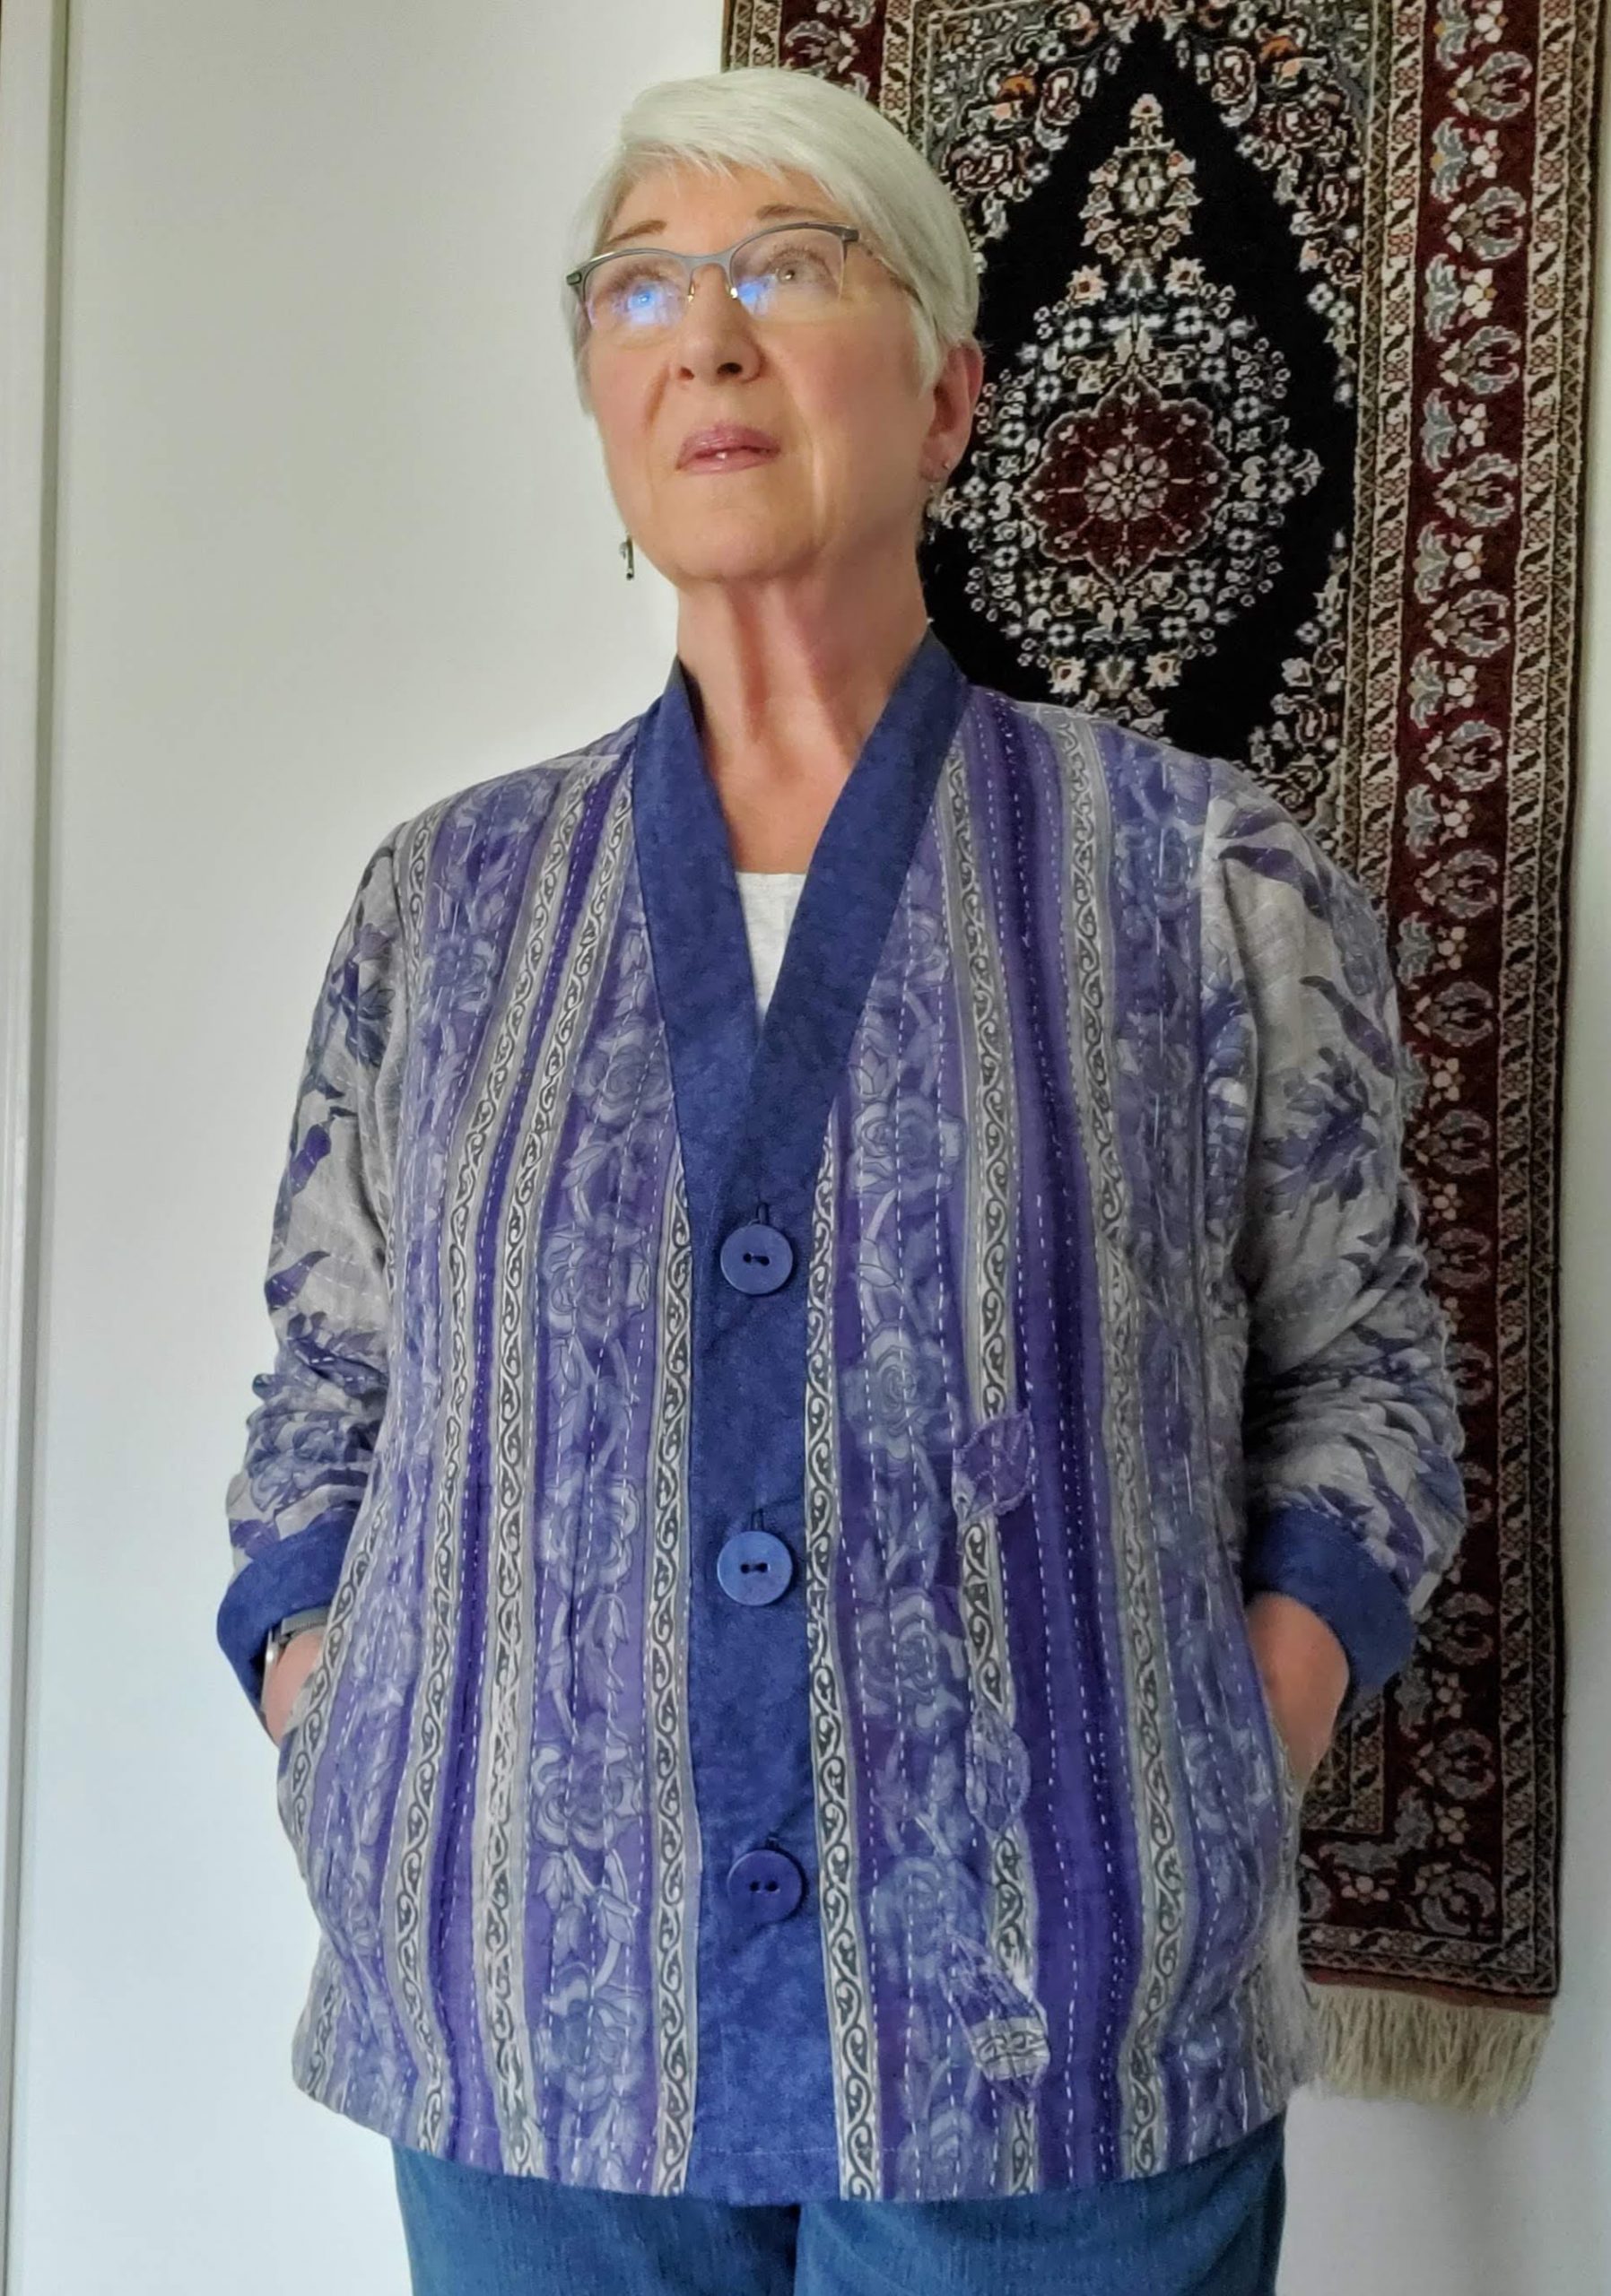
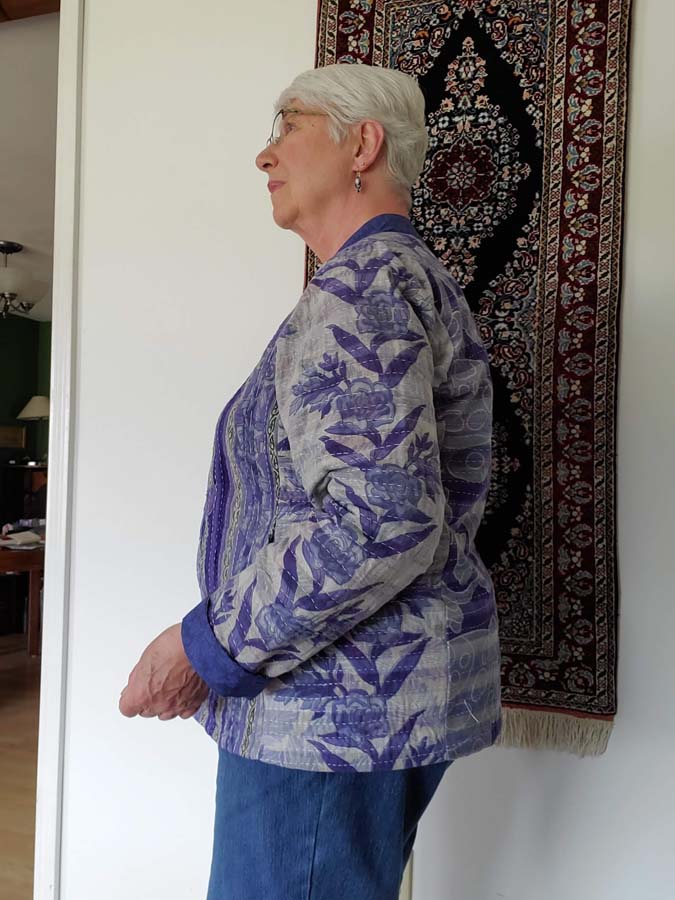
A. Fit For Art Tabula Rasa Jacket
Q. Independent Pattern Designer
A. Rae Cumbie and Carrie Emerson
Q. Fabric Used:
A. Kanthi cloth (from a spread)
Q. Special Embellishments/Notions Used
A. Buttons painted to coordinate
Q. Skill level required?
A. Intermediate
Q. Are the instructions easy to follow?
A. The written instructions are very easy to understand, especially since the unique sleeves seem confusing at first. The instructions eliminate any confusion.
Q. Are you pleased with the finished result? Did it meet your expectations?
A. I was happy with the result and took my time daily to get the fit just right. The more difficult part was a fabric for the band and finding buttons during the Covid-19 pandemic.
Q. Did it look like the picture?
A. Yes.
 Q. Did you make any modifications in the pattern?
A. Yes, I did some adjusting as I went and changed from flare to straight to help the fabric hang better. Took in the sides (I’ll choose the one dart front next time). I added a contrasting turn up cuff to match the band. I added in seam pockets.
Q. Are there any changes you would have made?
A. The chosen fabric, though a nice pattern, in places has several layers of patching, etc. and I’d not use that particular fabric in the future for this. I still may remove a bit from the side back seams, but will wear for a while to decide.
Q. Did the pattern teach you any unique or special techniques?
A. I was tempted to make the insertable piping but glad I did not due to the adjustments I made.
Q. Would you make this again?
A. Yes, lovely pattern. I do like the sleeve design.
Q. Would you recommend this pattern to others?
A. Yes
~JoAnne Lowe, Boston Chapter of ASG

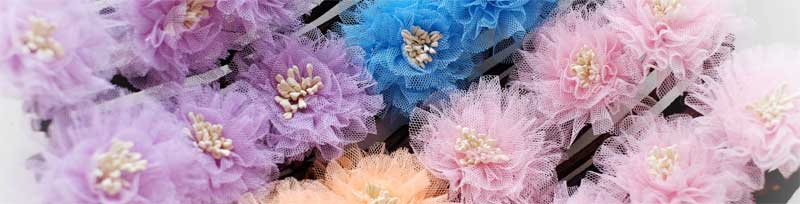
 Whether you’re making a flirty tutu, a long flowing wedding veil or decorating for a bridal shower, it’s likely some tulle will be involved in the process.
 Sewing