 Button and buttonhole placements can sometimes be confusing. If the button and buttonhole are placed incorrectly, the garment may be too tight, too loose, or create gaping. The number of buttons on the garment is suggested on your pattern envelope, but it’s up to your personal preference or need. A good guide to start placing your buttons vertically is to keep in mind your body’s pressure points. Pressure points are where your body may put strain on the garment and may be your bust, belly, or even the hip if you are making a button front dress or skirt.
Button Placement
Once you have identified your pressure point(s), mark these on your muslin or sloper (block) pattern for future reference.
- Decide how many buttons to use.
- Lay your pattern or muslin flat, mark the center front and your pressure points.
- Place your highest and lowest buttons on the muslin.
- Measure the distance between your top and bottom buttons.
- Divide this distance between the number of buttons you will use. If you use 5 buttons, divide by 4. You will always divide by one less button, because that is the number of actual spaces between your buttons.
- Determine if the button placement falls on your pressure point(s). If not, you may want to adjust the position slightly to hit that sweet spot.
Buttonhole Position
Now that you have the button position, you need to determine if you want vertical or horizontal buttonholes. Horizontal buttonholes will need a facing deep enough to fit the entire length of the buttonhole. I have seen some patterns where the facing is too narrow for horizontal buttonholes. Vertical buttonholes allow for button play. This means if the button is not set exactly in the measured spot, there is room for the button to move up and down within the hole.
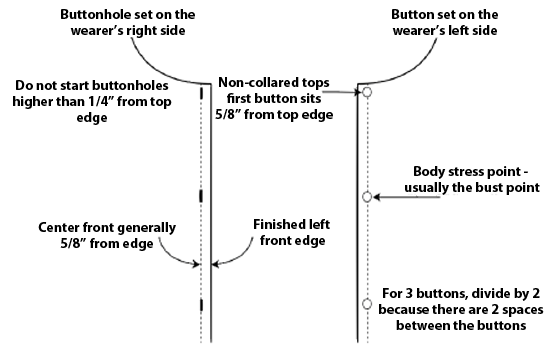
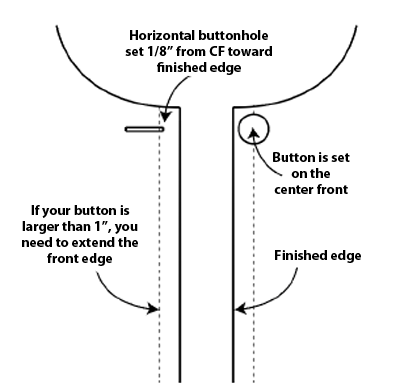
The distance between center front and the finished edge of your garment is generally 5/8”. This is okay if your button is 7/8” or smaller. If the button is larger, you will need to extend the distance from CF to the finished edge of your garment.
Buttonhole Size
 To figure out what size buttonhole to use, some machines have a button hole foot that the button sits on the back carriage and the machine will make a buttonhole to that size. Or you have a machine that is computerized and you can adjust for your button size. The general rule of thumb is, the buttonhole needs to be 1/8” bigger than the button, for ease of going through the hole.
- 1/2” button uses a 5/8” buttonhole
- 5/8” button uses a 3/4” buttonhole
- 3/4” button uses a 7/8” buttonhole
Good Buttonhole Practices
When making a vertical buttonhole, the button and buttonhole will be placed exactly at center front. In the case of horizontal buttonholes, the button is set at center front, but the hole is started 1/8” away from center, toward the finished edge. If your garment needs a button at the top edge, I start at 5/8” down for the button placement, but you can decide how far down, depending on the width of your button. But never start a buttonhole higher than ¼” below the neck edge.
- Always make a test buttonhole with the same thickness as your garment, Top fabric, bottom fabric and interfacing. Make sure your button will pass through the hole easily.
- Buttons are set on the left front and buttonholes on the right front for women’s garments
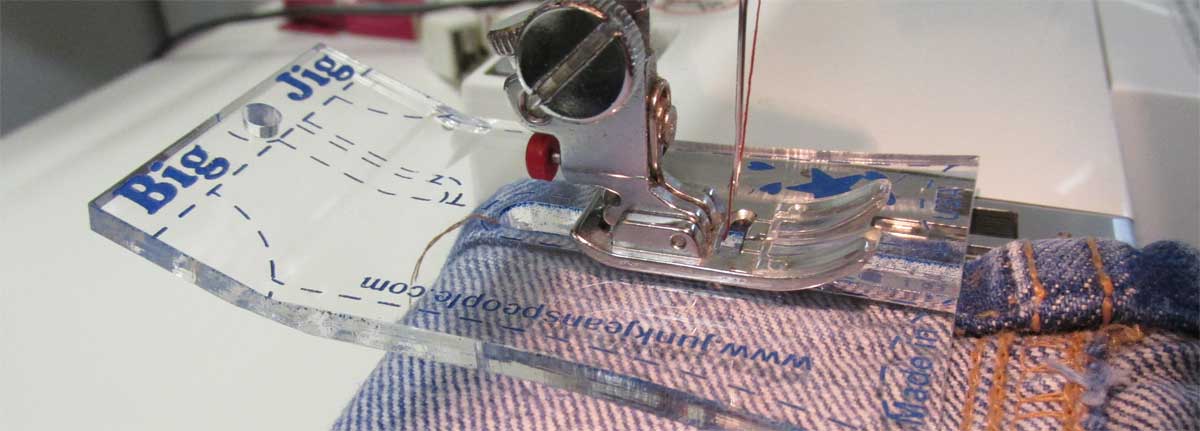
Something that I do for jackets, especially for horizontal buttonholes, is to set all the buttonholes along the edge of your fabric BEFORE cutting out the front body. This allows for checking the placement without chancing ruining the garment and works best for bound button holes because the inside opening is usually hand finished.
~© Annalisa T, Alameda County Chapter
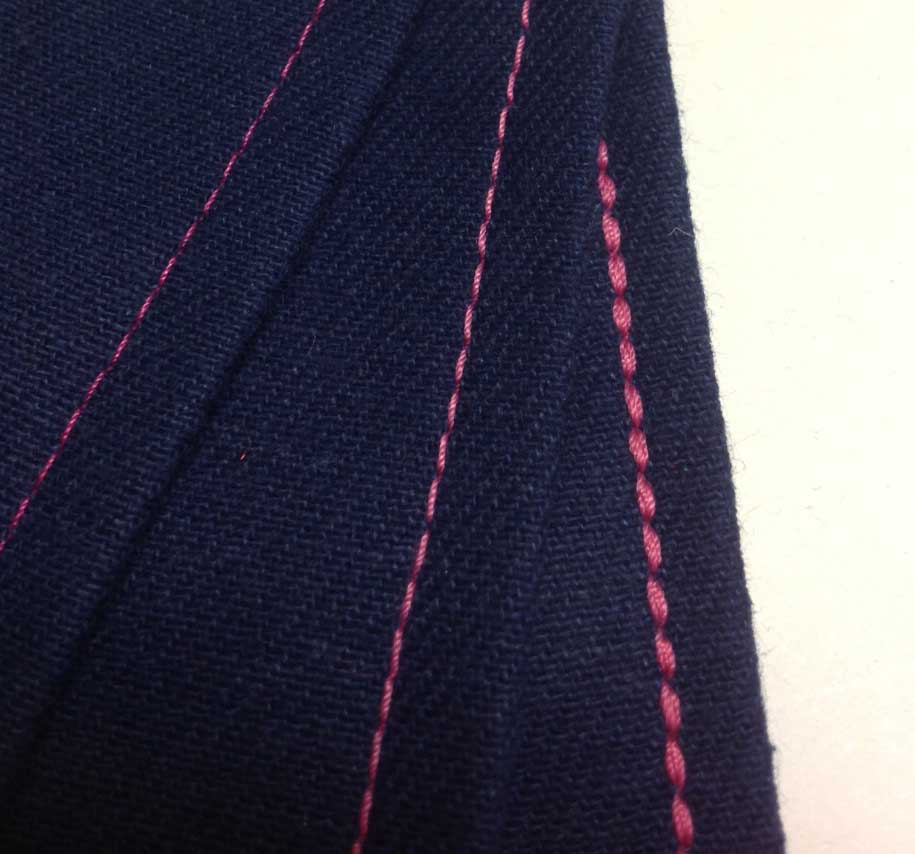
 Batik: Flat fell seam or sew with a plain seam and serge together