Snap to it! Snaps, the handy two-part fasteners that we often don’t think much about, offer a multitude of options for garment closures.
Look for them in metal finishes (silver, gold, black or some colors) and in a multitude of plastic hues. There are also clear snaps available for greater invisibility and they’re ideal for prints, where choosing the right color can be tricky. When choosing metal snaps, be sure they are rustproof for durability.
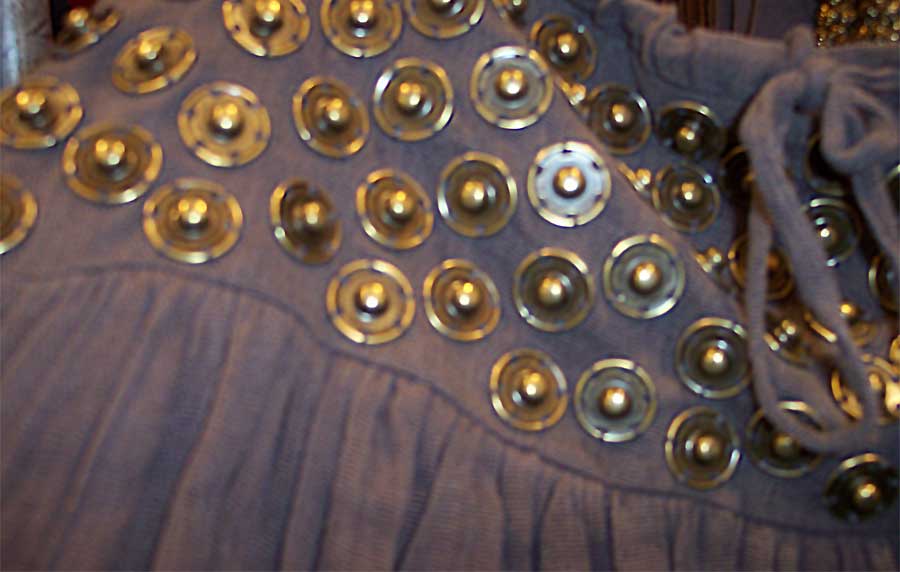
Whether you use them for their intended purely functional purpose of holding two fabric layers together without visibility, or you use them artfully for a collage of added texture or a blatant “accessory”, the humble snap deserves attention.
Sew-on snaps come with two parts—a ball or knob portion, and a socket portion that accommodates the depth of the ball section when the pieces are pushed together. These are sometimes referred to as the ball and socket, or the male and female portion of snaps.
Size Wise
Snaps come in a variety of sizes from 1/8” diameter up to about 1 1/4” diameter. Most snaps are round with multiple holes around the perimeter, but some snaps are square, hexagonal or novelty shape, like flowers, hearts, etc.
Looking to purchase snaps? Shop Ghees or the Sewing Place and don’t forget to check the Special Offers page for ASG member discounts.
Smaller snaps are thinner than their larger counterparts, and thus have less holding power, so match the snap size to the weight of the fabric and the durability needed for the closure.
Snaps utilize three different sizing systems, depending on the brand. Some are categorized by their fractional or metric size (i.e. 1/4” or 30mm), others utilize a ligne system where 40 lignes=1”, and still others are listed by a letter sizing system. It’s easiest to just look at the snap and decide its practicality for the intended use.
Attachment Options
Snaps go between two layers of a project opening and are normally concealed, though fashion trends vary and often snaps become a decorative feature. It’s a good idea to have interfacing in the area where the snap sections be applied for durability.
 Mark the location of one half of the snap, noting that the ball portion usually is applied to the underlayer and the socket portion to the overlap, but some sewers prefer the opposite. For easier marking, attach the ball portion first, then chalk the extension and press in place over the underlayer to transfer the marking.
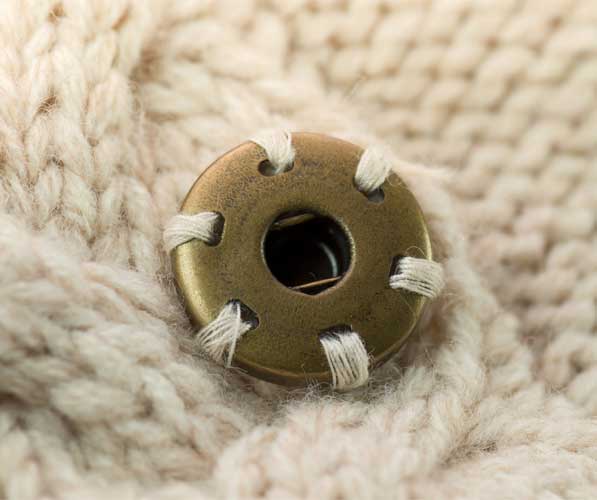
To attach the snap sections, sew in and out of the same hole three to five times, being sure that the stitching doesn’t go through to the outside of the garment. After one hole is secure, carry the thread through the fabric layers to the next hole and repeat the process for each subsequent hole before knotting the thread and burying the tails.
For a more couture finish, attach the snap sections using a blanket stitch to secure the holes.
Snap portions can also be attached by machine, much as you would sew on a button. To hold the snap in place for sewing, tape it in place, sew through the tape, then peel off when stitching is complete. Use an open-toe foot, set the machine for zero stitch length and a stitch width to span the hole opening and the edge of the snap. Stitch in place three to five times to secure, then move to the next hole. Note that with this method, stitching will show on the reverse side of the garment opening.
Covering Up
 If you don’t like the look of a large metal snap, especially on a tailored garment, think about covering the parts. You can also purchase snaps in various colors that are pre-covered.
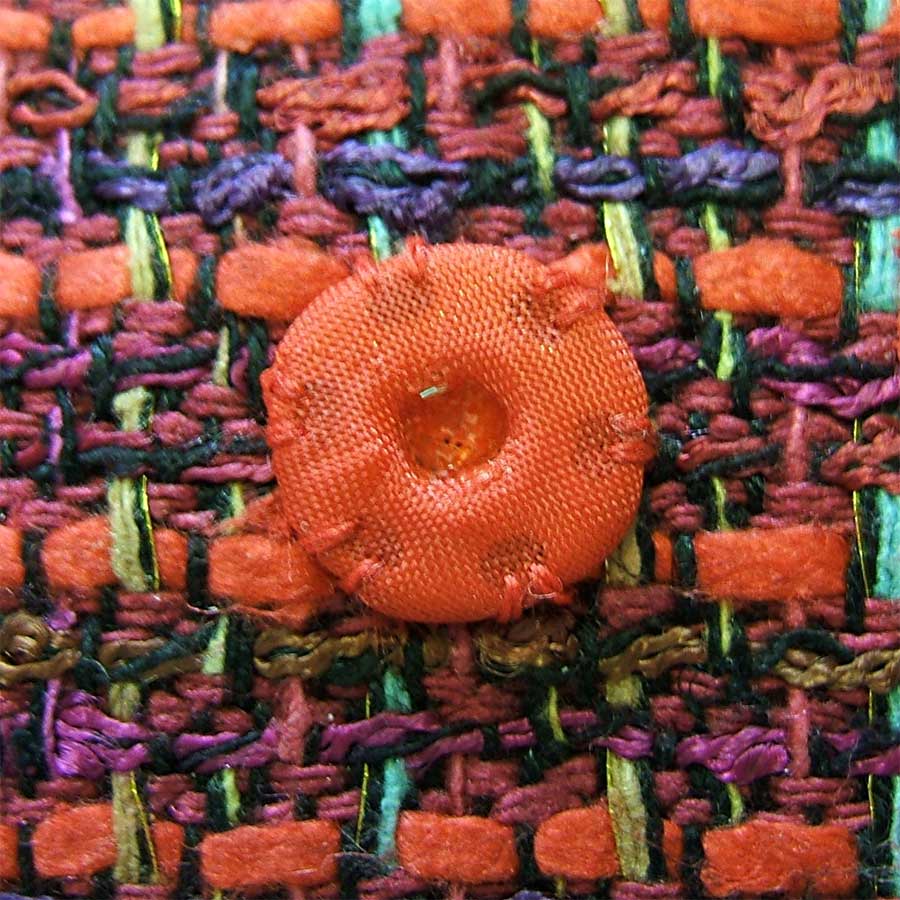
To cover a snap, cut a circle of tightly woven lining two and a half times the diameter of the snap for each section. Hand-sew a line of running stitches around the perimeter leaving long thread tails. Place the snap half right side down onto the circle and pull the threads to gather the fabric tightly around the snap section. Pull tightly and stitch the circle edges together. The gathered fabric portion edges are hidden under the snap when it’s sewn in place. Repeat for the second snap half. To expose the ball portion, push the snap halves together and separate the fabric threads. If your covering fabric is prone to fraying, use a toothpick and add a very thin line of seam sealant around the base of the extension.
Sew on the snap sections as you would an uncovered variety.
~Linda Griepentrog
Linda is the owner of G Wiz Creative Services and she does writing, editing and designing for companies in the sewing, crafting and quilting industries. In addition, she escorts fabric shopping tours to Hong Kong. She lives at the Oregon Coast with her husband Keith, and two dogs, Yohnuh and Abby. Contact her at gwizdesigns@aol.com.

 Thickness
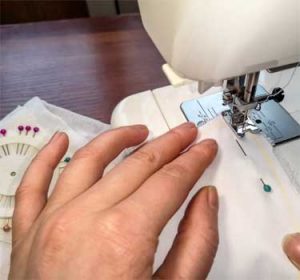 Now that we know about the various elements of pins, let’s get to the point for what is a good mix to have in your stash of pins. With this variety, you will be well prepared to handle almost any project.