American Sewing Guild (ASG)

Visit our blog Visit the ASG Facebook page Visit ASG on Pinterest Visit ASG's YouTube channel Visit ASG on Instagram
  • Home
  • Join ASG
    • Join Online
    • Chapter Locations
    • Member Benefits
    • Member Brochure
    • Join by Mail
  • Education & Classes
  • Resources
    • Contests & Awards
    • Giving Back
    • Hall of Fame
    • Travel and Tours
    • Measurement Chart
  • Shop
    • ASG Store
    • Chapter Products
    • Video Resources
  • Blog
  • About
    • About Us
    • Donate to ASG
    • ASG Sensitivity Statement
    • FAQ’s
    • Start a Chapter
  • Contact
  • Member Login
    • Login First!
    • Members Only
    • Leadership Only
    • Website FAQ’s
    • Logout
  •  

April 9, 2021

A Sticky Situation: All About Glue Sticks

There are times when it’s hard to keep something in place until you get it sewn. Of course, you can always hand-baste, but that’s tedious and time consuming. But, there’s a more slightly less conventional solution—a glue stick!

Now, it you’re a sewing purist, you may be saying to yourself—WHAT? How could someone recommend gluing something in place? But, keep in mind that the glue is only an aid, not the final attachment.

June Tailor Fabric Glue Pen

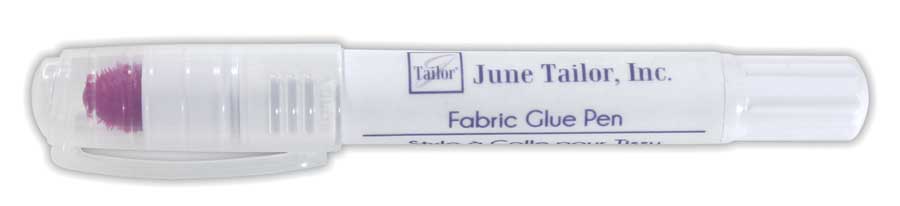
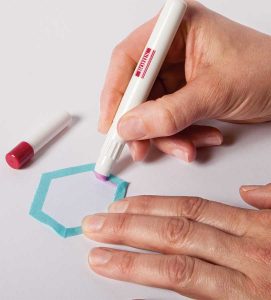
Glue sticks come in a variety of configurations—some are twistable, like a lipstick, others are shaped more like a pen with a smaller tip for more precise placement. A few brands of glue sticks are colored so that you can see where you’ve actually glued, but then as they dry, they become clear. Just be sure you choose one that’s water-soluble and temporary, unless you want permanency.

So, why would you want a glue stick in your sewing room?

  • Anytime you need to alter or create a pattern and have tissue to overlap, a glue stick is handy to hold the paper.
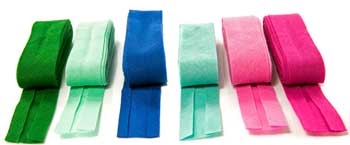
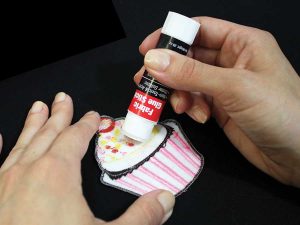
  • Placing appliqués, ribbons, laces and trims is easier when they can be secured in place prior to stitching.
  • Sewing on buttons is also easier if you’re not trying to hold the button in place with one hand and stitch with the other. A small dab of glue stick on the underside of the button is all you need to secure it while stitching.
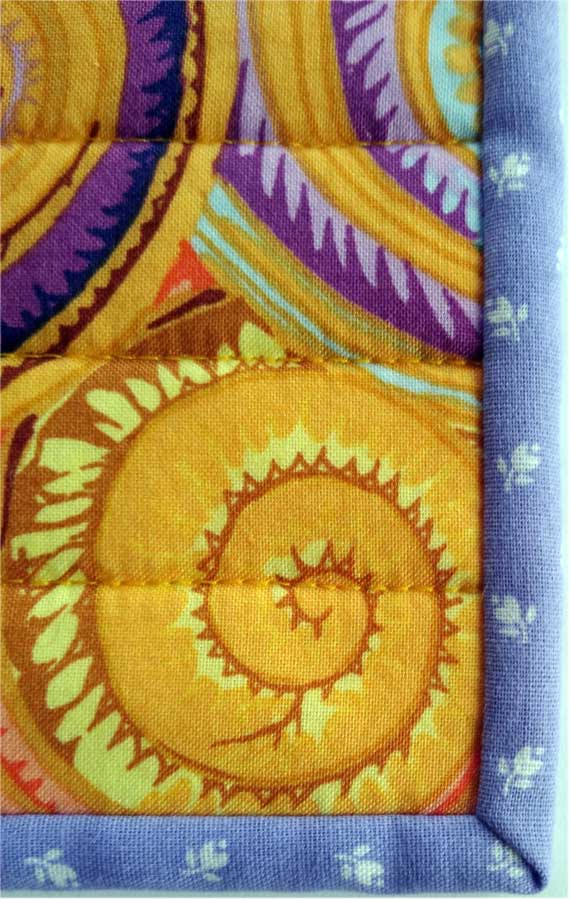
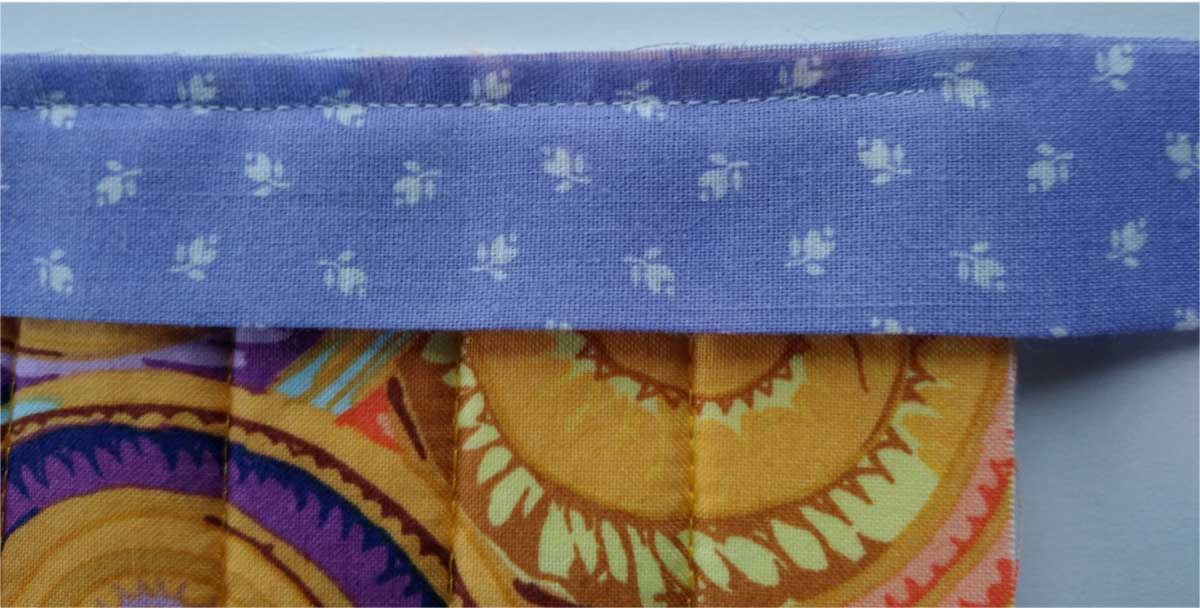
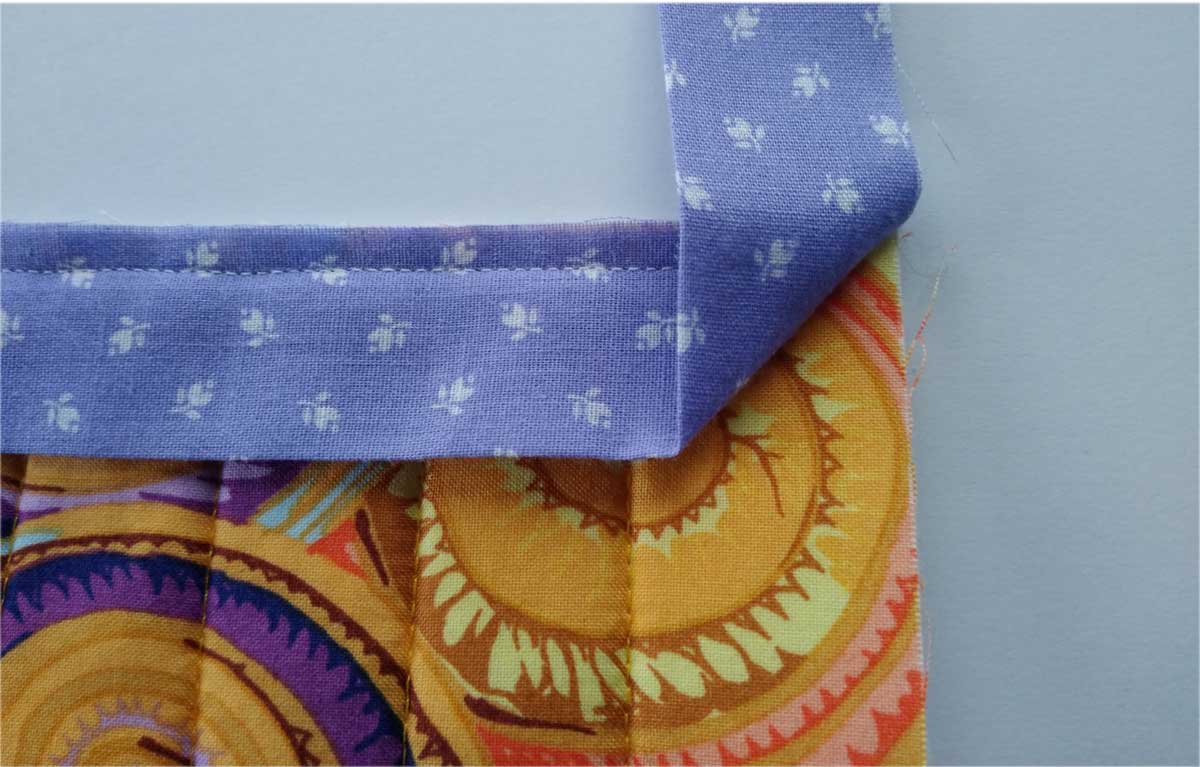
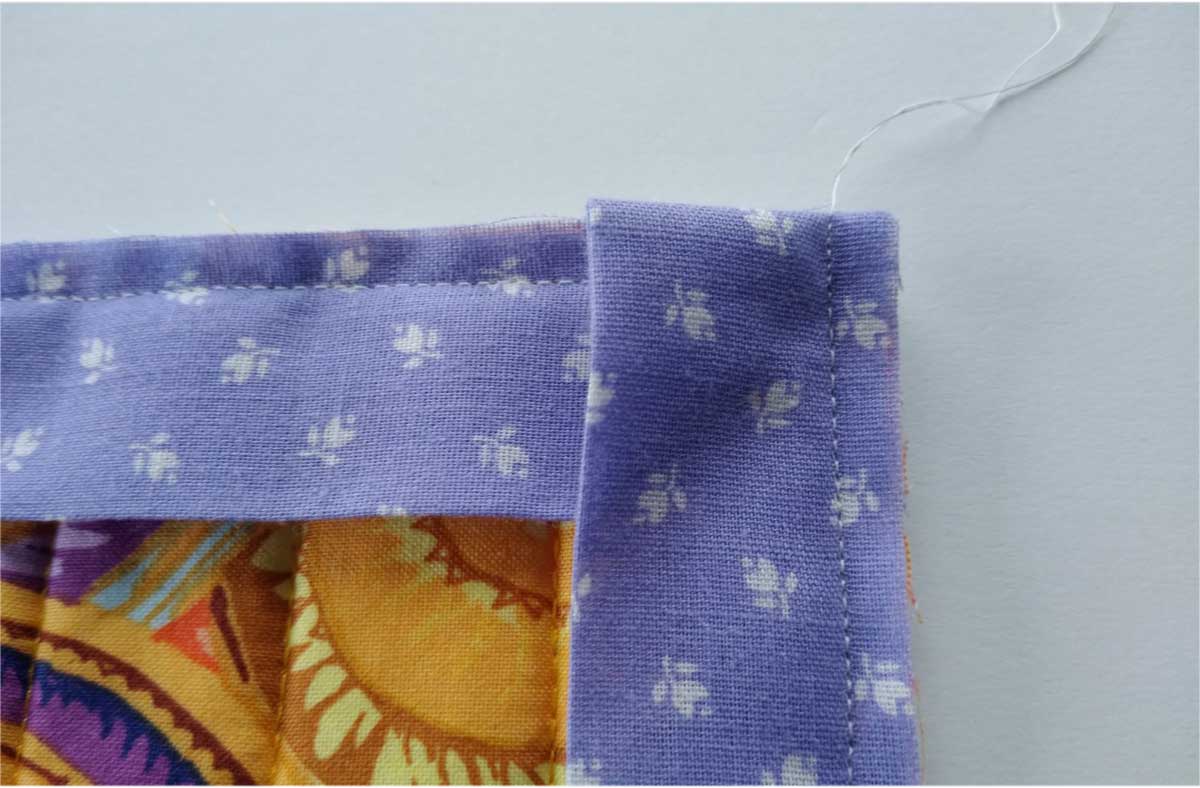
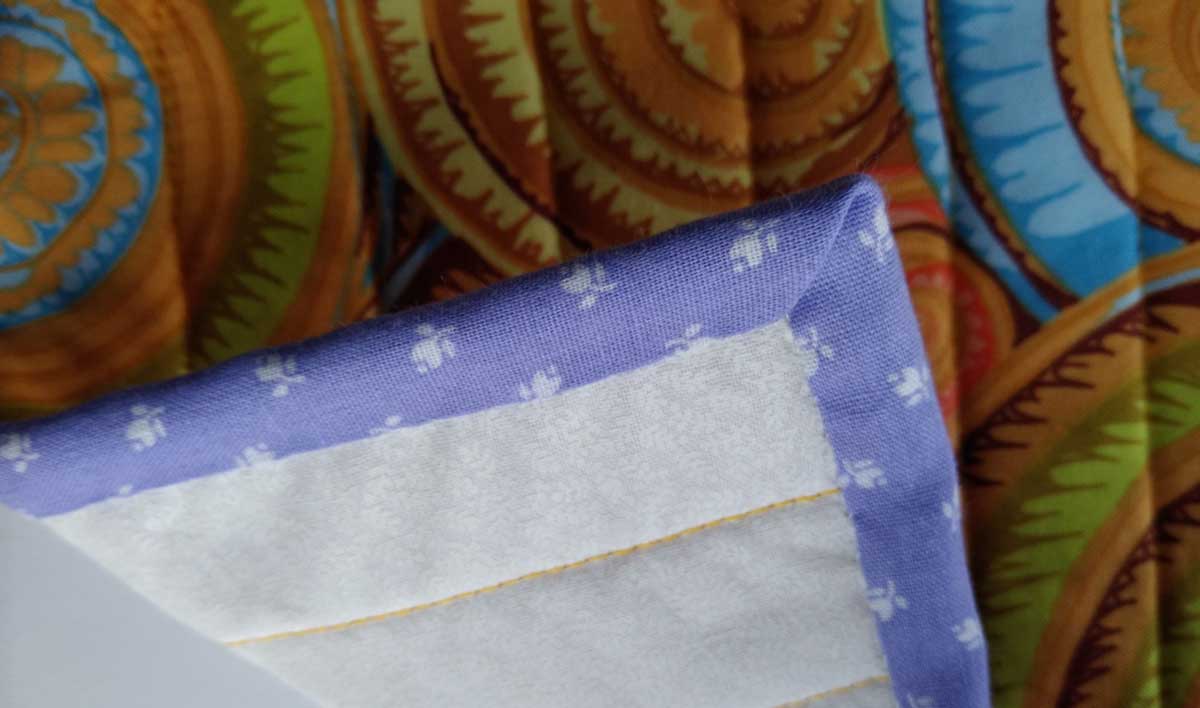
  • Keeping quilt crazy patches aligned is easy with a dab of glue stick under the edges, then add your beautiful hand or machine embroidery stitches for permanency.
  • Positioning a patch pocket is simple with a glue stick—just use a narrow line of adhesive near the finished pocket edges.
  • And who doesn’t love trying to hold a zipper in place for a centered application? A thin line of glue along the zipper tape edges works wonders to keep it positioned for stitching.
  • Mending kid’s jeans? Outline the edge of the patch wrong side with a glue stick for a sure hold. Glue is equally helpful for holding decorative patches, like on scout sashes or shirts.
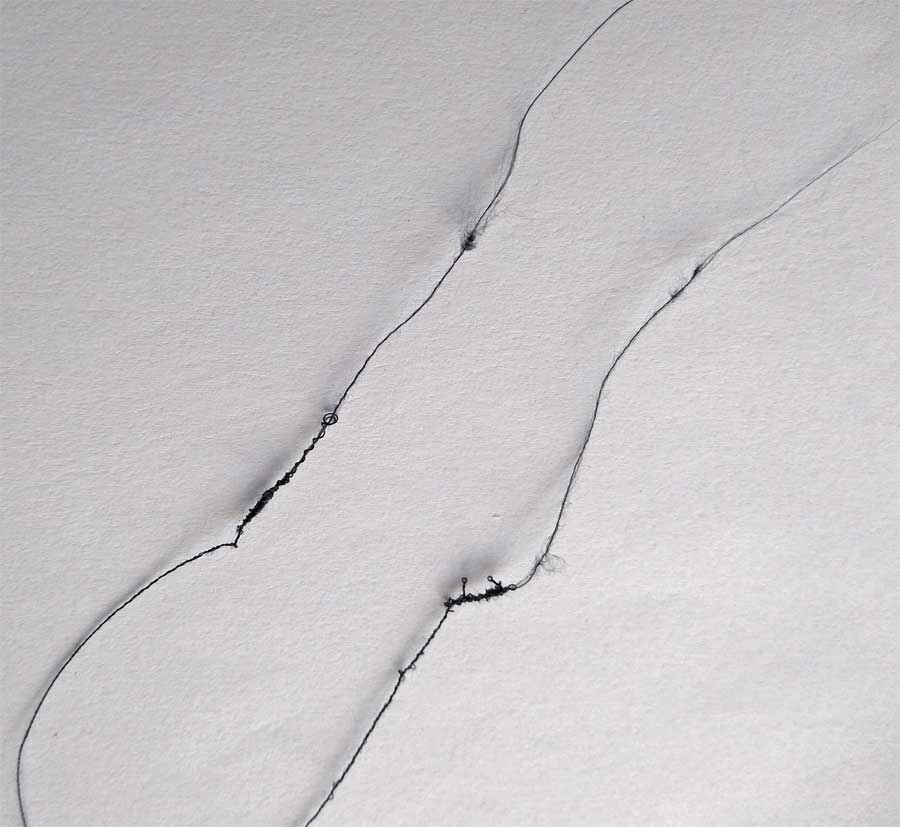
  • If you’re an English paper piecer, you know how tricky it is to get a sharp turned-under edge on the detailed shapes, but a thin glue stick line makes it easy peasy to fold over and hold.
  • Struggling to keep bias binding from rippling and sliding off a curve as you stitch? Glue stick to the rescue on the wrong side of the binding, let dry and stitch ripple free.
  • Applying flat bias around appliqué shapes is also a cinch with a thin line of glue stick behind. Stained glass appliqué has never been easier, and that pesky bias end can be tucked under with ease.
  • When working with fabrics like vinyl, laminates or leather where pin holes last forever, a glue stick is a must for holding anything and everything in place for stitching, pin-free.
  • Matching plaids and stripes along seamlines is easy if you glue the seam first, as opposed to pinning. There are no worries about accidentally hitting a pin while stitching or having the seam shift just enough to be noticeable.
  • Matching adjacent seamlines, like on pieced quilts, or with garment detailing like yokes, is simplified with the help of a bit of glue, too. Again, no pins to worry about, and no shifting as you sew.
  • Fusible interfacing is a real timesaver, but it doesn’t work for all fabrics. However, with your handy glue stick you can handle any sew-in interfacing with ease. Simply run a line of glue along the seam allowance outer edges and position the interfacing atop. The glue stick line secures the interfacing in place until it’s caught in the sewn seam.
  • If you’re making a garment and no one is around to help you mark the hem, grab the glue stick and temporarily hold the hem in place while you try it on. Adjust the length as needed and re-glue for a final check before stitching.

Helpful Hints

  • To use your glue stick to best advantage, allow the glue to dry before sewing. If you’re short on time, use a dry iron to speed the drying process.
  • Can you stitch through a glued area without issue? In most cases, yes, as long as the glue is dry. A non-stick needle is recommended anytime you’re stitching through an area with any kind of adhesive, whether fusible or glue.

Remember that fabric glues are also available in forms other than sticks and can be used for all the same purposes mentioned above. Now that you’re armed with this knowledge, you should be able to handle any sticky situation that arises!


~Linda Griepentrog
Linda is the owner of G Wiz Creative Services and she does writing, editing and designing for companies in the sewing, crafting and quilting industries. In addition, she escorts fabric shopping tours to Hong Kong. She lives at the Oregon Coast with her husband Keith, and two dogs, Yohnuh and Abby. Contact her at gwizdesigns@aol.com.

This field is for validation purposes and should be left unchanged.
Did you enjoy this article?
Are you an ASG member?

Tagged With: applique, bias binding, glue, glue stick, mending, paper piecer, quilting

April 2, 2021

Sewing Q&A

Maybe you’ve wondered about something related to sewing, but couldn’t find an answer elsewhere. We’re here to help!

Bias Binding

Q. If I want to cut my own bias binding, how do I do that?

A. True bias is a 45° angle to the selvage edge of the fabric. It’s stretchier than either the lengthwise or crosswise grain making it ideal to bind curves. To find that angle, use a ruler with a 45° marking and align that mark with a straight edge of the fabric (selvage) to make your first cut. After the initial cut, use the ruler to cut enough bias strips for your project at the width you need.

  • Bias binding is usually cut four times the desired finished width, plus seam allowance. So, if you want a ½” finished binding, cut the strips 2 1/2” wide (using a ¼” seam allowance).
  • Seam the lengths together along the straight grain using a diagonal seam. Why? So that it distributes the bulk of the seam more evenly and the seam allowances aren’t on top of each other making a lump.
  • If you’re binding something without curves, you can cut binding on the straight grain instead of bias. Simply cut the strips across the width of the fabric and sew them together using diagonal seams to create the length needed.
  • Fold the binding using a bias tape maker, or apply using another method.

Tip: Watch our short video on how to use a bias tape too

Press Cloth

Q. Why do I need to use a press cloth? 

Dritz Pressing Cloth available on Amazon

A. A press cloth is used to protect the fabric so that it isn’t damaged by the iron’s heat. It helps prevent scorching, water marking and errant press marks. Some fabrics develop a shine if they’re pressed directly and it’s irreversible; others can melt. A press cloth can be as simple as a piece of cotton fabric. Some press cloths are napped, others are flat finished, depending on the material you’re using it on. Good fabric choices for press cloths are solid color batiste, muslin and silk organza. The latter allows you to see through the cloth to the fabric detailing below.

Another function of a press cloth can be to add moisture to the pressing process. Some fusible interfacings and stabilizers fuse best with a damp press cloth, and moisture is helpful for shaping wool pieces, like collars and lapels, during the tailoring process.

Fusible Stay Tape

Q. The shoulders in my knit T-shirts seem to stretch. Is there a way to prevent that?

A. Absolutely! You can purchase a straight grain fusible stay tape that can be ironed on over the shoulder seamline area before you stitch the seam. That will maintain the original size of the pattern piece. Another option is to use the selvage area of a similar color woven fabric as a stay tape that you sew over. If you need some give in the shoulder seam, sew over some clear elastic that you stretch ever so slightly as you sew the shoulder seam.

Shredding Thread

Q. What causes my thread to shred (and break) while I’m sewing?

A. There are several things that can cause thread to shred, but most commonly is using the wrong size needle. Thread needs to have clearance to pass freely through the eye of the needle and subsequently through the fabric layers you’re sewing. If the needle isn’t large enough to make a hole of sufficient size, the abrasion can cause the thread to shred as it passes through the fabric. Always match the size and type of needle to the fabric.

Another cause of shredding can be a burr on the needle. If you’ve sewn over pins (Like, who would do that?), they could have slightly nicked the needle and that rough area can catch on the thread as it forms the stitches. Poor quality thread can also be an issue, so always purchase good quality thread—it’s worth the investment.


~Linda Griepentrog
Linda is the owner of G Wiz Creative Services and she does writing, editing and designing for companies in the sewing, crafting and quilting industries. In addition, she escorts fabric shopping tours to Hong Kong. She lives at the Oregon Coast with her husband Keith, and two dogs, Yohnuh and Abby. Contact her at gwizdesigns@aol.com.

This field is for validation purposes and should be left unchanged.
Did you enjoy this article?
Are you an ASG member?


Tagged With: bias binding, fusibles, pressing cloth, stay tape, thread

February 26, 2021

Corner Cues: Mitered Binding Corners

If binding a quilt is one of your least favorite tasks, and that simple directive in the instructions that says “Miter the corners as you bind the edges” leaves you bewildered, read on.

A mitered binding corner is simply a clever way to make a neat flat corner. It creates a fold at 45° to the edge. Mitered corners are less bulky than lapped corners and give a professional look to your binding.

Step by Step

To miter a corner, begin sewing the double-fold binding to one edge of the quilt, matching the cut edges of the binding to the trimmed edge of the layered quilt right side.

As you approach the corner of the quilt, stop stitching ¼” from the perpendicular edge (1).

Step 1

Move the fabric just clear of the presser foot, and fold the binding back at a 45° angle to the edge you just sewed (2). At this point the unsewn binding length will be extending at right angles to the edge you just sewed.

Step 2

Fold the binding again, this time matching the cut edges to the perpendicular quilt edge (the 45° fold is between the binding and the quilt) (3). There will be a fold at the corner that matches the quilt edge you just sewed the binding to.

Step 3

Begin sewing again on the ¼” seam line and sew the next edge—you’ll be sewing over the fold you just made (4). When you get to the second corner, repeat the process and repeat for the remaining corners.

Step 4

When the binding is attached on all edges, fold the binding at a 45° angle at each corner underside. Set the bulk of the fold in the opposite direction of that on the quilt front. Hand-stitch the folded binding edge in place around the quilt. The underside miter should look as good as the front side (5).

Step 5

If you’re not making a quilt, this same mitering technique works to bind any edge like a collar, cuff, jacket front or pocket, as long as the corner is a 90° square.


~Linda Griepentrog
Linda is the owner of G Wiz Creative Services and she does writing, editing and designing for companies in the sewing, crafting and quilting industries. In addition, she escorts fabric shopping tours to Hong Kong. She lives at the Oregon Coast with her husband Keith, and two dogs, Yohnuh and Abby. Contact her at gwizdesigns@aol.com.

This field is for validation purposes and should be left unchanged.
Did you enjoy this article?
Are you an ASG member?

Tagged With: learn to quilt, learn to sew, mitered binding corner, mitered corner, quilt

January 29, 2021

Slick Tricks: Working with Laminated Fabrics

If you’re looking to make that perfect raincoat, try one of the great laminated fabrics on the market today. Colorful cottons with a clear coating are ideal for rainy weather attire, and a host of other projects from cosmetic bags to totes and aprons.

And you have options—laminated cottons come with either a matte finish or a glossy finish, depending on the brand and the desired look. In many instances, the same print is available in a non-laminated version, so that you can use it for facings, hood linings, binding, etc.

Although they do require some care when sewing, there’s nothing off-putting about these fun fabrics. Just be sure to purchase a laminated cotton, as opposed to traditional oilcloth fabric which has a heavier mesh base and is best suited for home décor items.

The coating on laminates makes them water resistant (not waterproof), and it keeps seam allowances from fraying. Some coatings are lightweight and others a bit heavier, so select the fabric by the intended use. Softer coatings are ideal for garments, as they’re more flexible than heavier ones.

Preparation

Photo courtesy of Cloud9 Fabrics

When choosing a pattern, look for simple lines and few seams, as well as raglan sleeves vs. set-in. There’s no room for error with laminates, so be sure the pattern fits you.

When you cut out your project, opt for pattern weights instead of pins, unless you keep them only within the seamlines as the marks are permanent.

Mark with chalk or soap slivers and never a tracing wheel, as that can damage the coating.

Sewing

There are some helpful notions for stitching these sticky fabrics. Spring clips, such as Wonder Clips, help hold layers in place without pinning, as do coated paperclips.

If sticking is an issue, opt for a non-stick presser foot, or put tape on the bottom of a regular foot to keep it moving. Sticking becomes an issue usually only if you’re sewing with the right side up, otherwise, the fabric should move smoothly under the foot.

Adjust the stitch length to slightly longer than normal and use a small needle to avoid large holes in the fabric.

Pressing isn’t an option for most laminates, so keep the iron away. To keep the seams flat, finger-press, then topstitch, either open or with seam allowances to one side. Topstitching is also recommended for all edges to keep them flat.

Photos courtesy of Cloud9 Fabrics

Finishing

If your raincoat requires buttonholes, interface the area with a sew-in interfacing (not fusible) and use the setting on your machine that produces a buttonhole with simply straight stitching around the slit. Any dense satin stitching can damage the fabric.

For hems, there’s no need to finish the edge as the lamination keeps the fabric from fraying—just turn up the hem evenly, clip it in place and sew one or two rows of stitching evenly from the folded edge.

On a tote, bound edges work perfectly—not only are they easy to do, but they also reduce the bulk of multiple laminate layers on turned-and-stitched edges.


~Linda Griepentrog
Linda is the owner of G Wiz Creative Services and she does writing, editing and designing for companies in the sewing, crafting and quilting industries. In addition, she escorts fabric shopping tours to Hong Kong. She lives at the Oregon Coast with her husband Keith, and two dogs, Yohnuh and Abby. Contact her at gwizdesigns@aol.com.

This field is for validation purposes and should be left unchanged.
Did you enjoy this article?
Are you an ASG member?

Tagged With: laminated fabric, learn to sew, raincoat, sewing, sewing tip

December 4, 2020

Border Prints 101

When shopping for fabric, we’re accustomed to seeing rows of bolts with an allover print. But look a little deeper and you’ll find some with unique features—border prints! Border prints are fun to work with and allow you to showcase this print feature in creative ways.

What is a border print?

Instead of a fabric having the same patterning across the full width of the fabric, border prints have a different pattern along one or both edges. The bands of distinct prints can be narrow or wide, and can extend their emphatic look across the fabric’s full width in some instances creating a beautiful graphic element.

  • A double border print may have the same or differing designs along each fabric edge. A common pairing is to have one narrow border and one wider one.
  • A border print is parallel to the fabric’s selvage, ready for showcasing in a garment, accessory or quilt and can be found on a woven fabric or along the cut edge of a knit.
  • Another type of fabric considered a border print has a lengthwise edge detail like scallops or fringe along one or both sides.

Working with a Border Print

The primary difference in working with a border print is that the project needs to be on the crosswise grain of the fabric, rather than the traditional lengthwise spec. The design area is best showcased along a straight edge, like a skirt or sleeve hemline, pant leg, jacket hem, etc., though it doesn’t need to be at the bottom of a garment. The border can also be used along a pocket edge, in a bodice area or even at the waistline.

If you prefer to use the border vertically instead of horizontally, think about a jacket front, wrap skirt or side-seam accent. If you choose this orientation, be sure the border design isn’t directional—for example, you probably don’t want flower stems horizontal on a jacket front, or people lying down along a wrap skirt edge. The print should really be non-directional for vertical use.

Border prints can also be used to accent small areas, like collars and cuffs, totes, etc., and are also ideal for home décor projects, like on a curtain hem, pillow or quilt border.

Like any distinct print, matching is always a good idea, so consider where you may need to match a distinct pattern before you begin cutting. A hemline border should match at the side seams to avoid breaking the visual patterning.

Pattern Adaption

Some patterns are designed specifically to be used with border prints, but most are not. Look for designs with straight edges, like a gathered or pleated skirt, if you want to feature the print along the hemline.

  • If the area you want to use the print in is curved, you’ll need to straighten it or risk losing part of the border to the curve.
  • Redraw your pattern’s grainline to reflect the new orientation on the fabric. Use a ruler to change up the standard grainline 90°. Double check the fabric width to accommodate the new orientation.
  • Since some border prints are close to the selvage, it may be necessary to modify a hem depth if you want to use the print along the bottom of a skirt. A narrower hem, or a faced hem, could both be options depending on the design placement.

Yardage Adaptation

The amount of yardage needed for a border print will likely differ from what was originally called for if the garment was originally cut on the lengthwise grain. After redrawing the grainline on the pattern pieces, do a test layout to refigure the fabric before purchasing. Keep in mind that it’s best to cut all the garment pieces on the same grain to avoid any variance in directional prints or shading.

The width of the fabric may limit the use of the border on certain garments, or require you to piece a garment if you’re intent on using a particular fabric.

Note that you can also trim off the border and reattach it if needed, to get the look you want in your project.

Now that you know more about them, when you see a border print fabric, think about how you can showcase it in your next project!


~Linda Griepentrog
Linda is the owner of G Wiz Creative Services and she does writing, editing and designing for companies in the sewing, crafting and quilting industries. In addition, she escorts fabric shopping tours to Hong Kong. She lives at the Oregon Coast with her husband Keith, and two dogs, Yohnuh and Abby. Contact her at gwizdesigns@aol.com.

This field is for validation purposes and should be left unchanged.
Did you enjoy this article?
Are you an ASG member?

Tagged With: border prints, fabric, garments, textiles

  • « Previous Page
  • 1
  • …
  • 4
  • 5
  • 6
  • 7
  • 8
  • …
  • 11
  • Next Page »

Become a Member

Join the only national organization dedicated to Advancing Sewing as an Art and Life Skill.

Join Now button

Blog Article Categories

  • ASG Conference
  • Chapter Stories
  • Embroidery
  • Fitting
  • Learn to Sew
  • National Sewing Month
  • Products, Books, & Patterns
  • Projects
  • Quilting
  • Sewing
  • Sewing Techniques
  • Sewing Tips
  • Sewing Tours
  • Videos
  • Disclaimer
  • Privacy Policy

American Sewing Guild
National Headquarters
9660 Hillcroft, Suite 230
Houston TX 77096
713-729-3000 | 713-721-9230 Fax
www.ASG.org

ASG wordcloud - education, conference, discounts, videos, special offers, tours and more

Copyright © 1998–2026 · American Sewing Guild · All Rights Reserved