


 Perhaps you searched long and hard for the perfect fitting jeans, but alas, they’re too long! Or maybe you painstakingly created a custom pair and it’s time to hem them. Either way, you’re in the thick of it—literally!
The hem area of jeans can be up to eight layers thick, depending on how the side and inseams are constructed. Stitching through all of that thickness while maintaining straight, even stitches and not breaking the needle can be a challenge for any sewer, but here are some helpful hints to make the process easier.
Before you sew
Before you determine the length of your jeans, be sure to wash and dry them at least twice to allow the fabric to shrink. Nothing’s worse than meticulously hemming them and after the first wash, they’re ankle skimmers.
Try on the jeans with the shoes you plan to wear with them and pin-mark the desired finished length on both legs. Both legs aren’t always the exact same length.
Assemble the arsenal
Denim Needles
Having the proper tools to sew multiple denim thicknesses is a must. First, select a denim or jeans needle with a special tip and blade to cut through the fibers without deflecting (because of the tight weave) or breaking. Denim needles are made especially for sewing extra thick fabrics, and they’re available in sizes 70/10 to 110/18—the heavier the denim, the larger the needle size needed.
Topstitching
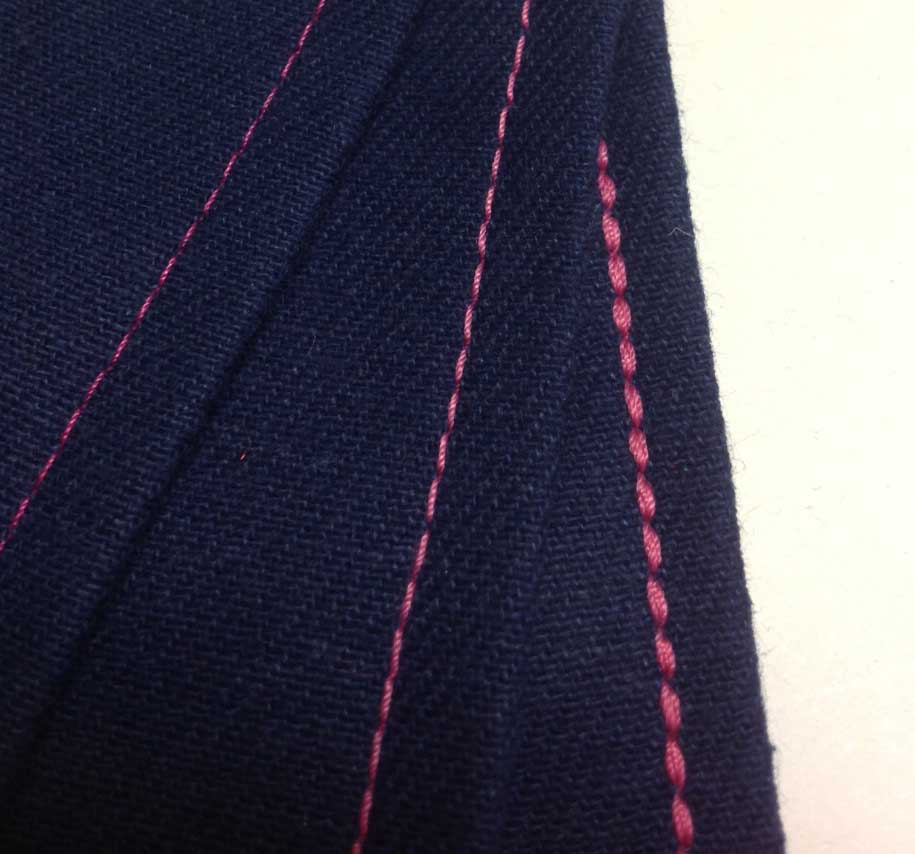
In addition, if you’re doing decorative topstitching to mimic the infamous Levi gold version, acquire a topstitching needle with a large eye and groove to accommodate jeans thread without shredding.
 Denim Thread

Choose either an all-purpose or denim blue thread for stitching if you want a matching hem, or a heavier jeans thread if you prefer contrast seaming detail. Denim thread is a twist of multiple blue colors to mimic the looks of our favorite indigo fabric.
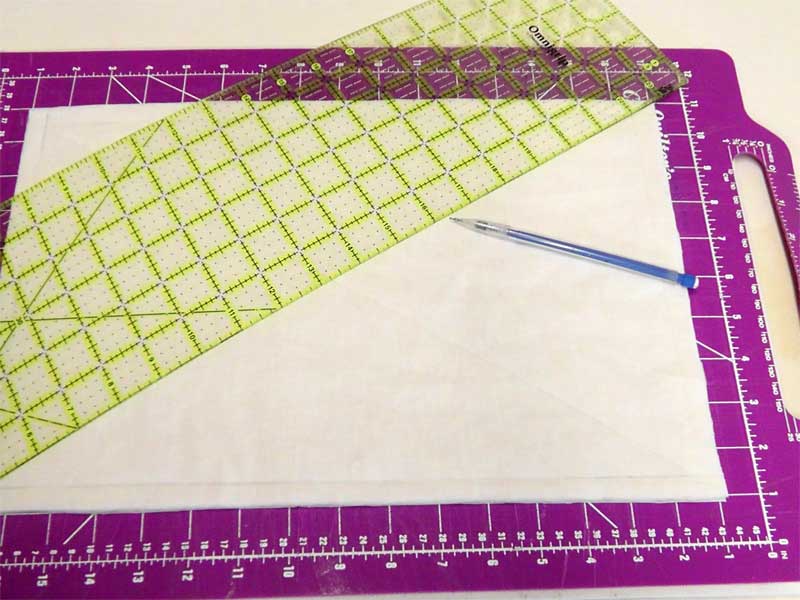
Hemming
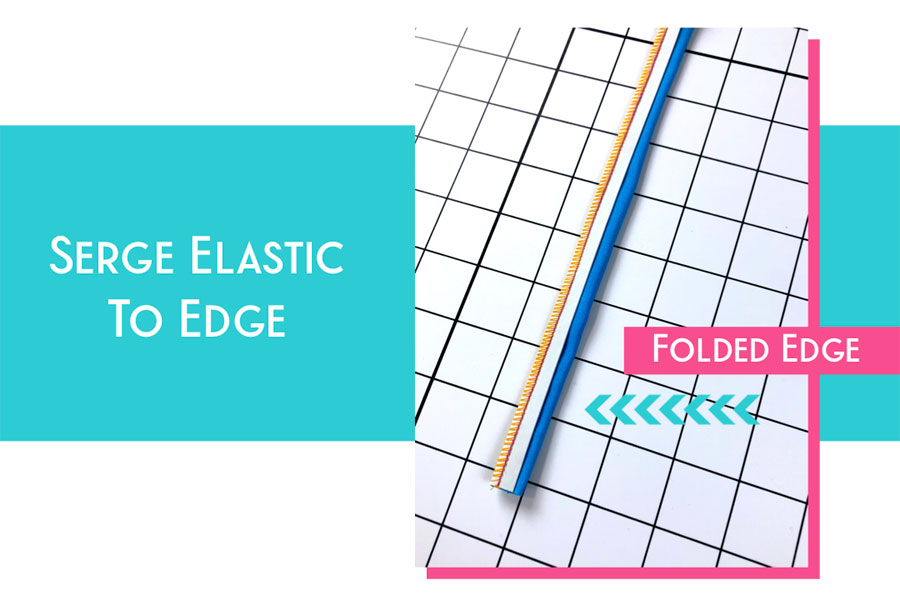
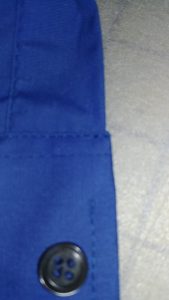
- Press up the hem at the desired length and trim the hem allowance, leaving about 1”. Press under ¼” along the upper hem edge, then ¾” forming a double hem. Pin in place.
- If you need a bit of stability on lightweight denim, slip a narrow strip of fusible web into the hem area and press before stitching to firm up the edge.
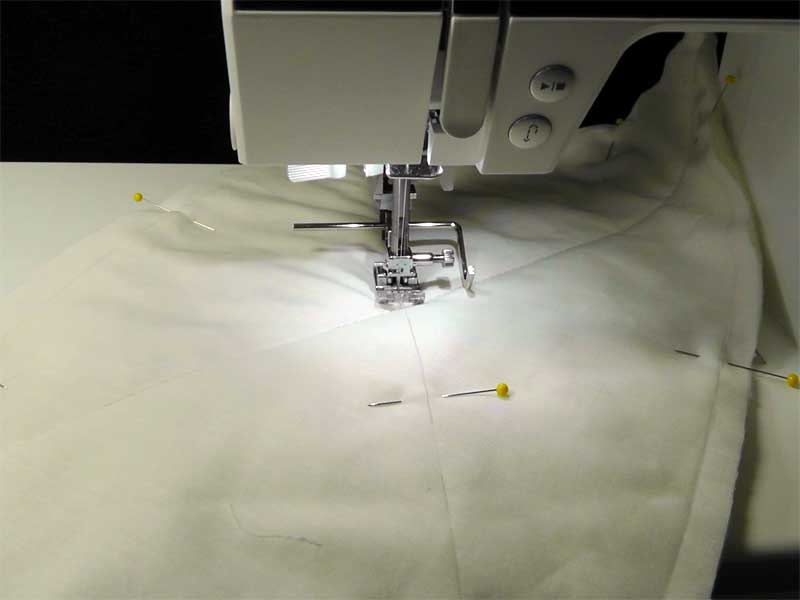
- Straight stitch along the upper folded edge using matching or contrasting thread. For more prominent stitching, use a straight stretch stitch.
- On very heavy denim, serge the upper hem edge instead of folding it under to finish, and that will save one layer of thickness.
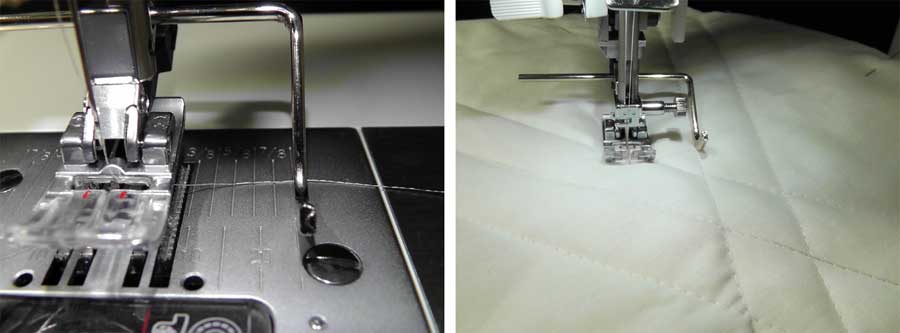
Height busters
The absolute hardest part of hemming jeans is going over those leg seams, but there are tools to help. Look for a Jean-a-ma-jig, Hump Jumper or Big Jig to help even out the raised area.
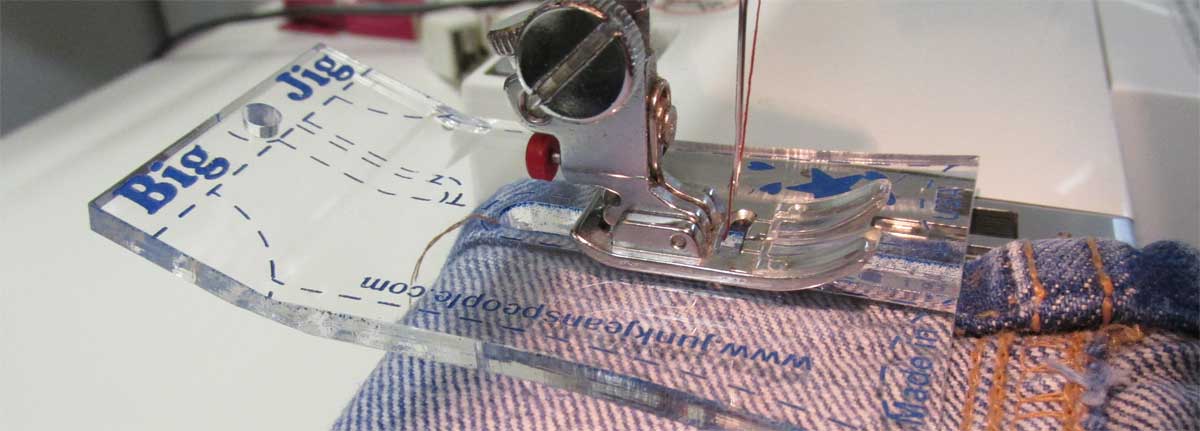
These tools are slipped under the presser foot on the ascent to the leg seam thickness to help keep the presser foot horizontal over the ridge and again on the other side to keep it from sliding off the raised area and making uneven stitches on the downward journey. And, they work on all machines.
For the neatest appearance, bring thread ends to the wrong side and tie them off instead of backstitching.
~ By Linda Turner Griepentrog
You might know my name from my years as editor of Sew News, from the many magazine articles I’ve written, or perhaps you’ve been on one of the ASG Sew Much Fun Hong Kong tours with me. But soon you’ll be seeing my name a bit more often as I’m writing for the American Sewing Guild blog!


 Last week I told you I’d share my final blog of the year with another new sewing technique I’ll be sharing with members.
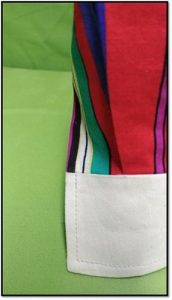 It took a lot of trial and error many years ago, long before I came on board with ASG, but I came up with a method of sewing these garment areas that finally made me happy. I’ve never put either into writing until now.
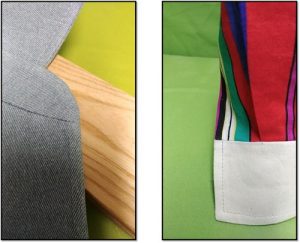
