American Sewing Guild (ASG)

Visit our blog Visit the ASG Facebook page Visit ASG on Pinterest Visit ASG's YouTube channel Visit ASG on Instagram
  • Home
  • Join ASG
    • Join Online
    • Chapter Locations
    • Member Benefits
    • Member Brochure
    • Join by Mail
  • Education & Classes
  • Resources
    • Contests & Awards
    • Giving Back
    • Hall of Fame
    • Links
    • Travel and Tours
    • Measurement Chart
  • Shop
    • ASG Store
    • Chapter Products
    • Video Resources
  • Blog
  • About
    • About Us
    • Donate to ASG
    • ASG Sensitivity Statement
    • FAQ’s
    • Start a Chapter
  • Contact
  • Member Login
    • Login First!
    • Members Only
    • Leadership Only
    • Website FAQ’s
    • Logout
  •  

October 8, 2021

Pressing Tools—Clapper and Sleeve Board

It doesn’t matter whether you tailor fine wool jackets or make casual everyday wear, or if you’re a quilter—getting a good press is of the utmost importance for a professional-looking project. There are tools to help with that process. Let’s take a look at two tools that work for all sewers and quilters—a clapper and a sleeve board.

Clapper

Mardili Hard Wood Tailors Clapper. The product shown is from Amazon. If you make a purchase, ASG may receive a small commission at no additional cost to you.

What is it?

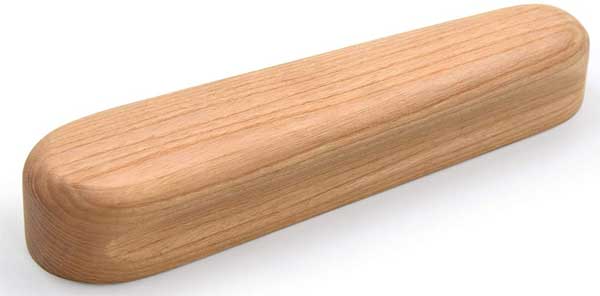
A clapper is basically a long block of wood with curved edges. The block may have indentations along the side for easier holding, but the bottom surface if totally flat. Clappers come in different sizes, depending on where they’ll be used.

It’s important that the clapper is made from hardwood with a heavy, closed grain so that it holds heat and steam in whatever you’re trying to press beneath it. Maple is a common wood used for clappers. All clappers should be unfinished wood, to avoid transferring any oils or finishes to the fabrics below.

What is it for?

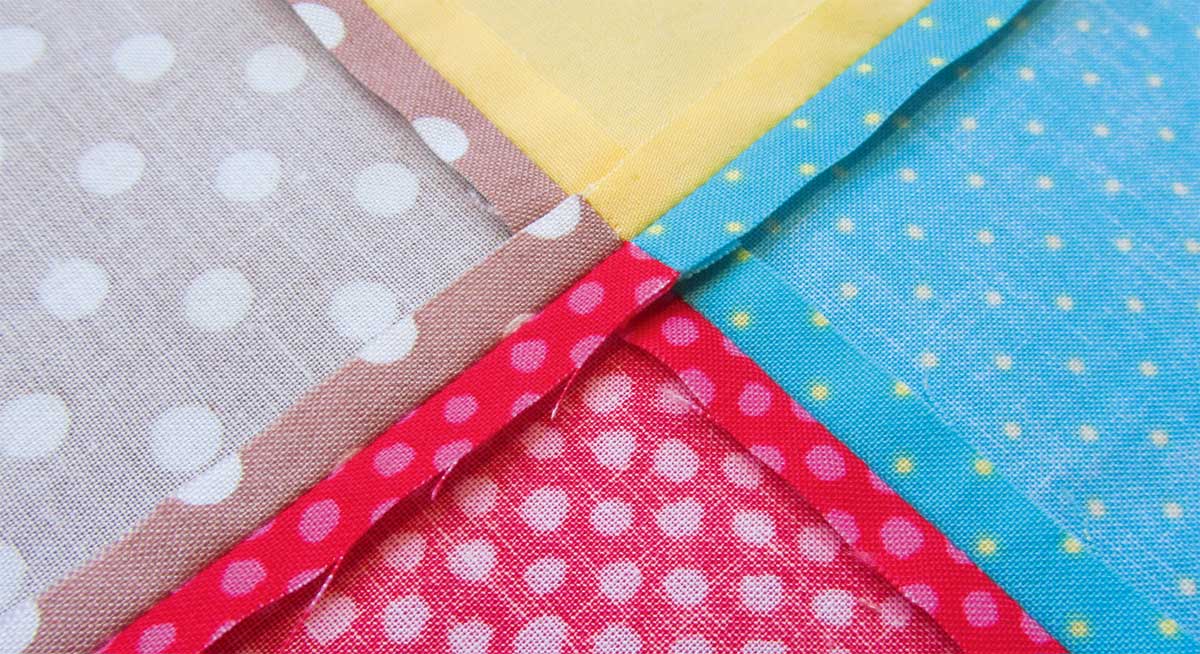
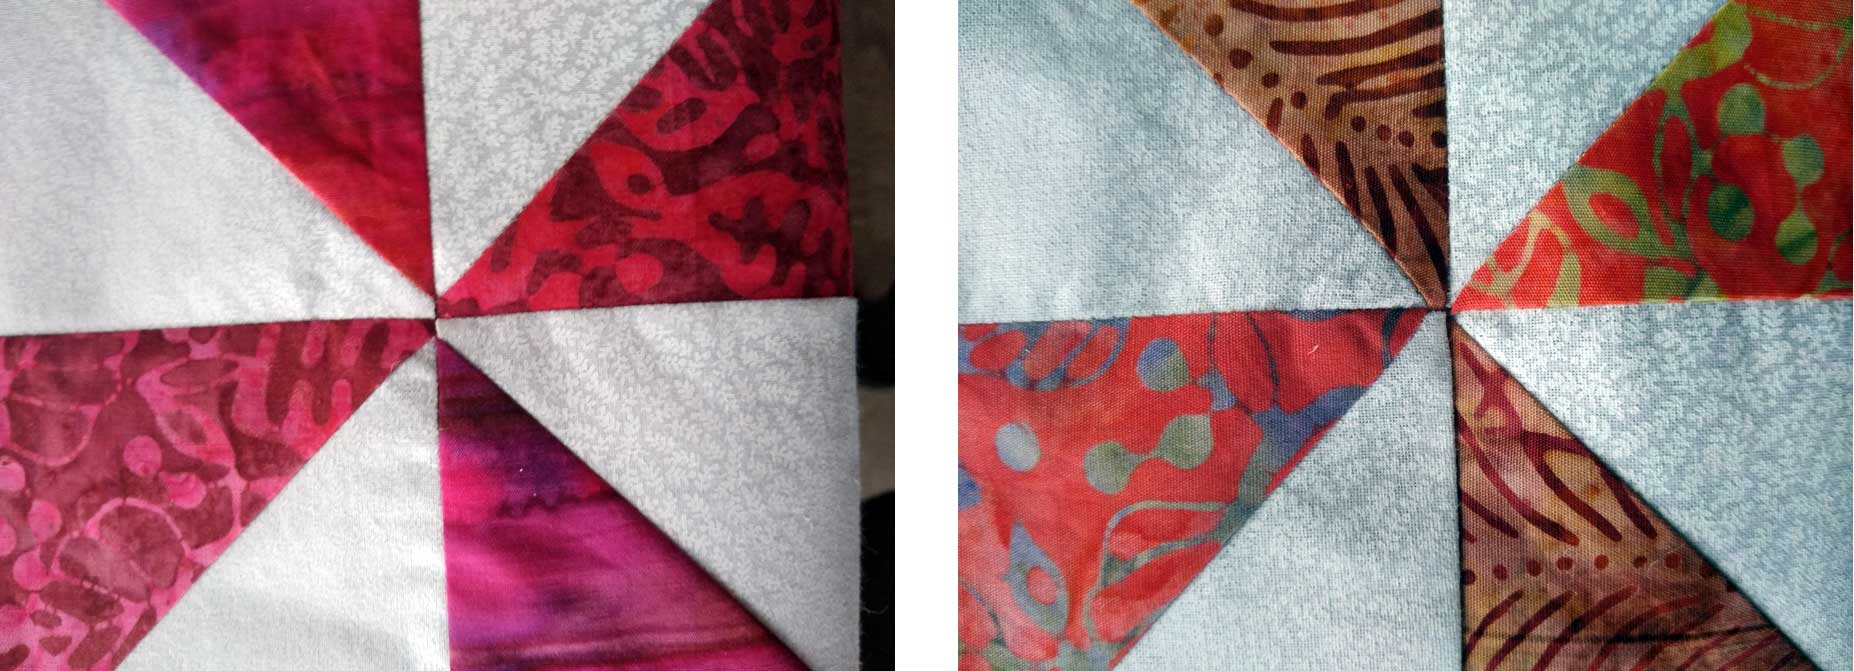
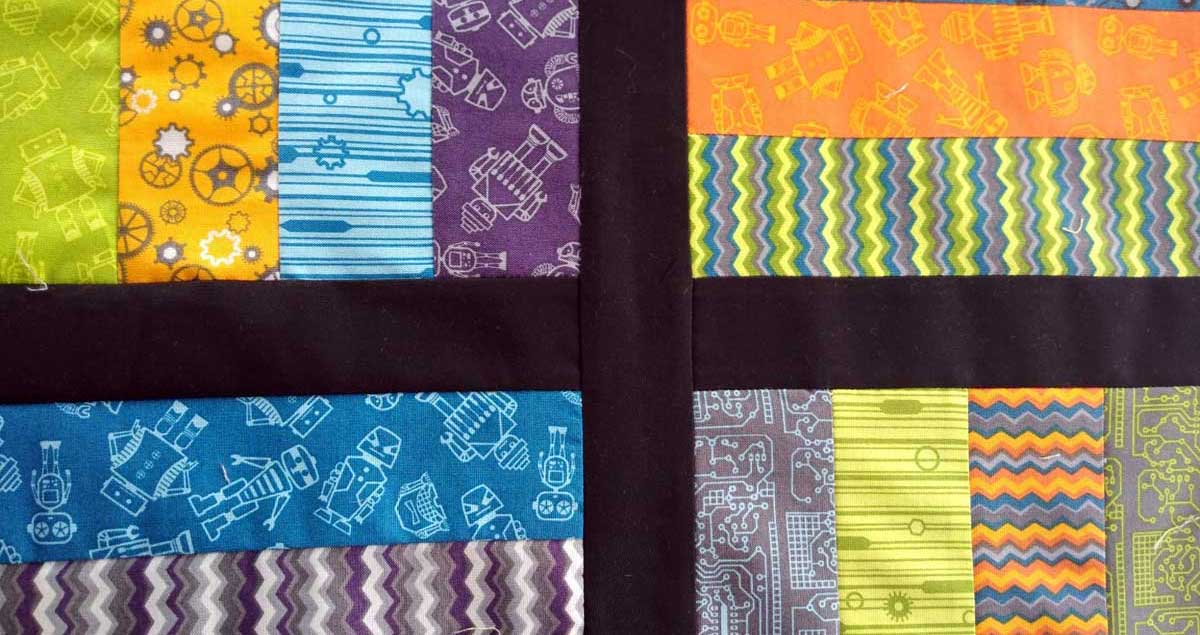
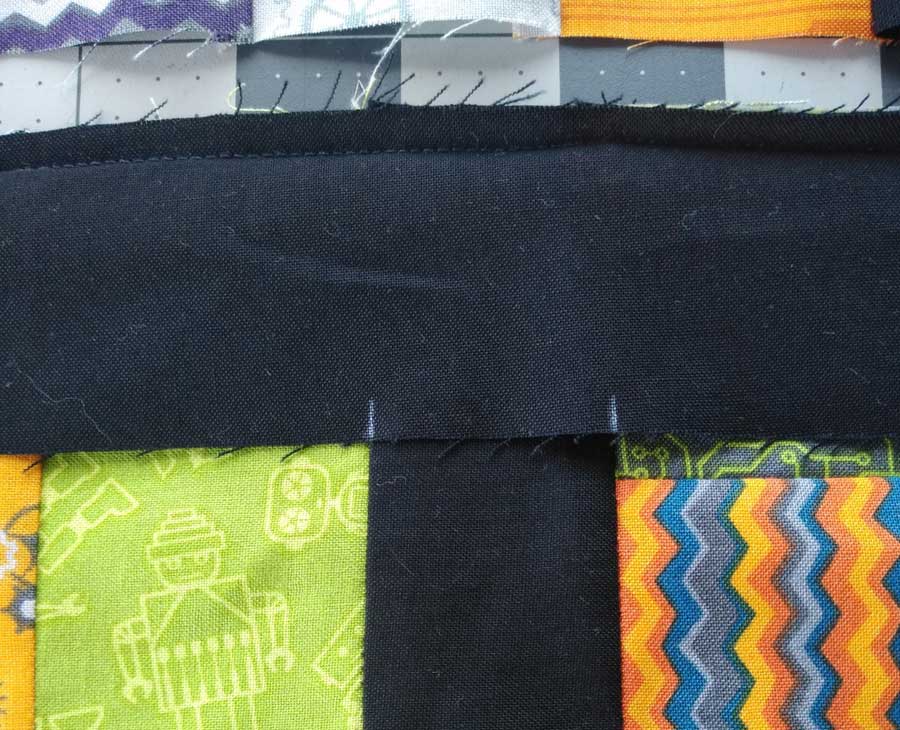
Fashion sewers and quilters use a clapper to flatten and compress seams, creases and hems. It’s helpful for flattening edges, like tailored collars on jackets and cuffs. Some people use a clapper to create precise creases in pant legs. Quilters use clappers to help flatten seams, whether pressed open or to one side, and to make sharp seam edges in foundation piecing projects.

How does it work?

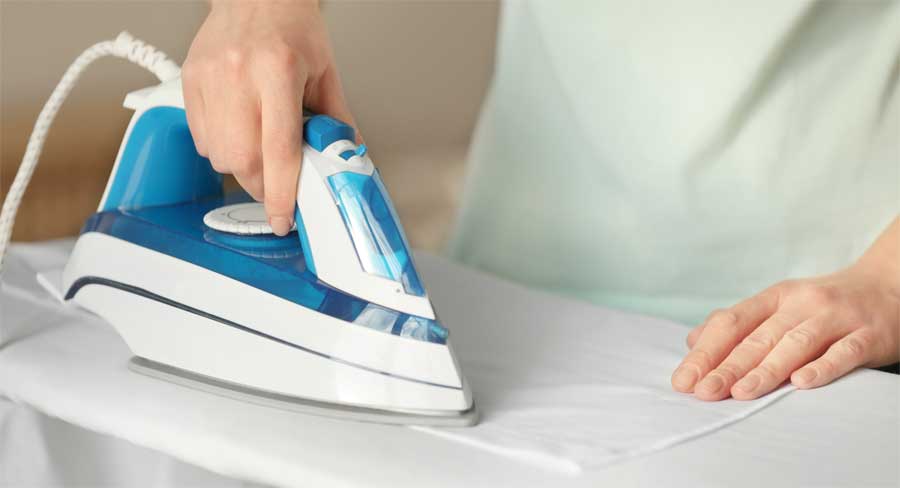
A clapper is used in conjunction with an iron, either steam or dry. If you’re using a dry iron, spray the area with water to moisten it before pressing and clappering.

Once the area is pressed with the iron and infused with steam, press the clapper down on top of the area to trap the moisture in the area until it cools. Apply pressure if you’re pressing a thick edge like a collar, lapel or cuff.

Sleeve Board

sleeve board

What is it?

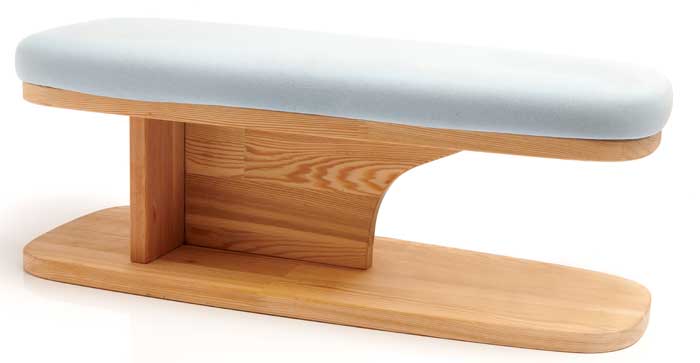
A sleeve board is basically a small wooden ironing board, usually with padding on the upper surface. The wooden base usually isn’t padded, but provides an optional pressing surface should a harder surface be needed.

Some sleeve boards have metal grids under the upper padding and some have metal legs instead of being reversible flat surfaces.

What is it for?

The name doesn’t say it all, but it does note its original purpose—pressing sleeves, without getting extra creases where you don’t want them. But, it’s also handy for pressing pant legs and other tubular type sewing projects where you don’t want additional creases added to the area. For crafters, a sleeve board is handy for pressing wine bags or other narrow drawstring type bags where accessing seams can be challenging.

A sleeve board can also be used for any pressing task where a full-size ironing board might not be needed—like pressing doll clothes, or quilt blocks.

How does it work?

Sleeve board sizes vary depending on the manufacturer, and the size of the pressing surface obviously affects what can fit over it. But all sleeve boards have at least one end tapered so that it’s narrower than the opposite end attached to the base.

  • To use the sleeve board, simply slide the sewn tubular shape over the narrow end of the board and onto the padded pressing surface.
  • A sleeve can actually be pulled over the smaller curved end to lightly press the cap area during construction.
  • If you’re sewing with limited space, like at a retreat, a sleeve board can be used as your personal tabletop ironing board to save time waiting in line for the main ironing board.

~Linda Griepentrog
Linda is the owner of G Wiz Creative Services and she does writing, editing and designing for companies in the sewing, crafting and quilting industries. In addition, she escorts fabric shopping tours to Hong Kong. She lives at the Oregon Coast with her husband Keith, and two dogs, Yohnuh and Abby. Contact her at .

Did you enjoy this article?
Are you an ASG member?
This field is for validation purposes and should be left unchanged.

Tagged With: clapper, iron, quilting, sewing, sleeve board, sleeves

July 23, 2021

Sew Confusing: Pattern Instructions

As you read pattern instructions there may be some unfamiliar terms or worse yet, things that sound similar and you’re not sure what’s what. Let’s take a look at some often-confused terminology and set it straight for your next project.

Interfacing/Stabilizer

Image of different types of interfacing
Stack of Interfacings

Interfacing (woven, non-woven or knitted) is used anywhere more firmness or body is needed during construction—like in collars, cuffs, front openings, etc. It remains in the garment permanently. Sometimes entire garment sections like jacket fronts are interfaced to add body to the fabric.

Stabilizer is one of many types of products (knit, woven, non-woven; fusible or non-fusible; temporary or permanent) used to add body and support for a specific function, like machine embroidery or decorative stitching. Depending on the use, it can remain permanently in the project, or it can be removed once the function is complete, like using tear-away stabilizer under embroidery.

Stay Tape/Basting Tape

basting tape on binding
Basting tape on binding

Stay tape is a narrow strip of woven or knit fabric used to stabilize an area and keep it from stretching. Common areas for stay tape use are shoulder seams, necklines and hems in knit garments; the front of a wrap dress or blouse, or lapel areas in a tailored garment. Stay tape can also be used to stabilize zipper areas in stretchable fabric and to keep pocket openings firmly in shape. Tapes can be sewn in (by hand or machine) or fused.

Basting tape is a narrow, double-sided adhesive product used to hold something in place temporarily while sewing. Most basting tapes are water-soluble, so they disappear after washing. A common place to use basting tape is to hold a zipper in place for stitching, especially in bulky fabrics like fleece, to hold a patch pocket in place for no-slip topstitching, or to temporarily hold binding in place.

Staystitching/Basting

Staystitching is a regular length straight stitch sewn through a single layer of fabric in garment areas that tend to stretch during construction—like armholes, necklines and bias-cut seams. It is sewn just a hair inside the seamline and remains in the garment.

Basting is a long straight stitch used to temporarily hold the garment together for fitting, or other reason why only a temporary hold is needed, such as applying a zipper or trim. Basting can be done by hand or machine and can be used any place for a more secure hold than pins provide. Basting stitches are also used to help ease fabric, like in a sleeve cap, or to gather it, like for a skirt.

Fusible Web/Fusible Adhesive

Fusible web is a film-like adhesive sheet, often backed on one or both sides with a protective paper. It is frequently used for appliqué, hems and any place where a permanent hold is needed, other than sewing.

Fusible adhesive is a generic term that can include fusible web, but it can also include heat-activated glues or sprays, either permanent or temporary.

Ironing/Pressing

Pressing

Ironing is something you do after clothes are laundered to get rid of wrinkles. It involves sliding the iron back and forth with pressure to rid the item of creases created by the washing/drying process.

Pressing is something you do during the sewing construction process to ensure a professional look to the finished project. It involves lifting the iron from one place to another, rather than sliding it, as the latter can stretch in-progress pieces out of shape. Pressing is often done from the fabric wrong side, like when opening a seam, or setting fullness in a sleeve.

Both pressing and ironing can be done with a dry or steam iron, depending on the fabric. Pressing cloths can be used to protect delicate fabrics during the sewing process.

Seam guide incorporated into the presser foot. Image courtesy of Bernina.

Seam Guide/Seam Gauge

A seam guide is used to help keep an even seam allowance while sewing. It can screw onto the machine, attach magnetically or be incorporated into the presser foot.  Temporary guides can be easily adjusted to change the distance from the needle to guiding edge. The term can also refer to the lines marked or etched on the machine needle plate.

Seam allowances marked on needle plate. Photo courtesy of Bernina.

A seam gauge is a short metal or plastic ruler with a sliding mechanism to indicate a specific measurement—especially helpful for measuring hems or spacing buttonholes.

Scissors/Shears

Scissors and shears
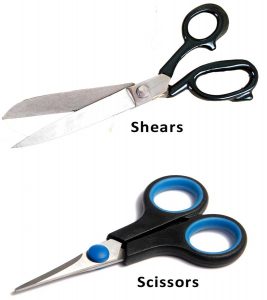
While both scissors and shears are designed with pivoting blades for cutting, the usual distinction is that scissors have blades shorter than 6” while shears have longer blades. In addition, scissors have two of the same-sized finger holes, while shears have asymmetrical finger holes, usually a large one and a small one. Shears are specific to left- or right-handed users, while scissors can be used by either. There are many specialty types of scissors and shears available.


~Linda Griepentrog
Linda is the owner of G Wiz Creative Services and she does writing, editing and designing for companies in the sewing, crafting and quilting industries. In addition, she escorts fabric shopping tours to Hong Kong. She lives at the Oregon Coast with her husband Keith, and two dogs, Yohnuh and Abby. Contact her at .

Did you enjoy this article?
Are you an ASG member?
This field is for validation purposes and should be left unchanged.

Tagged With: learn to sew, sewing, sewing terms, sewing tools

July 12, 2021

What I’m Sewing: Alyce Blouse

Linda Jensen from the ASG Lake County Chapter shares her experience making this great-fitting blouse from Silhouette Patterns.

Alyce Blouse Q. Item Created 
A. Blouse

Q. Independent Pattern Designer
A.
Silhouette Patterns

Q. Name and Number of Pattern
A.
Alyce Blouse #621

Q. Fabric Used:
A. Stretchy knit, but a wide variety of fabrics can be used

Q. Special Embellishments/Notions Used
A. None

Q. Skill level required?
A.
All levels

Q. Are the instructions easy to follow?
A.
Yes, they are easy to follow. There is also a YouTube of making the top that is helpful. Be sure you mark all notations of the letters to put it together.

Q. Are you pleased with the finished result?  Did it meet your expectations?
A.
I got a blouse that was very different from the usual plain blouse, which is what I wanted.

Alyce Blouse Pattern from Silhouette Patterns
Alyce Blouse Pattern from Silhouette Patterns. Sold exclusively at Fit2Stitch.com

Q. Did it look like the picture?
A.
Yes

Q. Did you make any modifications in the pattern?
A.
No

Q. Are there any changes you would have made?
A. No

Q. Did the pattern teach you any unique or special techniques?
A.
I learned that I needed to use knit interfacing when using very stretchy fabric.

Q. Would you make this again?
A.
Yes

Q. Would you recommend this pattern to others?
A.
Yes

Pattern Link: https://www.silhouettepatterns.com/html/patterns/p_621.htm
* Pattern found exclusively at http://www.fit2stitch.com/p_621.html


~Linda Jensen, ASG Lake County Chapter

Did you enjoy this article?
Are you an ASG member?
This field is for validation purposes and should be left unchanged.

Tagged With: blouse, pattern, sewing

June 25, 2021

Matching Points

Nothing causes quilters more angst than getting perfect points on their blocks. With multiple small pieces often combined into a single block, keeping points and seams aligned can be tricky, but there are a few tricks that help with the task. If you’re not a quilter, never fear, these same principles can apply to garment sewing where seams come together and opposing parts need to align. Think about a pieced bodice, a yoke/bodice joining, or an artful pieced jacket.

Match points in quilt blocks examples
Matched points on a quilt block

Point to Point

Lining up adjacent seams is easier if the opposing seam allowances are pressed in different directions. For example, on the upper half of a 4-patch block, press the seam allowances to the left; on the lower half of the block, press the seam allowances to the right.

Image showing seam allowances in opposite direction
Seam allowances in opposite direction

When the sections are placed right sides together, the sewn seams will be on top of each other and the seam allowances will nest together for a perfect match. Place a pin through the sewn seam so that it falls in the same place on the lower layer and then stitch, removing the pin as you come to it. Most machine manufacturers do not recommend stitching over pins.

Example of aligned corners
Aligned corners

This same process works for stitching together half-square triangle blocks. Press seams for adjacent blocks/rows in opposite directions so the seam allowances will nest during the joining process. Place a pin through to match the seams, then stitch, and you should come out with a perfect match {B-1, B-2}.

To test before stitching, fold back the seam allowances and check for the point match.

Image checking point alignmnet
Checking point alignmnet

Some quilters prefer to press seams open instead of to one side. In this instance, careful pinning if required for matching points as there isn’t the nesting seam allowance advantage.

Quilt seams pressed open. Image courtesy of Bernina

What if?

What if your points or seams don’t match? In most instances, taking out a few inches of the seam on either side of the mismatched seam allows for some readjustment and easing to realign the seam matching, then you can just restitch the open area.

Example of mismatched points on a quilt block
Mismatched points on a quilt block

If you’re comfortable leaving the mismatched seam, an easy way to camouflage it to simply tie the quilt at the corners. The yarn ties will hide the seam matching issues and no one will be the wiser. It won’t win you any awards in a quilt show, but it may still be a great quilt to please a child or loved one.

Sashed Seams

Many quilt patterns have strips placed between rows of blocks. These strips, whether vertical or horizontal, are called sashing. Many quilt patterns have sashing strips in both directions; if so, sew the vertical strips between the blocks first, then add the horizontal ones between the rows.

Example of sashing
Blocks aligned with sashing between

Getting blocks lined up on both sides of the sashing strip is much the same as aligning within the block or row, except that there’s now a strip between the rows.

To keep things aligned, sew a row of blocks to one side of the sashing strip, matching center points. Then fold down the sashing strip onto the blocks and mark the adjacent seamline locations on the wrong side of the sashing. Mark at each vertical sashing strip location across the quilt top width.

Markings on fabric
Mark adjacent sashing seamlines

Pin the next row of blocks in place, matching the vertical sashing seams to the marks across the quilt width. Stitch, removing the pins as you come to them and voila, perfectly aligned blocks.

Example of lining up sashing
Pin sashing at markings

~Linda Griepentrog
Linda is the owner of G Wiz Creative Services and she does writing, editing and designing for companies in the sewing, crafting and quilting industries. In addition, she escorts fabric shopping tours to Hong Kong. She lives at the Oregon Coast with her husband Keith, and two dogs, Yohnuh and Abby. Contact her at .

Did you enjoy this article?
Are you an ASG member?
This field is for validation purposes and should be left unchanged.

Tagged With: matching points, quilt blocks, quilting, sewing

June 18, 2021

Is Your SewJo Languishing?

What is a languishing sewjo you ask? I recently read articles in both the New York Times and NPR about this new condition. It’s apparently a real thing that isn’t depression but is a lingering state of “meh.” When I read it, I immediately thought – YES! This validates what I have been feeling!

My sewing room has been largely silent the past year. I just haven’t been able to muster up the enthusiasm and sense of sewing adventure I have come to enjoy for so many years. Where did it go? I have forced myself through making a shirt, a dress, and a quilt top since June 2020 — only 3 projects in the past year! I have been seeing reports of so many of our members sewing up a storm during their COVID quarantine life and, honestly, I have responded with mixed feelings of jealousy and guilt. I have wondered what is wrong with me.

dark sewing room

Life changed for everyone this past year. While my details differ from yours, the element of changed life is common to all. My husband recently commented that he hopes I get back to sewing one day. Ouch! That felt like a punch in the gut. Don’t get me wrong, my husband is my biggest fan and supporter so I wasn’t offended, but the reality of his statement is what punched my gut.

So now what?

Clearly, I am a work in progress so I can’t title this part as 5 steps to an Exciting Sewing Life. Instead, I can share where my journey is taking me.

Happy woman
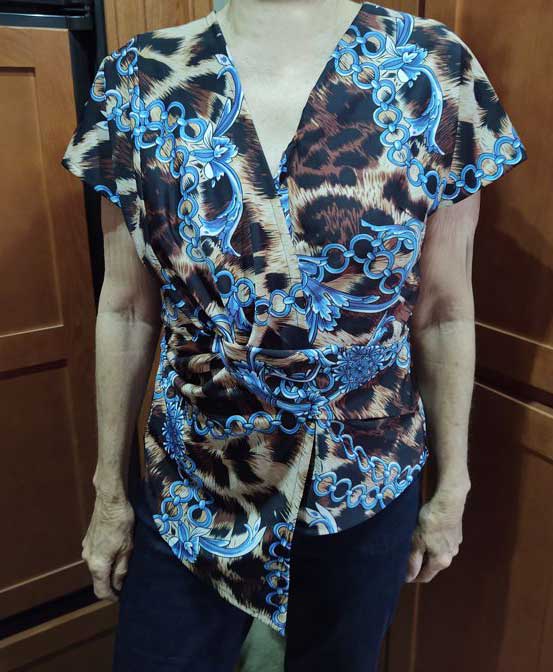
I decided to take a few steps that I hope will re-ignite the enthusiastic passion I have felt for sewing and that I miss and started exploring some new sewing adventures. For years I have loved being almost exclusively a garment sewist. Since pandemic quarantine life, I can’t seem to get excited about making clothes, so I’m going to try a few different things.

  • I want to finish up the last part of quilting a Bar Chart quilt top. Just finishing something will be energizing!
  • I have made several purses before, but when I saw the new Barbara purse pattern and kit from Sallie Tomato, I felt that old surge of enthusiasm. I purchased the kit, and it is on my cutting table to start right after I finish that quilt.
  • I recently learned about scrappy applique quilting by Shannon Brinkley and the artistic twist on quilting intrigues me. Maybe that will be the next thing I try

Appointment calendar imageI also decided to make a few sewing appointments with myself. If I schedule some time to dedicate to this craft I have loved so much, I am bound to experience those dopamine hits it has given me all those times before. But I have also promised myself a lot of grace as I reclaim what feels a little bit lost at the moment. No more jealousy — just appreciation for what others create. No more guilt — just patience as I explore what sewing adventures await while I gently reacquainted myself with my sewing room.

If the past year has been a season of incredible sewing, I salute you and appreciate what you have shown and shared. It has reminded me of all the possibilities! But if you slipped into a languishing sewjo as I did, I hope sharing my reality has given you space to think about how you might head back to your sewing room and reclaim the passion for sewing we have all shared. I can’t wait to see where we go!


~Sheryl Belson

Did you enjoy this article?
Are you an ASG member?
This field is for validation purposes and should be left unchanged.

Tagged With: getting back to sewing, languishing, sewing

  • « Previous Page
  • 1
  • 2
  • 3
  • 4
  • 5
  • 6
  • …
  • 16
  • Next Page »

Become a Member

Join the only national organization dedicated to Advancing Sewing as an Art and Life Skill.

Join Now button

Blog Article Categories

  • ASG Conference
  • Chapter Stories
  • Embroidery
  • Fitting
  • Learn to Sew
  • National Sewing Month
  • Products, Books, & Patterns
  • Projects
  • Quilting
  • Sewing
  • Sewing Techniques
  • Sewing Tips
  • Sewing Tours
  • Videos
  • Disclaimer
  • Privacy Policy

American Sewing Guild
National Headquarters
9660 Hillcroft, Suite 230
Houston TX 77096
713-729-3000 | 713-721-9230 Fax
www.ASG.org

ASG wordcloud - education, conference, discounts, videos, special offers, tours and more

Copyright © 1998–2025 · American Sewing Guild · All Rights Reserved