We’re not talking about aerobics, but using elastic thread! Building stretch into a garment is easy with this thin, stretchy strand and a little ingenuity. Sections of your project, like yokes, sleeves, cuffs, waistlines and bodices are all likely candidates for shirring.
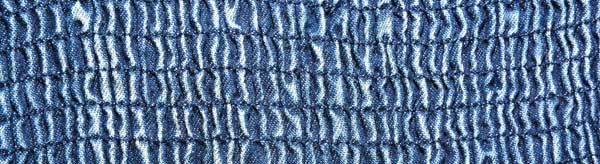
Shirring refers to sewing multiple parallel rows of stitching using elastic thread in the bobbin.
Shirring Tips
Shirring works best with lightweight fabrics, like voile, linen, etc., but you can also do it on lightweight denims and silks.
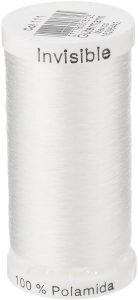
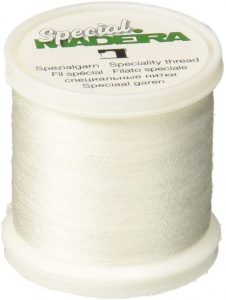
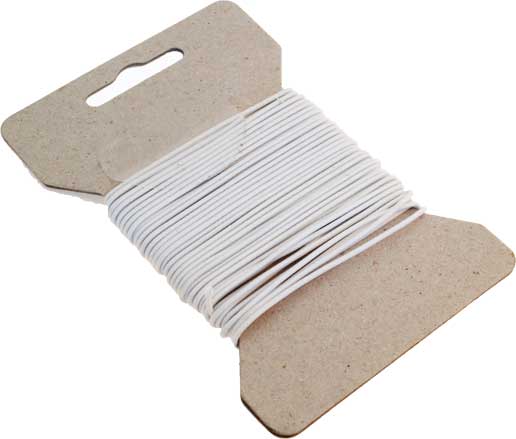
Look for elastic thread at the notions counter of your favorite store. It’s available in black and white. Some knitting stores may offer elastic thread in other colors. If you have elastic thread in your stash, double check it before use, as elastic can deteriorate over time.
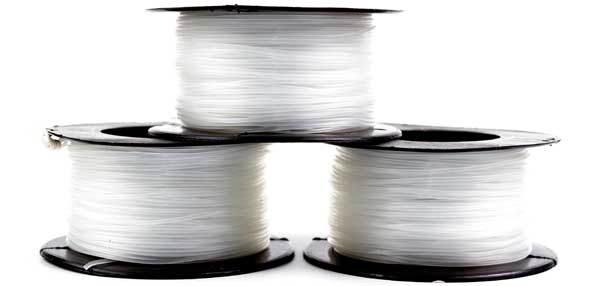
Wind the bobbin by hand, not using the machine’s standard mechanism. Don’t stretch the thread while winding, but also don’t let it be too loose or you won’t get good shirring results. Fill the bobbin as far as possible, but be sure the thread doesn’t extend beyond the bobbin edge. If you’re doing a large project, wind multiple bobbins at once.
Insert the bobbin into the bobbin case and thread it like normal. Place regular thread in the top of the machine. Set the stitch length from 3 to 5mm for test stitching.
Test-stitch on the right side of the fabric and adjust the stitch length and tension as needed to get a look you like.
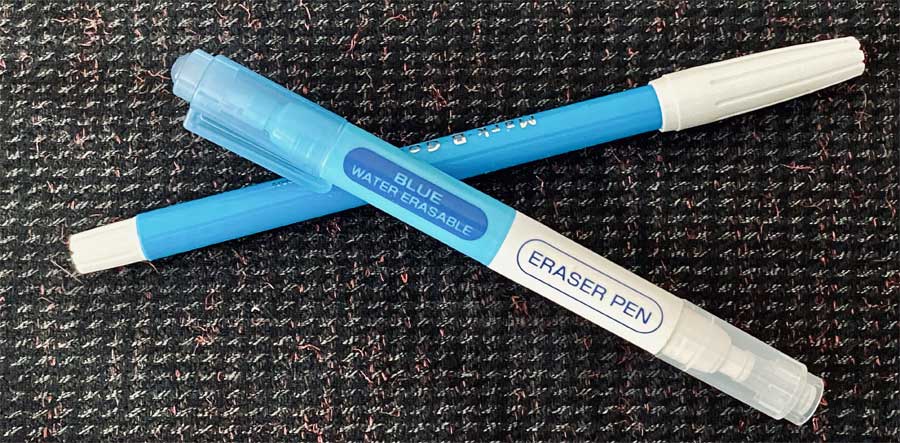
Draw lines on the right side of your project so that the stitched rows begin and end inside the seam allowance of the garment. You can draw multiple lines, or use a quilting guide for spacing, or the width of the presser foot.
Pull out about 2” of elastic and top thread to begin the stitched row. Sew along the first marked line, sewing slower than you normally do. At the end of the row, pull out 2” of elastic thread and top thread as well. Do not use the automatic thread cutter with elastic thread and do not backstitch. Tie off the threads on both ends of the stitching line. Repeat for all the marked lines, keeping the fabric flat as you stitch subsequent rows.
If you run out of bobbin thread while sewing, simply tie off the thread ends and start sewing with a new bobbin where you left off. Anchor the new threads in the same manner by tying off securely.
When all rows are stitched, steam the elasticized area to create the final shirring effect. Set the iron for steam and simply hover it over the stitched area right side to set the stitching and elastic in place. The steam causes the elastic thread to shrink up the shirring a bit.
Sew the seam crossing the stitched rows and stitch again 1/8” from the first line to securely anchor the ends.
Elastic thread can be machine washed and dried at temperatures under 200°. Do not put the iron directly on the elastic, as it can be damaged by higher heat.
~Linda Griepentrog
Linda is the owner of G Wiz Creative Services and she does writing, editing and designing for companies in the sewing, crafting and quilting industries. In addition, she escorts fabric shopping tours to Hong Kong. She lives at the Oregon Coast with her husband Keith, and two dogs, Yohnuh and Abby. Contact her at gwizdesigns@aol.com.