Maybe you’ve wondered about something related to sewing, but couldn’t find an answer elsewhere. We’re here to help!
Bias Binding
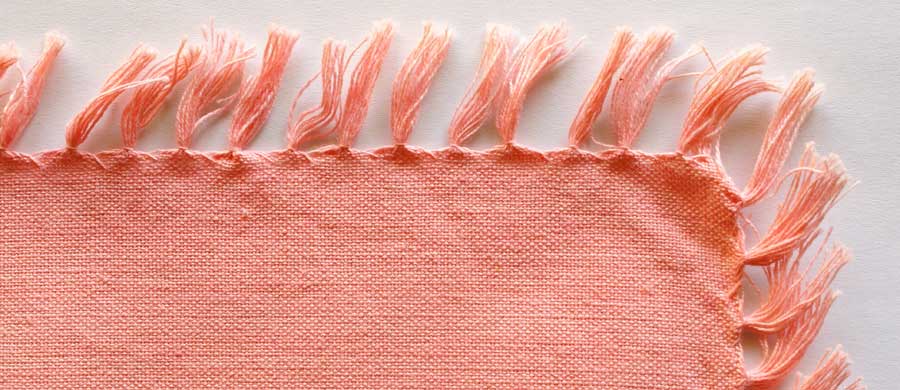
Q. If I want to cut my own bias binding, how do I do that?
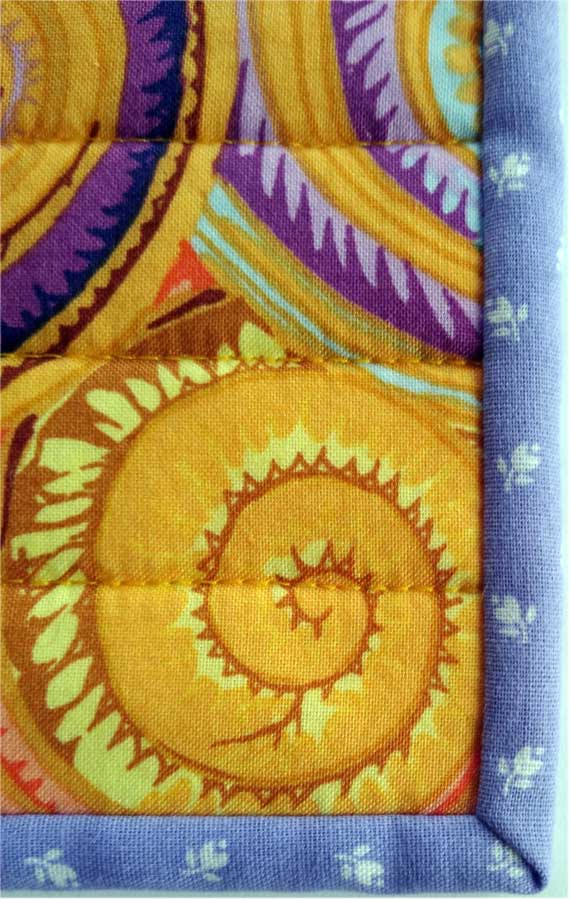
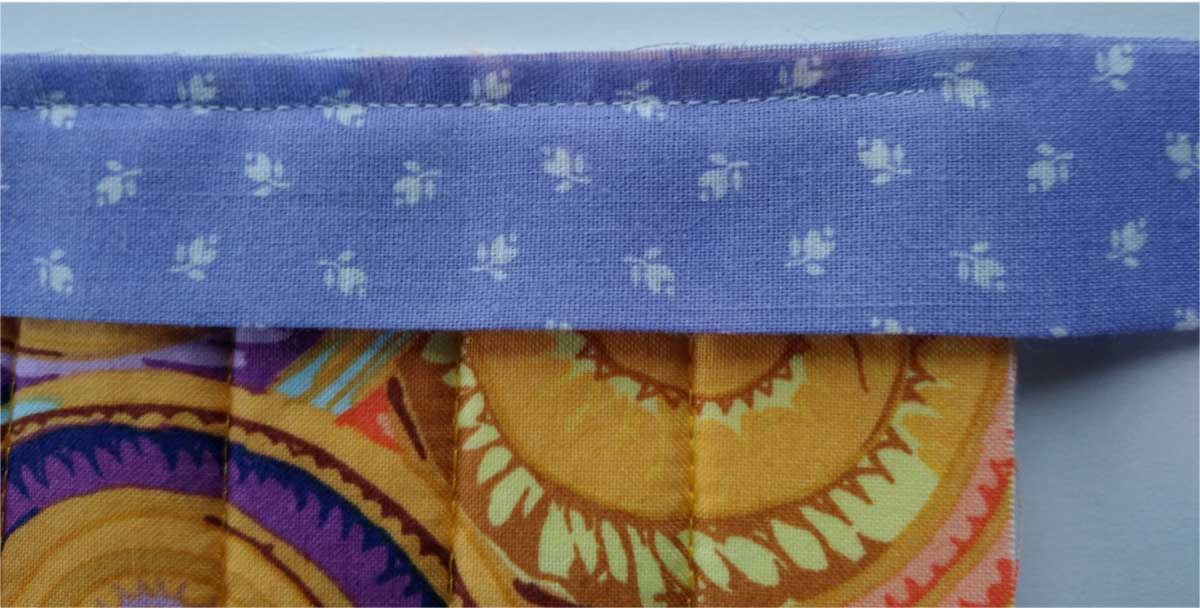
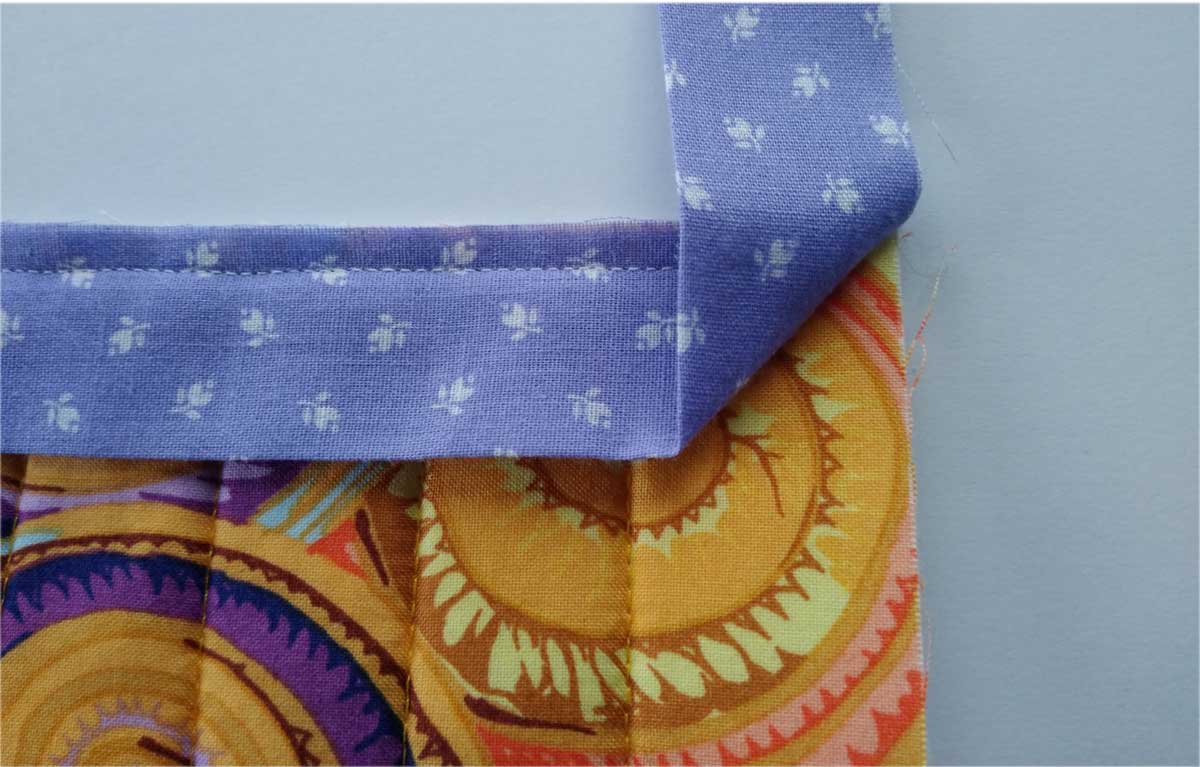
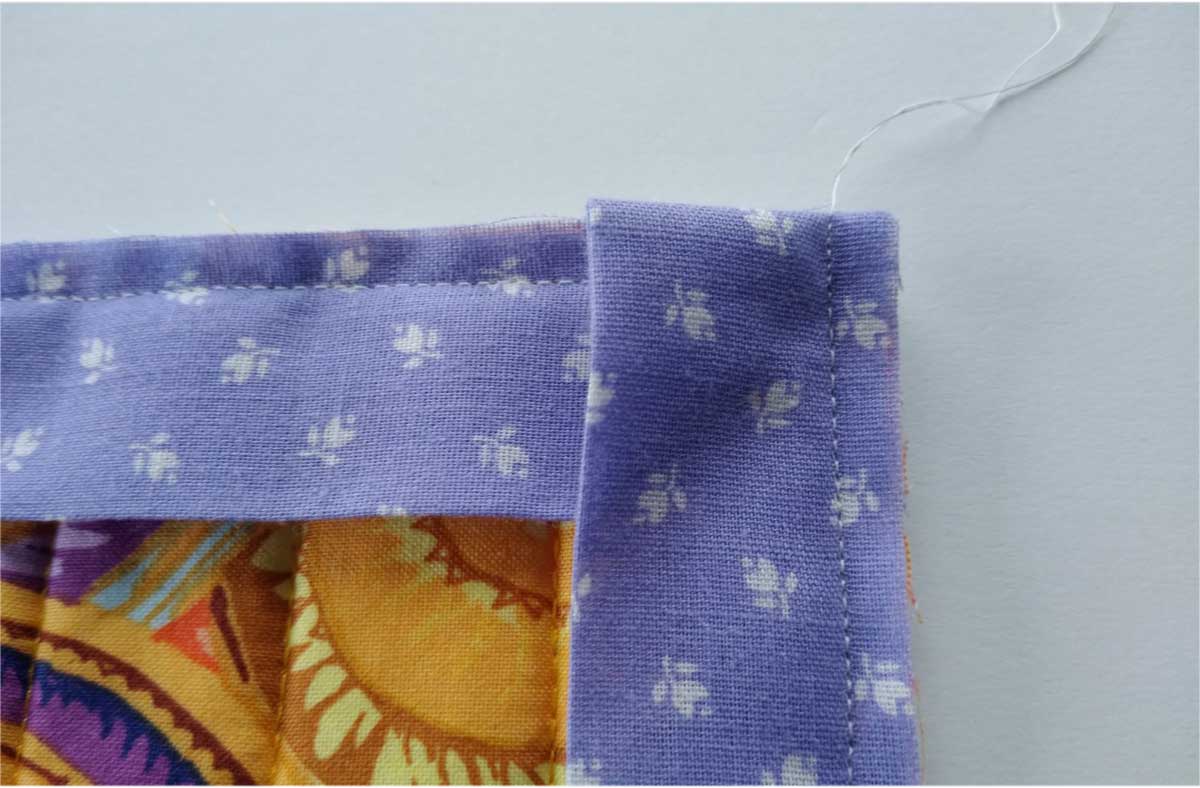
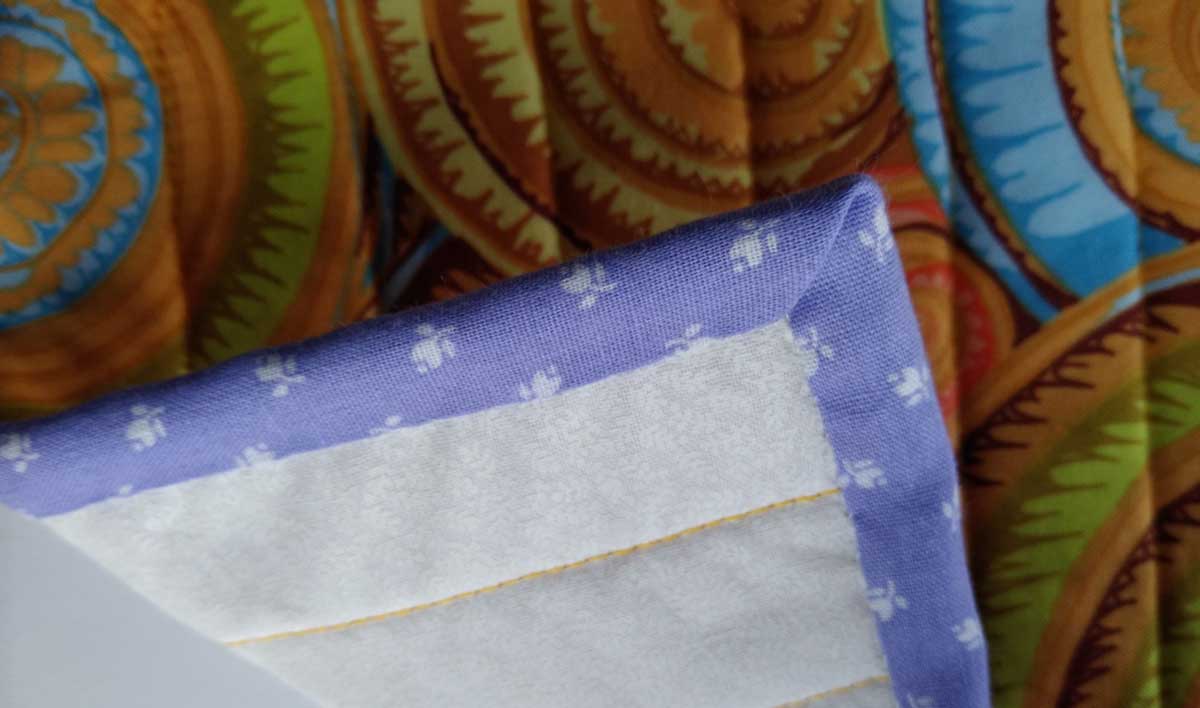
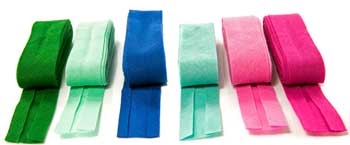 A. True bias is a 45° angle to the selvage edge of the fabric. It’s stretchier than either the lengthwise or crosswise grain making it ideal to bind curves. To find that angle, use a ruler with a 45° marking and align that mark with a straight edge of the fabric (selvage) to make your first cut. After the initial cut, use the ruler to cut enough bias strips for your project at the width you need.
- Bias binding is usually cut four times the desired finished width, plus seam allowance. So, if you want a ½” finished binding, cut the strips 2 1/2” wide (using a ¼” seam allowance).
- Seam the lengths together along the straight grain using a diagonal seam. Why? So that it distributes the bulk of the seam more evenly and the seam allowances aren’t on top of each other making a lump.
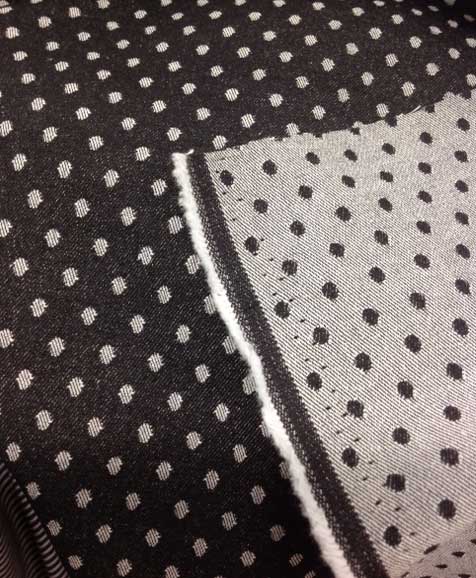
- If you’re binding something without curves, you can cut binding on the straight grain instead of bias. Simply cut the strips across the width of the fabric and sew them together using diagonal seams to create the length needed.
- Fold the binding using a bias tape maker, or apply using another method.
Tip: Watch our short video on how to use a bias tape too
Press Cloth
Q. Why do I need to use a press cloth?
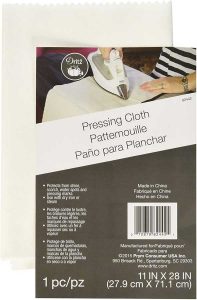
A. A press cloth is used to protect the fabric so that it isn’t damaged by the iron’s heat. It helps prevent scorching, water marking and errant press marks. Some fabrics develop a shine if they’re pressed directly and it’s irreversible; others can melt. A press cloth can be as simple as a piece of cotton fabric. Some press cloths are napped, others are flat finished, depending on the material you’re using it on. Good fabric choices for press cloths are solid color batiste, muslin and silk organza. The latter allows you to see through the cloth to the fabric detailing below.
Another function of a press cloth can be to add moisture to the pressing process. Some fusible interfacings and stabilizers fuse best with a damp press cloth, and moisture is helpful for shaping wool pieces, like collars and lapels, during the tailoring process.
Fusible Stay Tape
Q. The shoulders in my knit T-shirts seem to stretch. Is there a way to prevent that?
A. Absolutely! You can purchase a straight grain fusible stay tape that can be ironed on over the shoulder seamline area before you stitch the seam. That will maintain the original size of the pattern piece. Another option is to use the selvage area of a similar color woven fabric as a stay tape that you sew over. If you need some give in the shoulder seam, sew over some clear elastic that you stretch ever so slightly as you sew the shoulder seam.
Shredding Thread
Q. What causes my thread to shred (and break) while I’m sewing?
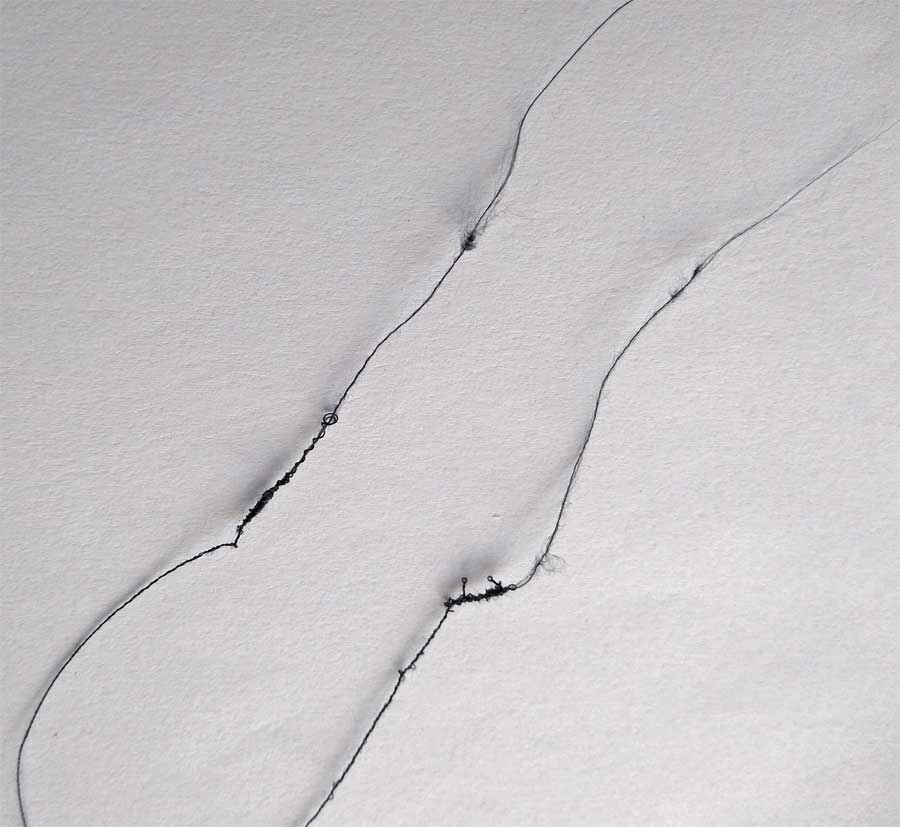 A. There are several things that can cause thread to shred, but most commonly is using the wrong size needle. Thread needs to have clearance to pass freely through the eye of the needle and subsequently through the fabric layers you’re sewing. If the needle isn’t large enough to make a hole of sufficient size, the abrasion can cause the thread to shred as it passes through the fabric. Always match the size and type of needle to the fabric.
Another cause of shredding can be a burr on the needle. If you’ve sewn over pins (Like, who would do that?), they could have slightly nicked the needle and that rough area can catch on the thread as it forms the stitches. Poor quality thread can also be an issue, so always purchase good quality thread—it’s worth the investment.
~Linda Griepentrog
Linda is the owner of G Wiz Creative Services and she does writing, editing and designing for companies in the sewing, crafting and quilting industries. In addition, she escorts fabric shopping tours to Hong Kong. She lives at the Oregon Coast with her husband Keith, and two dogs, Yohnuh and Abby. Contact her at gwizdesigns@aol.com.